


Achieving intricate and beautiful nail art is no longer limited to professional salons. Nail stickers offer a fantastic way to express your personal style with detailed designs, all from the comfort of your own home. They provide a quick, simple, and mess-free alternative to complex painting techniques. Whether you are aiming for a subtle accent or a full, eye-catching manicure, understanding the correct application method is crucial for a smooth, professional-looking, and lasting result.
Understanding the Variety of Nail Stickers
The world of nail stickers is vast and varied, offering something for every taste and occasion. Knowing the different types available will help you choose the best option for your desired look.
Full Nail Wraps
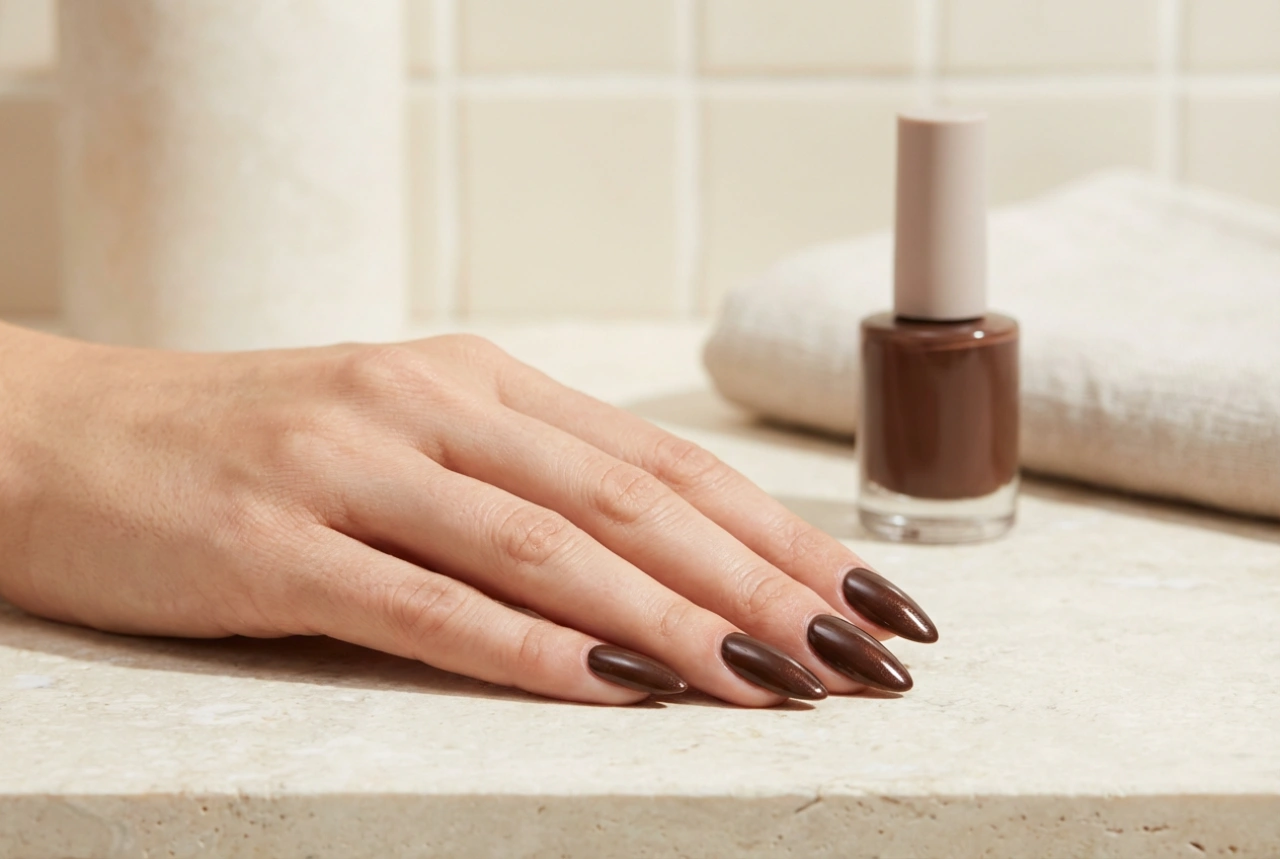
These are essentially large stickers designed to cover your entire nail plate from cuticle to tip. They come in a wide array of colours, patterns, and finishes, such as glitter, metallic, or matte. They act as a substitute for traditional nail polish and are perfect for creating a complete and cohesive manicure quickly.
Individual Decals
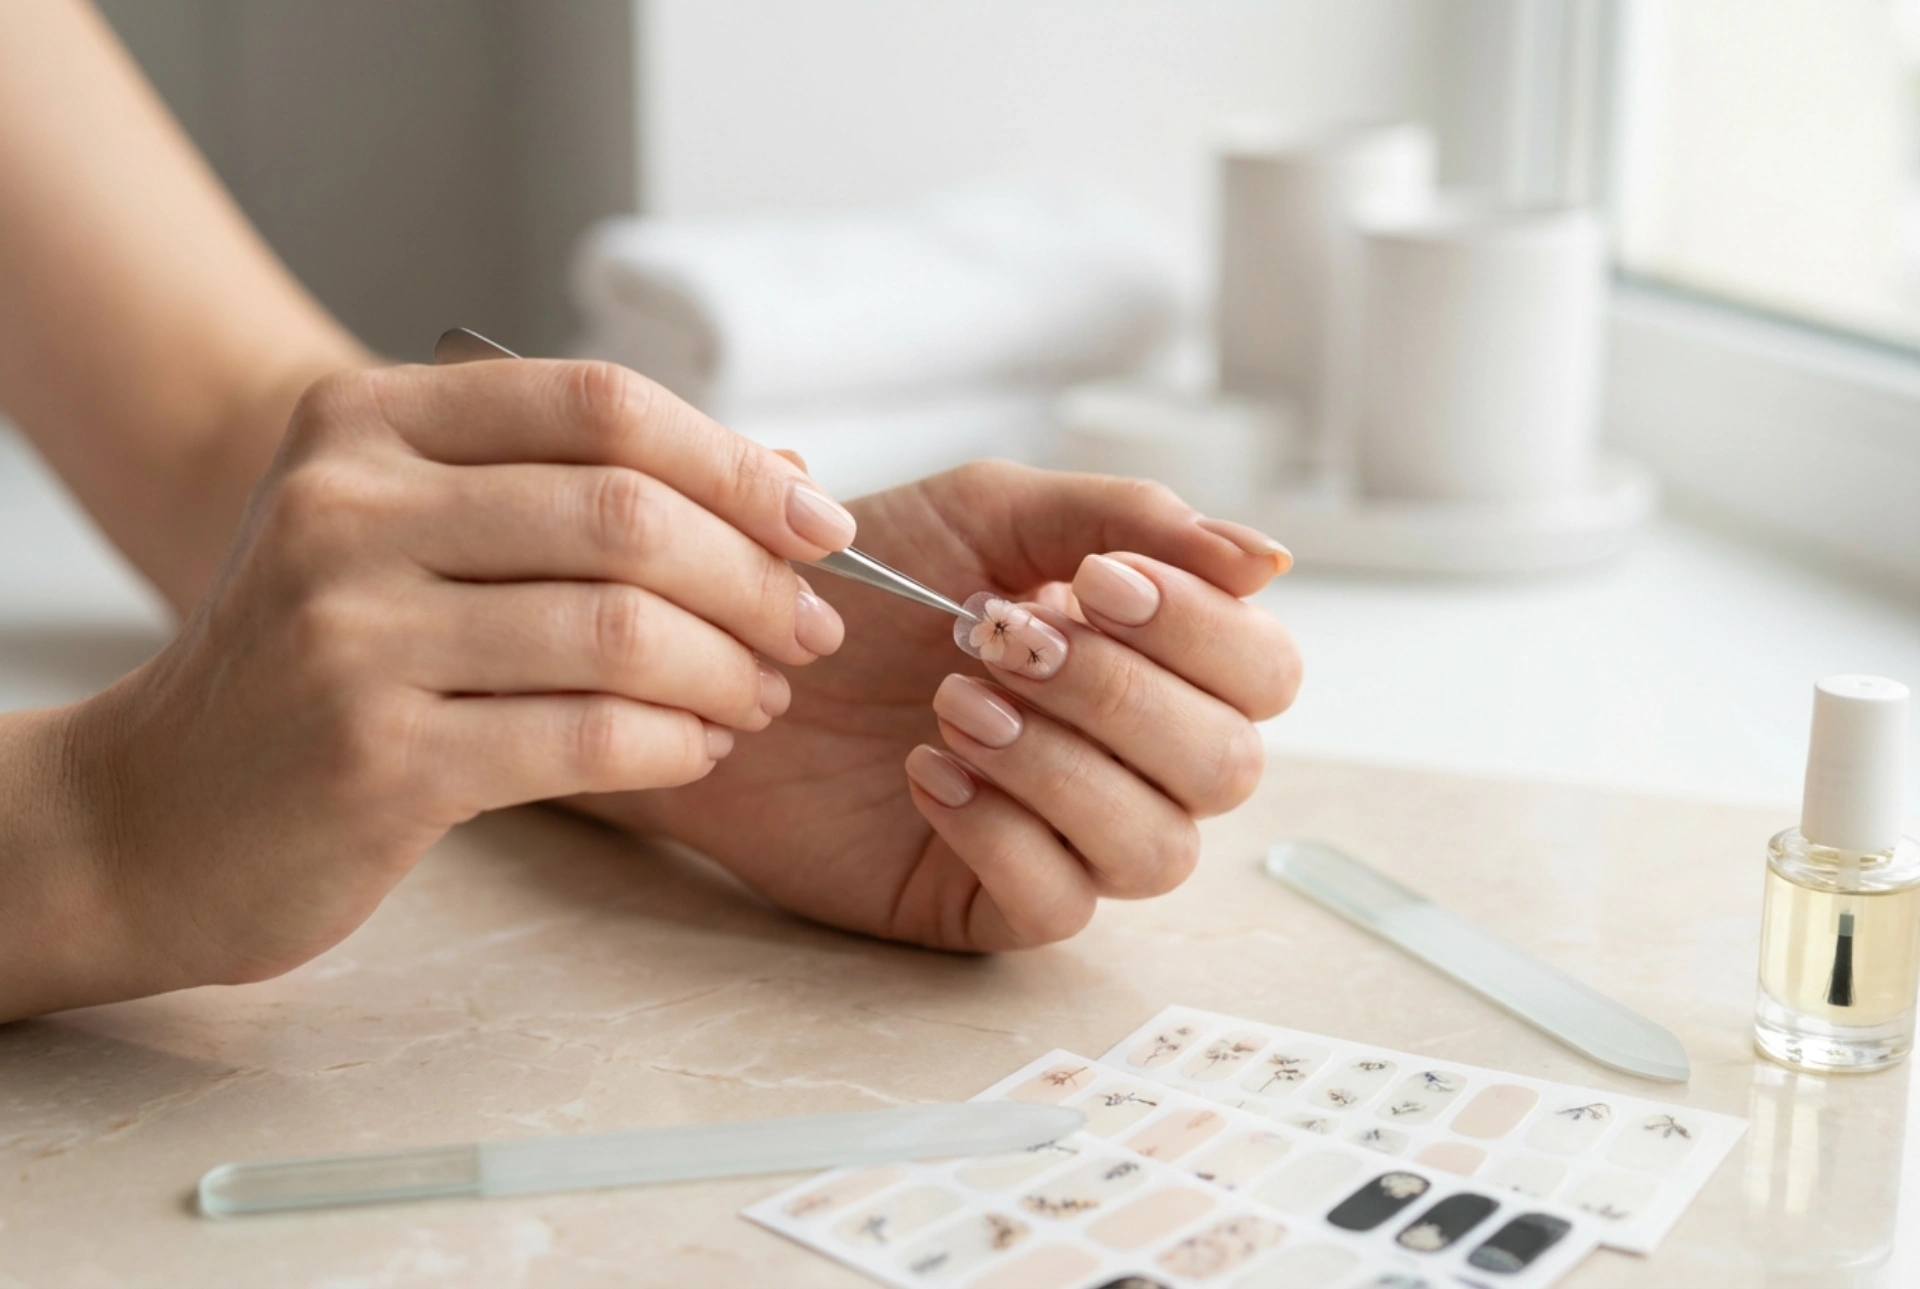
Smaller than full wraps, these are individual decorative motifs that you can place on a polished or natural nail. They can be anything from tiny flowers and geometric shapes to delicate lace patterns. Decals are ideal for creating accent nails or adding a subtle touch of art to a simple base colour. They are often transferred using water (water decals) or are self-adhesive.
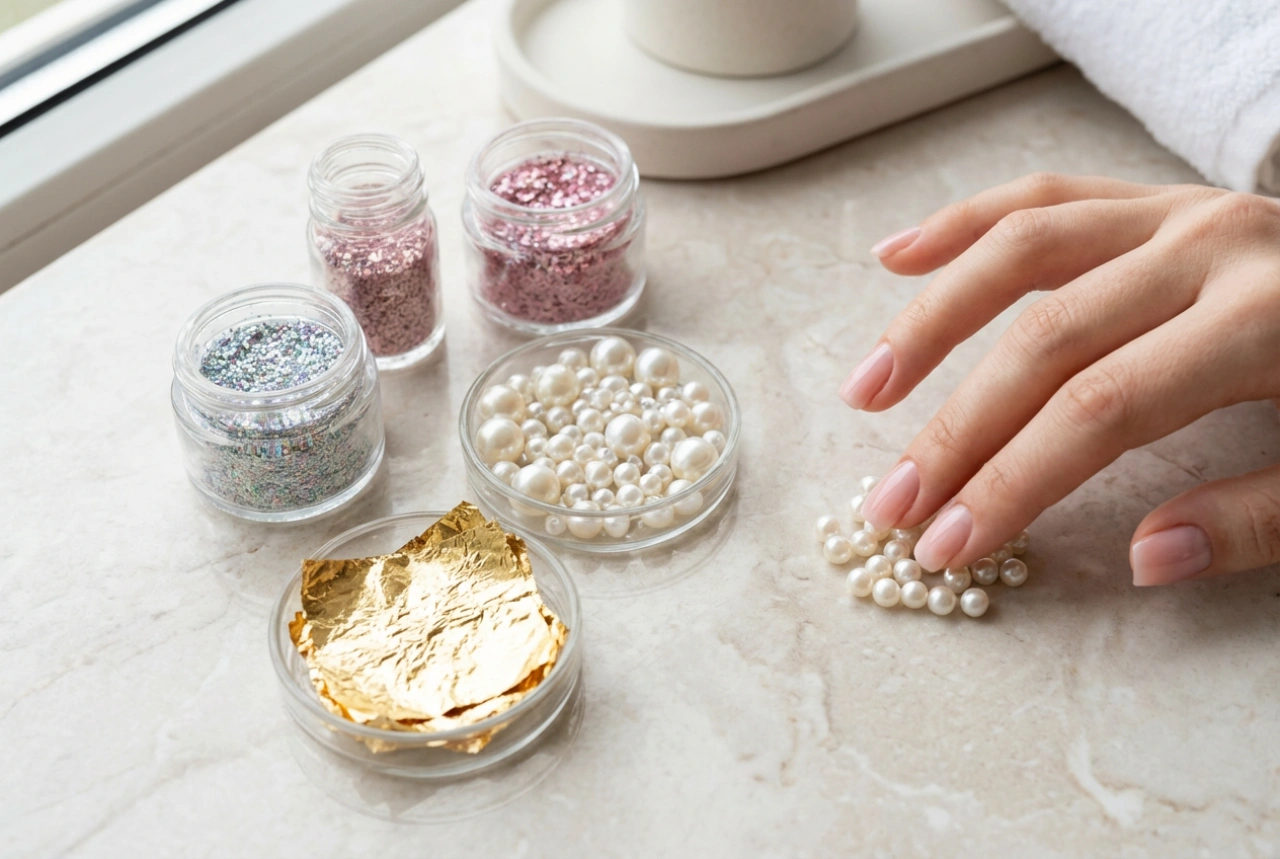
3D Embellishments
For those who want to add texture and dimension to their nails, 3D stickers are the perfect choice. These can include tiny faux gems, metallic studs, small bows, or embossed patterns that sit raised on the nail surface. They add a tactile and visually striking element to any manicure.
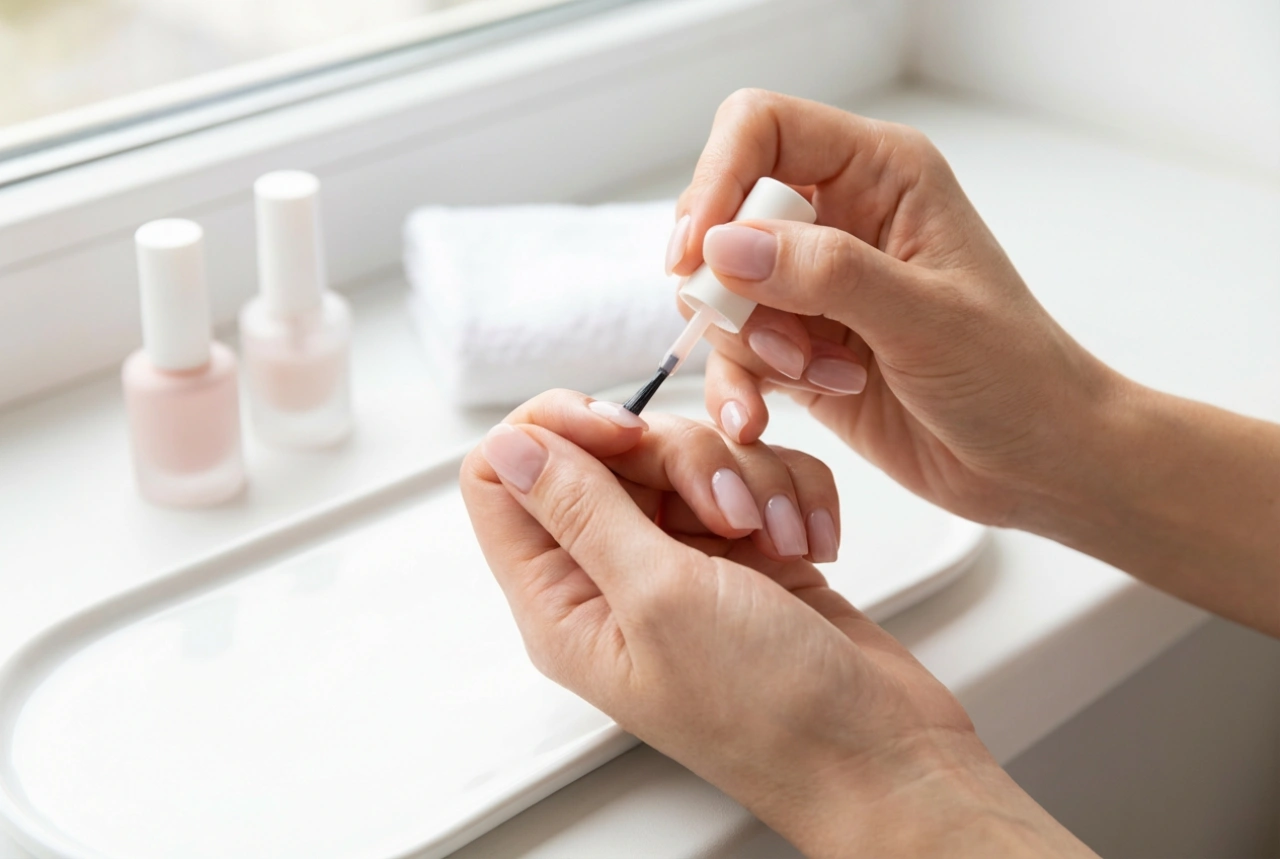
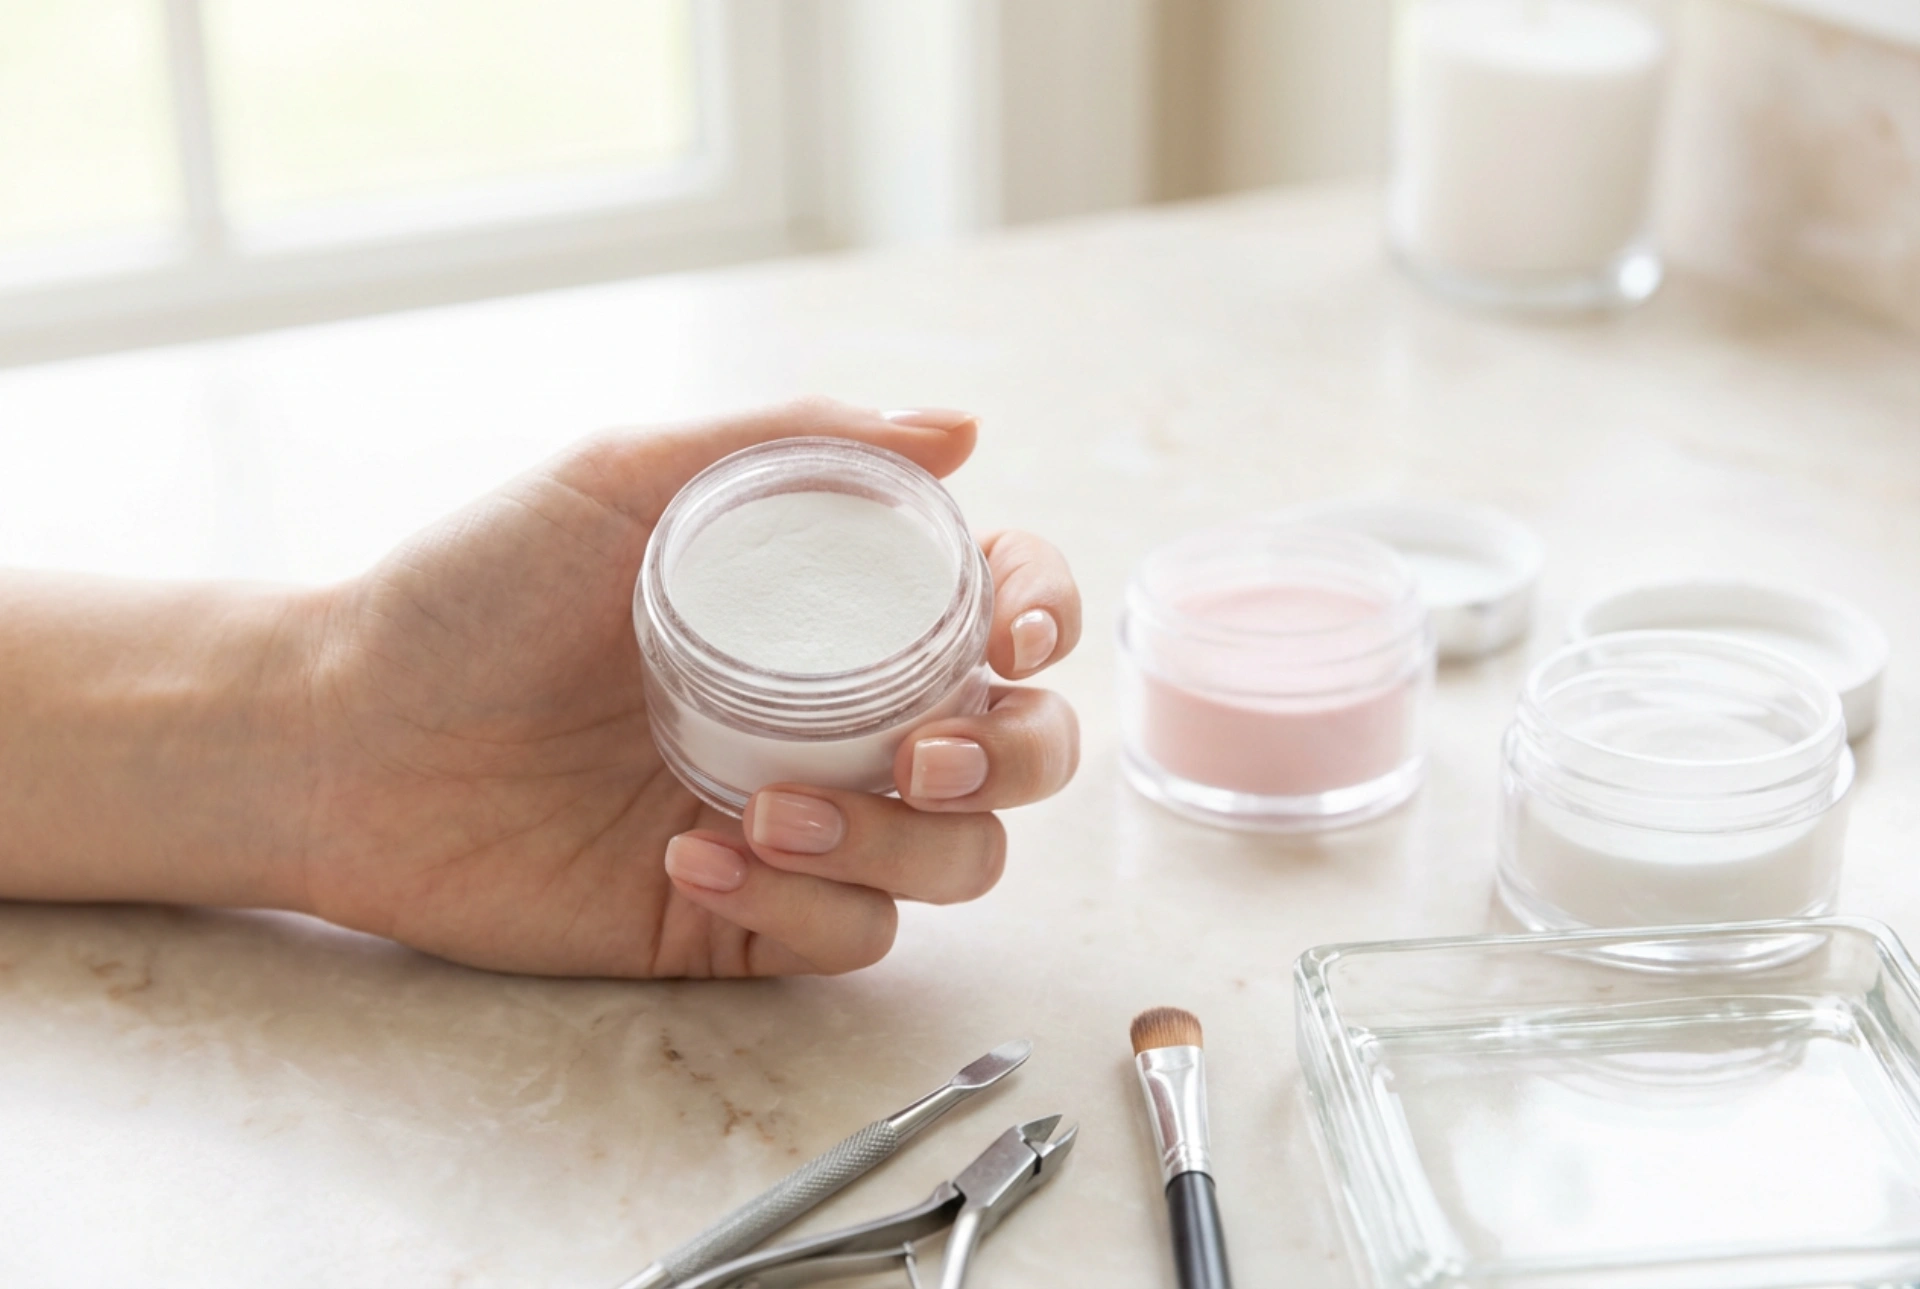
Preparation: The Key to a Flawless Base
Proper preparation is the most important step for ensuring your nail stickers apply smoothly and last as long as possible. A clean and well-prepared nail surface prevents peeling and bubbling.
- Clean and Shape: Start by removing any old nail polish. Wash your hands thoroughly. File and shape your nails to your desired length and form.
- Cuticle Care: Gently push back your cuticles using a wooden or rubber cuticle pusher. Avoid cutting them, as this can lead to discomfort. A tidy cuticle line provides a clean edge for the sticker.
- Buff the Surface: Lightly buff the surface of your nails with a fine-grit buffer. This removes natural oils and creates a slightly textured surface that helps the sticker adhere better.
- Wipe Down: Use a lint-free wipe with a bit of rubbing alcohol to cleanse the nail surface one last time. This ensures all dust and oils are gone.
- Apply a Base Coat: A good base coat not only protects your natural nails but also provides a smooth, even canvas for the sticker. Allow it to dry completely before you proceed.
A Step-by-Step Guide to Applying Nail Stickers
With your nails prepped, you are ready for the fun part. Patience and a steady hand are your best tools here. For smaller decals, a pair of tweezers can be very helpful.
- Select the Right Size: If you are using full nail wraps, choose the sticker that best fits the width of each nail. It is better to choose one that is slightly smaller than one that is too large and overlaps onto your skin.
- Peel with Care: Gently peel the chosen sticker from its backing sheet. Try to touch the adhesive side as little as possible to preserve its stickiness.
- Position and Press: Carefully align the sticker with your nail, starting at the cuticle line. Press it down firmly in the centre, from the base to the tip.
- Smooth It Out: Using your finger or a soft rubber cuticle pusher, smooth the sticker from the centre outwards. Work out any air bubbles or wrinkles by gently pressing and pushing them towards the edges.
- File the Excess: For full wraps, there will be excess sticker hanging over the tip of your nail. Fold it down and use a nail file in a downward motion to remove the excess. Filing downwards ensures a clean edge and prevents the sticker from lifting.
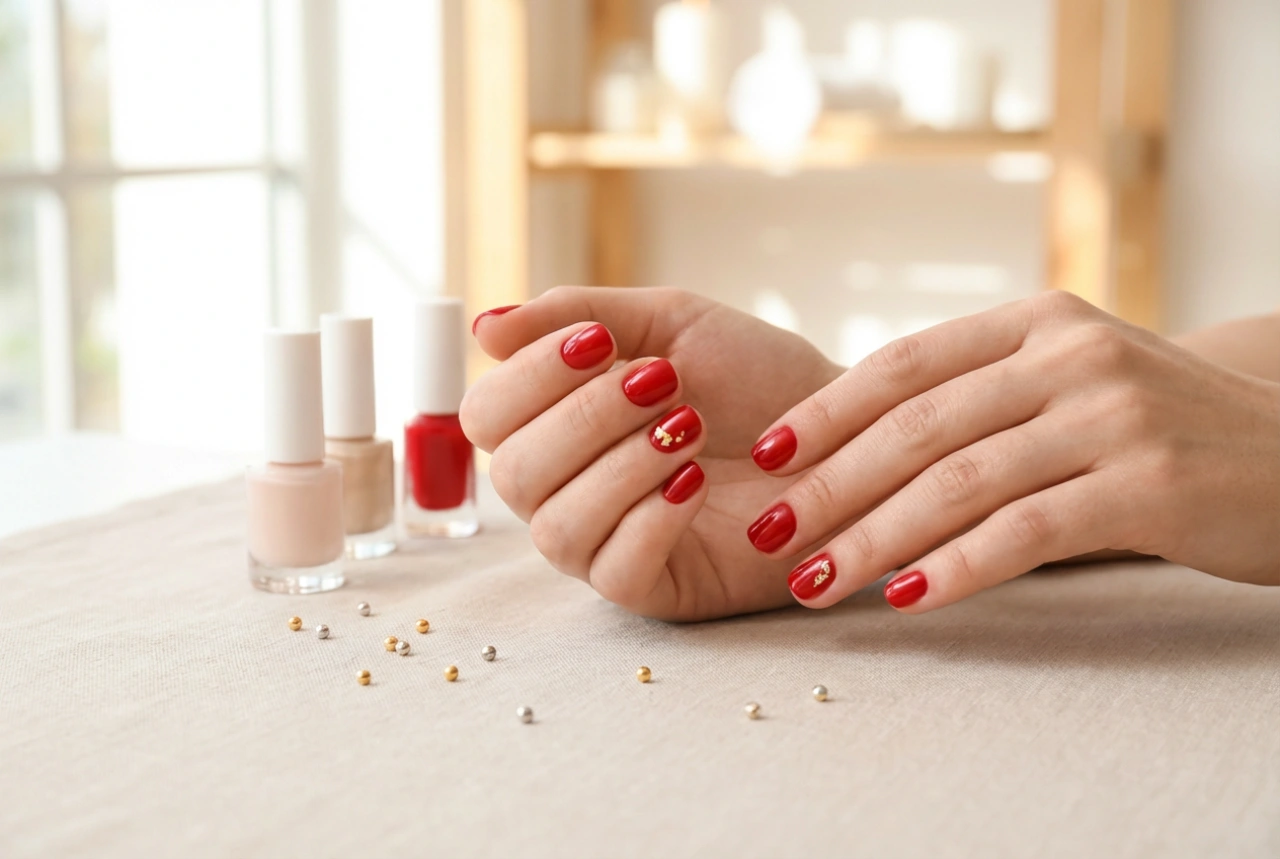
Secrets to a Durable and Long-Lasting Finish
Applying the sticker is only half the battle; sealing it properly is what guarantees a long-lasting manicure. The most crucial step for longevity is applying a high-quality top coat. Once all your stickers are perfectly in place, apply one or two thin layers of a clear top coat over the entire nail, including the sticker. Be sure to 'cap' the free edge of your nail by running the brush along the tip. This seals the sticker completely and protects it from chipping and wear. Let the top coat dry thoroughly. To maintain your manicure, reapply a thin layer of top coat every few days. Also, try to be mindful when performing daily tasks; wear gloves when cleaning with harsh chemicals and avoid using your nails as tools.