


Creating a flawless, long-lasting gel manicure at home is more accessible than ever. The key to achieving that coveted salon-quality finish lies in assembling a well-curated kit with all the essential components. From preparing the nail plate to applying the final glossy top coat, having the right products and tools on hand makes the process smooth and enjoyable. An elegant setup with your lamp, polishes, and tools can make the experience feel truly professional. This guide will walk you through everything you need to build your own comprehensive set for beautiful gel nails.
The Foundation of a Lasting Manicure: Preparation Essentials
Proper preparation is the most critical step for ensuring your gel manicure lasts without lifting or chipping. It creates the perfect canvas for the gel polish to adhere to, leading to a professional and durable result. Taking the time to properly prep your nails will make all the difference in the longevity of your manicure.
Key Tools for Nail Shaping and Cuticle Care
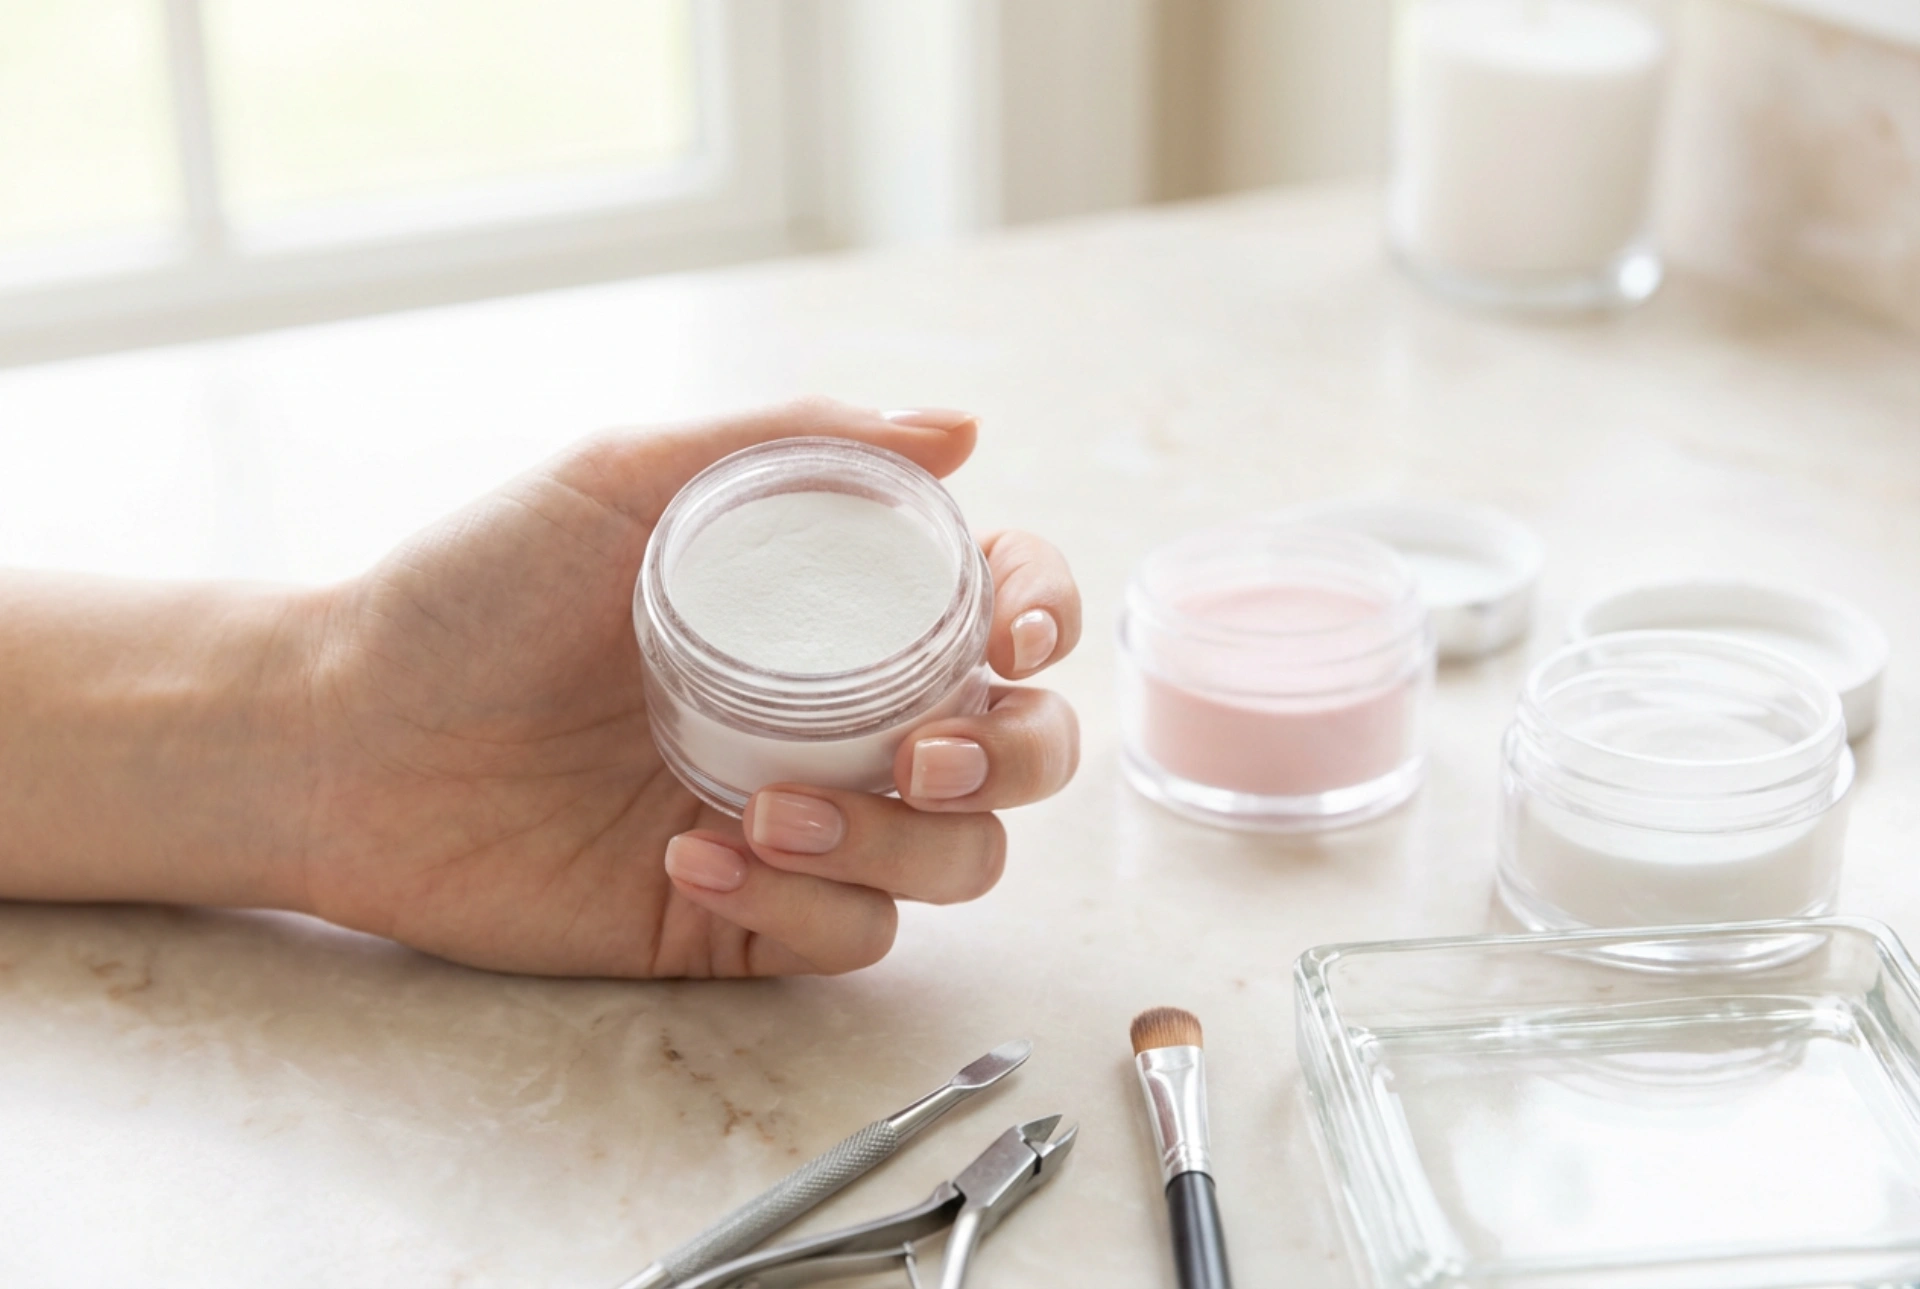
Before any polish is applied, your nails must be clean, dry, and correctly shaped. The basic tools you'll need include:
- Nail File: A 180/240 grit file is ideal for gently shaping the free edge of your natural nails.
- Buffer Block: A soft buffer is used to lightly remove the natural shine from the nail plate. This creates a slightly rougher surface for the gel to grip onto.
- Cuticle Pusher: A metal or wooden stick used to gently push back the cuticles. This creates a clean, larger nail surface and prevents the gel from lifting at the base.
- Nail Dust Brush: A small, soft brush to remove all dust from the nail surface after filing and buffing. This step is crucial for a smooth application.
Essential Liquids for Adhesion
After the physical preparation, specific liquids are used to dehydrate and prime the nail plate.
- Nail Cleaner/Dehydrator: This is a solution, typically alcohol-based, used to wipe down the nail and remove any oils, moisture, and contaminants. A thoroughly dehydrated nail is essential for gel adhesion.
- Primer (Optional but Recommended): For those who find their gel manicures tend to lift, an acid-free primer can be a game-changer. Applied sparingly to the nail plate before the base coat, it acts like double-sided tape, dramatically improving the bond between the natural nail and the gel.
Building Your Look: Base, Colour, and Top Coats
The core of the gel manicure system consists of three types of polish, each serving a distinct and vital purpose. Applying each layer thinly and evenly is key to a beautiful and long-wearing result.
The Indispensable Base Coat
Never skip the base coat. This clear layer bonds to the natural nail on one side and the gel colour on the other. It not only improves the longevity of the manicure but also provides a protective barrier for your natural nail plate, helping to prevent staining from pigmented polishes.
Choosing Your Gel Polish Colours
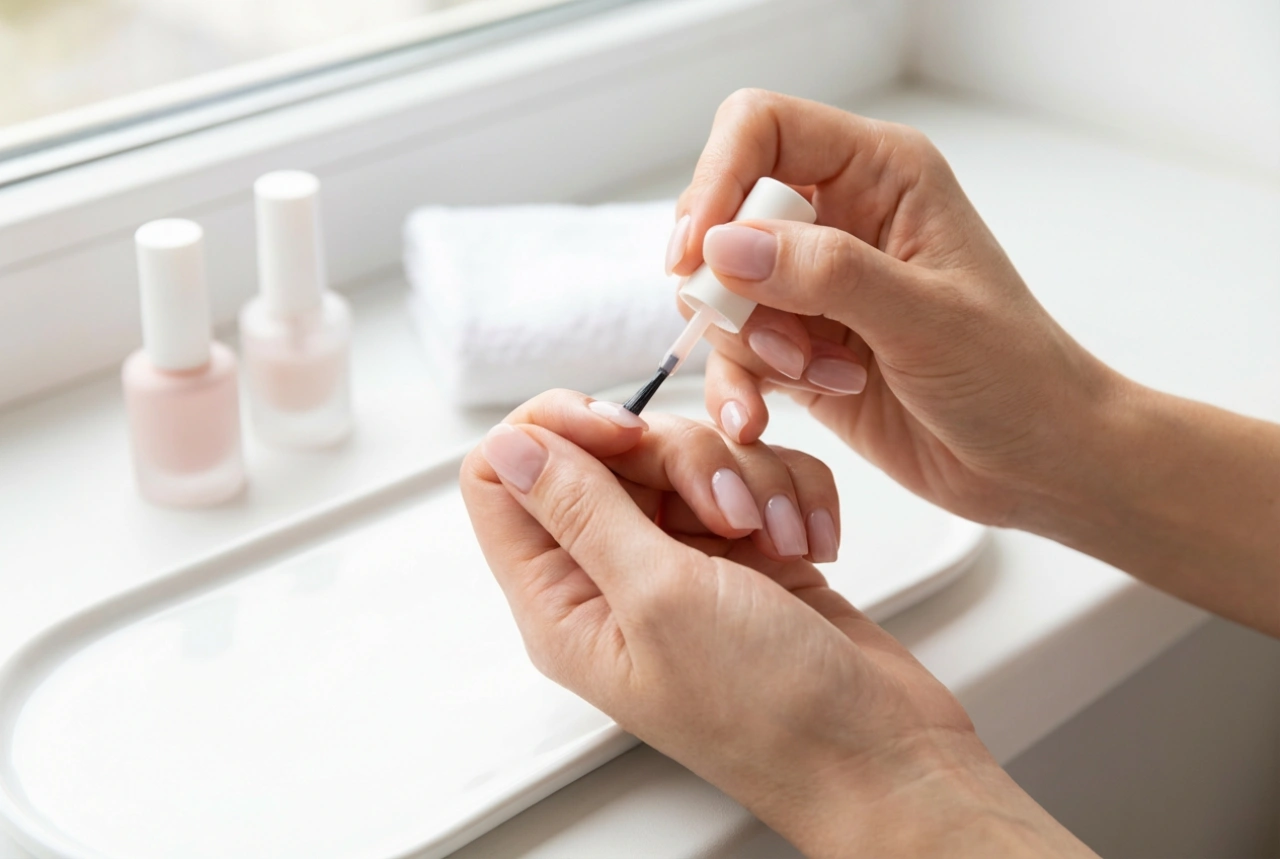
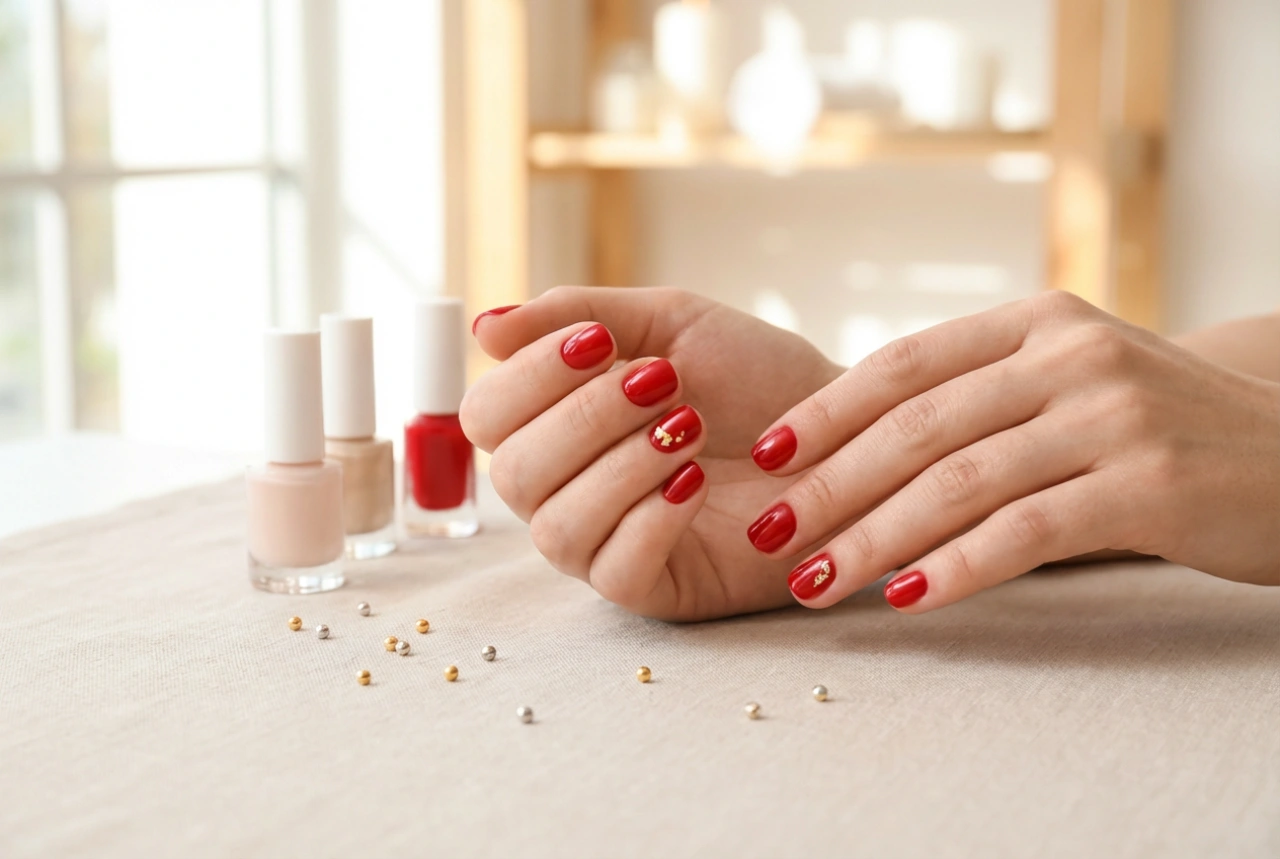
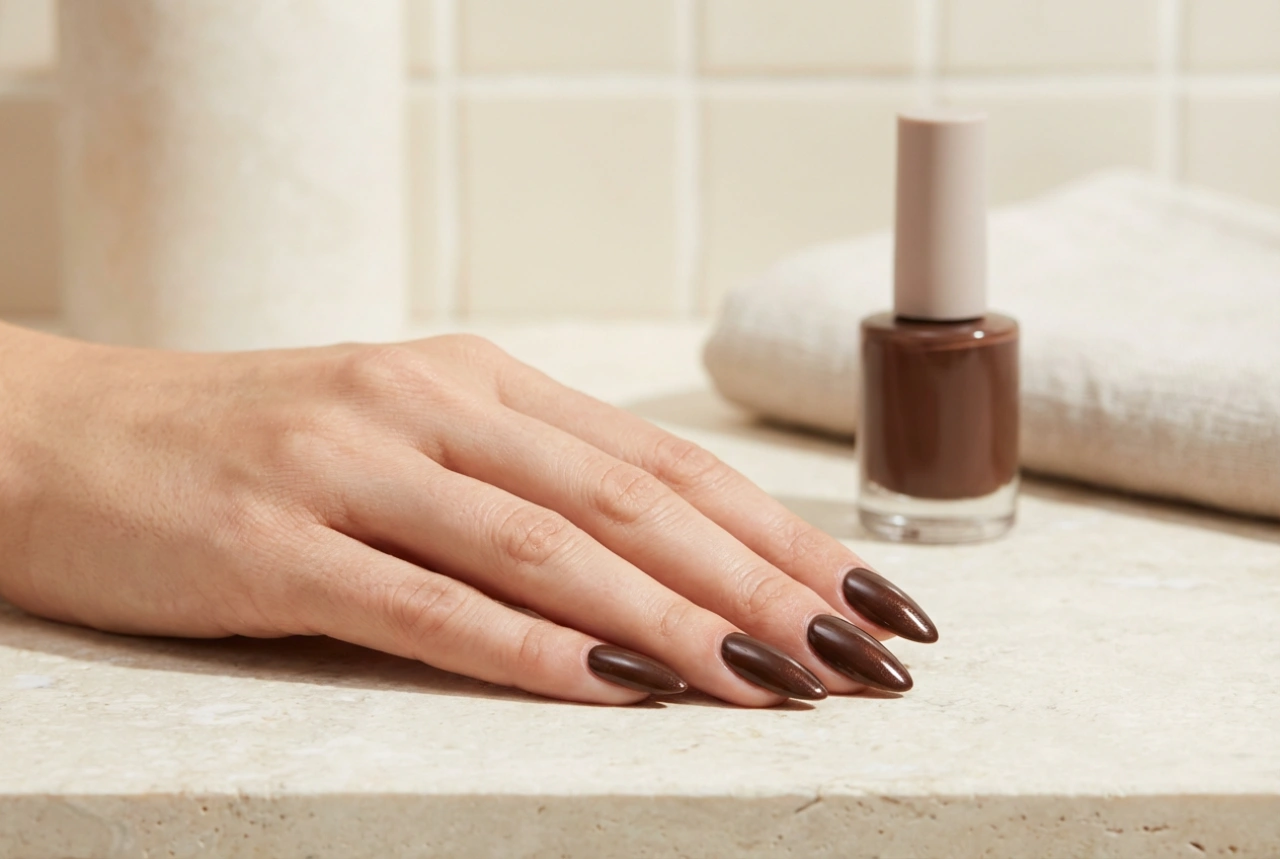
This is the most exciting part of building your kit. When starting out, it's wise to select a few versatile, neutral shades like the ones you might see in a professional collection. A classic nude, a timeless red, or a chic dark tone will provide a great foundation for your collection. Pay attention to the consistency of the polish; a good quality gel should be self-levelling and provide opaque coverage in two thin coats, curing without shrinking or wrinkling.
The Protective Top Coat
The final layer in the process, the top coat, is what provides the signature high-gloss shine and durability of a gel manicure. It seals in the colour and protects it from scratches, chips, and daily wear and tear. You can choose between a standard 'wipe' top coat, which requires cleansing after curing to remove a sticky layer, or a 'no-wipe' version for a quicker finish.
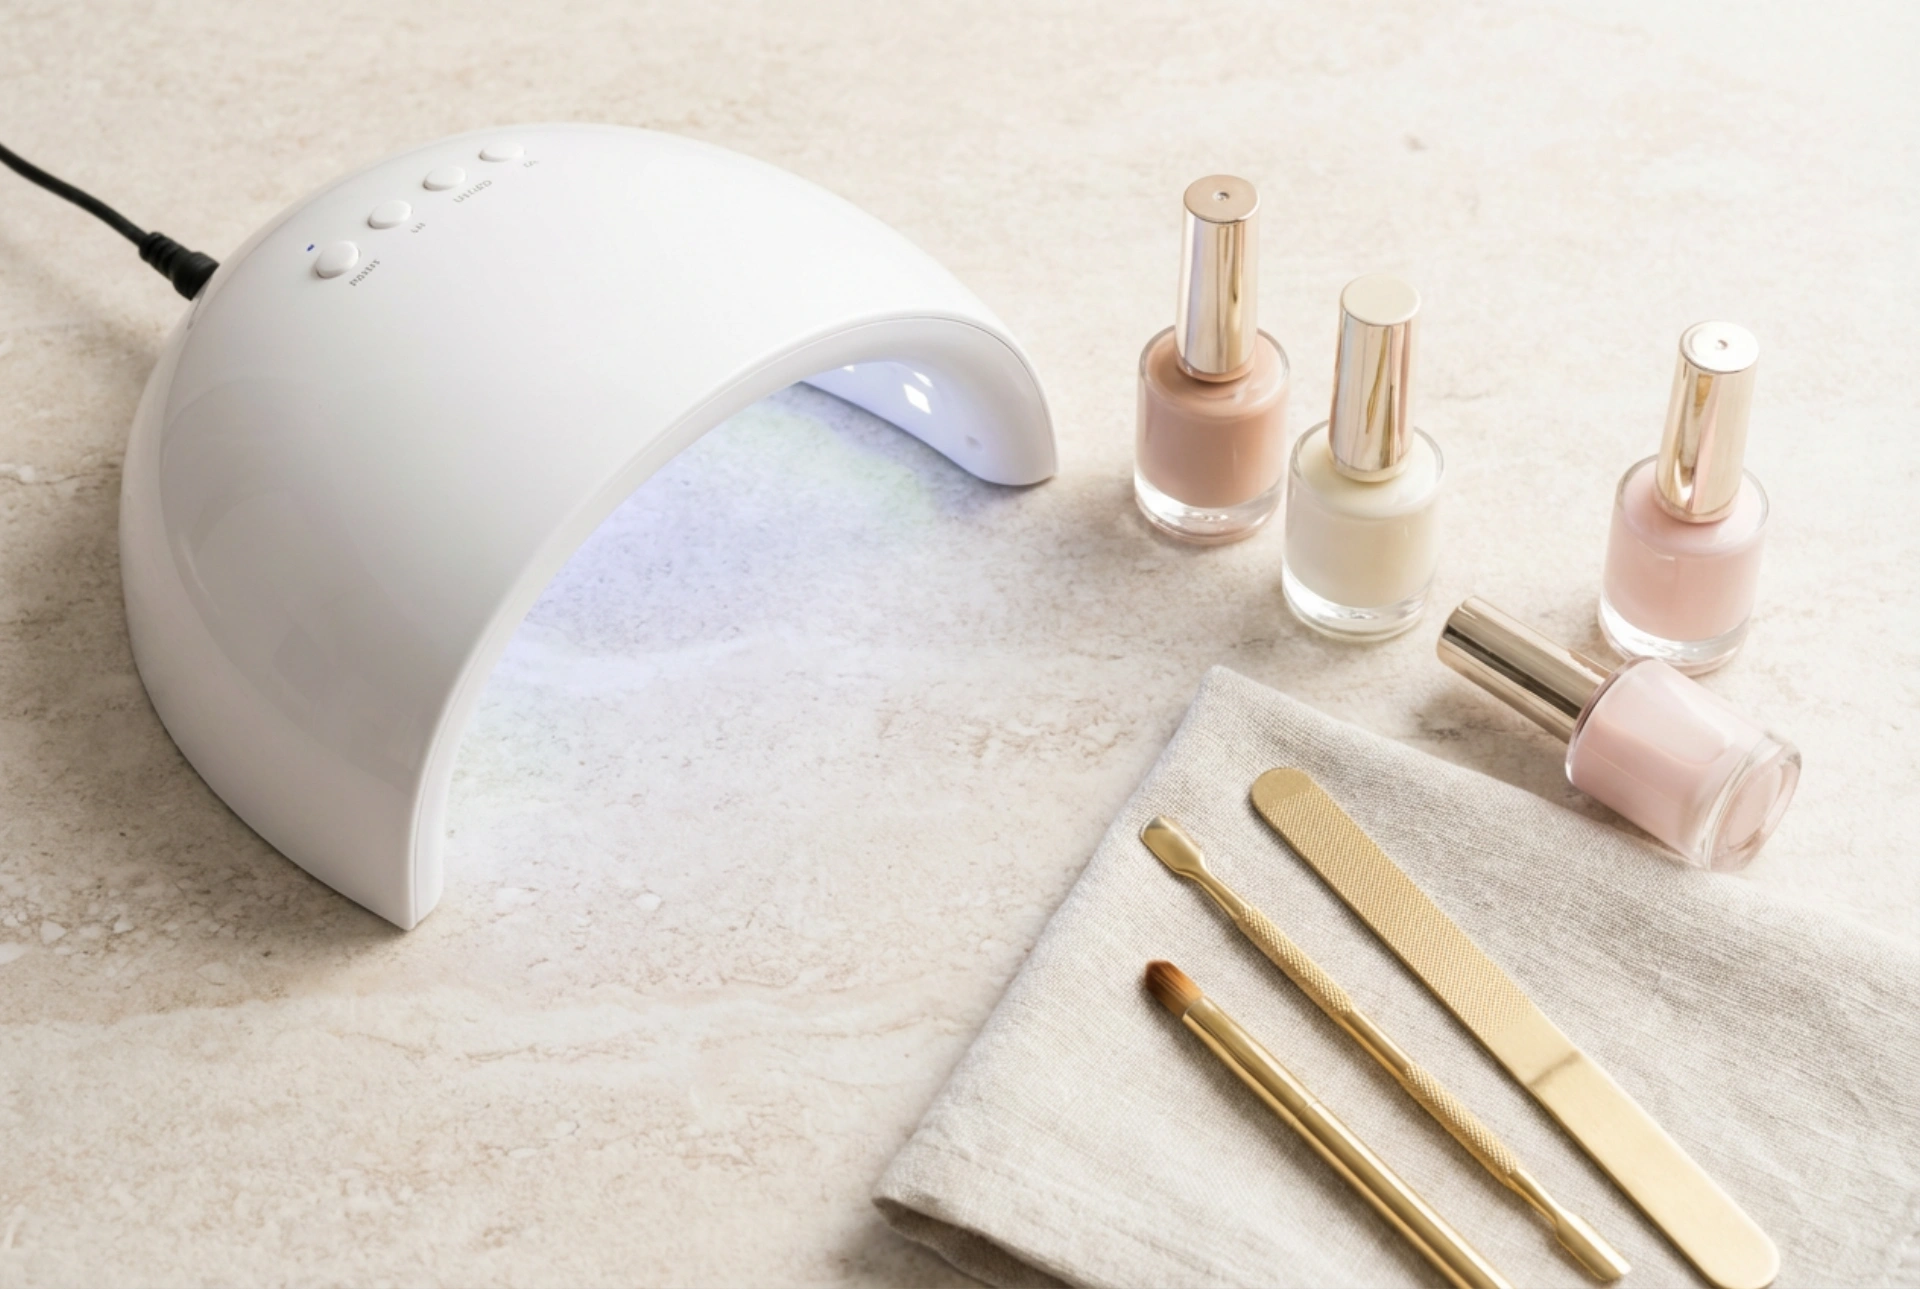
The Heart of the System: Selecting a Curing Lamp
A curing lamp is a non-negotiable component of any gel nail kit. This device uses light to harden, or 'cure', the gel polish, transforming it from a liquid into a durable, solid coating. Without it, the gel will simply not dry.
Understanding Lamp Technology
Modern lamps are typically either LED or a combination UV/LED. LED lamps cure polish much faster (usually 30-60 seconds per coat) and their bulbs have a significantly longer lifespan. A combination UV/LED lamp is the most versatile choice, as it is designed to cure virtually any type of gel polish effectively. It offers the speed of LED with the broad-spectrum curing power of UV.
What to Look for in a Lamp
When choosing a lamp, consider the following features:
- Wattage: A higher wattage (36W or more) generally means a faster, more thorough cure.
- Timers: Look for lamps with preset timers (e.g., 30s, 60s, 90s) to ensure you are curing each layer for the correct amount of time.
- Size and Design: Ensure the lamp is large enough to comfortably fit your entire hand. A design with a removable bottom plate is also useful for pedicures.
Finishing Touches and Safe Removal
Once the final top coat is cured, a few more steps are needed to complete the manicure and ensure you can remove it safely when the time comes, protecting the health of your nails.
Cleansing the Inhibition Layer
Unless you use a 'no-wipe' top coat, you will notice a sticky film on the nails after the final cure. This is the inhibition layer and is a normal part of the process. To remove it and reveal the hard, glossy shine, simply wipe each nail with a lint-free pad soaked in a special gel cleanser or high-purity isopropyl alcohol.
Products for Gentle Removal
Proper removal is crucial for maintaining nail health. You will need a coarse nail file to gently buff away the shiny top coat, followed by pure acetone, cotton pads, and aluminium foil (or reusable nail clips) to soak the gel polish off. A wooden stick can then be used to carefully scrape away the softened gel. Always finish by moisturising your nails and cuticles with a nourishing oil to rehydrate them.