


The lip crayon has become a staple in many makeup bags, celebrated for its remarkable versatility and ease of use. It masterfully combines the precision of a lip liner with the rich colour of a lipstick, all in one convenient, easy-to-handle pencil format. Whether you're aiming for a perfectly defined pout, a soft wash of colour, or a bold statement lip, this single product can do it all. Let's explore how to master the art of using a lip crayon to both contour and fill your lips for a flawless finish every time.
Why Choose a Lip Crayon?
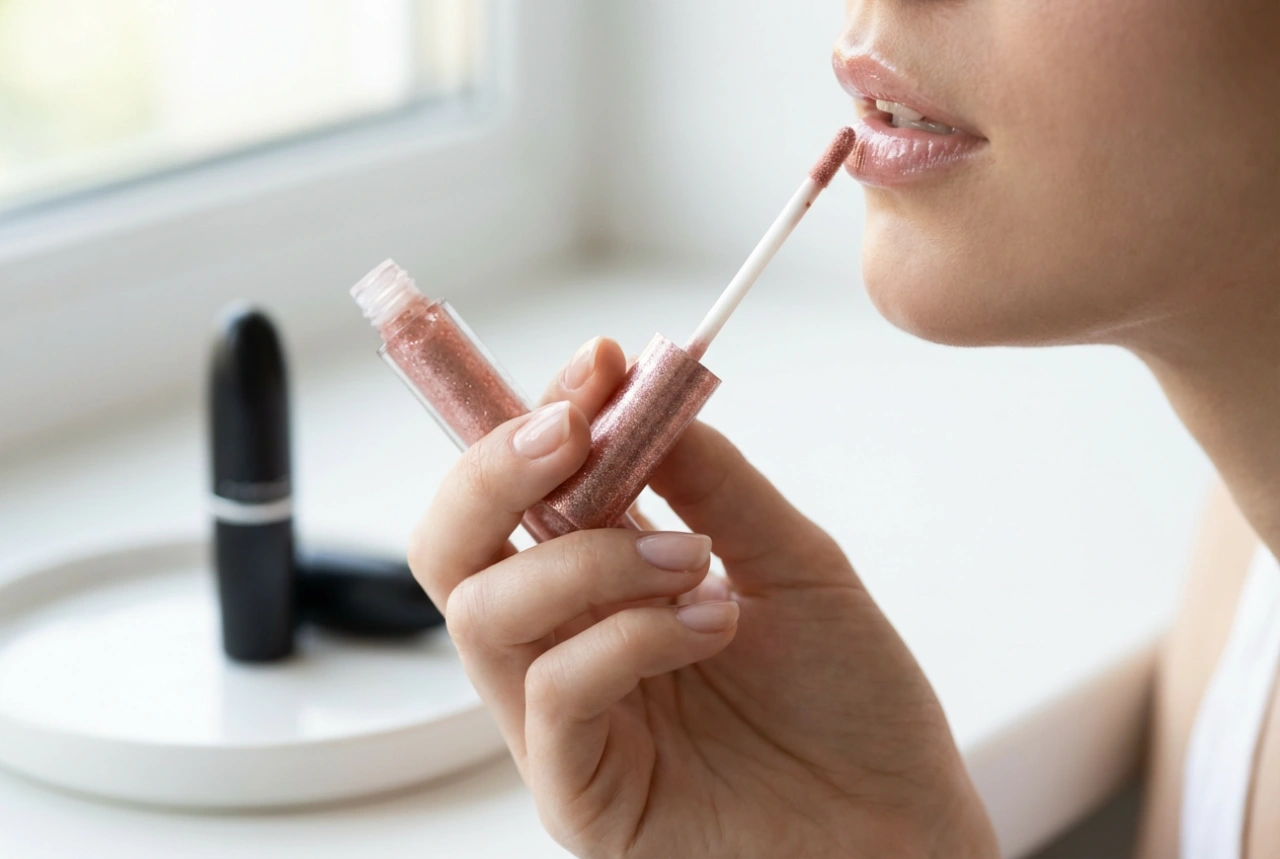
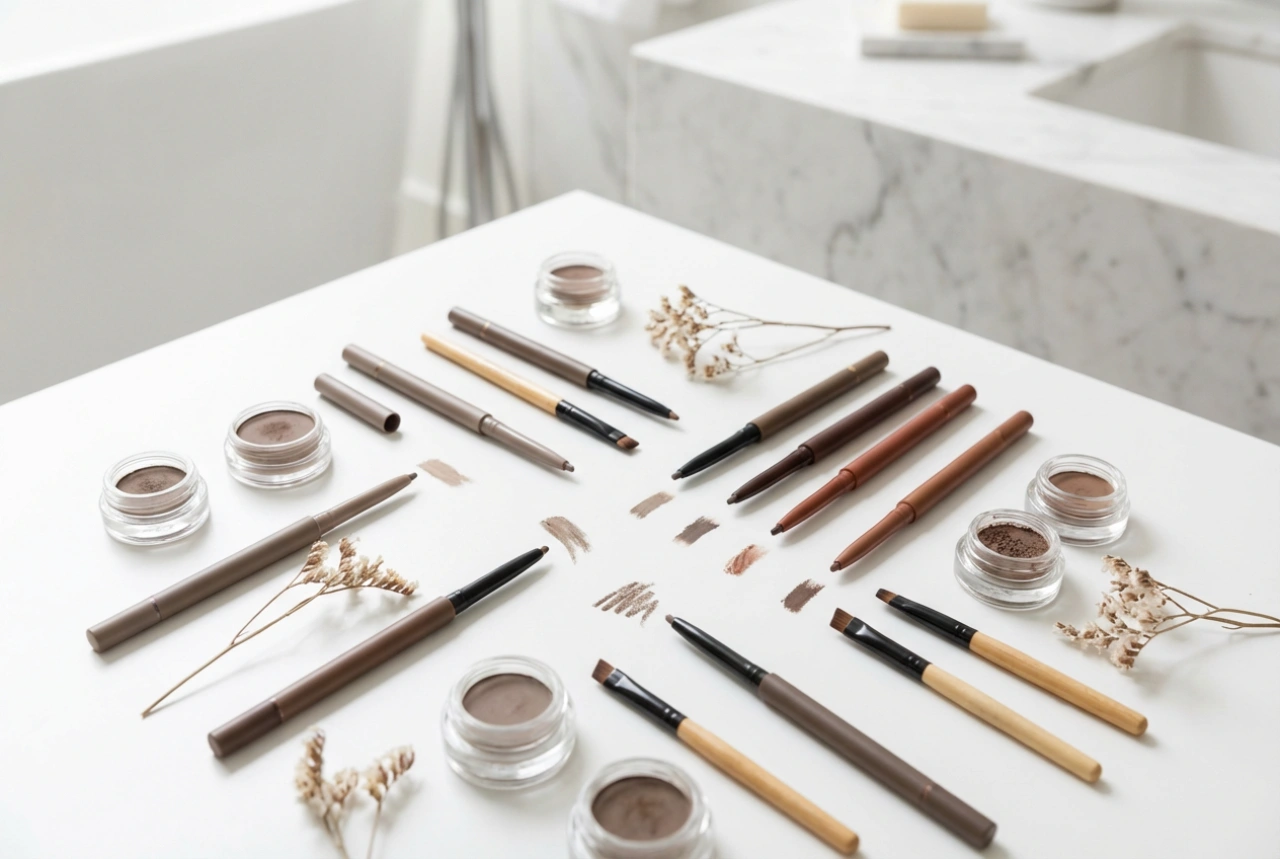
The beauty of a lip crayon lies in its hybrid nature. The pointed tip allows for crisp, clean lines, making it effortless to outline your lips with precision, much like a traditional lip liner. This initial step is crucial for creating definition and preventing colour from bleeding or feathering. Once the outline is complete, the wider side of the crayon can be used to fill in the rest of the lips with smooth, even colour, just as you would with a classic lipstick. Its creamy texture glides on effortlessly, providing comfortable wear without the drying feeling some long-wear formulas can have. This makes it an ideal choice for both makeup beginners and seasoned enthusiasts looking for a quick and effective lip solution.
A Step-by-Step Guide to Flawless Application
Achieving a professional-looking lip is simple with the right technique. Following these steps will ensure a smooth, long-lasting, and beautifully defined result.
Step 1: Prepare Your Lips
For the smoothest application, it's essential to start with a well-prepared canvas. Dry, flaky lips can cause any lip colour to look patchy and uneven. Begin by gently exfoliating your lips with a soft lip scrub or a clean, damp washcloth to remove any dead skin. Afterwards, apply a light layer of a hydrating lip balm and allow it to absorb for a few minutes. Blot away any excess with a tissue before you start applying colour, as too much slip can cause the crayon to slide around.
Step 2: The Art of Contouring
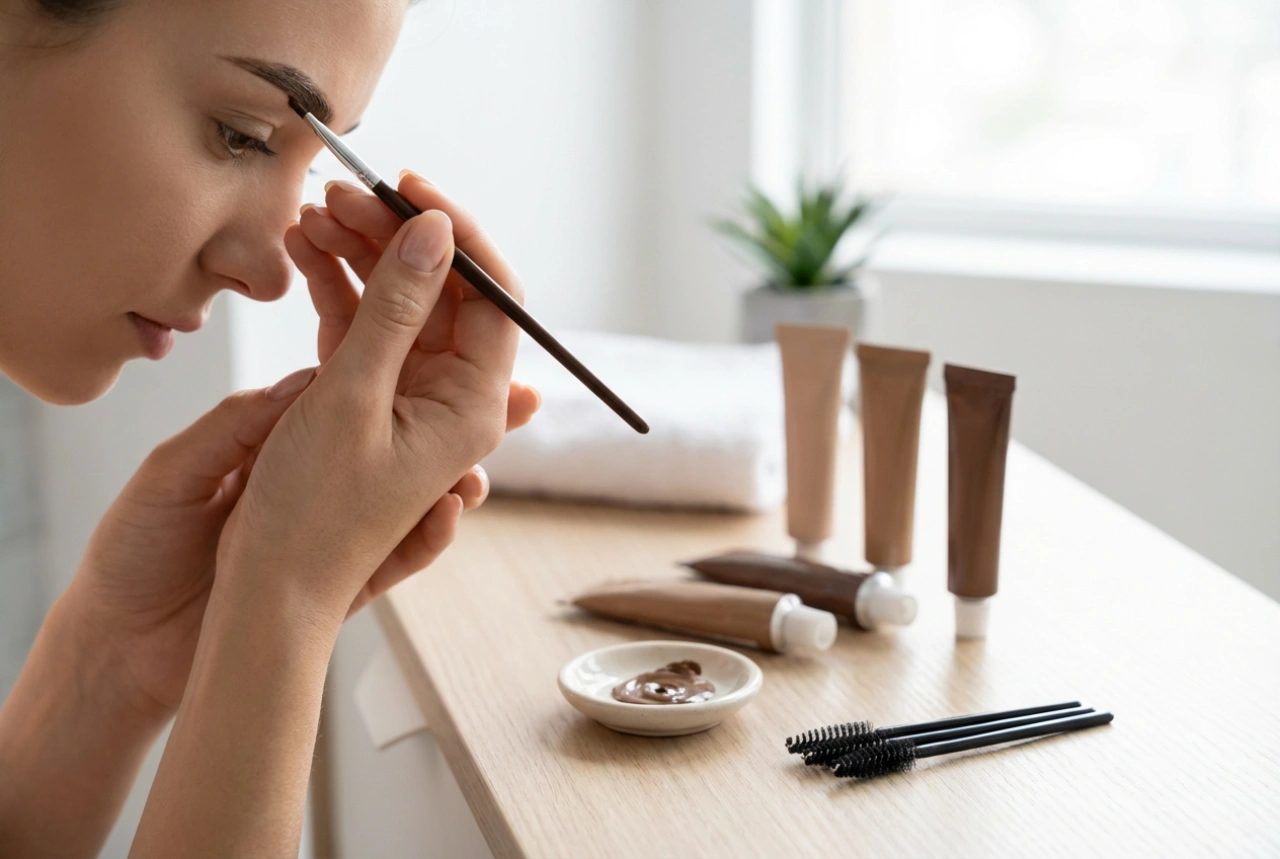
Using the fine point of your lip crayon, begin outlining your lips. Start at the Cupid's bow, drawing two short, precise lines to define the peaks of your upper lip. Then, move to the outer corners of your mouth and draw lines inwards to meet the Cupid's bow. For the bottom lip, start in the centre and draw a line that follows your natural lip shape, then connect it from the outer corners inwards. This outlining process not only creates a sharp, clean shape but also acts as a barrier to keep your lip colour in place.
Step 3: Fill in for Full Colour
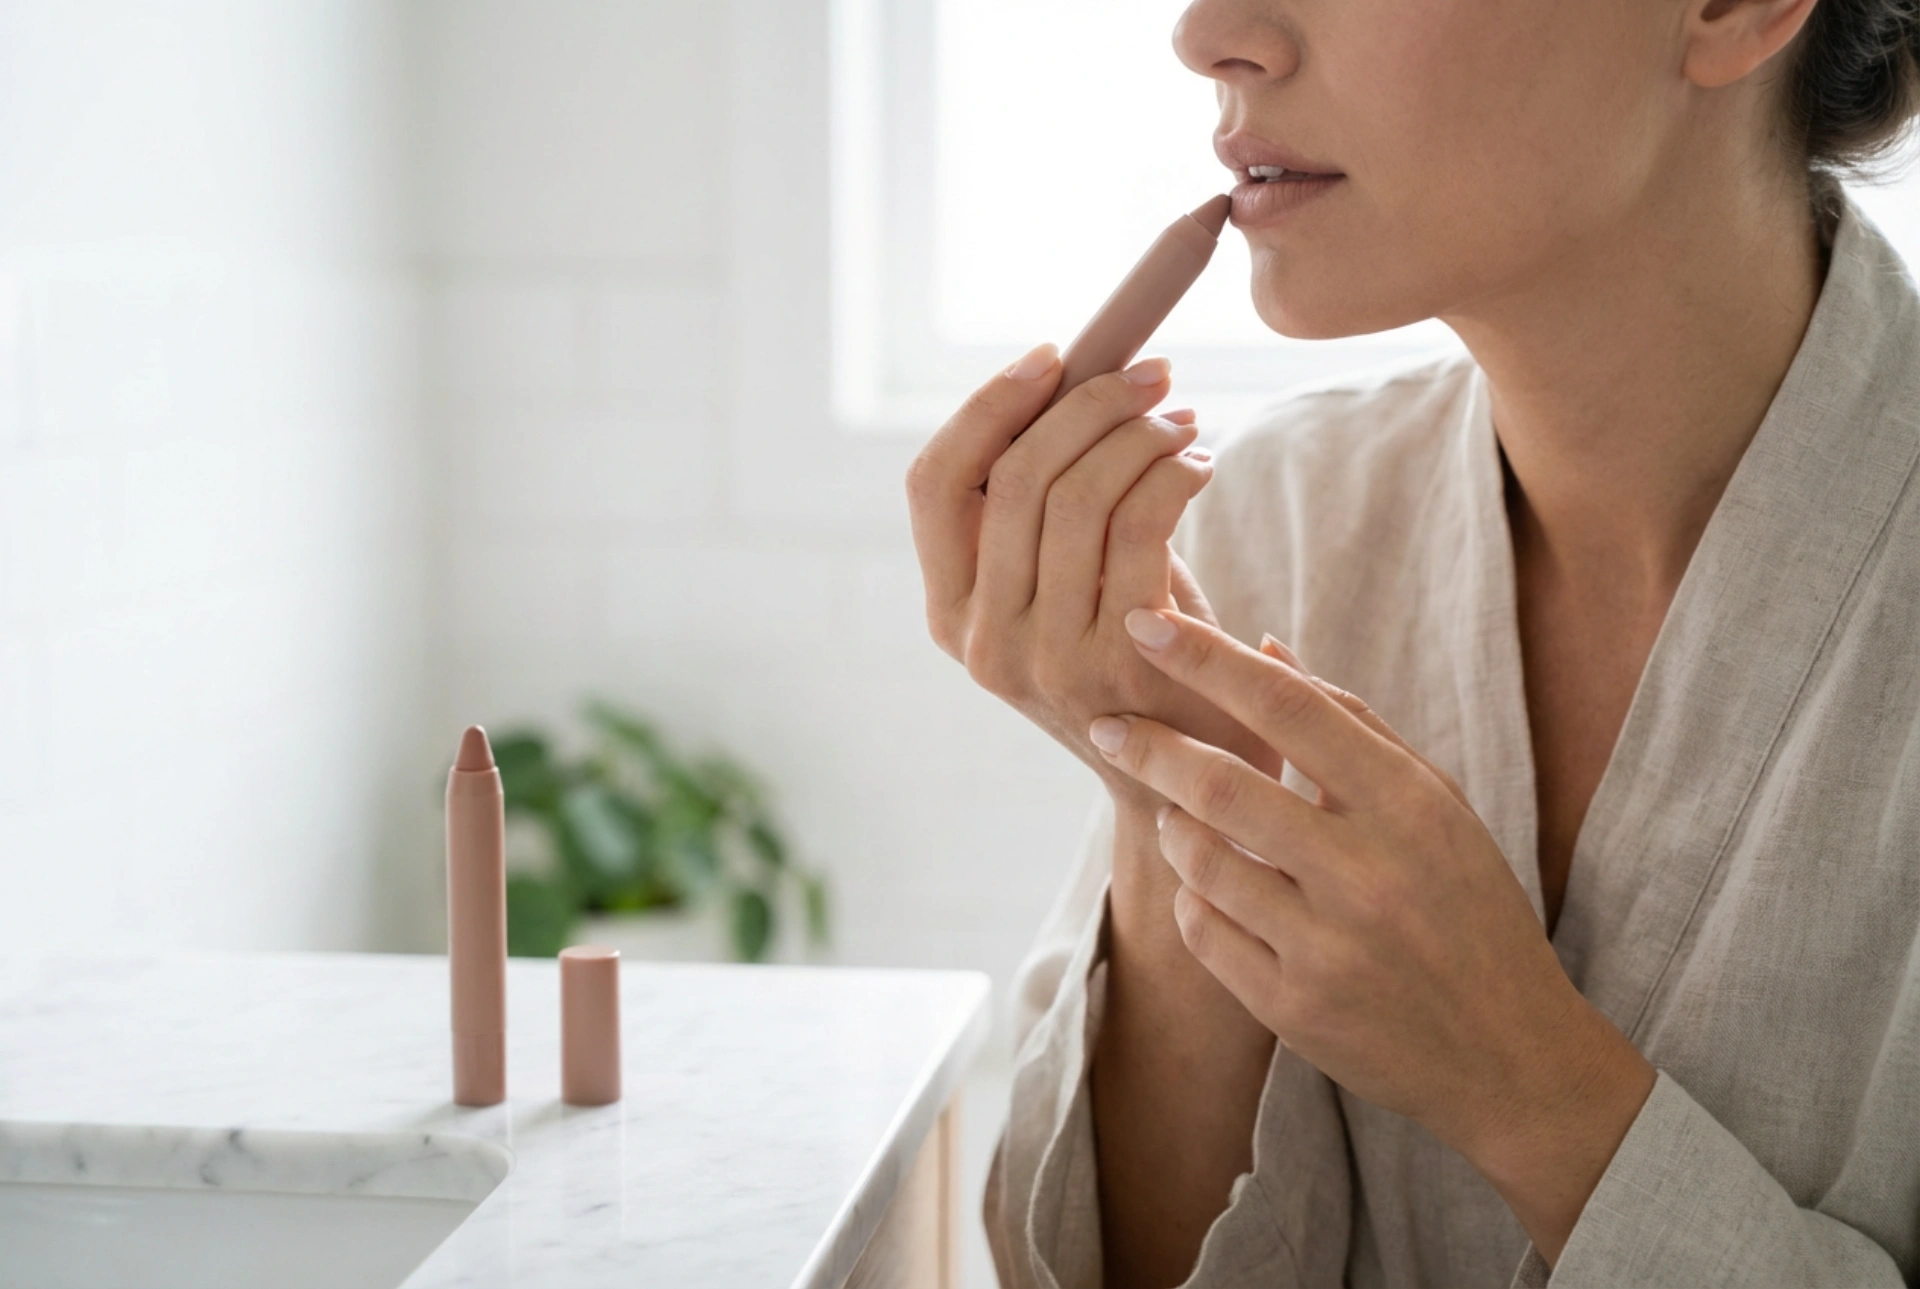
Once your lips are perfectly outlined, it's time to add the colour. Use the flat, angled side of the lip crayon to fill in the entire lip area. Start from the centre of your lips and work your way outwards, blending the colour seamlessly into the outline you just created. For a more intense look, you can apply a second layer, but it's often best to build up the colour gradually for better control and a more even finish.
Advanced Tricks for Different Lip Effects
A lip crayon is not just for a simple, one-colour look. You can easily use it to create various effects, from enhancing volume to crafting an artistic ombré finish.
Creating the Illusion of Fuller Lips
To make your lips appear fuller, you can try the technique of slightly overlining. Using the tip of the crayon, draw just outside your natural lip line, focusing on the centre of your Cupid's bow and the middle of your bottom lip. Be careful not to overline the corners of your mouth, as this can look unnatural. After filling in your lips, you can add a small dab of a lighter crayon shade or a clear gloss right in the centre of your top and bottom lips. This highlight creates a 3D effect that gives the illusion of a plumper pout.
Achieving an Ombré Effect
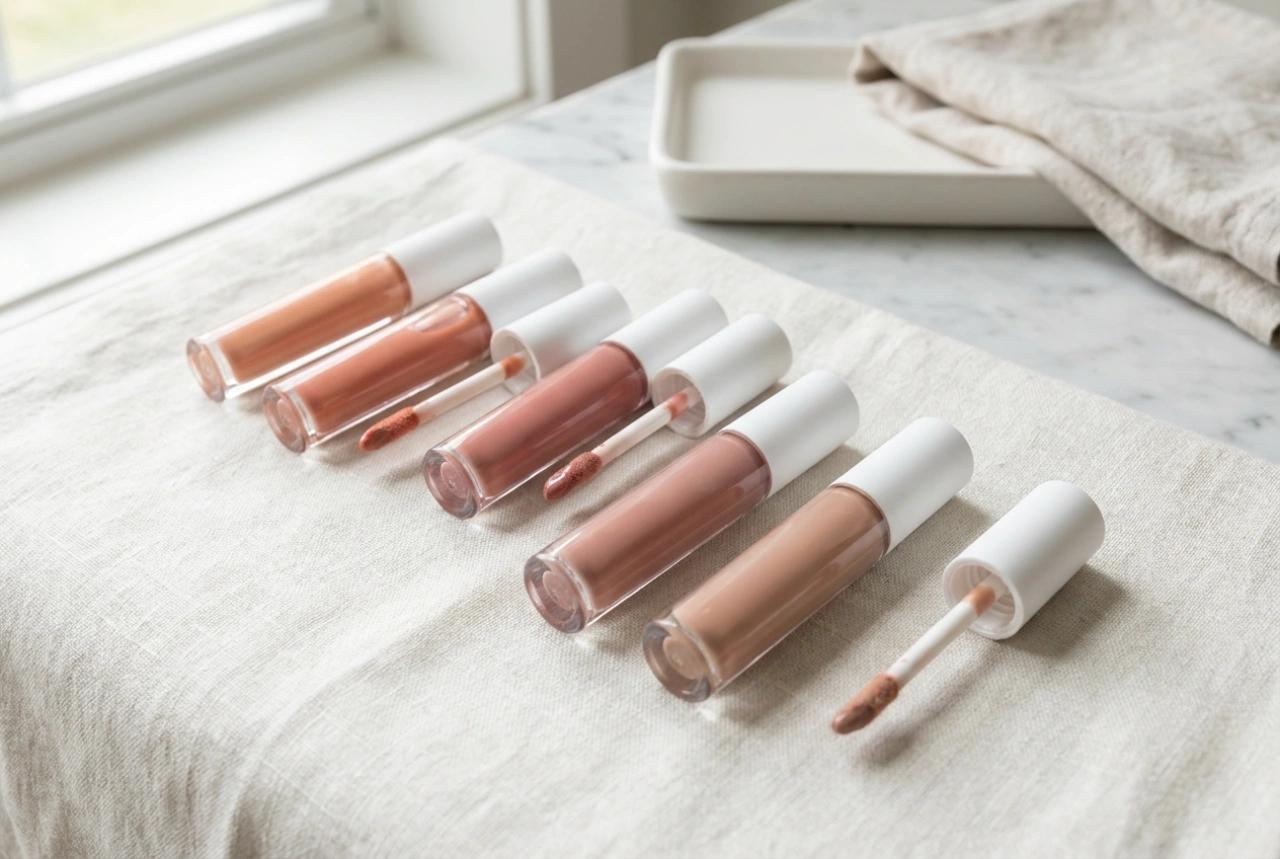
The ombré lip is a beautiful, gradient look that is surprisingly easy to achieve with two complementary lip crayon shades. Use the darker shade to line your lips and fill in the outer third. Then, take the lighter shade and apply it to the centre of your lips. To create a seamless blend, you can gently press your lips together a few times or use a small lip brush or your fingertip to softly blur the line where the two colours meet.
Tips for Long-Lasting Wear
To ensure your lip colour stays put throughout the day, a few extra steps can make a big difference. After your first application, gently blot your lips with a single-ply tissue to remove any excess product. You can then apply a second, thin layer of the lip crayon to reinforce the colour. For ultimate staying power, place the tissue over your lips again and lightly dust a translucent setting powder over the tissue. This helps to set the colour without dulling the finish. With these simple tricks, your beautifully contoured and filled lips will look fresh for hours.