


Achieving smooth, hair-free skin is a common beauty goal, and modern technology has brought effective solutions right into our homes. At-home light-based hair removal devices offer a convenient way to manage unwanted hair growth over the long term. As with any beauty ritual, success lies in understanding the process and following a consistent plan. This guide will walk you through preparing your skin, creating a treatment schedule, and the essential aftercare needed to achieve the best possible results safely.
How Do At-Home Light-Based Hair Removal Devices Work?
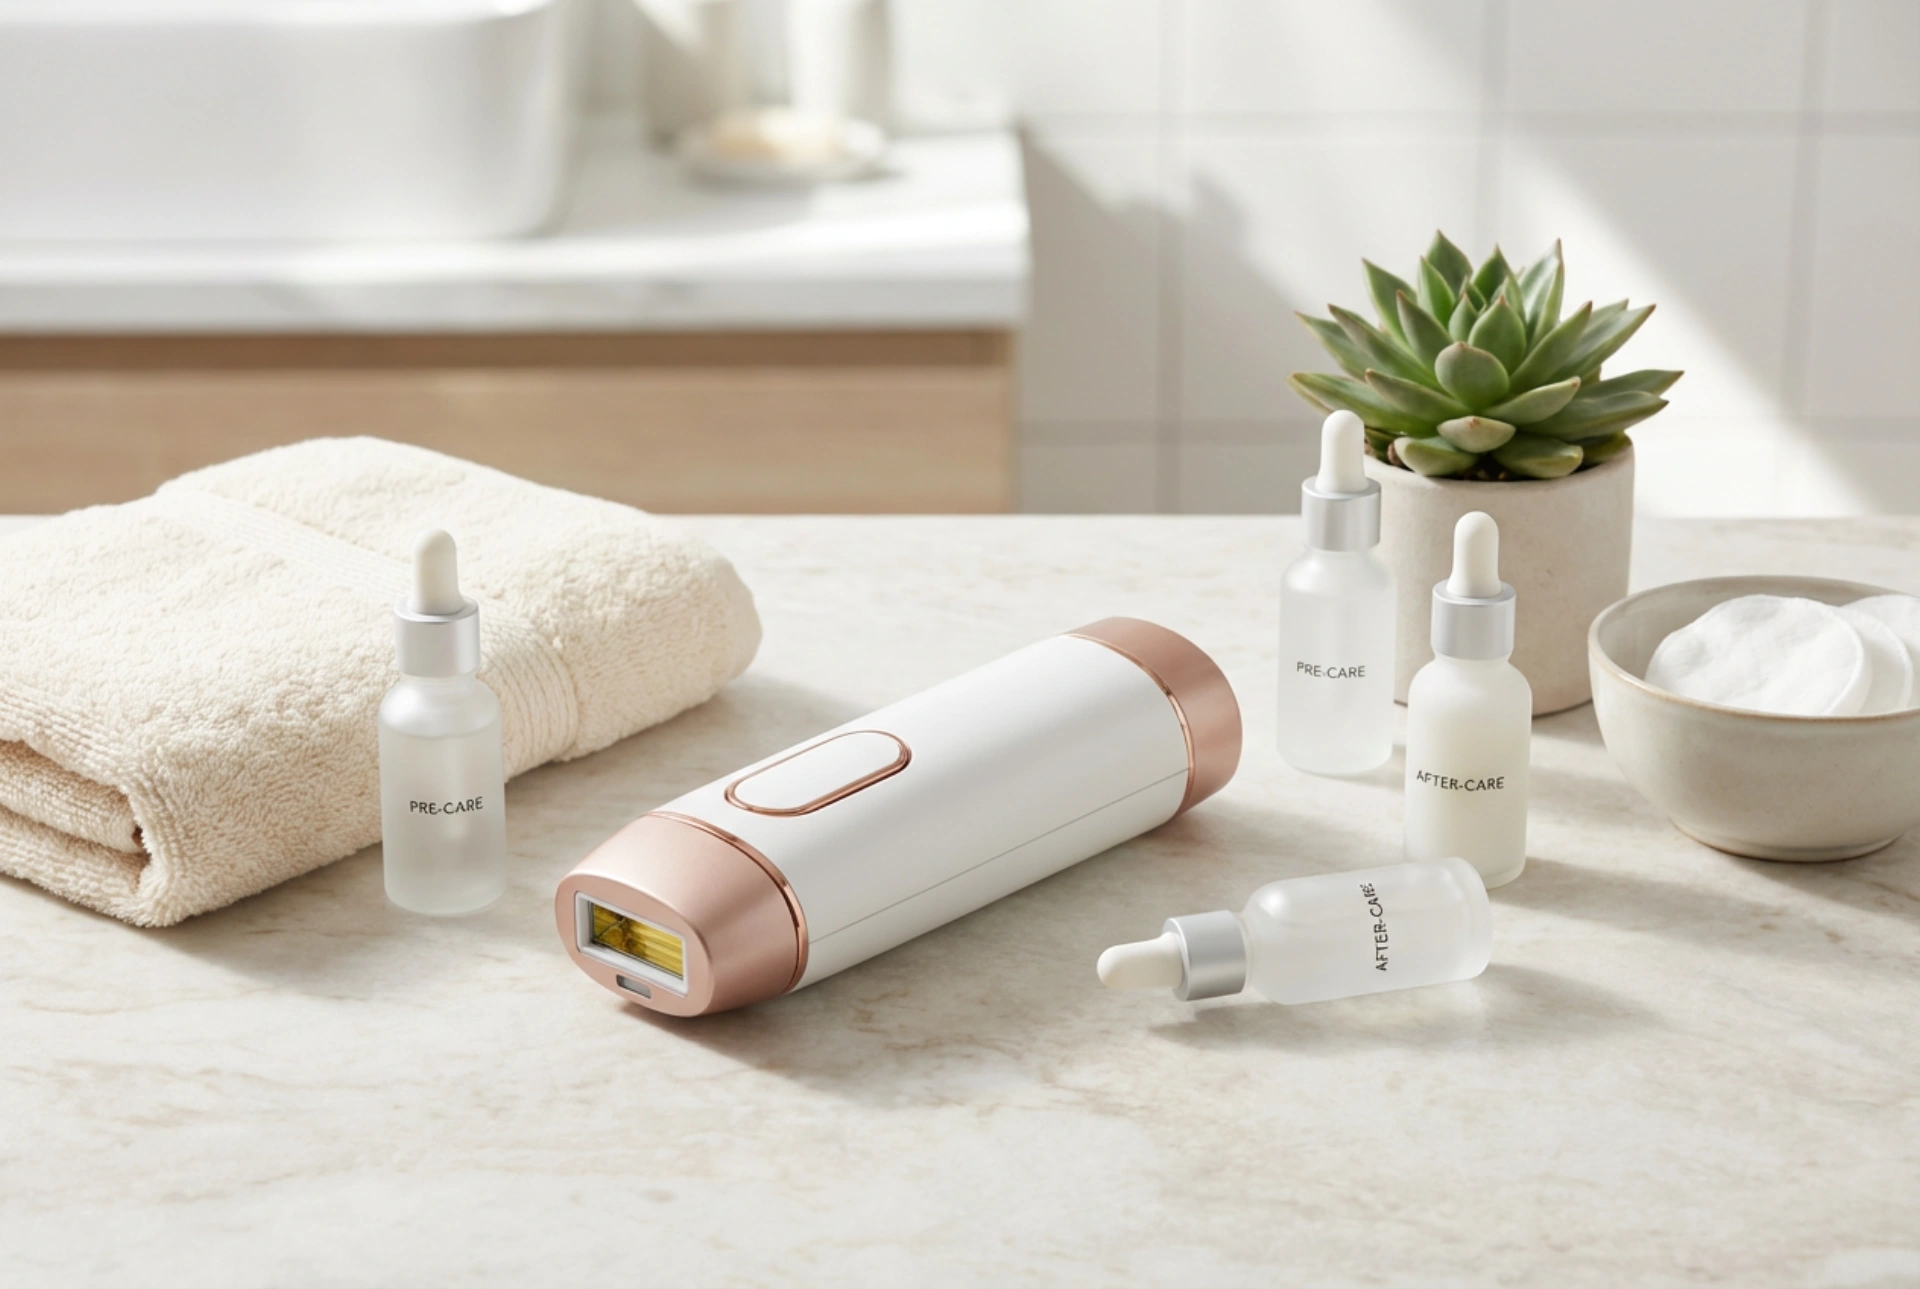
Most at-home hair removal devices use an intense pulsed light (IPL) technology. This process involves emitting broad-spectrum light in gentle pulses. The light is absorbed by the melanin (the pigment) in the hair shaft. This light energy is then converted into heat, which travels down to the hair follicle. The heat gently warms the follicle, encouraging it to enter a resting phase. As a result, hair regrowth is progressively slowed down and reduced with each session. Because the technology targets pigment, it is generally most effective on individuals with darker hair and lighter skin tones, as this provides the greatest contrast for the light to work on.
Preparing Your Skin for Treatment
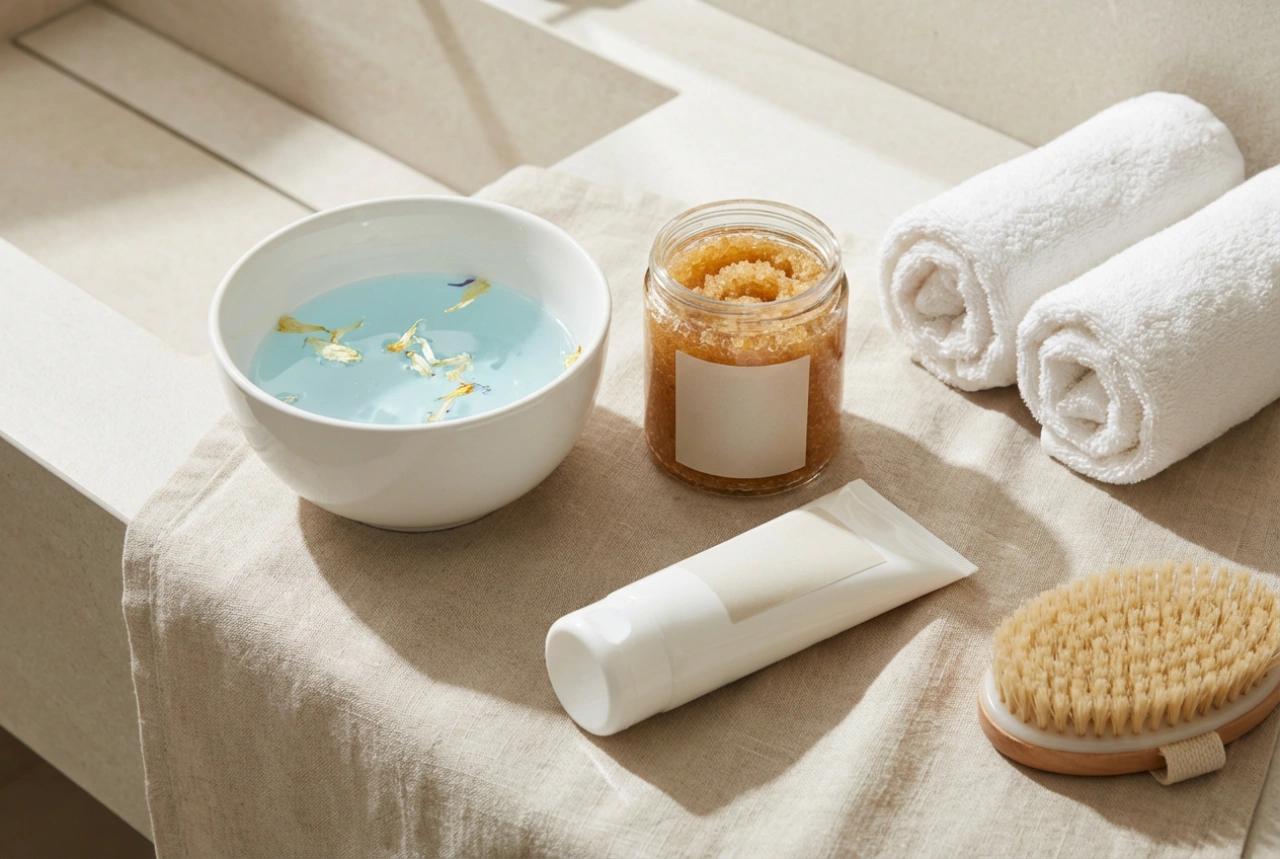
Proper preparation is crucial for both the effectiveness and safety of your treatment. Rushing this step can lead to poor results or skin irritation. Always begin by carefully reading the instruction manual that comes with your specific device.
Shaving is Key
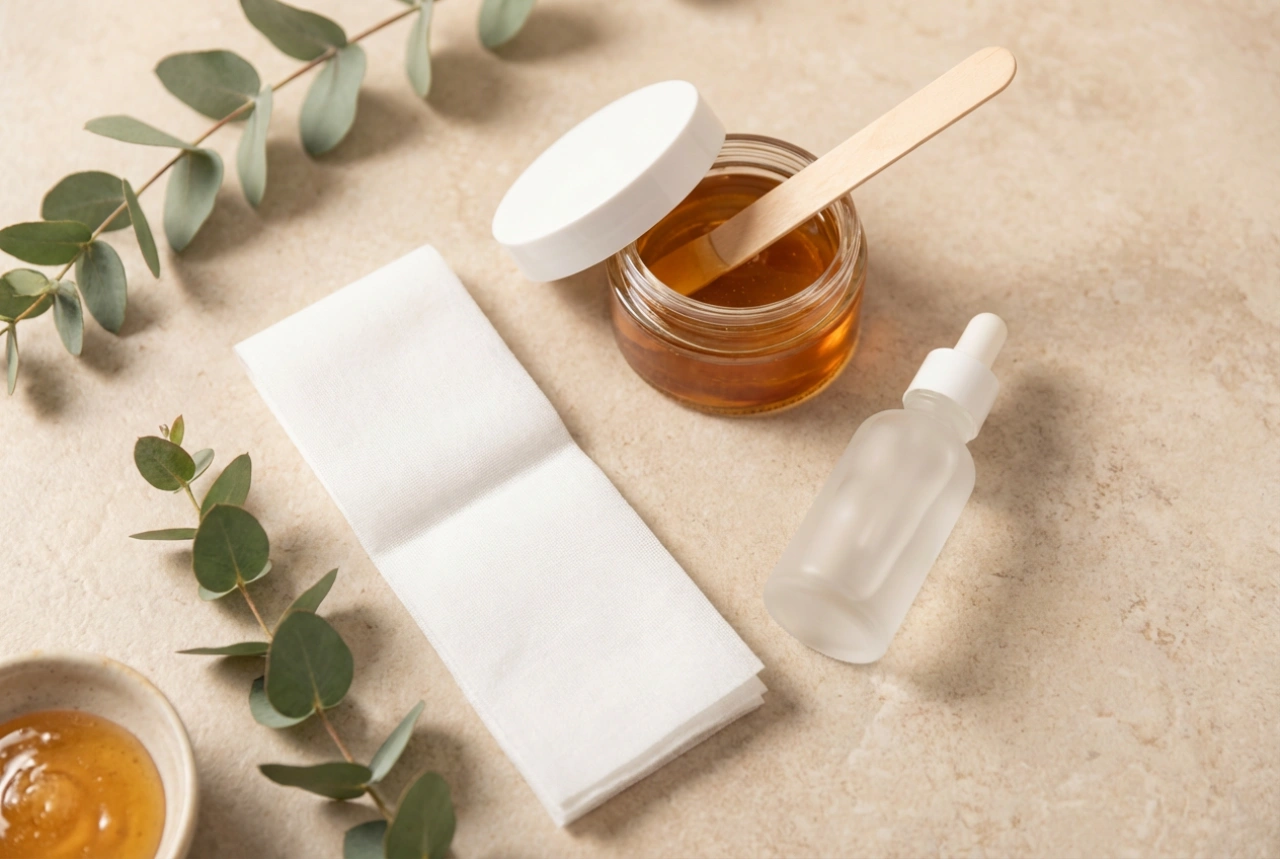
Before every treatment, you must shave the area you plan to treat. It is best to do this around 24 hours beforehand. This step is non-negotiable. Shaving removes the hair from the surface of the skin while leaving the hair root intact within the follicle. This is important because the root is what the light energy needs to target. Methods that remove the root, such as waxing, epilating, or tweezing, will make the light-based treatment completely ineffective. A clean shave ensures that the light's energy is concentrated below the skin's surface, directly at the follicle, rather than being wasted on burning hair above the skin.
Cleanse and Dry
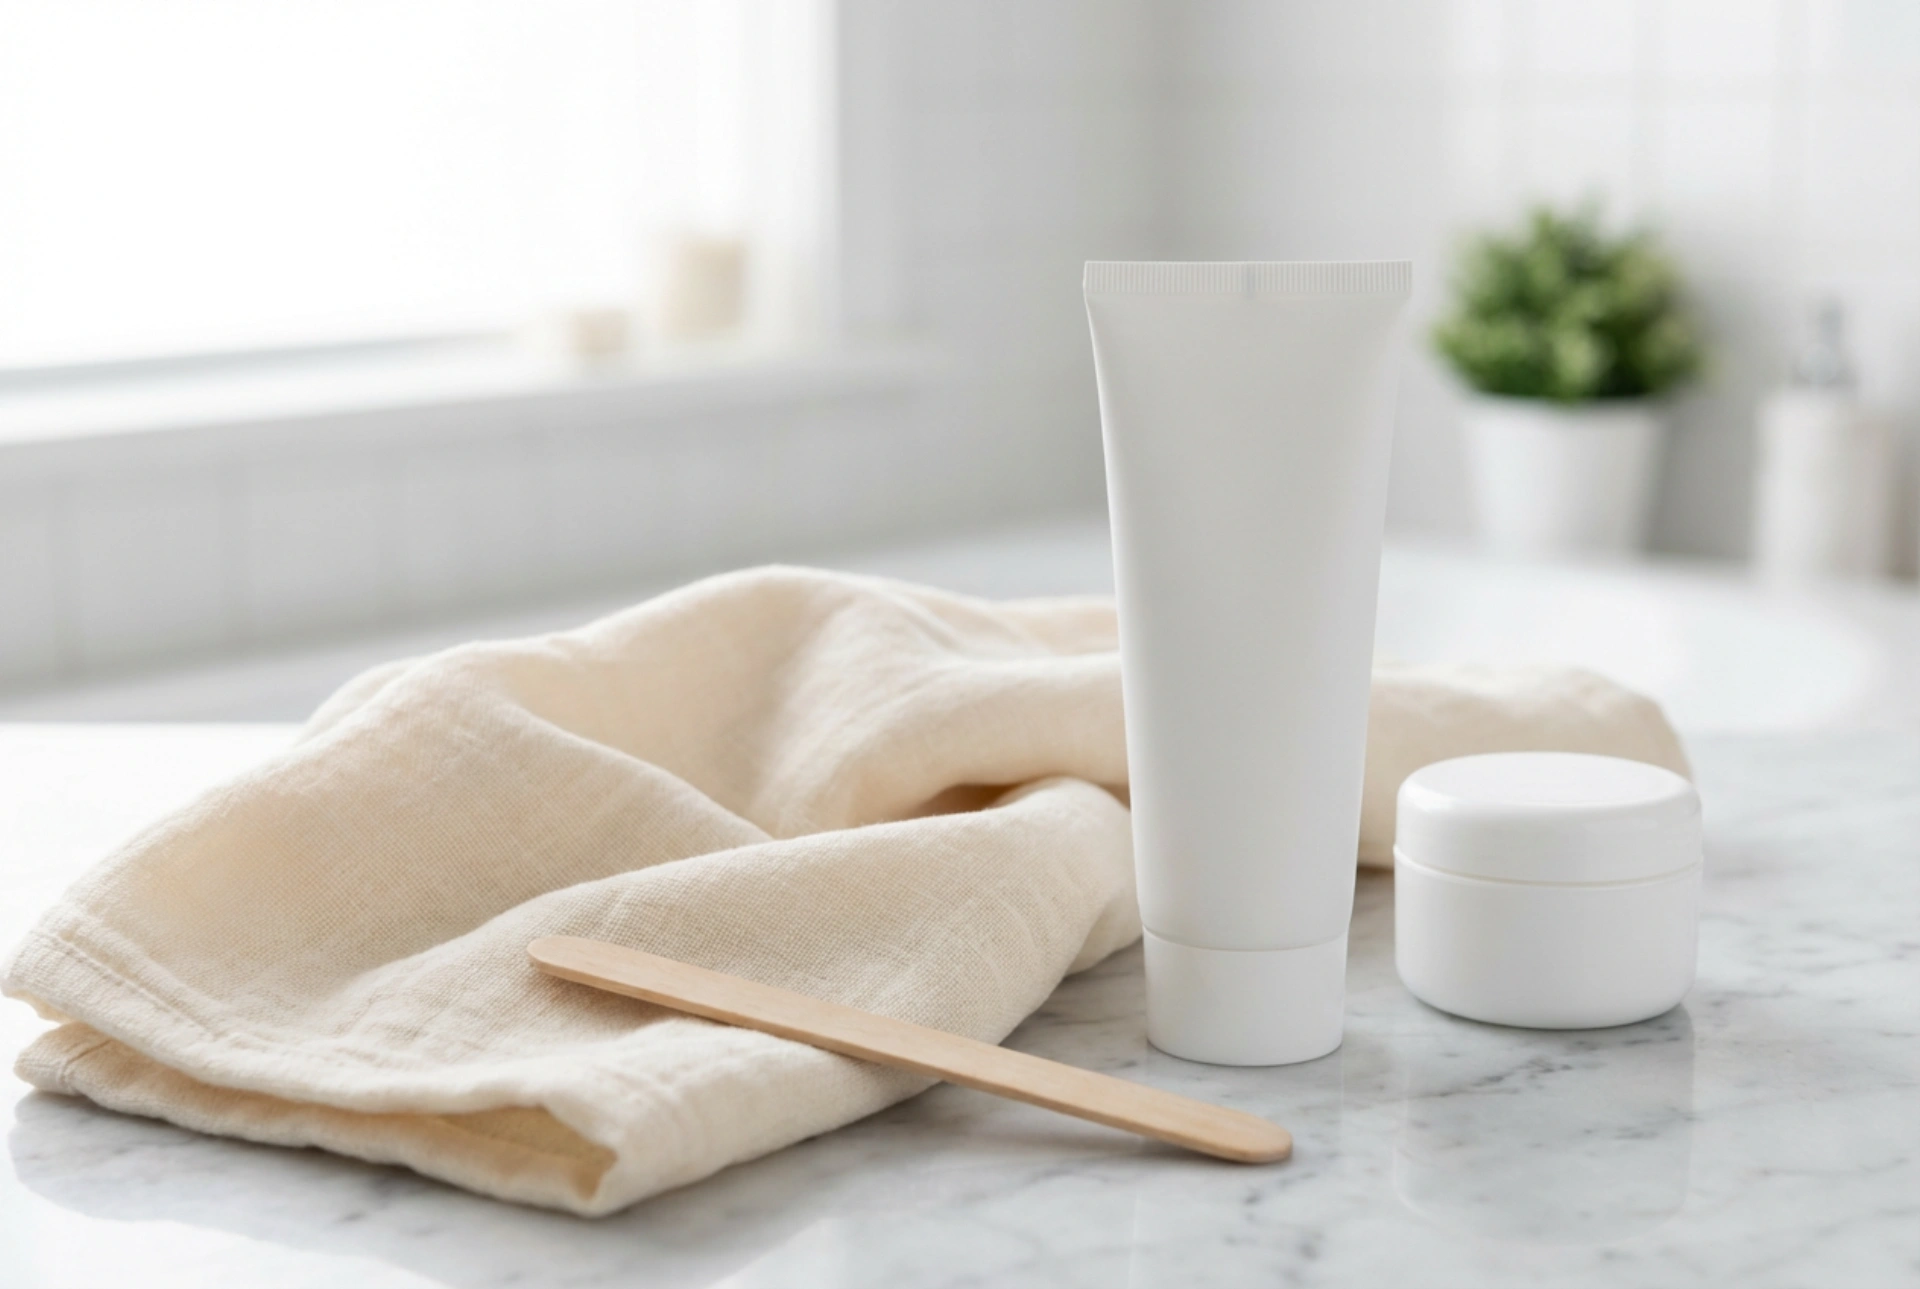
On the day of your treatment, the targeted skin area must be completely clean, dry, and free from any products. Wash the skin with a simple, gentle cleanser and water, then pat it thoroughly dry with a soft towel. Do not apply any lotions, creams, oils, deodorants, or self-tanners before your session, as these can create a barrier on the skin or react with the light, potentially causing adverse reactions.
Conduct a Patch Test
Before your very first full treatment, it is essential to perform a patch test. Choose a small, inconspicuous area of skin within your desired treatment zone. Perform a couple of light flashes on this spot according to your device's instructions and wait for 24 to 48 hours. This allows you to check how your skin reacts and ensure you have selected the correct intensity level for your skin tone without causing discomfort or irritation.
Creating Your Treatment Schedule
Consistency is the secret to success with at-home light-based hair removal. The process works by targeting hairs in their active growth phase, and not all hairs are in this phase at the same time. A structured schedule ensures you treat each follicle as it enters the right stage.
The Initial Phase
Typically, the initial treatment phase involves using the device regularly for a set period. Most manufacturers recommend one session every one to two weeks for the first 4 to 12 weeks. Following this schedule diligently is vital for disrupting the hair growth cycle across the entire treated area and achieving a significant reduction in hair.
The Maintenance Phase
After you have completed the initial phase, you will notice that hair grows back much slower, finer, and more sparsely. At this point, you can switch to a maintenance schedule. This usually involves performing a touch-up session once a month, or as needed, to catch any new hairs and maintain your smooth results. The frequency will depend on your individual hair growth pattern.
Post-Treatment Skincare: Soothing and Protection
How you care for your skin after a session is just as important as how you prepare for it. Proper aftercare helps to soothe the skin and prevent complications.
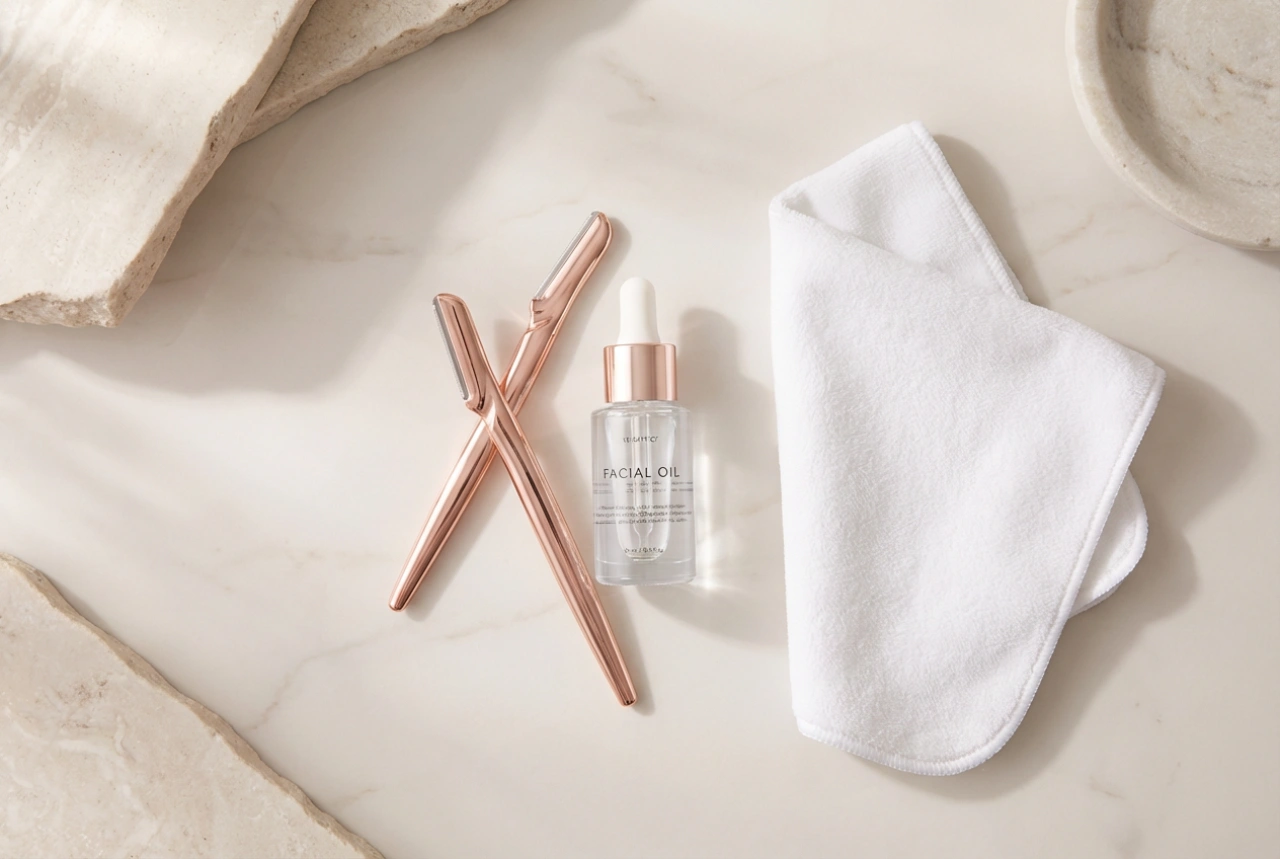
Immediate Aftercare
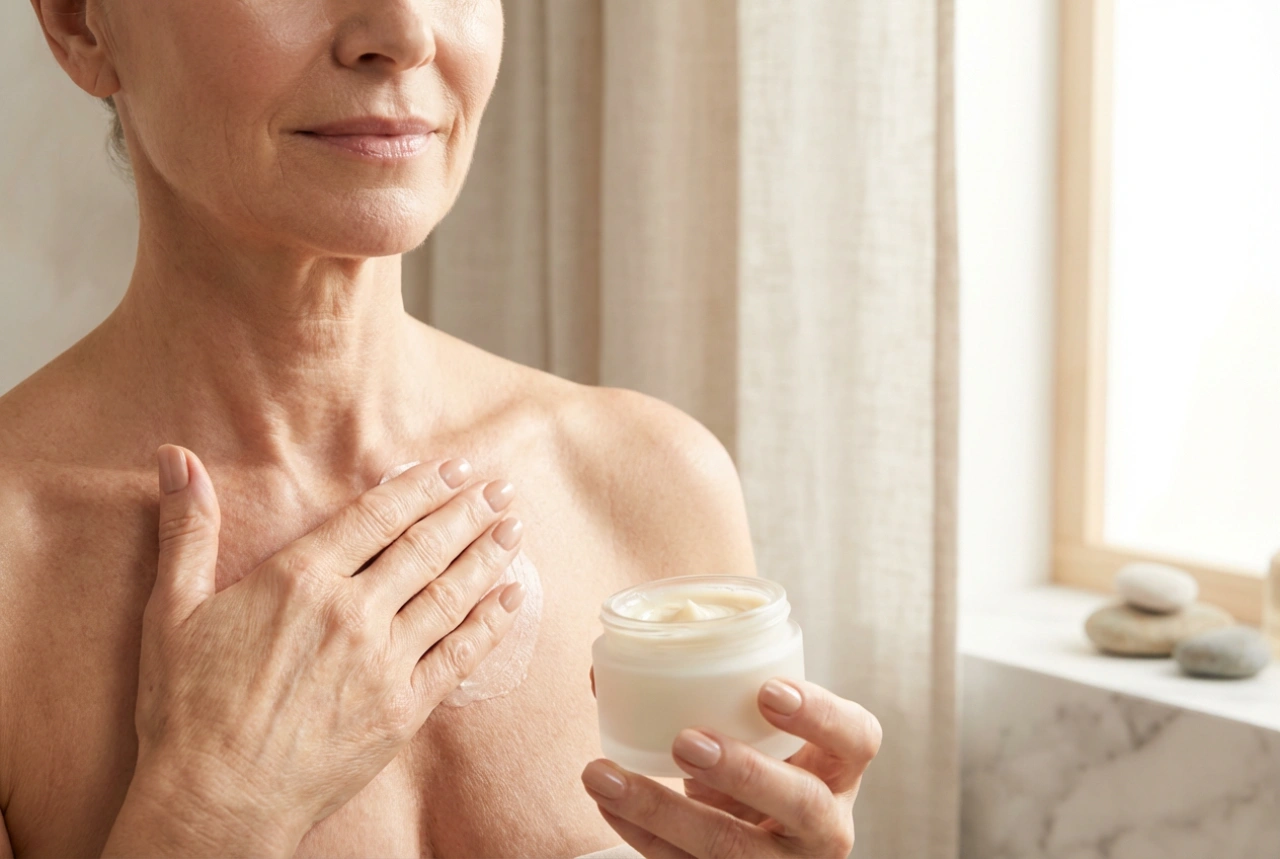
It is normal for the skin to feel slightly warm or appear a little pink immediately after treatment, similar to a very mild sunburn. This sensation usually subsides within a few hours. To help calm the skin, you can apply a soothing, fragrance-free moisturiser. For the first 24 hours after a session, you should avoid hot showers, baths, saunas, steam rooms, and activities that cause excessive sweating. It's also wise to wear loose-fitting, soft clothing over the treated area to prevent friction and irritation.
Long-Term Care and Sun Protection
Your skin will be more sensitive to sunlight after a light-based treatment. Sun protection is therefore absolutely critical throughout your entire treatment course. You must apply a broad-spectrum sunscreen with a high SPF (30 or above) to any treated areas that will be exposed to the sun. This should be done daily, not just on sunny days. Avoid direct sun exposure, sunbathing, and the use of tanning beds, as this can increase the risk of adverse skin reactions.