


When choosing a hairstyle for a special occasion like a wedding, many people gravitate towards classic updos. However, for those looking to combine tradition with a modern, confident edge, a sculpted mohawk-inspired hairstyle can be a stunning and surprisingly elegant choice. Far from its rebellious roots, the contemporary formal mohawk is all about sophistication, structure, and showcasing your unique style. It’s a versatile look that can be adapted to suit various hair lengths and textures, creating a memorable and chic finish perfect for a bride, bridesmaid, or wedding guest.
Is a Mohawk-Inspired Hairstyle Suitable for a Wedding?
Absolutely. The key to making a mohawk wedding-appropriate lies in the execution. Instead of sharp, shaved sides, the modern formal version focuses on sleekness and volume. The sides are typically pulled back tightly, braided, or twisted to create a clean, polished foundation. The central focus is on a voluminous, sculpted crown that can be styled into soft waves, intricate twists, or a smooth, elegant quiff. This creates a beautiful contrast in textures and an elongated silhouette that is incredibly flattering. It's a statement of confidence that remains graceful and refined, perfect for a sophisticated event.
Preparation is Key: Getting Your Hair Ready
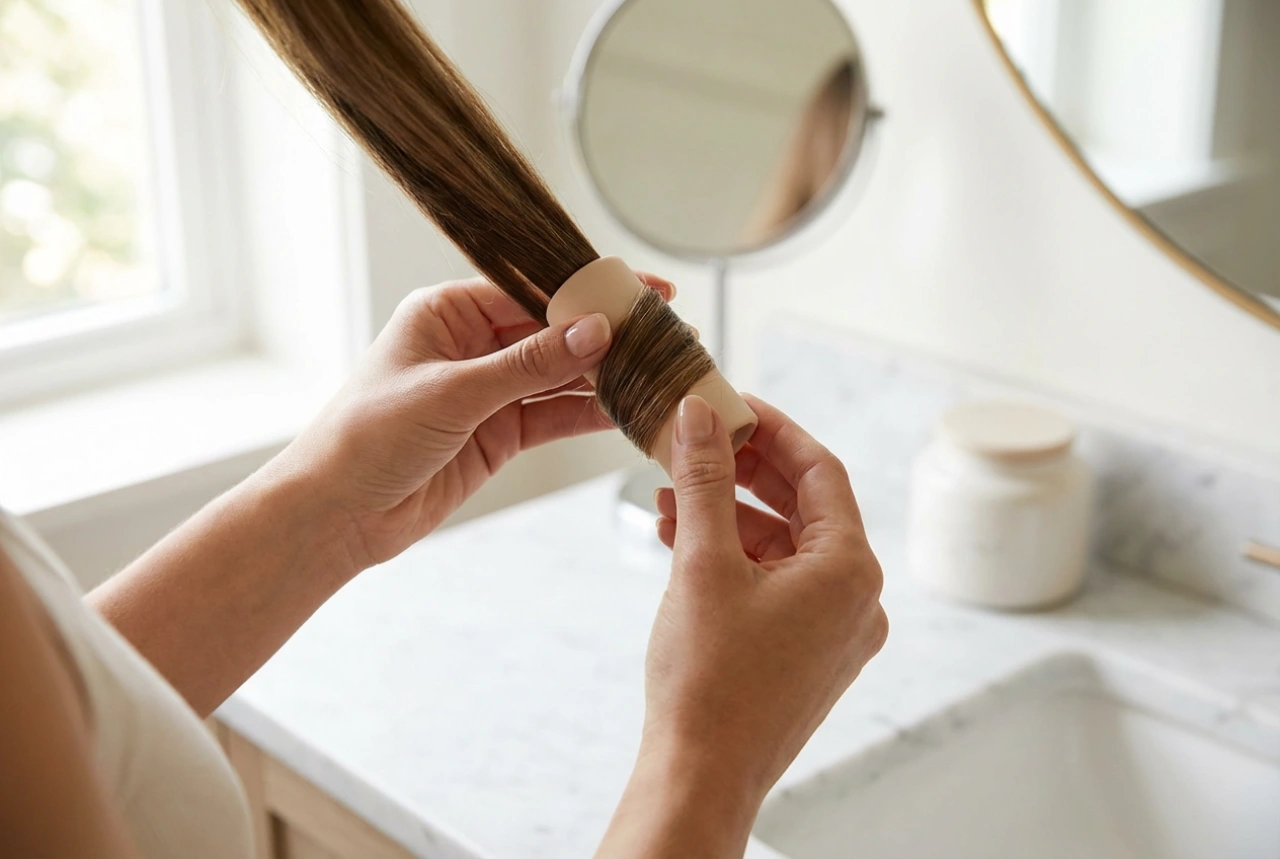
Proper preparation is the foundation for a long-lasting and polished hairstyle. Before you begin styling, ensure you have everything you need to create the perfect look.
What You'll Need:
- A tail comb for precise sectioning and backcombing.
- A smoothing brush.
- Bobby pins and hairpins that match your hair colour.
- Strong-hold hairspray.
- A texturising spray or volume mousse to add grip and body.
- Optional: decorative hairpins, clips, or a delicate tiara for a bridal touch.
Pre-Styling Steps:
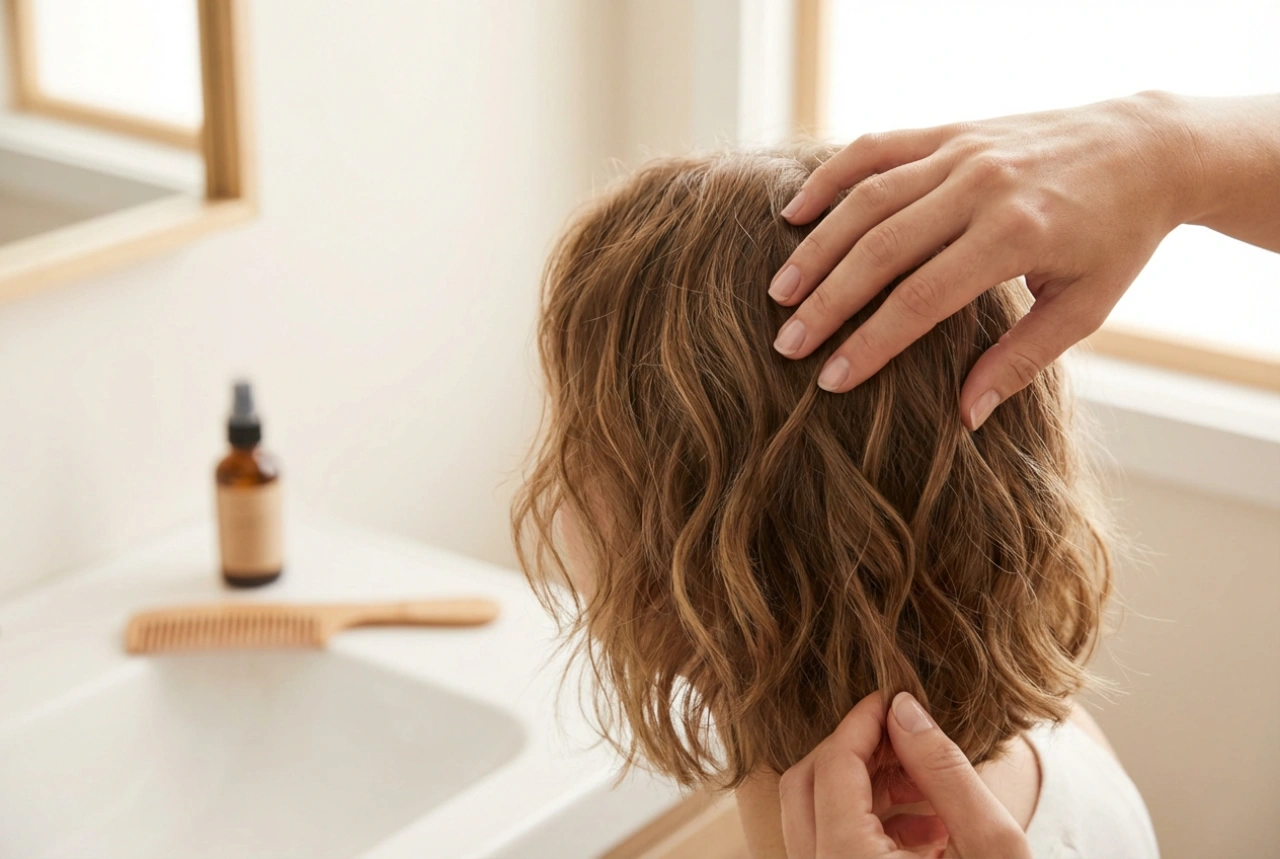
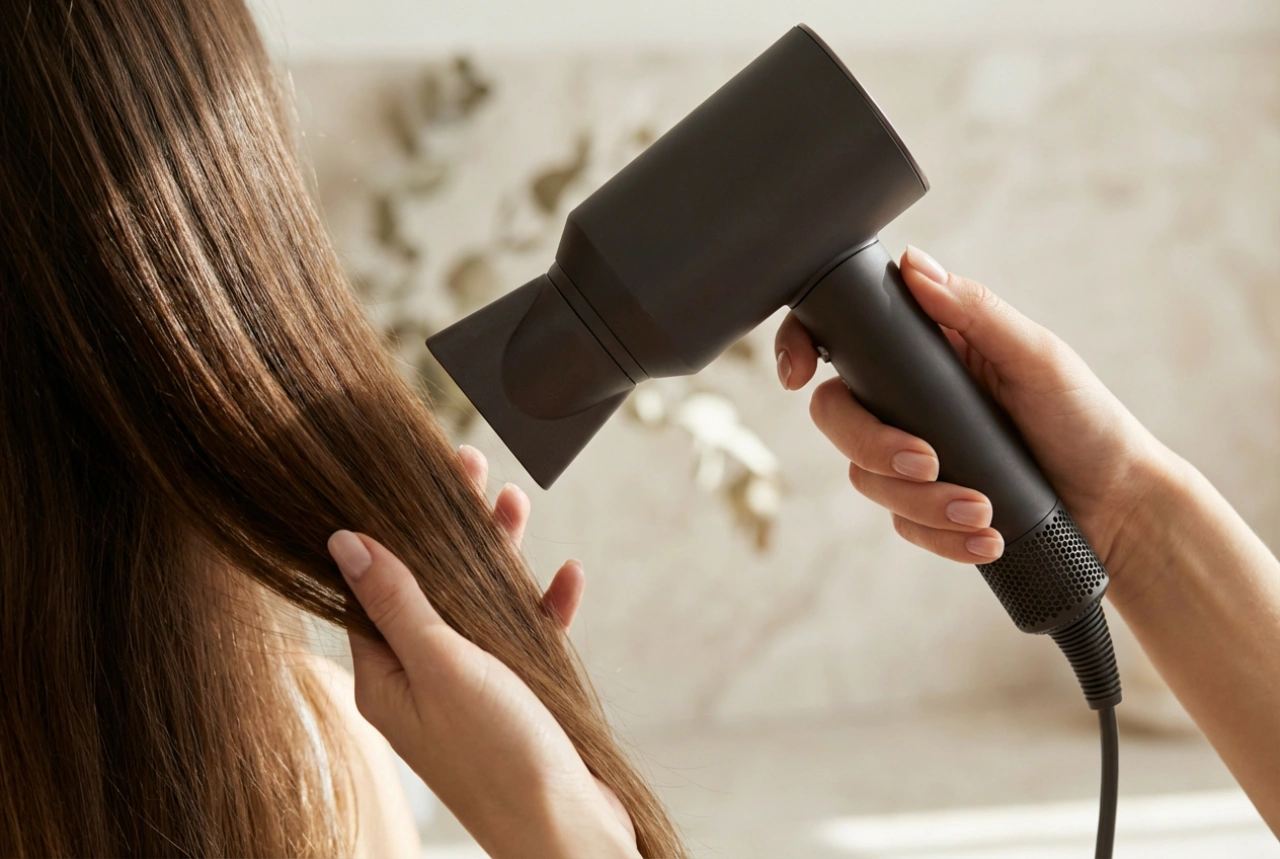
It's often best to work with hair that isn't freshly washed, as second-day hair has more natural grip. If you must wash it, avoid using heavy conditioners that can make the hair too slippery. Start by applying a volumising mousse to damp hair and blow-drying it, focusing on lifting the roots. If your hair is very fine or straight, a light mist of texturising spray will provide the hold needed for backcombing and pinning.
Creating the Elegant Mohawk: Step-by-Step Guide
This guide will walk you through creating a classic, elegant mohawk updo. Take your time with each step to ensure a secure and beautiful result.
Step 1: Sectioning the Hair
Using your tail comb, create your central 'mohawk' section. Start by drawing a line from the corner of each eyebrow back to the crown of your head. The hair within these two lines will form the voluminous top part of your style. Clip this section up and out of the way. The remaining hair on the sides will be styled first.
Step 2: Styling the Sides
The goal for the sides is to make them sleek and tight to accentuate the volume on top. You have a few options. You can brush the side sections back smoothly and secure them together at the back of your head with an elastic band. For a more intricate look, create a tight French or Dutch braid on each side, braiding upwards along the hairline towards the back of the head. Another elegant option is to twist the side sections tightly and pin them securely at the back, ensuring all pins are hidden.
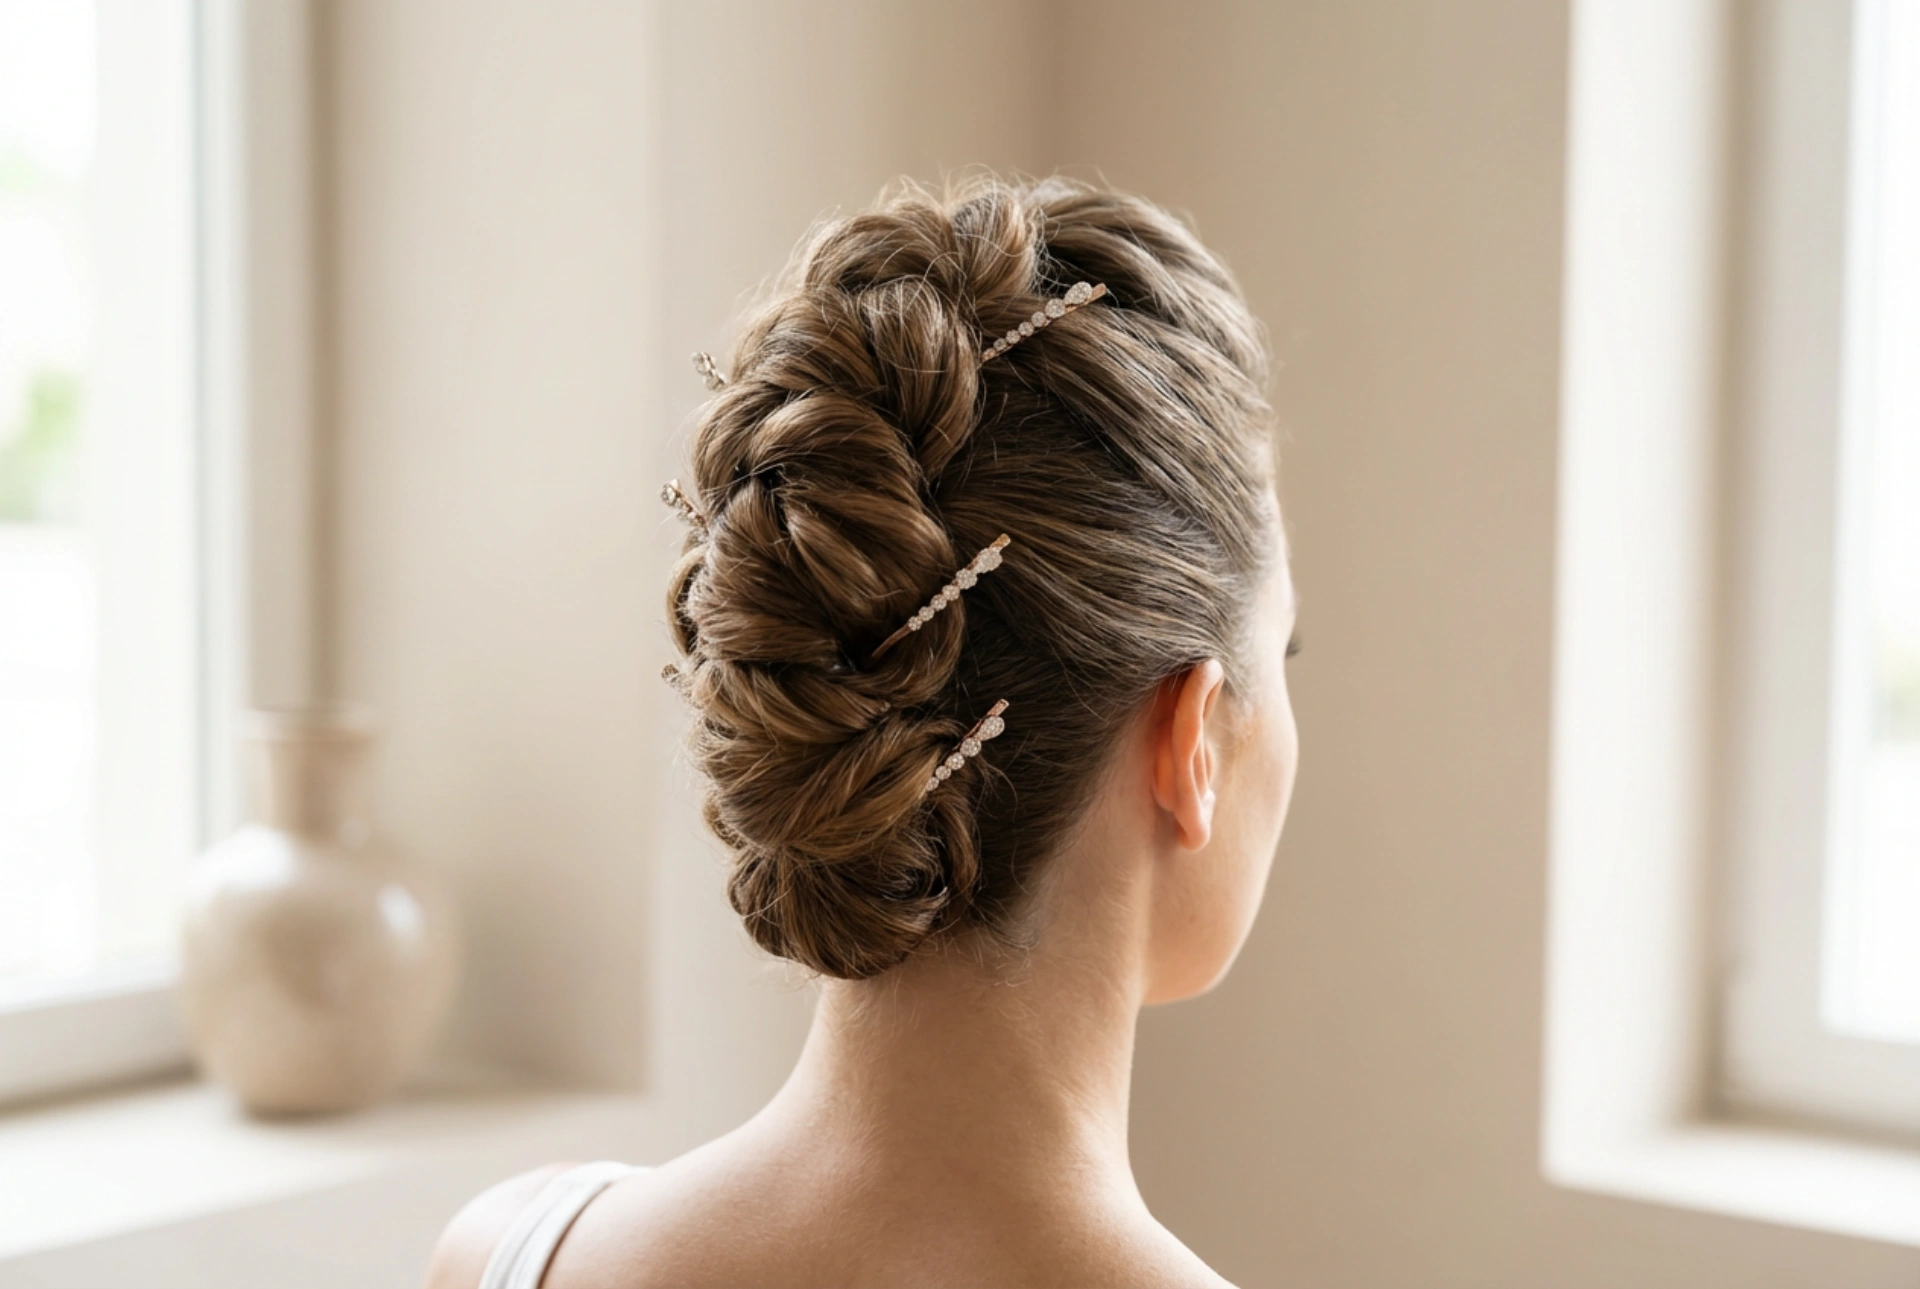
Step 3: Building the Mohawk Crown
Unclip the central section of your hair. To create volume, you will need to backcomb it. Working with small, horizontal sub-sections from back to front, hold each piece of hair straight up, and use your comb to gently push the hair down towards the roots. Be gentle to avoid creating knots. Once you have built enough volume, lightly smooth over the top layer with your brush to hide the backcombing, creating a smooth, pillowy shape. You can then style this voluminous section. One popular method is to create a series of twists, pinning each one to create an intricate, textured crest. Alternatively, you can gently shape it into a smooth French twist or a series of looped buns for a sophisticated finish.
Step 4: Securing and Finishing Touches
Once you are happy with the shape, secure it thoroughly with hairpins and bobby pins. The trick is to slide the pins in discreetly so they are not visible. Give your entire head a generous mist of strong-hold hairspray to lock everything in place and tame any flyaways. For that final wedding touch, strategically place your decorative accessories. Delicate, sparkling pins can be dotted through the twists, or a small, elegant clip can be placed at the base of the updo.
Adapting the Style for Different Hair Types
This hairstyle is wonderfully adaptable. For those with shorter hair, the focus will be on slicking the sides back with a strong-hold gel and creating a textured, voluminous quiff on top. For curly hair, embrace the natural texture. Use a curl-defining cream to enhance your curls and use them to build natural volume along the crown, pinning them into a beautiful, textured mohawk shape. Long hair offers the most versatility, allowing for elaborate braids on the sides and complex twists or braided details within the central section.