


The hair bun is a timeless and versatile hairstyle, a true symbol of elegance and practicality. From a perfectly sculpted low bun suited for special occasions to a casual top knot for everyday wear, this style can be adapted to any situation. Mastering the art of creating a stable and beautiful bun is a valuable skill in any hair styling repertoire. It requires a little practice, but with the right techniques and tools, you can achieve a flawless look every time.
Preparing Your Hair for the Perfect Bun
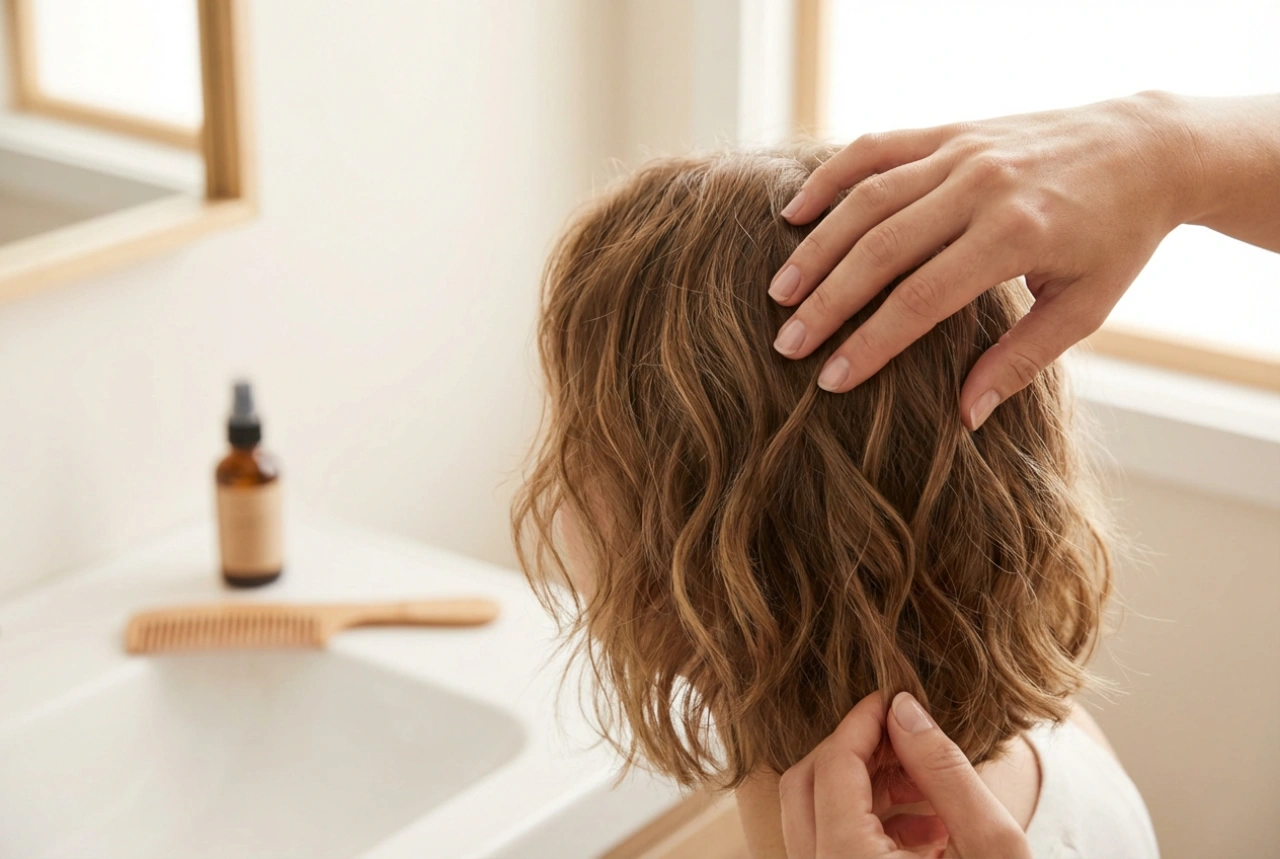
The foundation of a great bun is properly prepared hair. The texture and condition of your hair will significantly impact how easily it can be styled and how long the bun will hold. Contrary to what some might think, freshly washed, silky hair can be more challenging to work with as it's often too slippery. Hair from the second day often has a better texture and natural grip.
To get started, follow these preparatory steps:
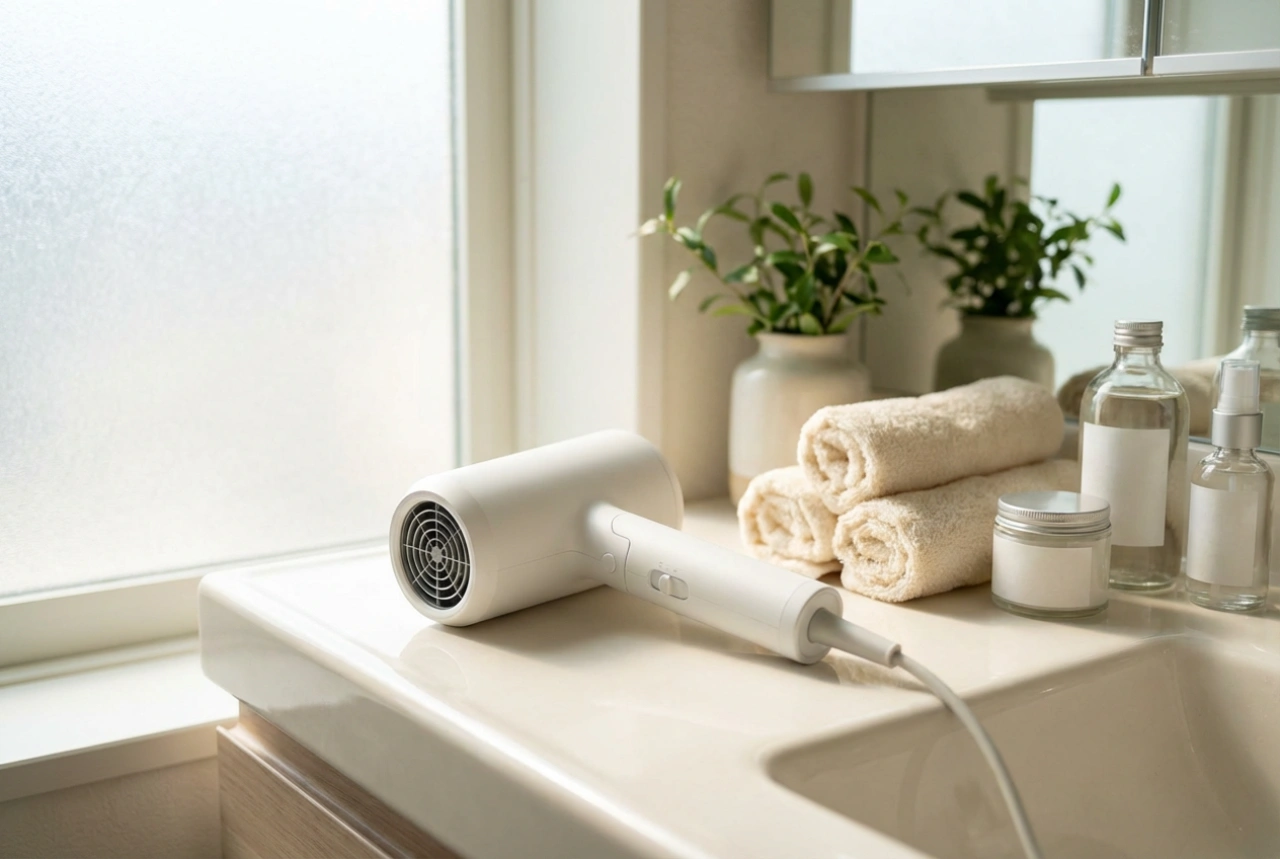
- Start with dry hair: For most bun styles, it's best to work with completely dry hair. If you must wash it, make sure it's thoroughly dried before you begin styling.
- Add texture: If your hair is very fine or soft, adding some texture will provide the necessary grip. You can lightly spritz a texturising spray or apply a small amount of dry shampoo at the roots. This will give your hair more volume and make it less likely to slip out of place.
- Brush thoroughly: Before you start twisting and pinning, ensure your hair is free of tangles. Use a brush or wide-tooth comb to smooth out your locks, starting from the ends and working your way up to the roots to minimise breakage. For a very sleek bun, you might want to use a fine-tooth comb and a smoothing product.
Mastering the Basic Bun: A Step-by-Step Guide
Once your hair is prepped, you can create a classic bun. This fundamental technique is the base for many other variations. The placement of your initial ponytail—high on the head, at the nape of the neck, or somewhere in between—will determine the final position of your bun.
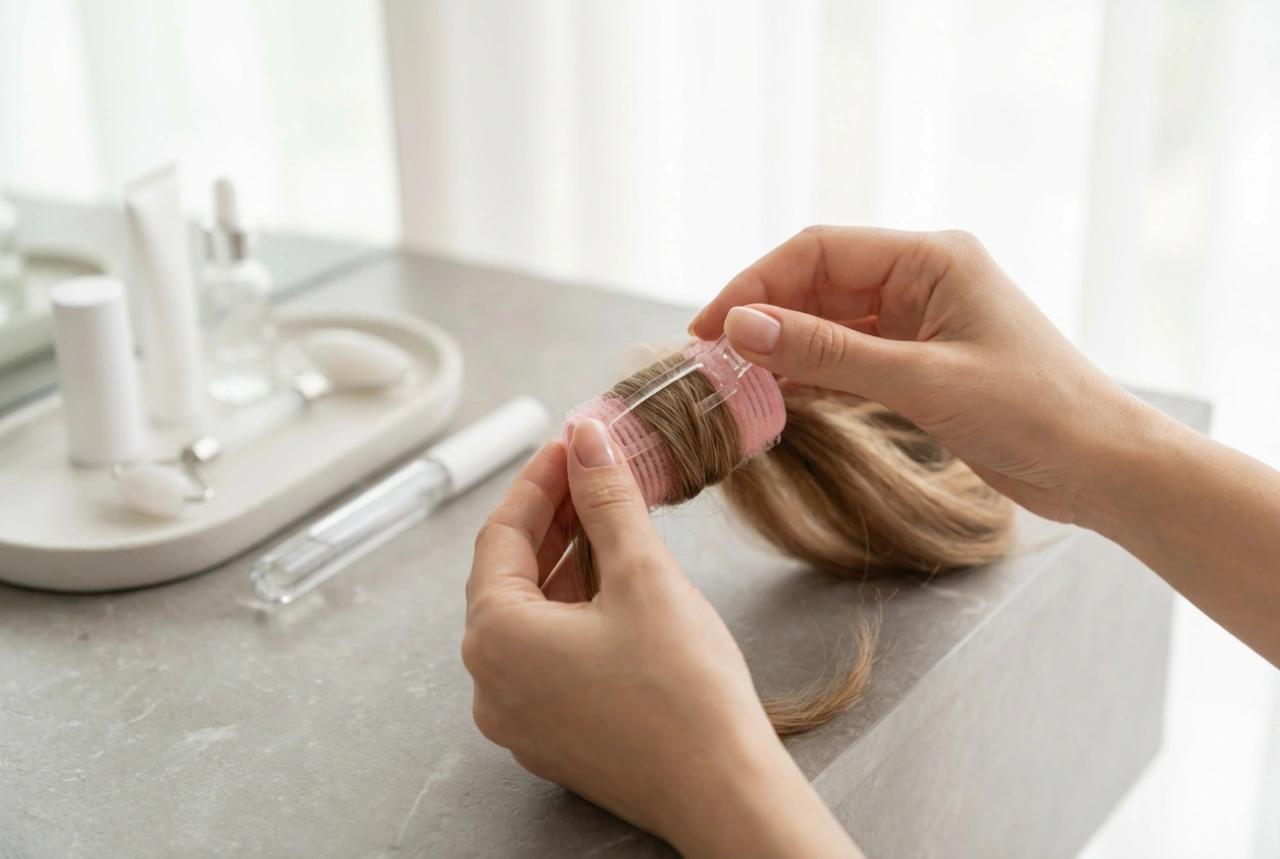
Step 1: Create a Ponytail
Gather your hair into a ponytail at your desired height. Secure it firmly with a hair elastic. For a sleeker look, ensure the hair leading into the ponytail is smooth. For a more relaxed style, you can leave it a bit looser.
Step 2: Twist and Wrap
Take the length of the ponytail and twist it from the base to the ends. The tighter you twist, the more compact your bun will be. Once twisted, begin wrapping the twisted hair around the base of the ponytail, creating a coil. Tuck the ends of your hair underneath the bun.
Step 3: Secure the Bun
This is the most crucial step. Use bobby pins or U-shaped hairpins to secure the bun to the hair on your head. Insert the pins around the edges of the bun, making sure to catch both the hair from the bun and the base hair. This anchors the bun in place. Use as many pins as you need to feel secure.
Popular Bun Variations for Every Occasion
The basic bun is just the beginning. With a few small adjustments, you can create a variety of styles to suit your mood and the occasion.
The Effortless Messy Bun
This is the go-to for a relaxed, casual look. The key is to embrace imperfection. Start by gathering your hair loosely, without much brushing. When you form the bun, don't twist it too tightly. After securing it with a few pins, gently pull on small sections of the bun to create volume and a 'lived-in' texture. You can also pull out a few face-framing strands.
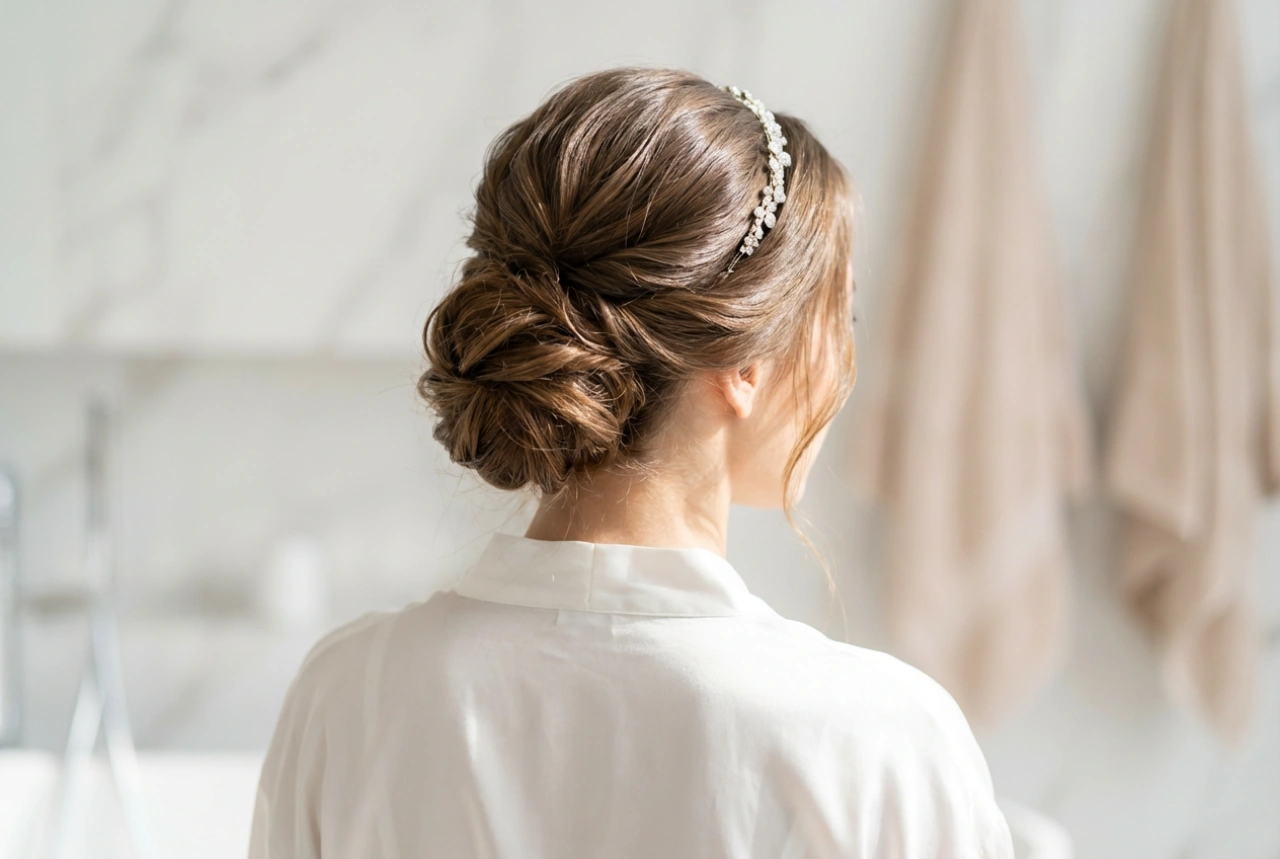
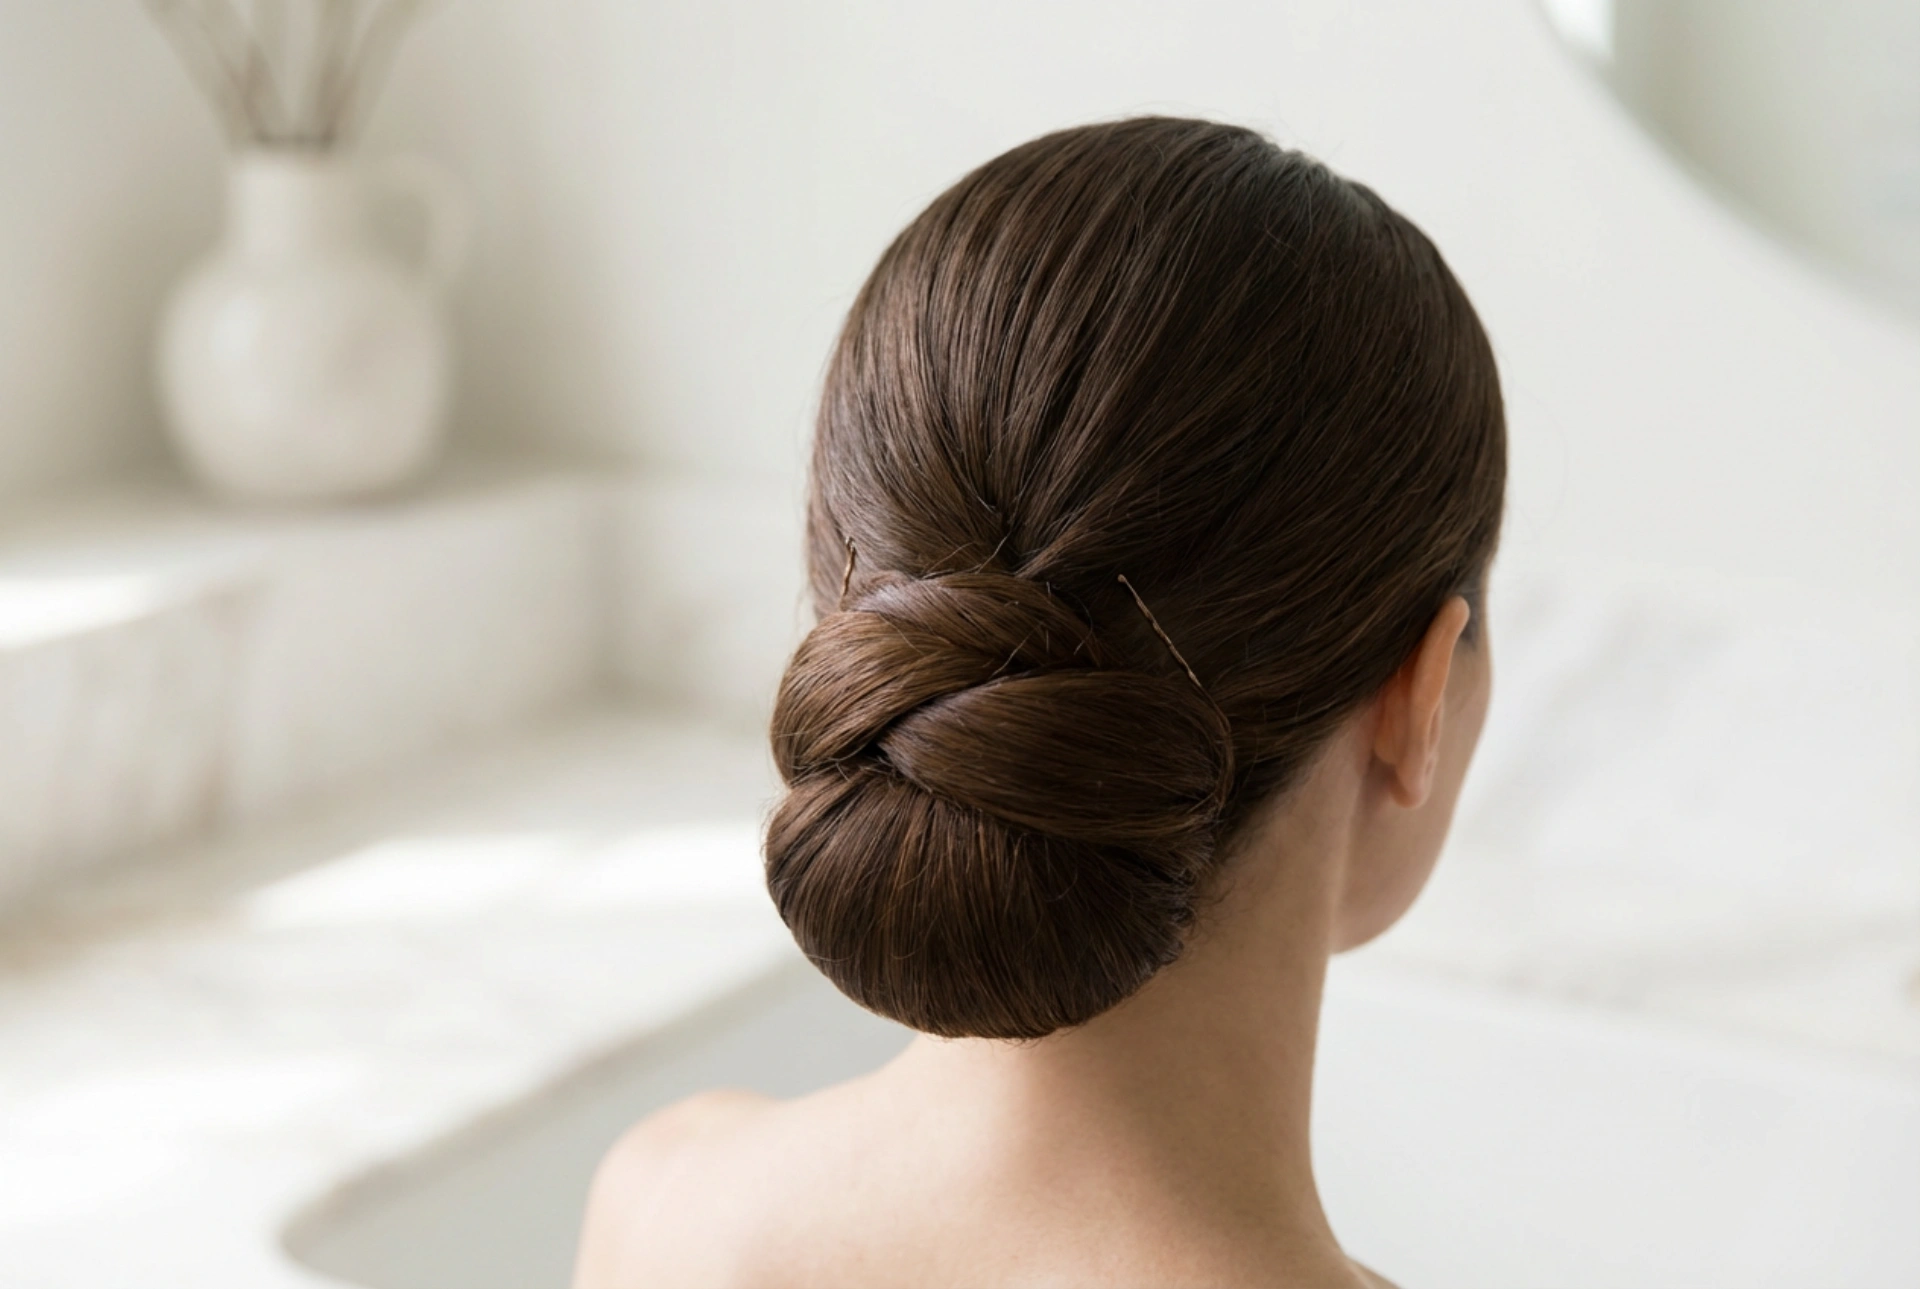
The Elegant Sleek Low Bun
Perfect for formal events or a sophisticated office look, the sleek low bun is all about polish and precision. Start with a low ponytail at the nape of your neck. It helps to use a smoothing cream or a light-hold gel to tame any flyaways as you gather your hair. Wrap the ponytail tightly into a neat coil and secure it flush against your head. Finish with a light mist of hairspray for extra hold and shine.
The Bold Top Knot
A top knot is a high-fashion statement. It's positioned at or near the crown of your head. To achieve the height, it can be helpful to flip your head upside down while gathering your hair into a high ponytail. From there, you can create a classic twisted bun or even use a bun-forming accessory for a perfectly round shape.
Essential Tricks with Bobby Pins and Hairpins
The secret to a long-lasting bun often lies in how you use your pins. There are two main types: bobby pins and U-shaped hairpins. Bobby pins are for securing, while hairpins are for shaping.
- The Locking Technique: For maximum hold with a bobby pin, insert it with the ridged side facing your scalp. Push the pin into the edge of the bun, then turn it so it points back towards the bun's centre and push it in. This creates a secure lock.
- Criss-Cross for Strength: If a section feels loose, use two bobby pins in an 'X' shape for double the holding power.
- Add Grip to Your Pins: If your pins tend to slip, lay them on a paper towel and lightly spray them with dry shampoo or strong-hold hairspray before using them. The extra texture provides a much better grip.
- Hiding Your Pins: To make your pins invisible, try to insert them deep within the bun. When securing the outer edge, angle the pin so it slides under the main body of the bun, hidden from view.
With these fundamentals and creative variations, the hair bun becomes an accessible and stylish option for anyone. Experiment with different placements, textures, and securing techniques to find the perfect bun for you.