


Achieving a salon-quality manicure at home has become more accessible than ever, thanks to modern beauty tools. A cordless nail drill, also known as an electric nail file, is one such device that offers precision and efficiency for various nail care tasks. From shaping and buffing to removing stubborn gel polish, this versatile tool can elevate your nail routine. Understanding its features, such as battery life and the different types of bits, is key to using it safely and effectively for beautiful, well-maintained nails.
What Is a Cordless Nail Drill?
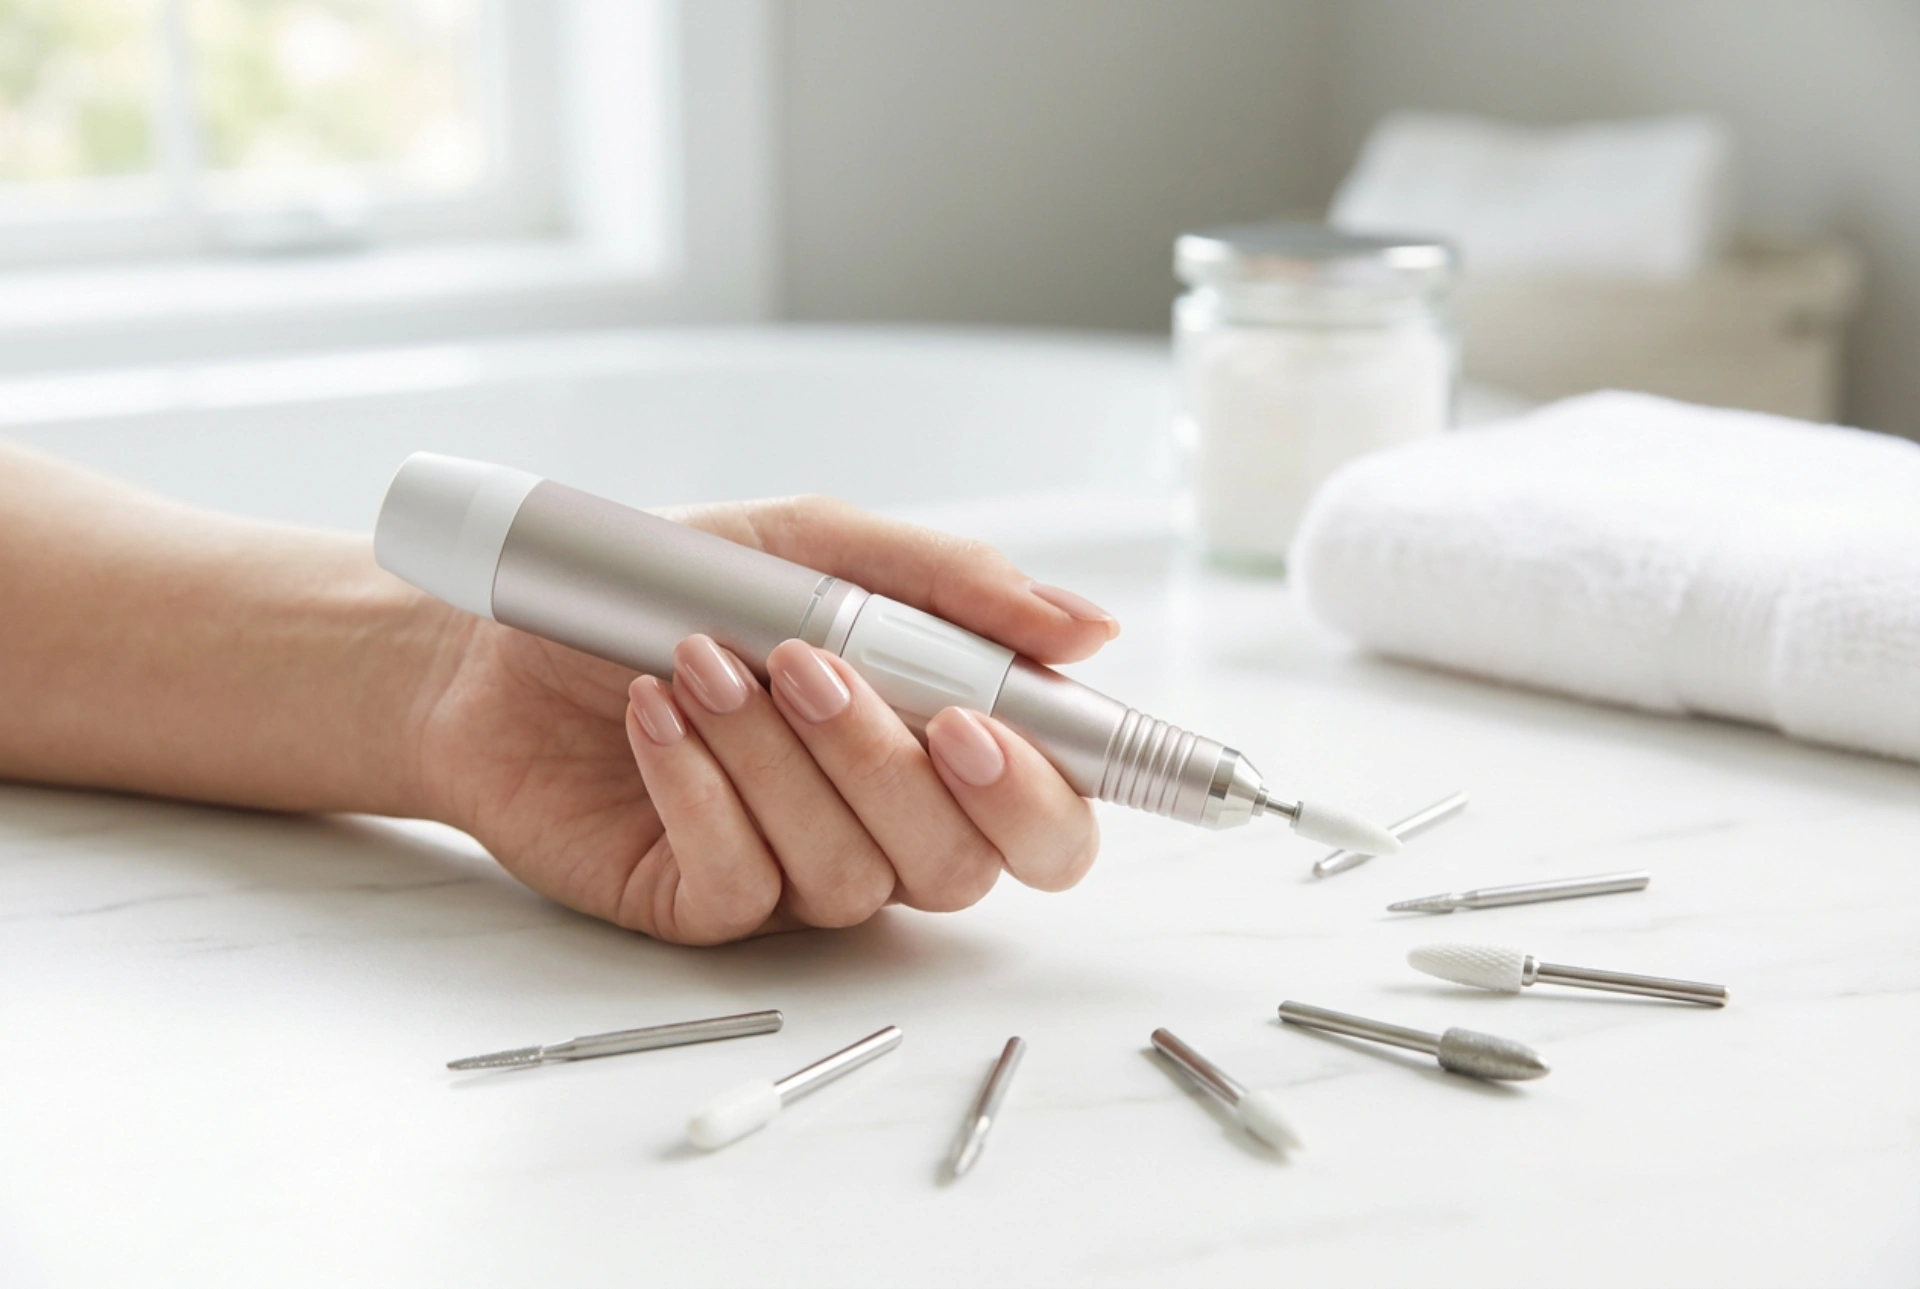
A cordless nail drill is a portable, battery-powered rotary tool designed for nail care. Its main advantage is freedom of movement, as you are not tethered to a power outlet. This makes it convenient for use anywhere and easier to manoeuvre around each nail. These devices typically come with adjustable speed settings, allowing you to tailor the power to the specific task and your comfort level. Whether you're a beginner or have experience with nail enhancements, a cordless model offers a user-friendly way to perform tasks that would otherwise require significant time and manual effort with traditional files and buffers.
Understanding Operating Time and Battery Life
When choosing and using a cordless nail drill, the battery is a crucial factor. The operating time, or how long the drill can run on a single charge, can vary significantly. Most devices offer enough power for several full manicures before needing to be recharged. To ensure your drill is always ready when you need it, it's good practice to charge it fully after each extensive use. Look for features like battery life indicators, which help you know when it's time to plug it in. To prolong the battery's lifespan, avoid leaving it completely drained for long periods and store the device in a cool, dry place. Proper battery management ensures your tool remains reliable and powerful for years to come.
A Guide to Common Nail Drill Bits
The true versatility of a nail drill lies in its interchangeable bits, each designed for a specific purpose. Using the correct bit is essential for achieving desired results without damaging the nail plate. It's important to start at a low speed and increase it gradually as you become more comfortable.
Types of Bits and Their Uses
- Ceramic or Carbide Bits: These are durable and strong, making them ideal for removing gel polish, acrylics, or other nail enhancements. They come in various shapes, like barrels or cones, to efficiently file down product. They generate less heat than some other materials but should still be used with a light and constant motion.
- Diamond Bits: Diamond bits are perfect for more delicate and precise work. They are used for cleaning up the cuticle area, filing the side walls of the nail, and cleaning underneath the nail. Their fine grit allows for gentle exfoliation of dead skin without being too abrasive on the natural nail.
- Sanding Bands: These are disposable cylinders of sandpaper that fit over a metal or rubber bit called a mandrel. They are highly effective for quickly shortening the length of natural or enhanced nails and for shaping the surface. Because they are single-use, they are a hygienic option.
- Stone or Silicone Bits: These bits are much softer and are used for gentle buffing and polishing. They can be used to smooth the surface of the natural nail, remove ridges, or add a subtle shine. They are an excellent final step in a manicure routine.
Safely Removing Gel Polish at Home
One of the most popular uses for a nail drill is removing gel polish. Doing it correctly is vital to protect the health of your natural nails. Start by using a coarse bit, such as a ceramic or carbide one, to gently file away the shiny top coat and the colour layers. Set the drill to a low or medium speed and keep the bit moving constantly across the nail surface. Do not hold it in one spot, as this can create friction, heat, and potential damage. The goal is not to remove all the product down to the natural nail. Instead, leave a very thin layer of the base coat intact to act as a protective barrier. Once the bulk of the gel is removed, you can switch to a finer grit buffer bit or a gentle manual file to smooth the remaining surface. Always finish by applying a nourishing cuticle oil and hand cream to rehydrate the skin and nails.