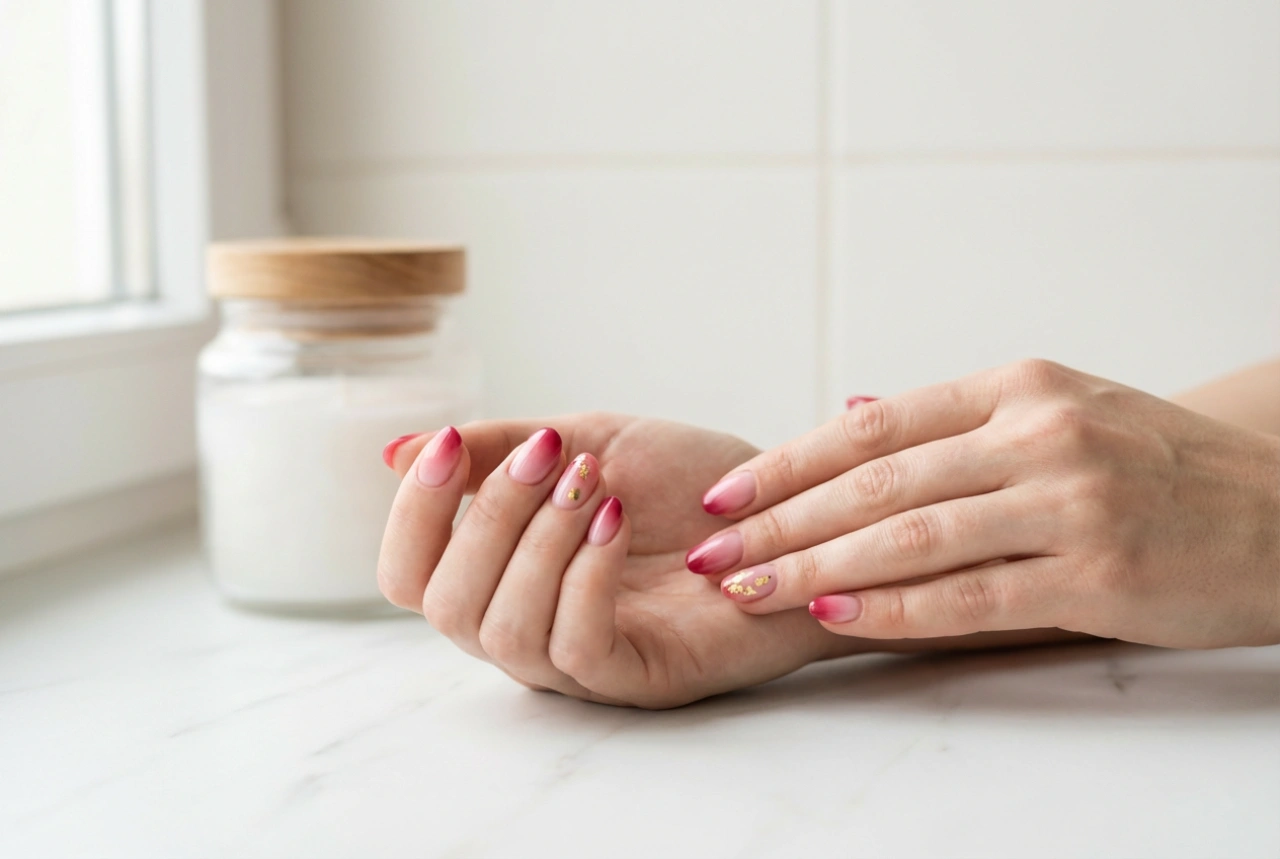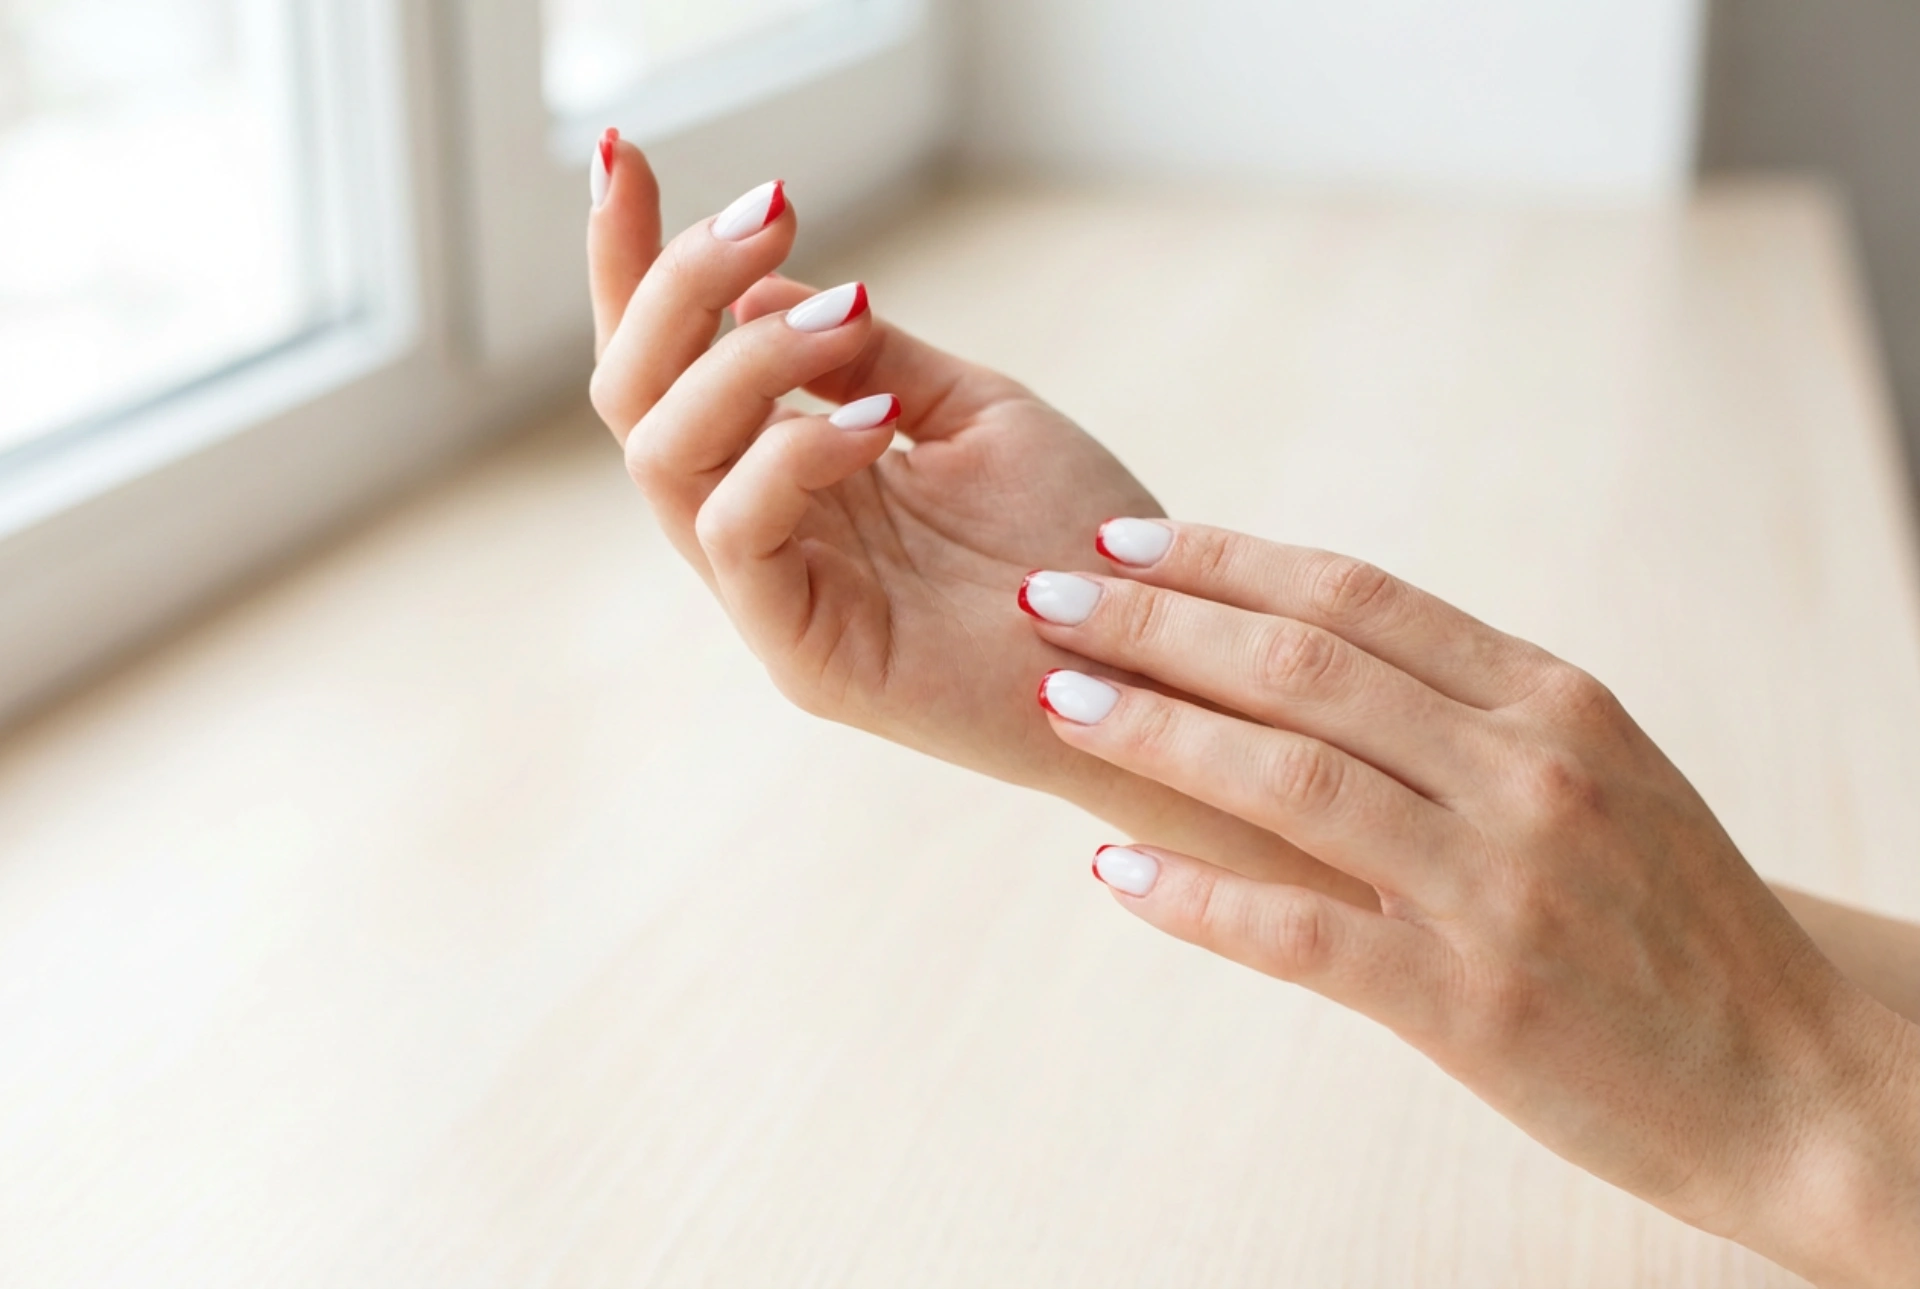


White and red nail art is a timeless combination that exudes elegance and confidence. Whether you're aiming for a classic French manicure with a twist, a bold geometric pattern, or delicate floral accents, these two colours create a striking contrast. However, achieving a flawless, professional-looking finish at home can be challenging. Streaks, smudges, and uneven coverage are common issues, especially when working with a stark white base. This guide will walk you through the steps to combine white and red nail polish perfectly, ensuring your manicure is smooth, opaque, and beautiful.
Preparing Your Nails for a Perfect Manicure
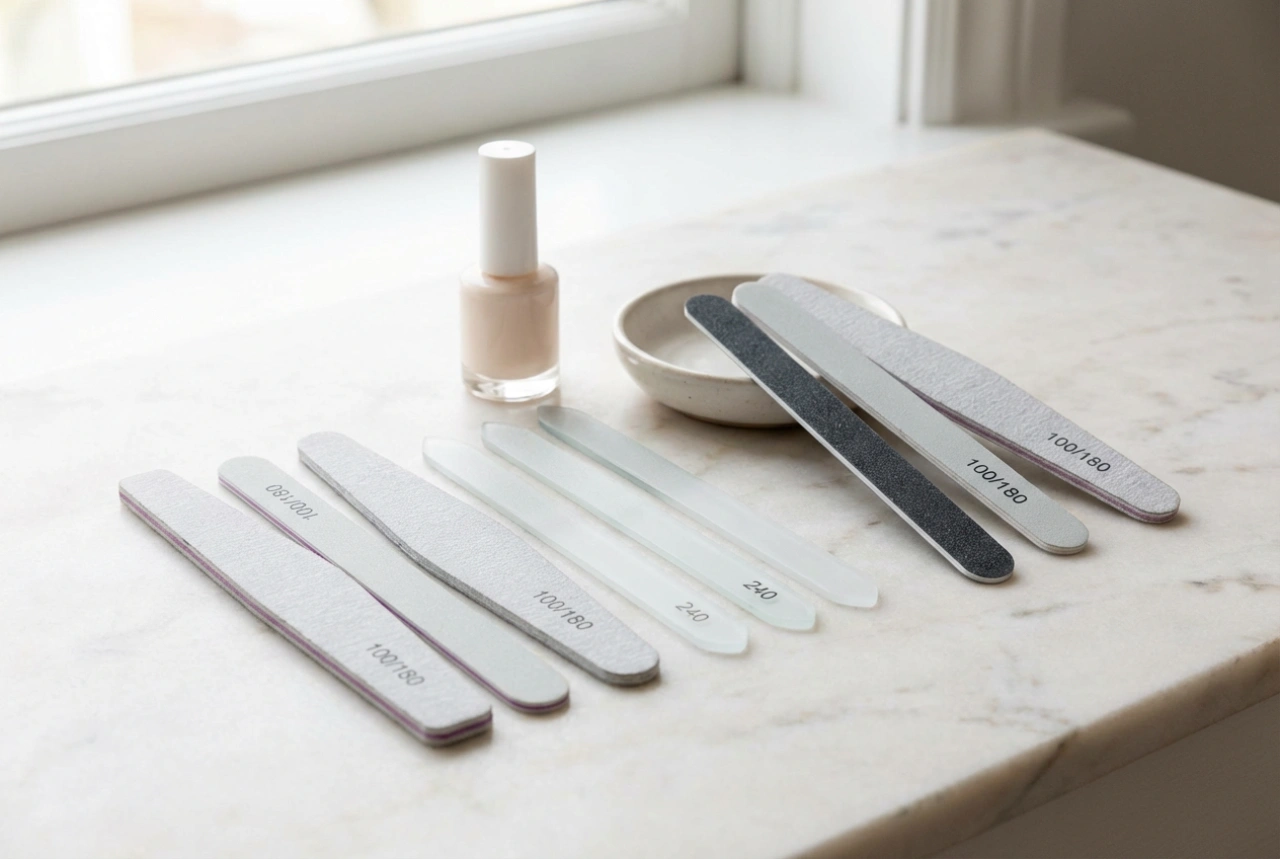
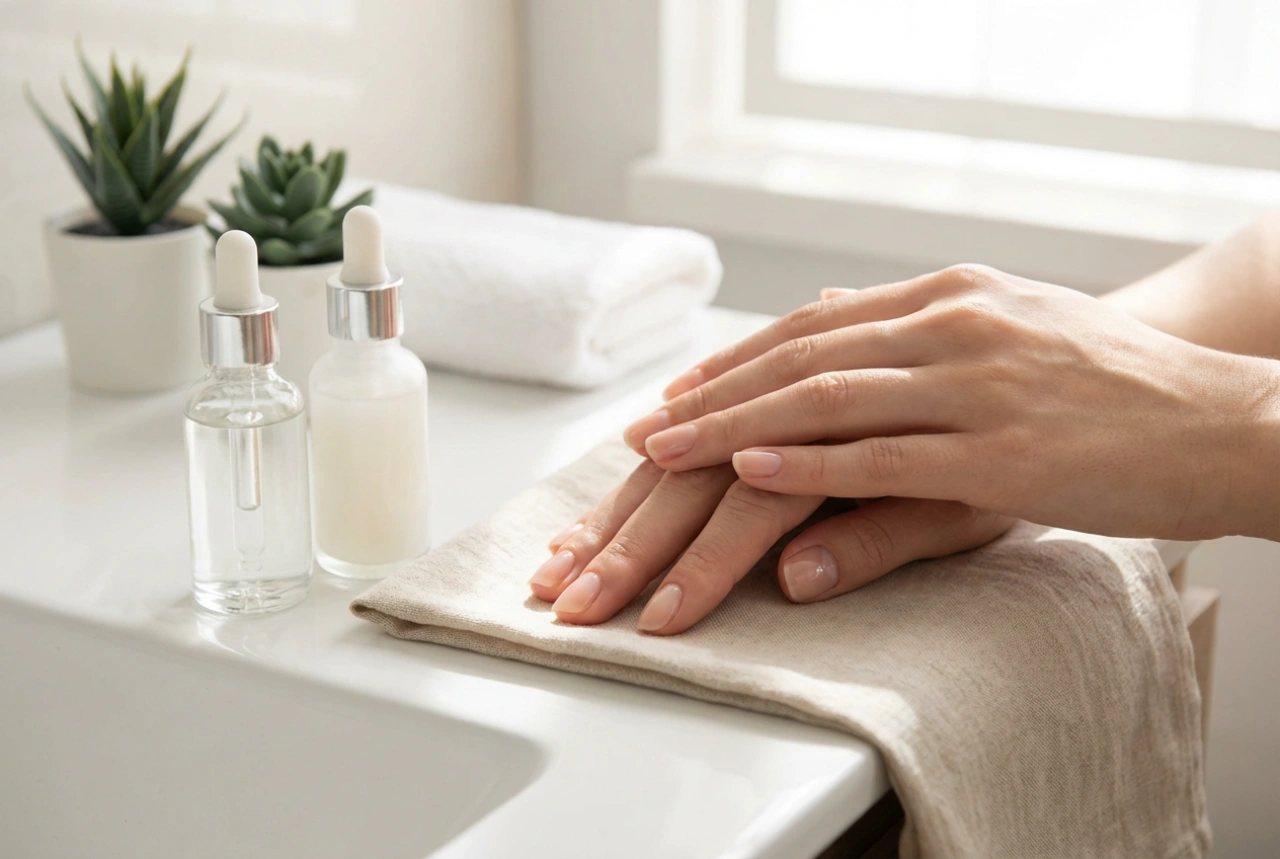
The foundation of any great nail art is well-prepared nails. Skipping this step can lead to a messy application and a shorter-lasting manicure. Start by ensuring your nails are clean and free of any old polish. Gently shape them with a nail file, moving in one direction to prevent splitting. Next, lightly buff the surface of your nails. This creates a slightly textured surface that helps the polish adhere better, reducing the chance of it streaking. Pay attention to your cuticles by gently pushing them back with a wooden or silicone cuticle pusher. Avoid cutting them, as this can lead to irritation. Finally, wipe each nail with a nail polish remover or alcohol wipe to remove any oils or dust before applying a base coat. A quality base coat is non-negotiable; it protects your natural nails from staining (especially from a vibrant red) and provides a smooth canvas for your colours.
Choosing the Right Polishes and Tools
The quality of your nail polish plays a significant role in the final result. For a white and red design, look for polishes that are highly pigmented and offer good coverage. Sheer or watery formulas will require many coats and are more prone to streaking.
- Opaque Polishes: A good quality, opaque white polish is essential. It's often the most challenging colour to apply evenly. Look for formulas described as 'full-coverage', though you will still apply thin layers for the best result. The same applies to your red polish – a rich, pigmented shade will cover the white base cleanly in fewer coats.
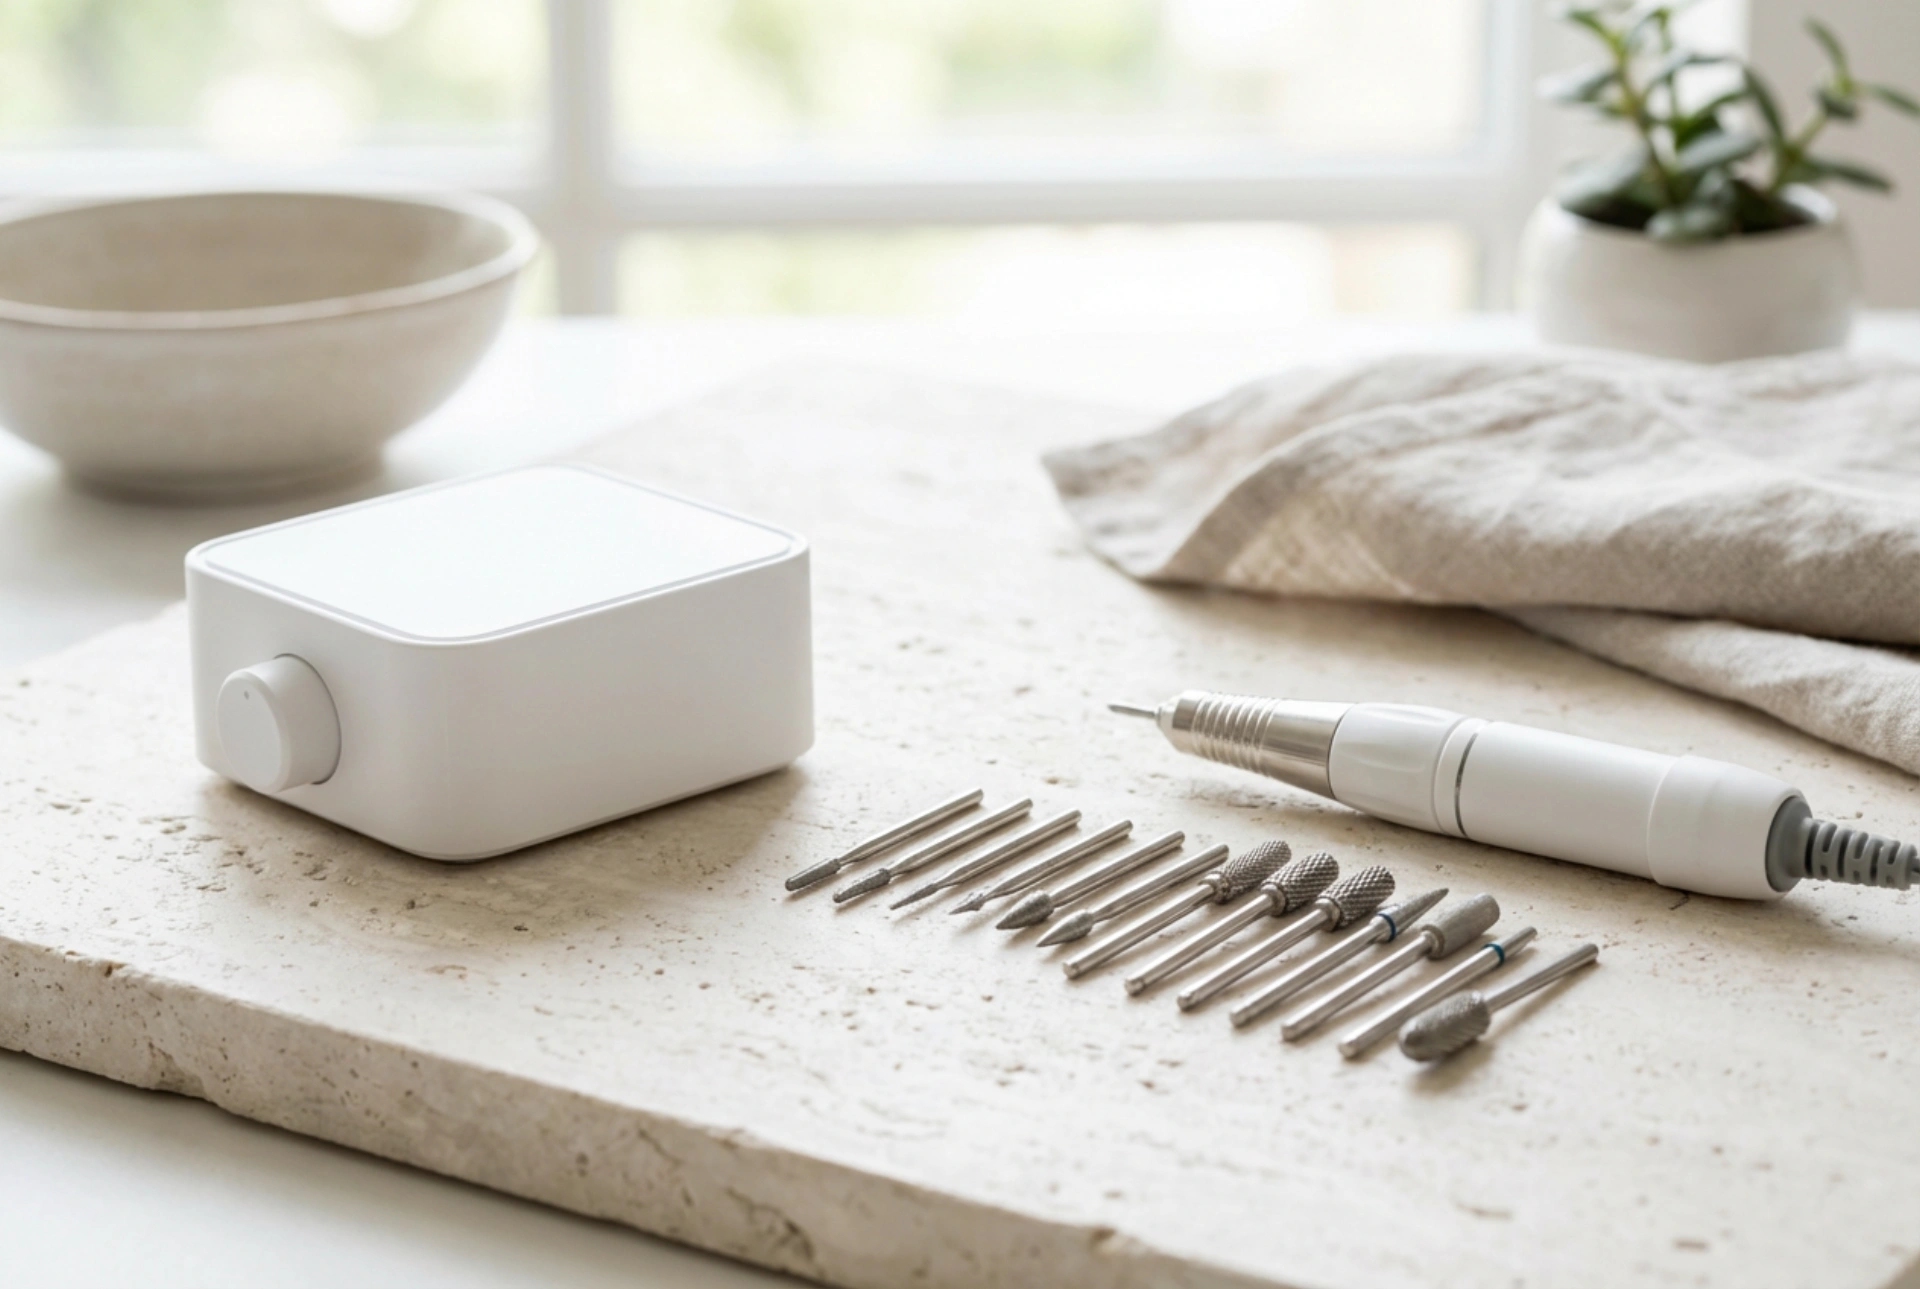
- Essential Tools: While you can create simple designs with just the polish brushes, a few extra tools can elevate your nail art and make precision much easier. Consider investing in a set of thin nail art brushes for fine lines and details, a dotting tool for perfect circles, and striping tape for creating crisp, geometric lines and clean French tips.
Techniques for a Streak-Free Application
Patience and technique are key to avoiding streaks and achieving opaque coverage. Rushing the process is the most common cause of smudges and unevenness. Always allow each coat of polish to dry thoroughly before applying the next.
The Base Colour: Achieving an Opaque White
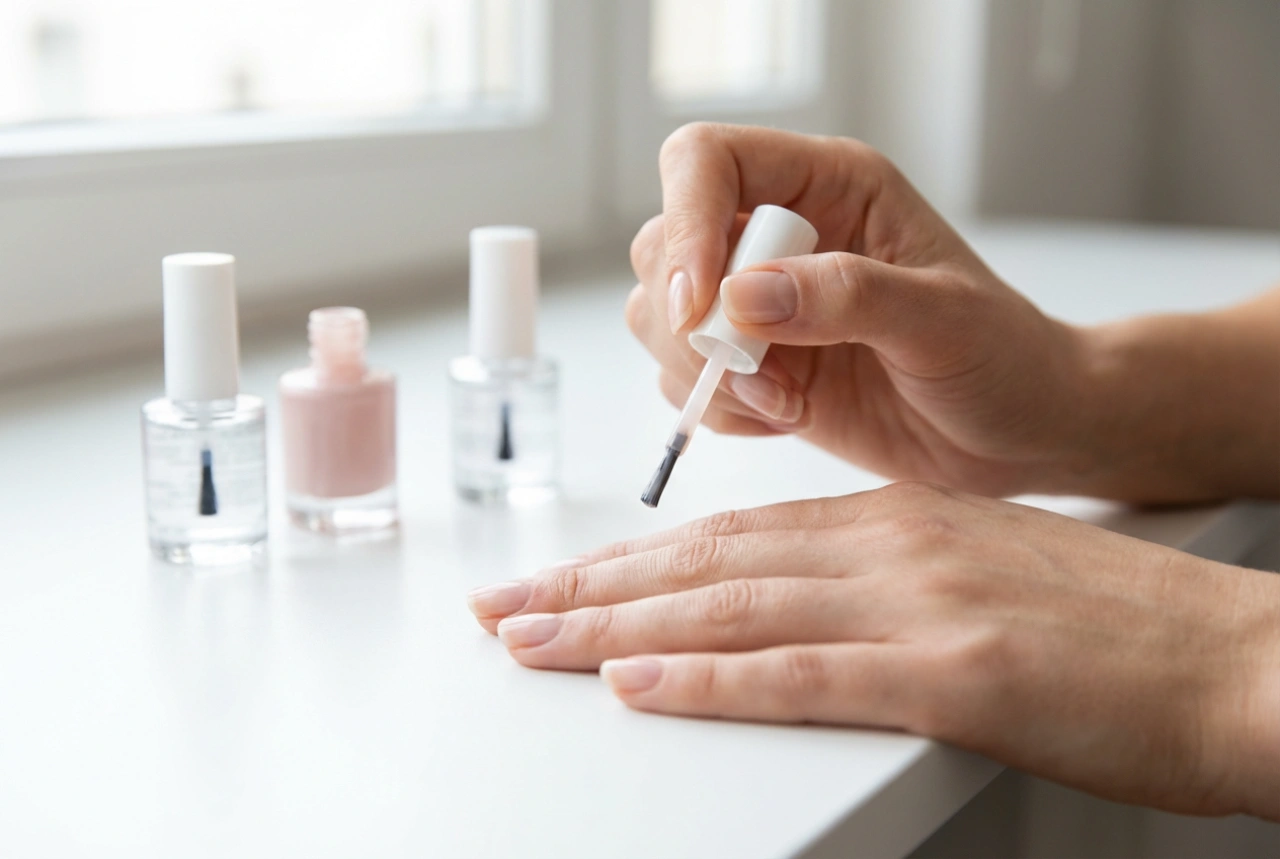
Applying white polish can be tricky, as it often appears streaky. The secret is to use multiple thin coats instead of one or two thick ones. Start by applying a very thin layer of white polish over your base coat. It will likely look patchy and sheer – this is normal. Let it dry completely for at least two to three minutes. Apply a second thin coat, which will build up the opacity. If needed, apply a third thin coat for a perfectly smooth, solid white base. This method prevents the polish from becoming goopy and ensures an even, streak-free finish.
Applying the Red Accent with Precision
Once your white base is completely dry to the touch, you can add your red design. How you apply it depends on the look you want to achieve. For clean, sharp lines, such as in a half-moon or geometric design, striping tape is your best friend. Apply the tape firmly to the nail to section off the area you want to remain white. Paint the red polish over the exposed part of the nail. For best results, carefully remove the tape while the red polish is still slightly wet to ensure a crisp line. If you are creating a design freehand, use a fine-tipped nail art brush. Load a small amount of polish onto the brush and paint with slow, steady strokes. If you make a mistake, you can quickly clean it up with a small brush dipped in nail polish remover before it dries.
Sealing Your Design for Longevity and Shine
The final step is to seal your beautiful design with a high-quality top coat. This is crucial for several reasons. A top coat protects your manicure from chipping and extends its wear time. It also adds a brilliant, glossy shine that makes the colours pop. Furthermore, a good top coat can help to smooth out the surface of the nail, minimising any slight ridge that might have formed between the white and red polish layers. This gives your manicure a truly professional, gel-like finish. Wait until your red design is completely dry before applying the top coat to avoid smudging your hard work. Glide the brush over the nail from cuticle to tip, capping the edge to prevent chipping.