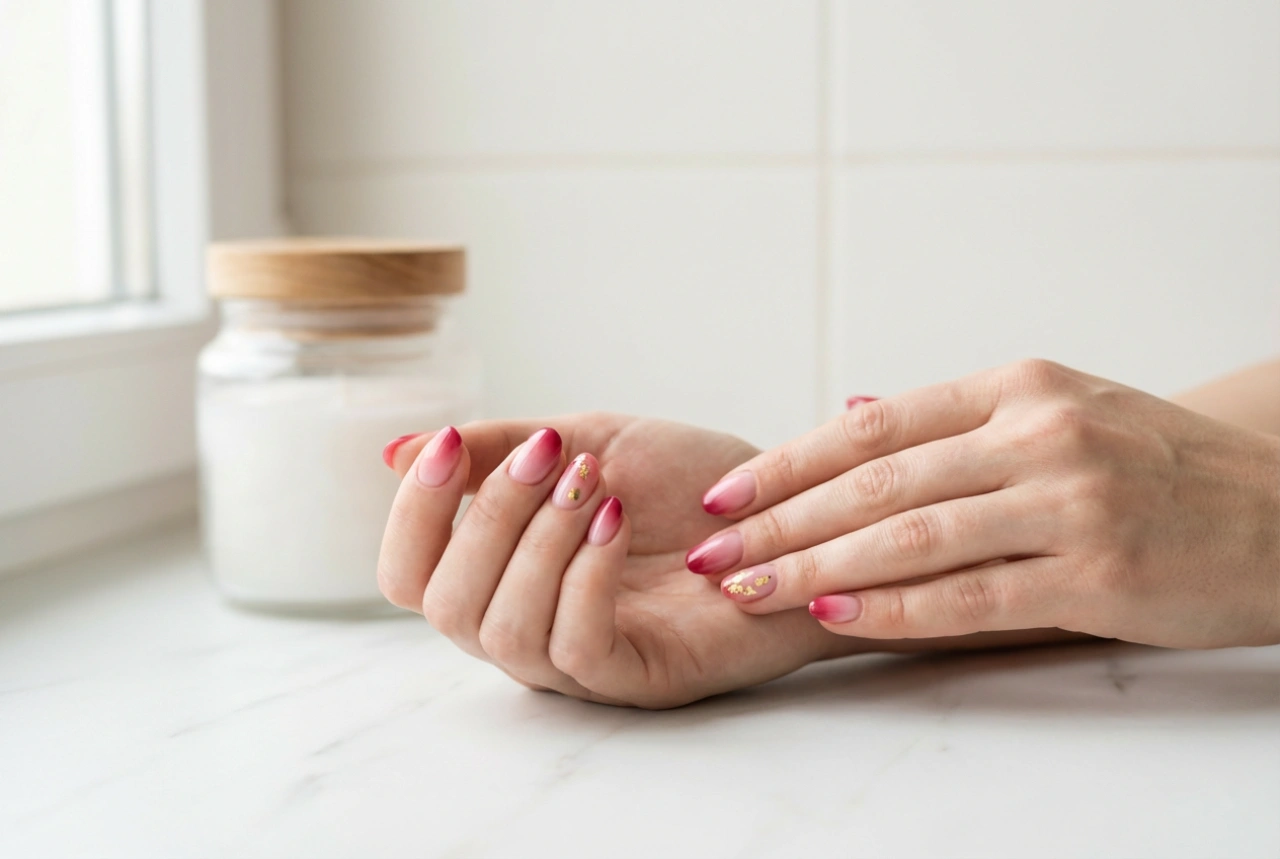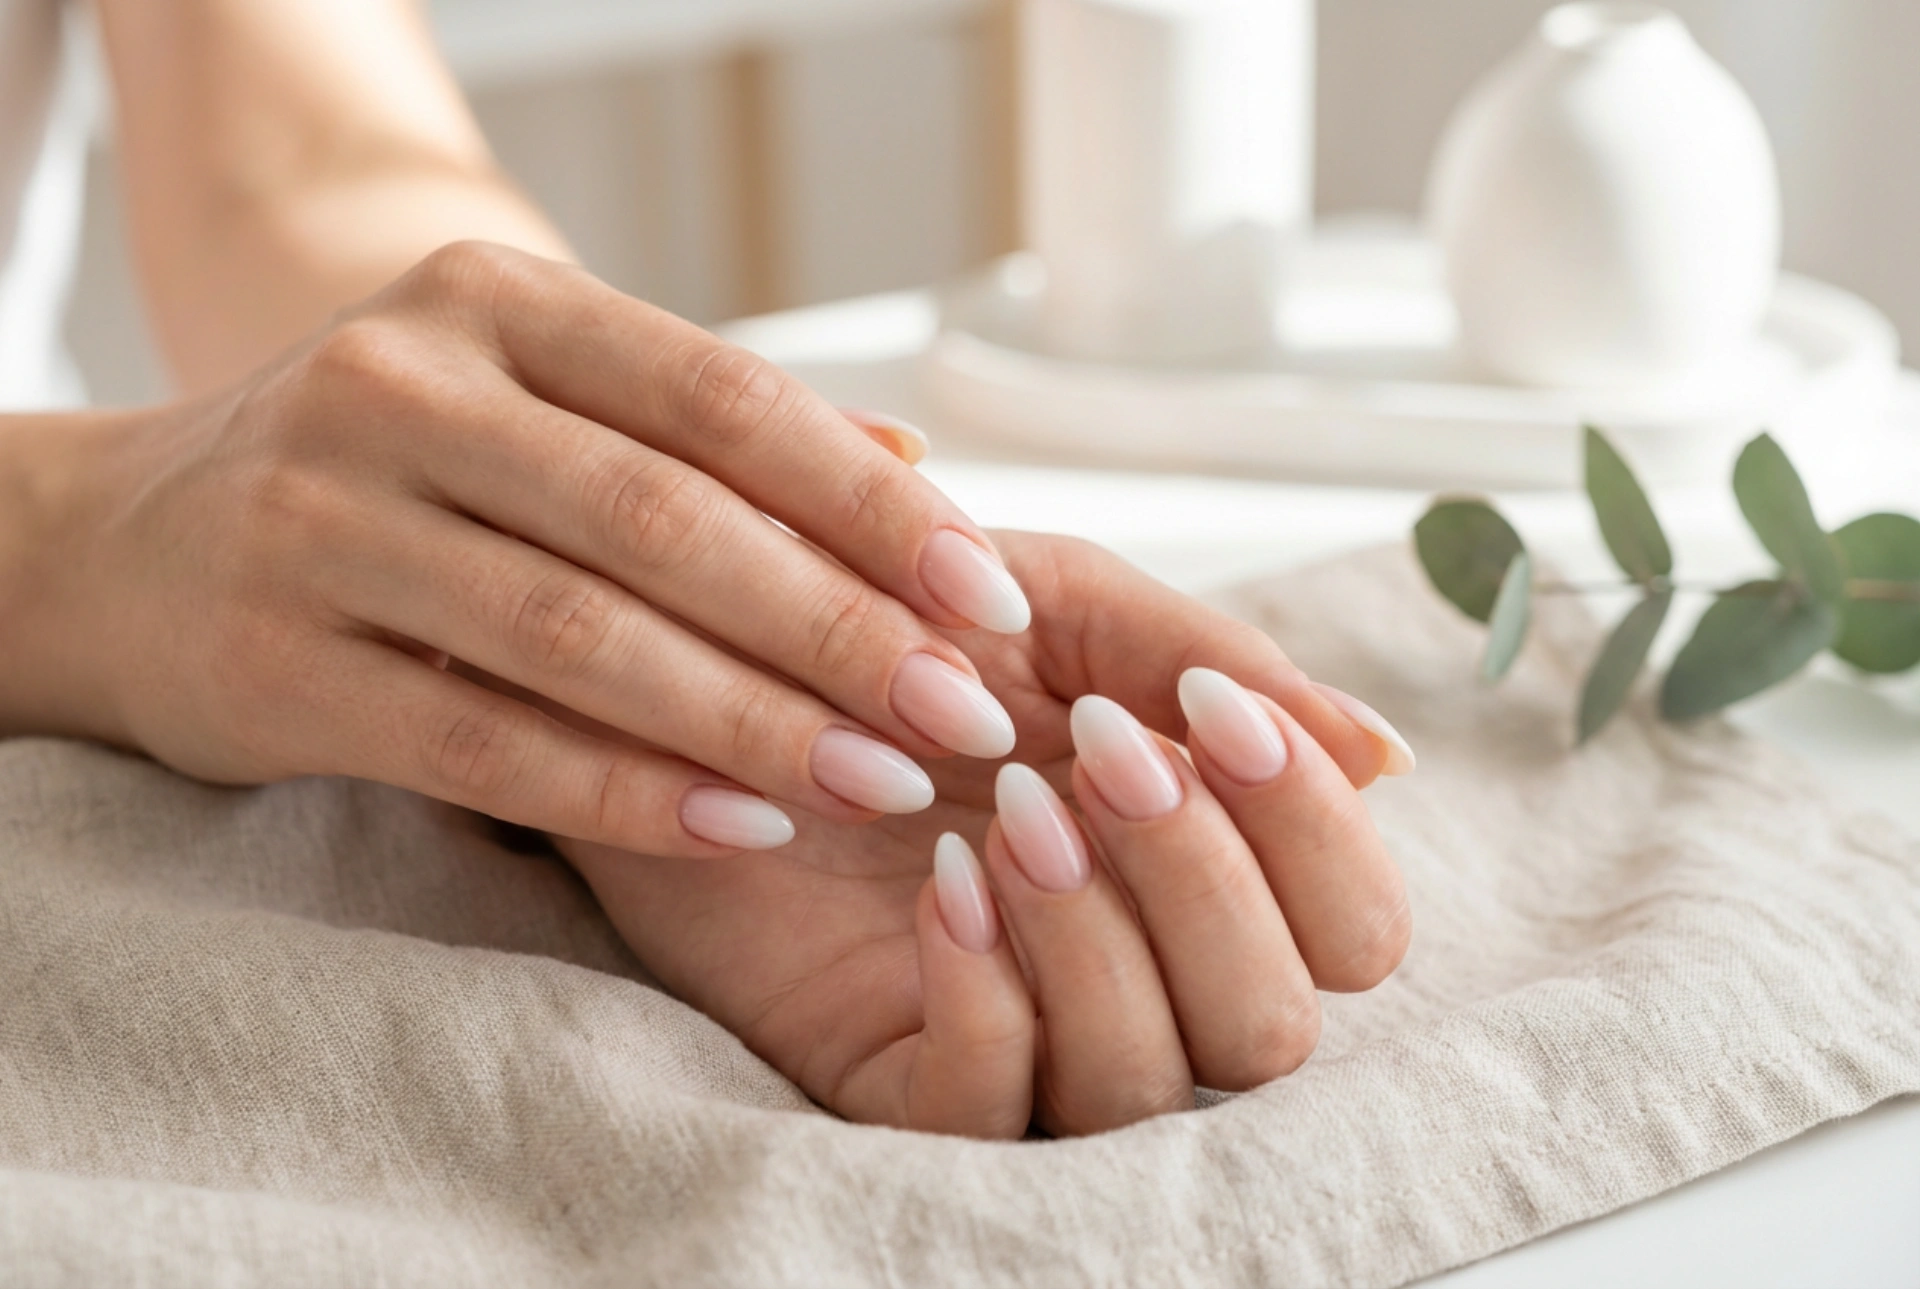


The baby boomer manicure, often called milky ombre, is the epitome of understated elegance. Its delicate and seamless transition from a soft, milky white to a sheer, natural pink creates a clean, modern, and refined aesthetic that complements any look. This timeless style offers a subtle twist on the classic French manicure, resulting in a sophisticated finish that appears both natural and impeccably polished. Achieving this beautiful gradient at home is entirely possible with the right techniques and a little patience. This guide will walk you through the process step-by-step, helping you master this popular nail design.
What is a Baby Boomer Manicure?
The baby boomer nail design is characterised by its soft, blended gradient. Unlike the distinct white tip of a traditional French manicure, the baby boomer style features a smooth, airbrushed-like transition from a nude or pale pink shade at the cuticle to a soft, milky white at the tip of the nail. The name is said to originate from the post-World War II baby boom era, a time when soft pink and white shades were popular choices for manicures. The result is a 'your nails but better' look that elongates the fingers and provides a chic, versatile, and perpetually fashionable appearance. It's a universally flattering style that suits all nail shapes and lengths, from short and natural to long and almond-shaped.
Preparing Your Nails for the Perfect Gradient
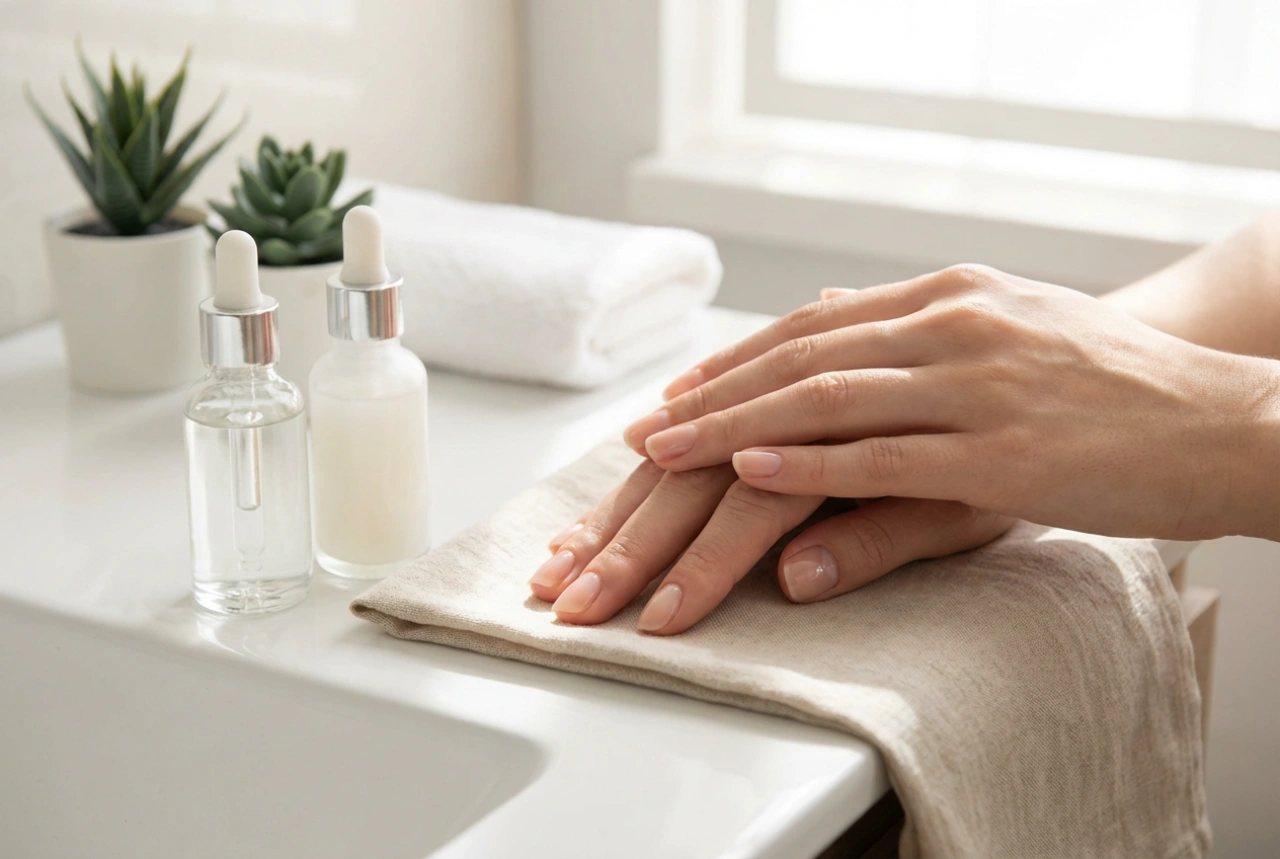
Proper preparation is the foundation of any flawless manicure. Before you begin applying colour, it's essential to create a smooth and healthy canvas. This not only helps the polish adhere better but also contributes to a more professional-looking and longer-lasting result.
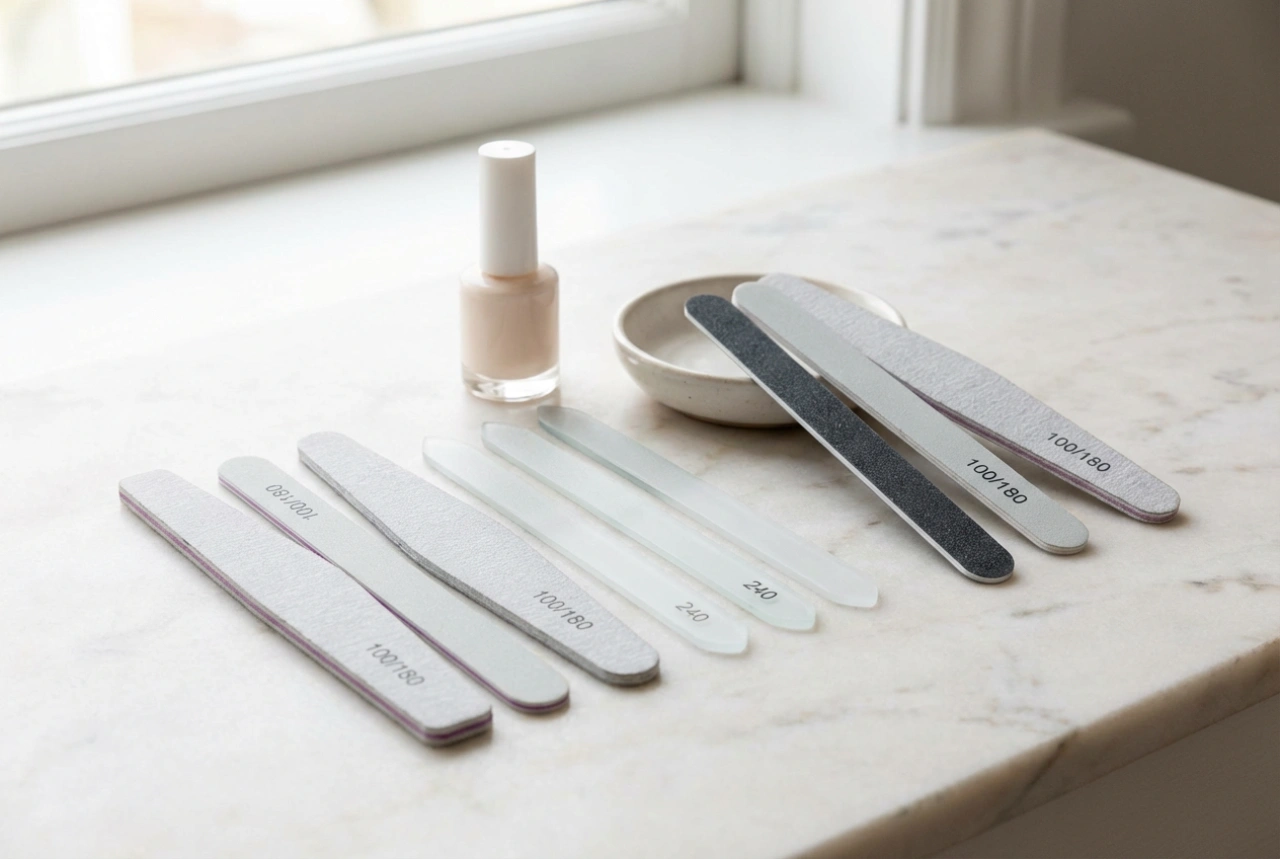
Nail Shaping and Cuticle Care
Start by removing any old polish. Gently file your nails into your desired shape, whether it's square, round, almond, or oval. Always file in one direction to prevent splitting or weakening the nail. Next, address your cuticles. Apply a cuticle remover and let it sit for a moment before gently pushing the cuticles back with a wooden stick or a soft pusher. Avoid cutting your cuticles at home, as this can lead to irritation or damage. Finish by gently buffing the surface of your nails with a fine-grit buffer. This will remove any natural oils and create a slightly textured surface for the base coat to grip onto. Wipe away any dust with a lint-free wipe.
Creating a Smooth Base
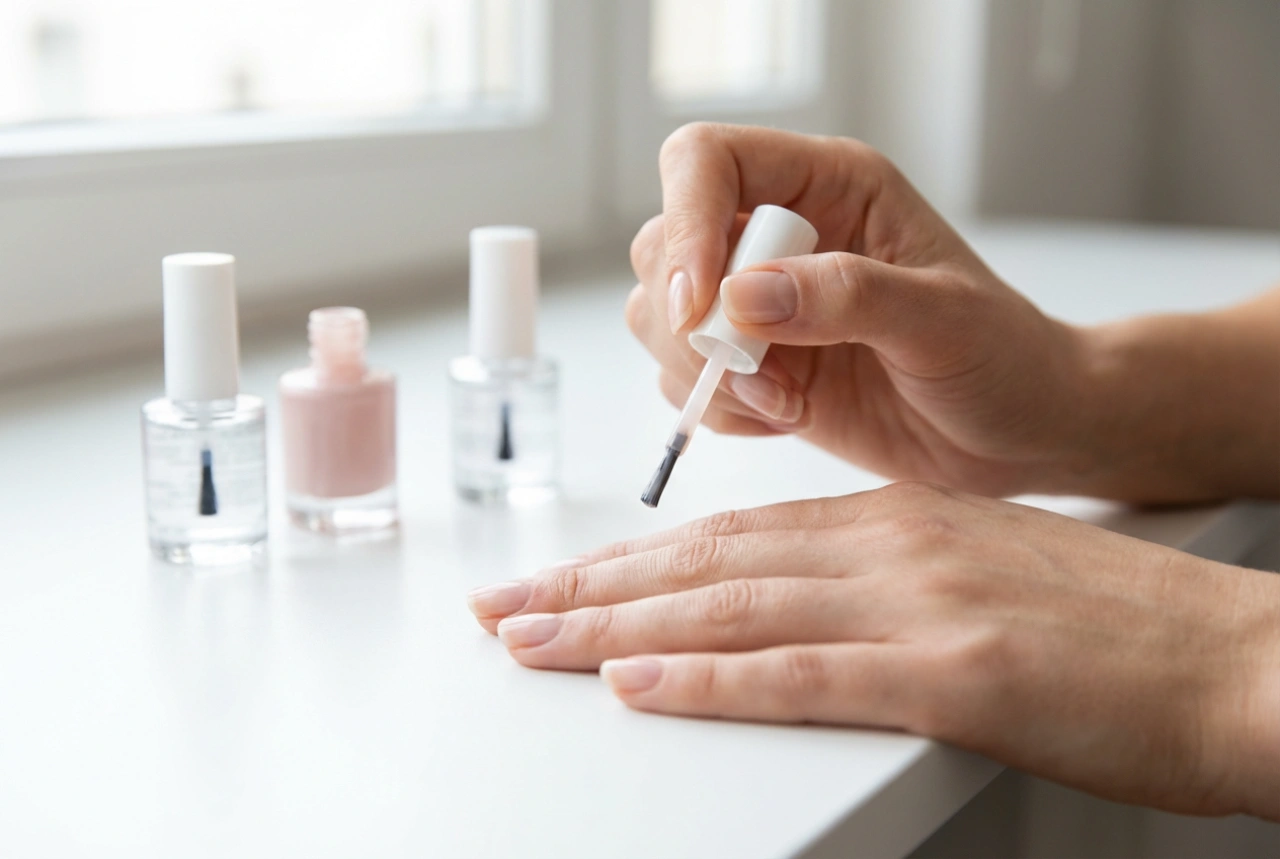
Applying a quality base coat is a non-negotiable step. It protects your natural nails from staining, especially with pigmented polishes, and provides a smooth, even surface for the colour application. A good base coat fills in minor ridges and imperfections, which is crucial for achieving a seamless ombre effect. Apply one thin, even layer of base coat to each nail and allow it to dry completely before moving on to the colour.
Achieving the Baby Boomer Effect at Home: A Step-by-Step Guide
The most accessible method for creating a gradient effect at home is using a simple makeup sponge. This technique allows for a soft and diffused blend that is difficult to achieve with brushes alone.
Step 1: Apply the Base Colour
Begin by applying two thin coats of your chosen sheer pink or nude polish over the entire nail. This will be the foundation of your gradient. Ensure each coat is completely dry before proceeding to the next step. This base colour will peek through at the cuticle end, creating the starting point for your ombre.
Step 2: Prepare Your Sponge
Take a small, disposable makeup sponge (a wedge-shaped one works well). Paint a horizontal stripe of your nude/pink polish and, directly below it, a stripe of the milky white polish. The colours should slightly overlap in the middle. The width of the stripes should be roughly the same as your nail.
Step 3: Create the Gradient
Gently press and dab the polish-loaded sponge onto your nail. Use a light, bouncing motion rather than a swiping one. The first layer will look sheer and a bit patchy—this is normal. You will see the beginnings of the gradient forming, with the white concentrated at the tip and blending into the pink base.
Step 4: Build the Intensity
Reload the sponge with polish for each nail to ensure a consistent colour application. Repeat the dabbing process on each nail two to three times, allowing a minute or so of drying time between layers. This builds up the opacity and helps to smooth out the blend, creating that signature soft-focus effect. Focus the dabbing slightly lower with each layer to intensify the white at the tip.
Step 5: Clean Up and Seal
The sponging technique can be messy. To make cleanup easier, you can apply a liquid latex barrier or petroleum jelly around your cuticles before you start sponging. Once you are happy with the gradient, peel off the barrier or use a small brush dipped in nail polish remover to carefully clean up any polish on the skin around your nail. Finish by applying a high-gloss top coat to seal the design, smooth out any texture from the sponge, and add a beautiful, long-lasting shine.
Common Mistakes to Avoid
Achieving a perfect baby boomer manicure takes practice. Here are some common pitfalls and how to steer clear of them:
- A Harsh Line Instead of a Blend: This often happens if you swipe the sponge instead of dabbing it, or if there isn't enough overlap between the colours on the sponge. Use a light, bouncing motion to meld the colours together seamlessly.
- Bubbles in the Polish: Bubbles can be caused by shaking the polish bottles too vigorously or pressing the sponge too hard onto the nail. Roll the bottles between your hands to mix them, and use a gentle touch when dabbing.
- Uneven Colour: If the colour looks patchy, it may be because you didn't apply enough polish to the sponge or didn't dab enough times. Don't be afraid to apply two or three layers of the sponged gradient to build up the colour.
- A Thick, Lumpy Finish: Using thick coats of polish will lead to a bulky look and slow drying times. Always apply thin layers, both for the base colour and when applying polish to the sponge.