


A nail drill, also known as an e-file, can elevate your at-home manicure, helping you achieve a clean, professional finish with greater precision and speed. While it may seem like a tool reserved for salon technicians, with the right knowledge and a gentle approach, you can safely incorporate it into your own nail care routine. Proper preparation, understanding the various components, and mastering the technique are key to beautiful results without compromising the health of your nails. This guide will walk you through the essentials of using a nail drill effectively and safely.
Before You Begin: Essential Preparation
A successful and safe e-filing session starts long before the drill touches your nail. Setting up your space and preparing your nails properly will make the process smoother and more hygienic. First, choose a stable, flat surface in a well-lit area. Good lighting is crucial for seeing exactly what you are doing and avoiding mistakes. Lay down a towel to catch dust and protect your surface. Ensure your hands and nails are completely clean and dry. Any remaining moisture or oils can interfere with the filing process. If you are wearing old polish, remove it completely before you start. Finally, take a moment to familiarise yourself with your nail drill. Read the instruction manual to understand its settings, how to change the bits, and its basic functions.
Choosing the Right Nail Drill Bit
Nail drill bits come in various shapes, sizes, and materials, each designed for a specific task. Using the correct bit is fundamental to achieving your desired outcome and protecting your natural nail from damage. For beginners, it's best to start with finer grit bits and only move to coarser ones as you gain confidence.
For Cuticle Care
The area around the cuticle is delicate and requires a gentle touch. Use a small, fine-grit bit, such as a ball-shaped or flame-shaped bit, to gently push back and lift non-living tissue from the nail plate. Always use the lowest speed setting for this task. The goal is to clean up the cuticle line, not to remove the living tissue of the eponychium, which protects the nail from external agents. Never apply pressure; let the bit do the work.
For Shaping and Shortening
To shorten the length of your nails or to refine their shape, you can use a cone-shaped or small barrel bit. These are generally more efficient than a manual file. Work in one direction, from one side of the nail to the centre, and then from the other side to the centre. Avoid a back-and-forth sawing motion, which can cause micro-fractures in the nail. A medium speed setting is often suitable for shaping, but always start low and increase gradually if needed.
For Surface Work and Smoothing
If you have ridges or unevenness on the nail surface, a sanding band or a smooth-top barrel bit can be used to gently buff the nail plate. Use a fine-grit sanding band and keep the drill moving constantly across the entire nail surface. Never hold the bit in one spot, as the friction can generate heat and cause damage to the nail bed. The aim is to create a smooth canvas, not to thin the nail excessively.
Mastering Speed and Technique
Controlling the speed and your hand movements is perhaps the most critical aspect of using a nail drill safely. Always begin with the drill on its lowest speed setting, especially when you are new to the tool. You can gradually increase the speed as you become more comfortable and move on to different tasks. A good rule of thumb is to use low speeds (1,000-7,000 RPM) for natural nails and cuticle work, medium speeds (7,000-15,000 RPM) for shaping, and higher speeds only for work on artificial enhancements like gel or acrylics, which requires advanced skill.
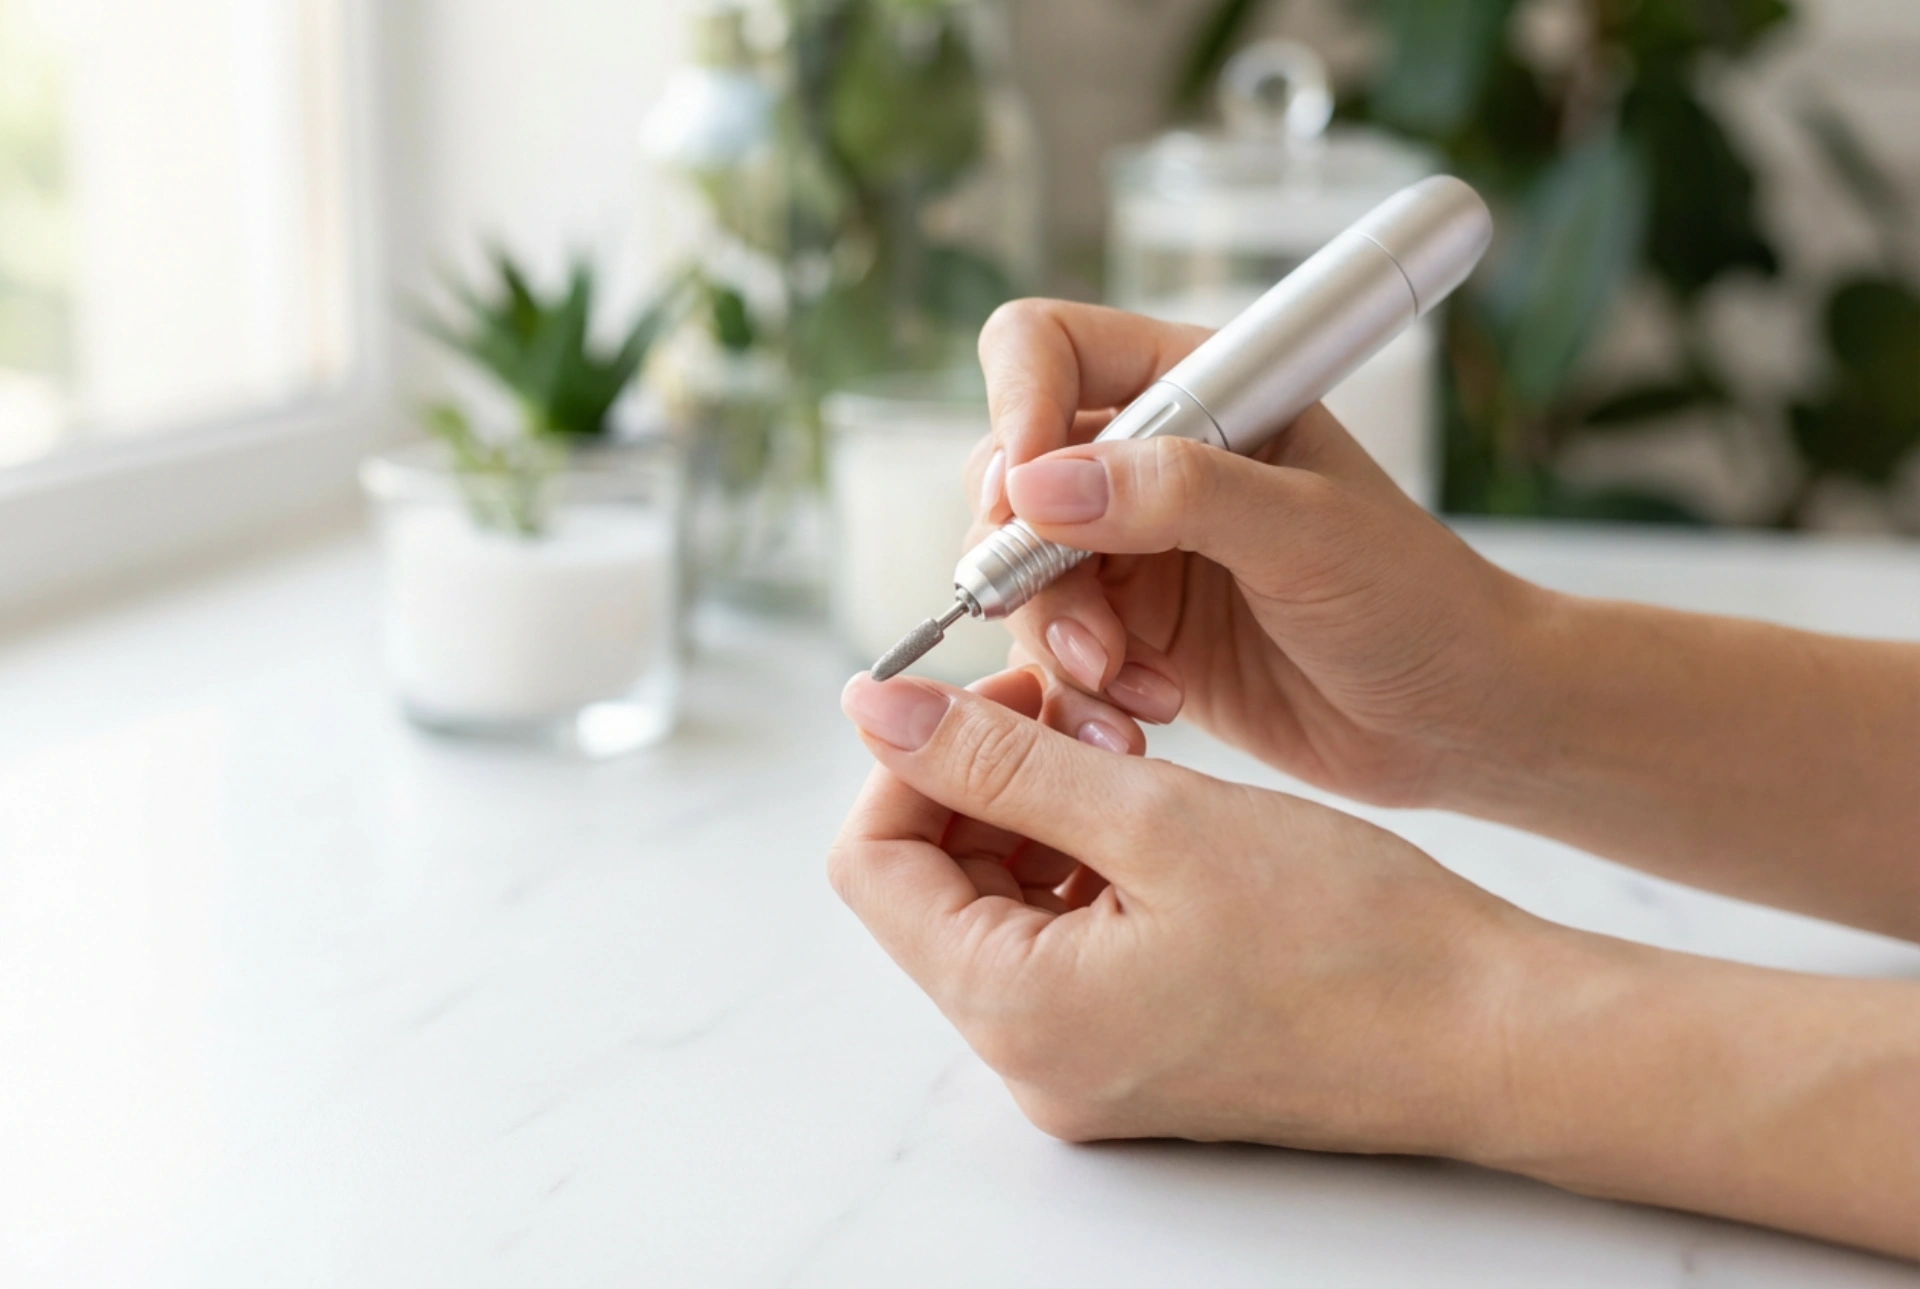
Hold the handpiece like you would a pen or pencil for maximum control and stability. Rest the side of your hand on the table to keep it steady. Use a very light touch and let the rotation of the bit do the work. Applying pressure is unnecessary and is the most common cause of damage. Keep the drill bit in constant motion, moving it smoothly and evenly across the nail. Pausing in one spot can create friction burns and divots in the nail plate.
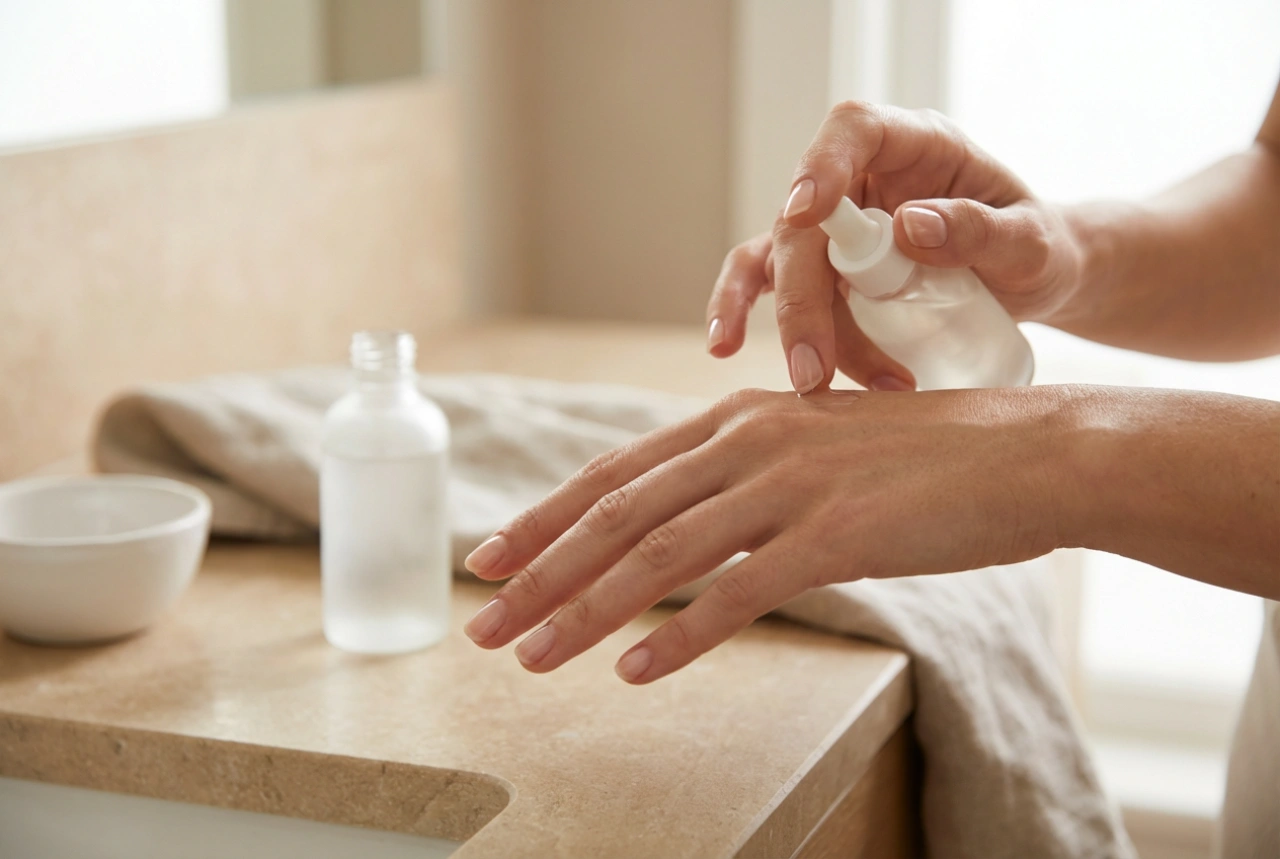
Safety and Aftercare
Prioritising safety will ensure your nails remain healthy and strong. Always keep the drill bit parallel to the nail plate to avoid digging into it. Be especially careful around the cuticle and sidewalls, where the skin is soft. If you ever feel any pain or excessive heat, stop immediately. After you have finished filing and shaping, it's time for aftercare. Use a soft brush to wipe away all the dust from your nails and hands. Then, apply a nourishing cuticle oil to the skin around your nails to rehydrate it. Finish by applying a good quality hand cream to moisturise your hands. Don't forget to clean your tools. Detach the drill bit and clean it according to the manufacturer's instructions, usually with a brush and a suitable sanitising solution. Wipe down the handpiece as well. Proper hygiene prevents the transfer of impurities during your next manicure.