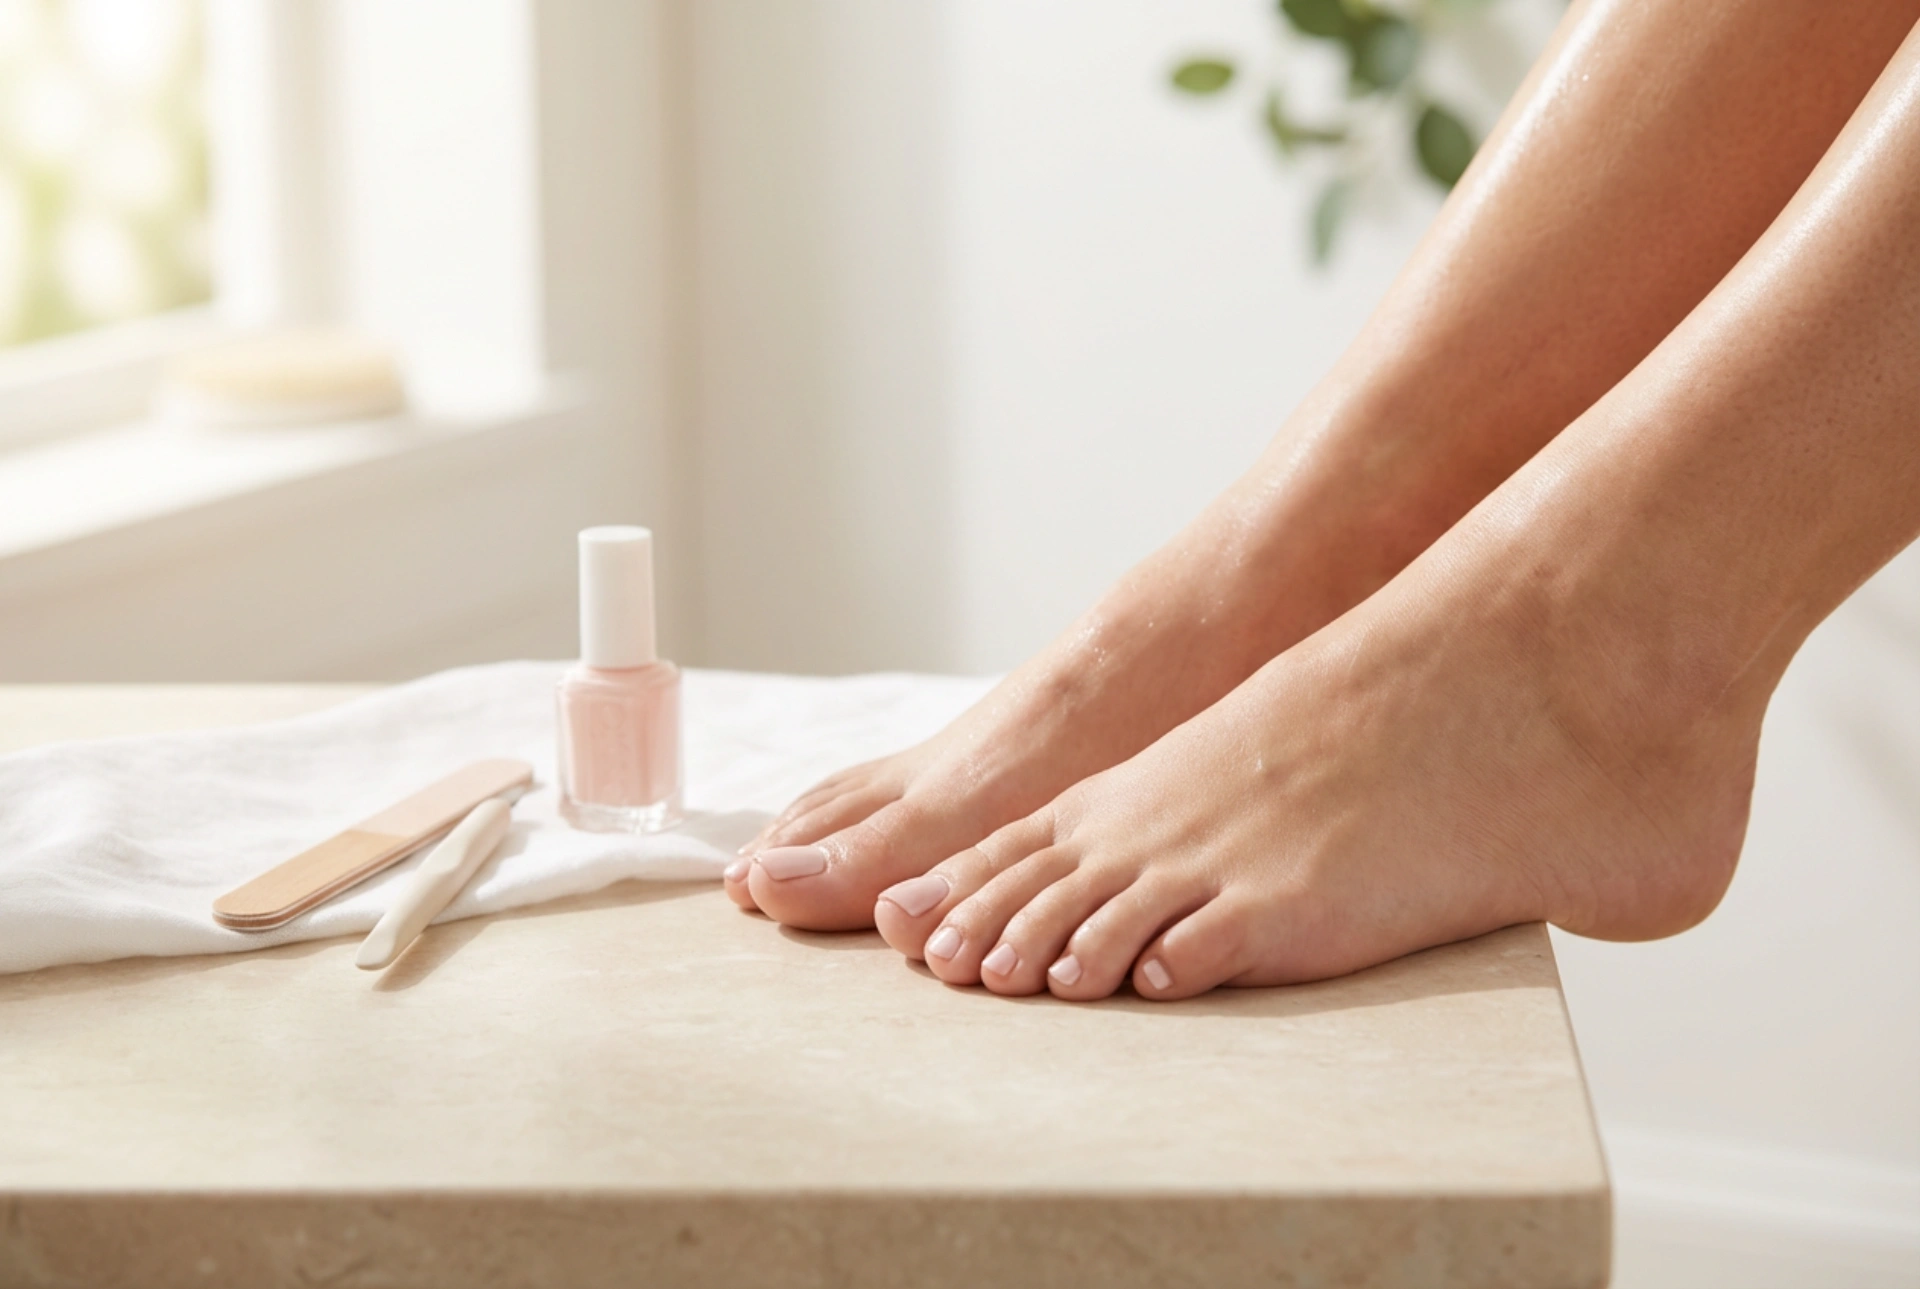


A fresh, perfectly applied pink pedicure can be a delightful touch of elegance and a wonderful act of self-care. The right shade of pink can brighten your mood and add a polished finish to any look. Achieving that salon-quality result at home is entirely possible with the right techniques and a little patience. This guide will walk you through the essential steps, from preparing your feet to sealing in that beautiful colour for a long-lasting, flawless finish.
Step 1: Essential Preparation for Feet and Nails
The secret to any long-lasting pedicure lies in the preparation. Skipping this stage can lead to a less-than-perfect finish and a shorter lifespan for your colour. Start by creating a spa-like atmosphere to make the process more enjoyable.
Foot Soak and Exfoliation
Begin by soaking your feet in a basin of warm water for 10-15 minutes. You can add some bath salts or a few drops of a gentle liquid soap to help soften the skin. After soaking, gently pat your feet dry. Use a foot file or a pumice stone on any areas with rough skin, such as the heels and balls of your feet. Follow this with a gentle foot scrub, massaging it into the skin to exfoliate and improve circulation. Rinse thoroughly and dry your feet completely.
Nail and Cuticle Care
Next, focus on your toenails. Trim them straight across using a nail clipper, being careful not to cut them too short, which can be uncomfortable. Use a nail file to gently smooth the edges and shape them to your preference, whether square or slightly rounded. Afterwards, apply a cuticle-softening product and use a wooden or rubber-tipped cuticle pusher to gently push back the cuticles. Avoid cutting the cuticles, as they act as a protective barrier. Finally, take a fine-grit buffer and lightly buff the surface of each nail. This removes any natural oils and creates a slightly textured surface for the polish to adhere to, which is key for longevity.
Step 2: The Art of Flawless Polish Application
With your nails perfectly prepped, you're ready for the colour. Working carefully and in thin layers is crucial for achieving a smooth, professional-looking result that dries properly and resists chipping.
Always Start with a Base Coat
Never skip the base coat. This clear layer serves several important functions: it protects your natural nails from being stained by the pigment in the colour polish, it fills in minor ridges for a smoother surface, and it gives the coloured polish something to grip onto, extending the life of your pedicure. Apply one thin layer to each nail and let it dry completely for a minute or two.
Applying the Pink Colour
Now for the main event. Choose your favourite shade of pink. When applying the colour, aim for thin, even coats. Overloading the brush will lead to a thick, goopy application that takes forever to dry and is prone to smudging. A good technique is the three-stroke method: one stroke down the centre of the nail, followed by one on each side. Apply your first coat to all ten toes. It will likely look a bit streaky or sheer, which is normal. Let it dry for at least two to three minutes before applying a second thin coat in the same manner. This second coat should provide full, even coverage.
Seal with a Top Coat
Once your second coat of colour is dry to the touch, it's time to seal your work. A high-quality top coat is essential for adding brilliant shine, protecting the colour from chipping and fading, and helping the layers underneath to dry more quickly. Apply one layer of top coat, making sure to cap the free edge of the nail (swiping the brush along the tip) to seal the colour in and prevent premature wear.
Step 3: Post-Pedicure Care and Maintenance
Your beautiful pink pedicure is complete, but a little aftercare will ensure it stays looking perfect for as long as possible.
- Allow Ample Drying Time: Even if your nails feel dry to the touch, the polish underneath can remain soft for several hours. Be gentle and avoid closed-toe shoes or tight socks for as long as possible, ideally for a few hours.
- Moisturise Daily: Keep the skin around your nails and your feet hydrated. Apply a nourishing cuticle oil to your toenails daily, and use a good foot cream to keep your skin soft. Hydrated skin and nails will make your pedicure look its best.
- Reapply the Top Coat: To boost shine and protection, you can apply another thin layer of top coat every two to three days. This can significantly extend the life of your pedicure.


