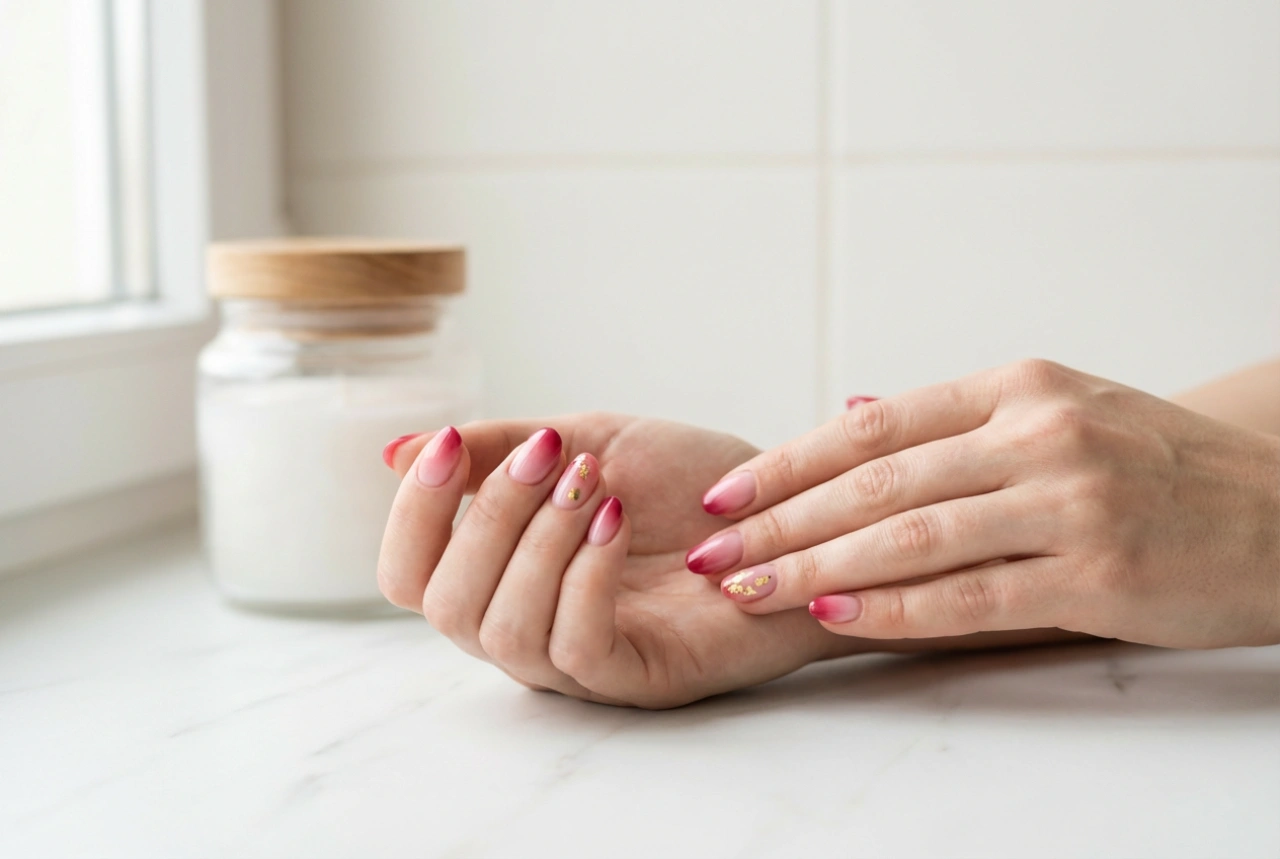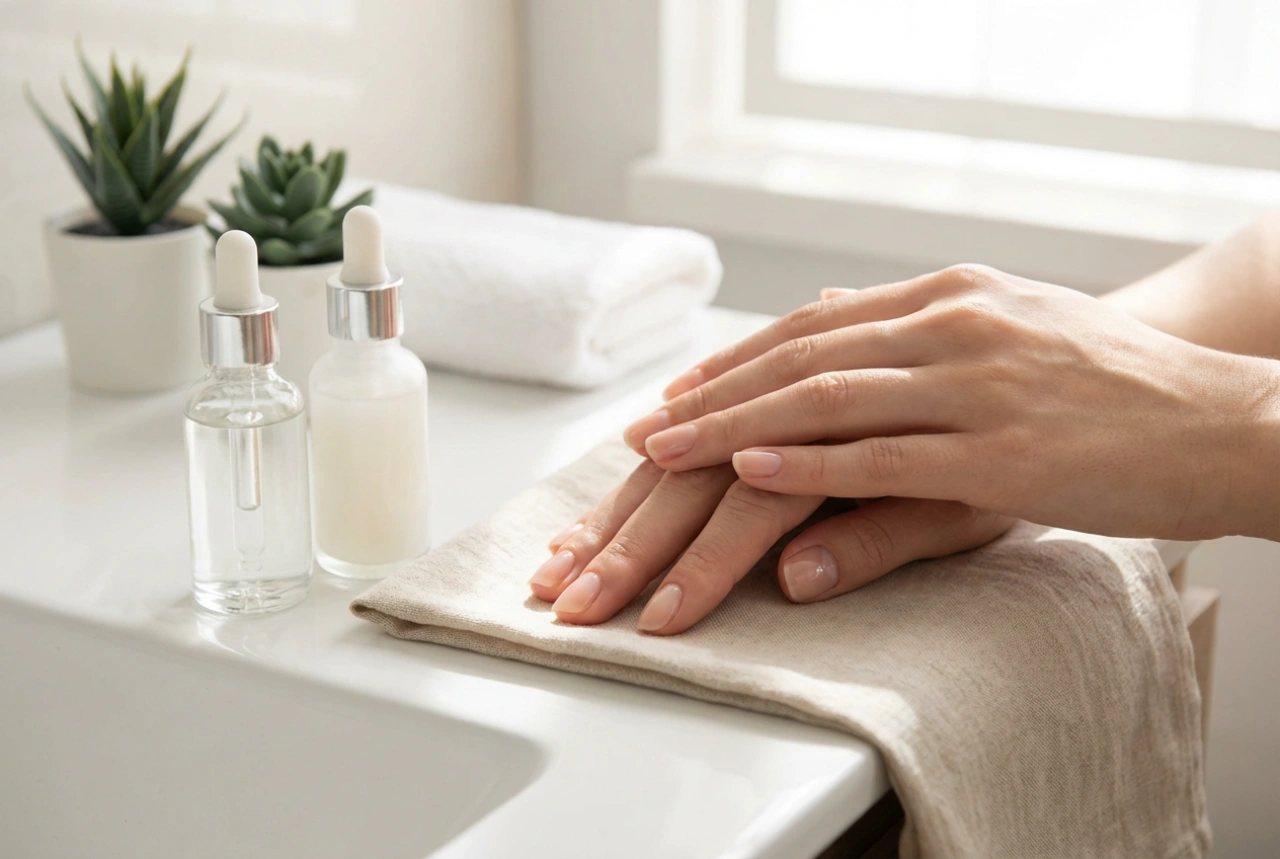


Achieving a salon-perfect manicure at home is a satisfying ritual, and a home nail drill, also known as an e-file, can elevate your routine to a professional level. This tool helps with everything from shaping nails to tidying cuticles with precision and ease. Understanding how to use it safely and effectively is key to unlocking its full potential. This guide will walk you through the essentials, from your very first use to proper care of your device and its accessories.
Getting Started: Choosing the Right Tool and Bits
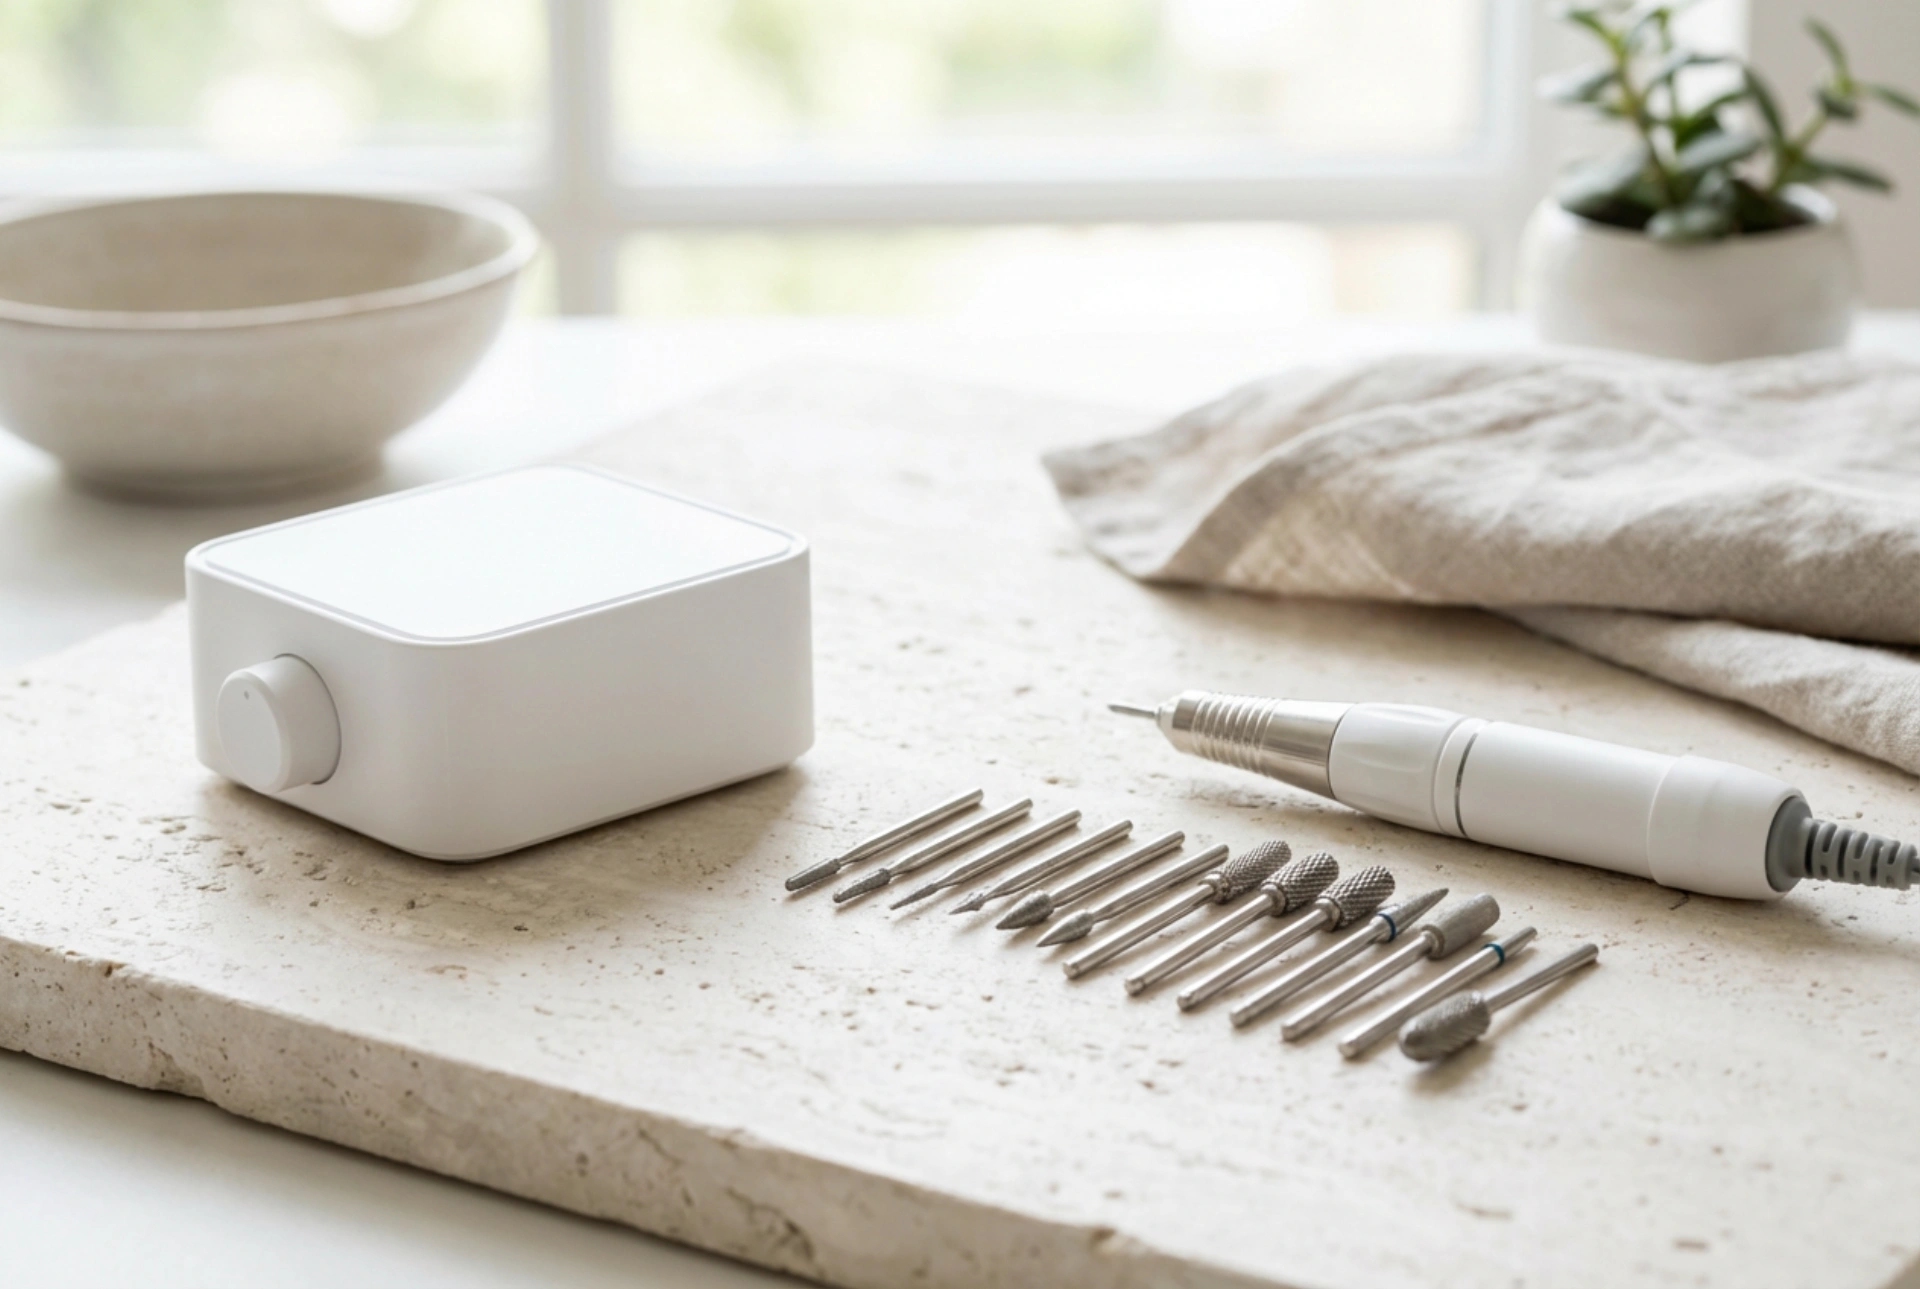
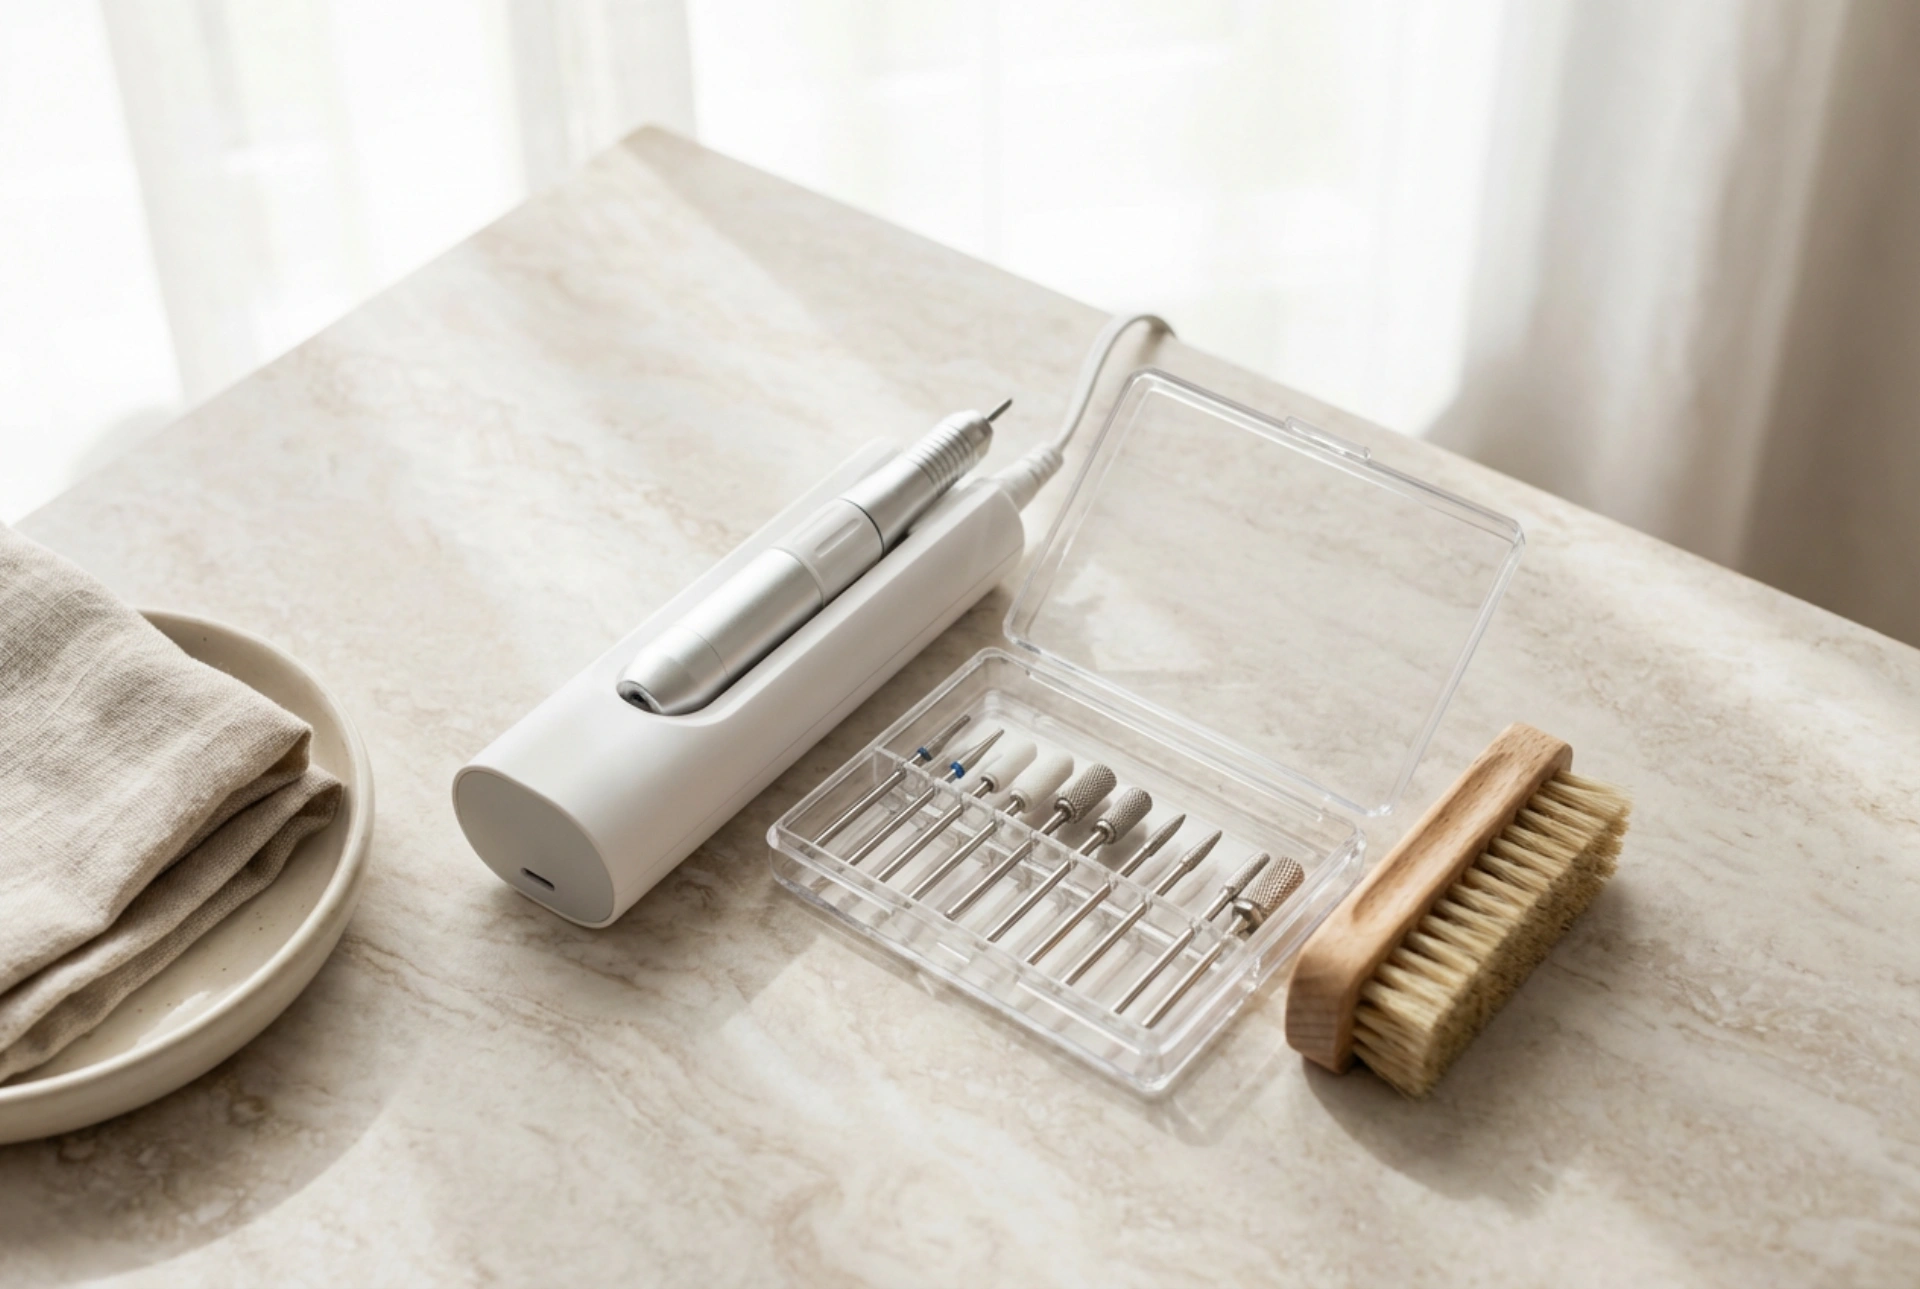
When selecting your first home nail drill, focus on user-friendly features. Look for a model with adjustable speed settings, as this allows you to start slow and increase the pace as you gain confidence. A device that offers both forward and reverse rotation is also beneficial, as it makes it easier to work on both hands. Ergonomics are important; a lightweight, comfortable handpiece will reduce fatigue and improve control. Before you even turn it on, familiarise yourself with the different drill bits. They are not interchangeable and each is designed for a specific task. Using the right bit for the job is crucial for safety and achieving the desired results.
A Guide to Common Nail Drill Bits
Your nail drill will likely come with a basic set of bits. Understanding their functions is the first step towards mastering your at-home manicure.
Shaping and Shortening Bits
Cylindrical or barrel-shaped bits, often made of carbide or ceramic, are typically used for shortening the length of the nail or for removing old gel polish. Sanding bands, which are placed over a mandrel bit, are a gentler alternative perfect for shaping the free edge and lightly buffing the nail surface. Always use a fine grit for natural nails.
Cuticle Care Bits
Smaller, more detailed bits are designed for the delicate cuticle area. A fine-grit, flame-shaped or tapered cone bit is ideal for gently lifting and pushing back the cuticle and cleaning the sidewalls of the nail. A small ball-shaped bit can be used at a very low speed to carefully remove any non-living tissue that has been lifted away from the nail plate. Precision and a light touch are paramount when working near the skin.
Your First Manicure with a Nail Drill: A Step-by-Step Approach
Patience and practice are your best friends when first using a nail drill. Always start with clean, dry hands and nails.
- Start on the Lowest Speed: Begin with the lowest possible speed setting. This gives you maximum control and helps you get a feel for the tool without risking damage.
- Keep it Moving: Never hold the spinning bit in one spot on the nail. Keep the handpiece in constant, steady motion to prevent heat build-up and avoid creating dips or uneven surfaces.
- Use a Light Touch: Let the drill do the work. Applying too much pressure can cause friction burns and damage the nail bed. A light, gliding touch is all that's needed.
- Work in Sections: Tackle one task at a time. For example, first, use a sanding band to shape the tips of all your nails. Then, switch to a cuticle bit to tidy up the cuticle area on each nail. This systematic approach is more efficient and safer.
- Stay on the Nail Enhancement: If you are removing a product like gel polish, focus the bit on the product layer and be careful to avoid filing down to your natural nail.
Maintaining Your Nail Drill and Bits
Proper care ensures your nail drill remains effective and hygienic for every use. After each manicure, unplug the device and clean all the components. Use a small, stiff brush to remove all dust and debris from each drill bit. For a more thorough clean, you can wash metal or ceramic bits with soap and water and let them air dry completely. Never store damp bits. Wipe down the handpiece and power cord with a dry or slightly damp cloth. Store the drill and its accessories in a clean, dry case to protect them from dust and damage. Regularly cleaning your tools not only prolongs their life but is also essential for good nail hygiene.