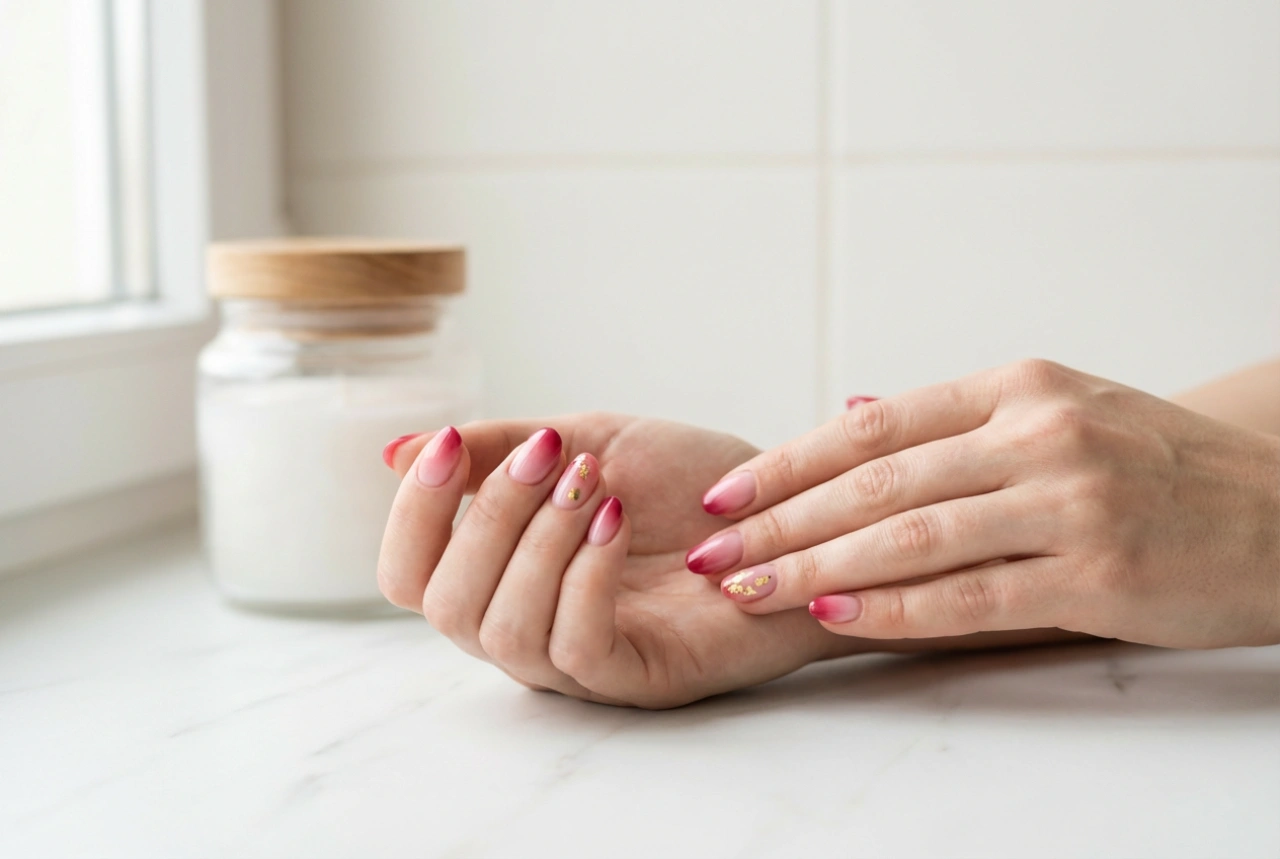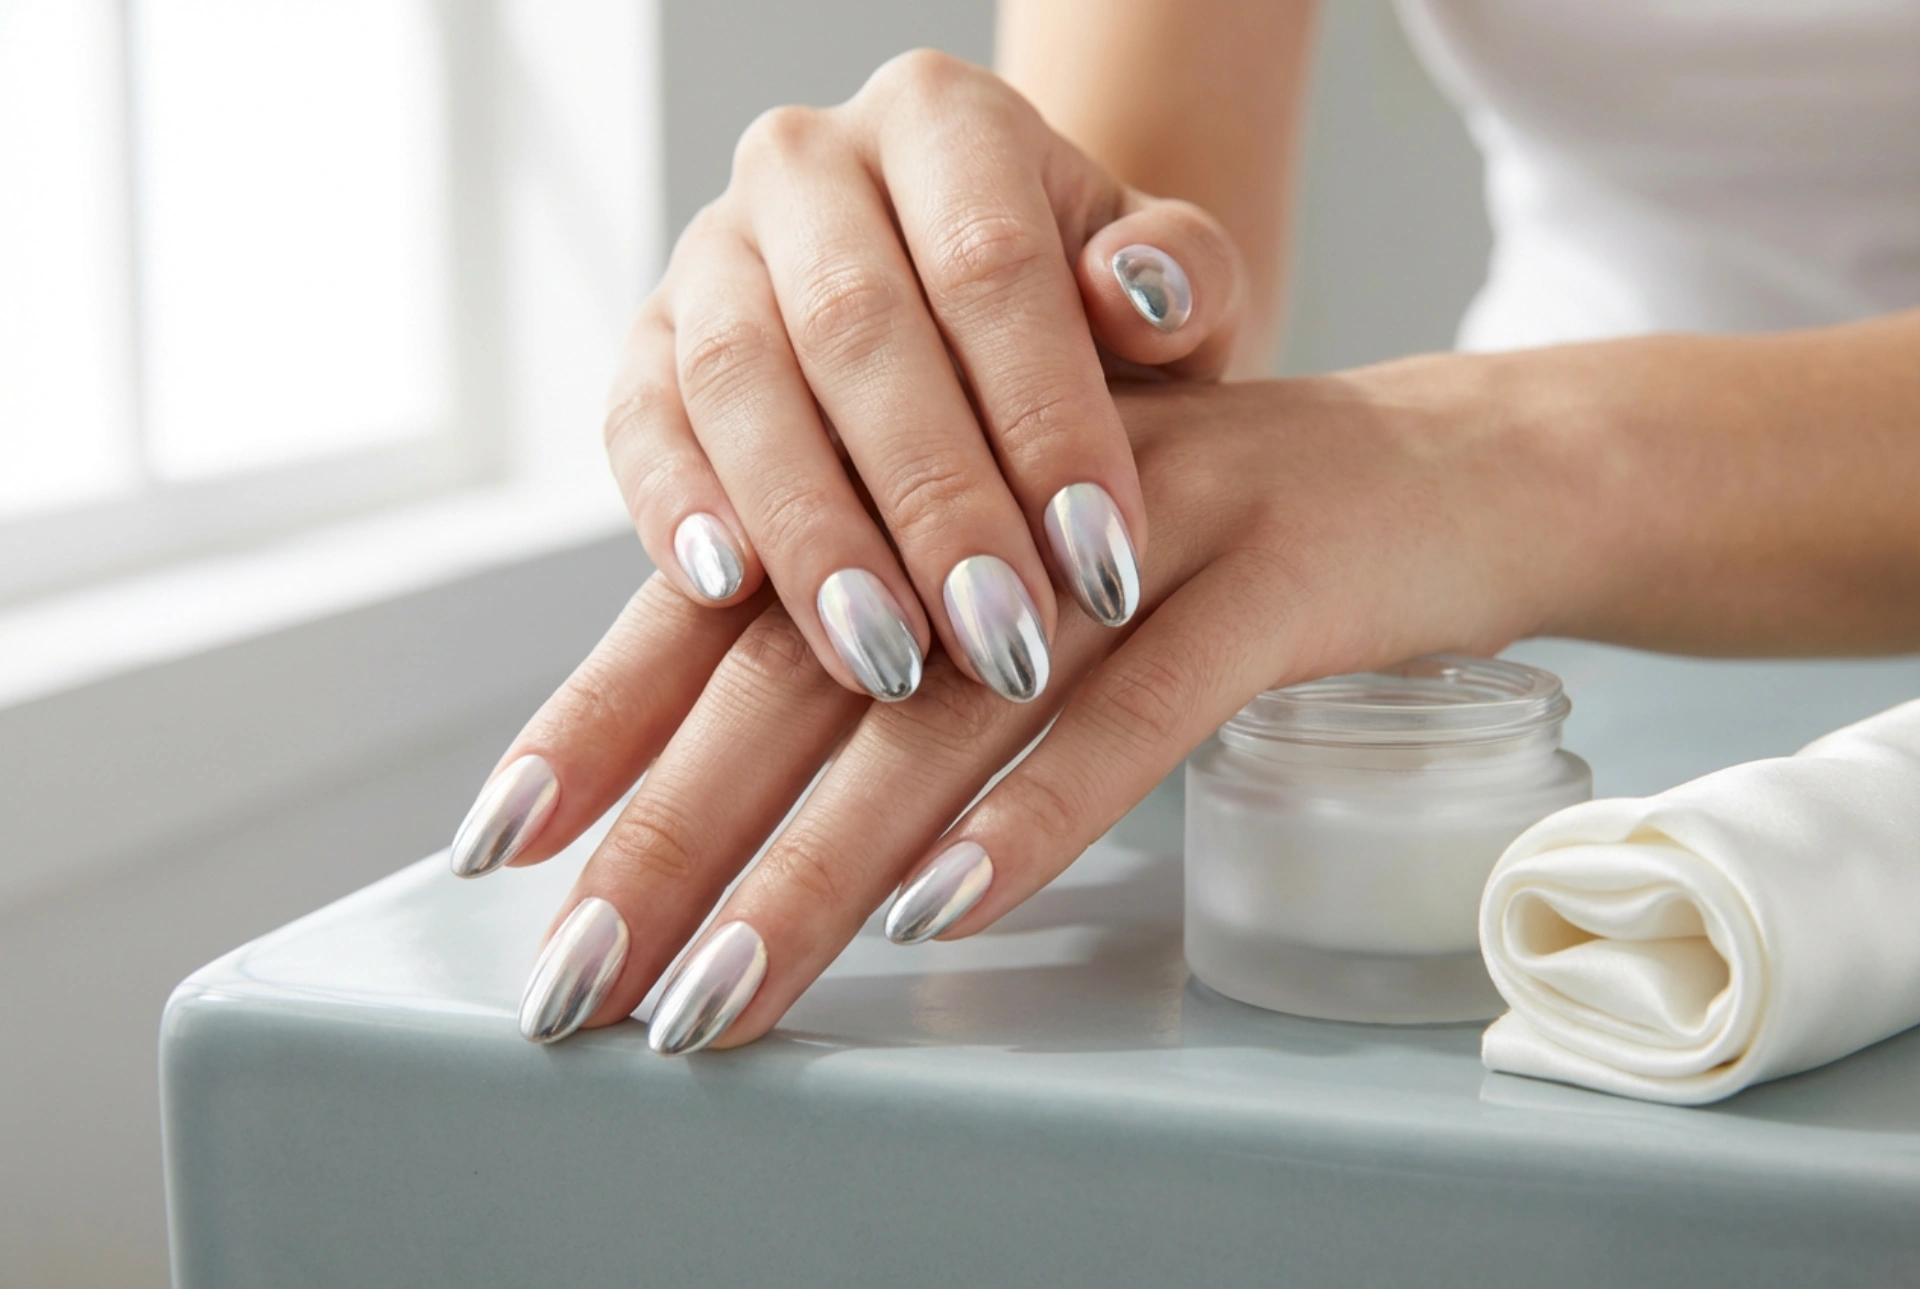


A sophisticated manicure is the ultimate finishing touch to any look, and few styles capture attention quite like the mesmerising ombre mirror effect. This trend beautifully combines the subtle colour transition of a gradient with the futuristic, high-shine finish of mirror powder. The result is a dynamic and elegant nail design that appears to shift with light and movement, as seen on perfectly manicured hands where a metallic gleam melts into a softer hue. Achieving this look at home is more accessible than you might think, allowing you to bring a touch of polished glamour to your fingertips.
Understanding the Ombre Mirror Effect
The ombre mirror nail is a hybrid design that marries two popular nail art techniques. The first is 'ombre', which involves blending two or more colours seamlessly, typically from light to dark, creating a smooth gradient. The second is the 'mirror' or 'chrome' effect, achieved by rubbing a superfine, metallic powder onto a special top coat to create a reflective, chrome-like surface. By combining them, you can create a design where a metallic finish at the tip of the nail gradually fades into a solid or semi-translucent colour near the cuticle, or vice versa. This technique offers endless possibilities for creativity, depending on the colours and powders you choose.
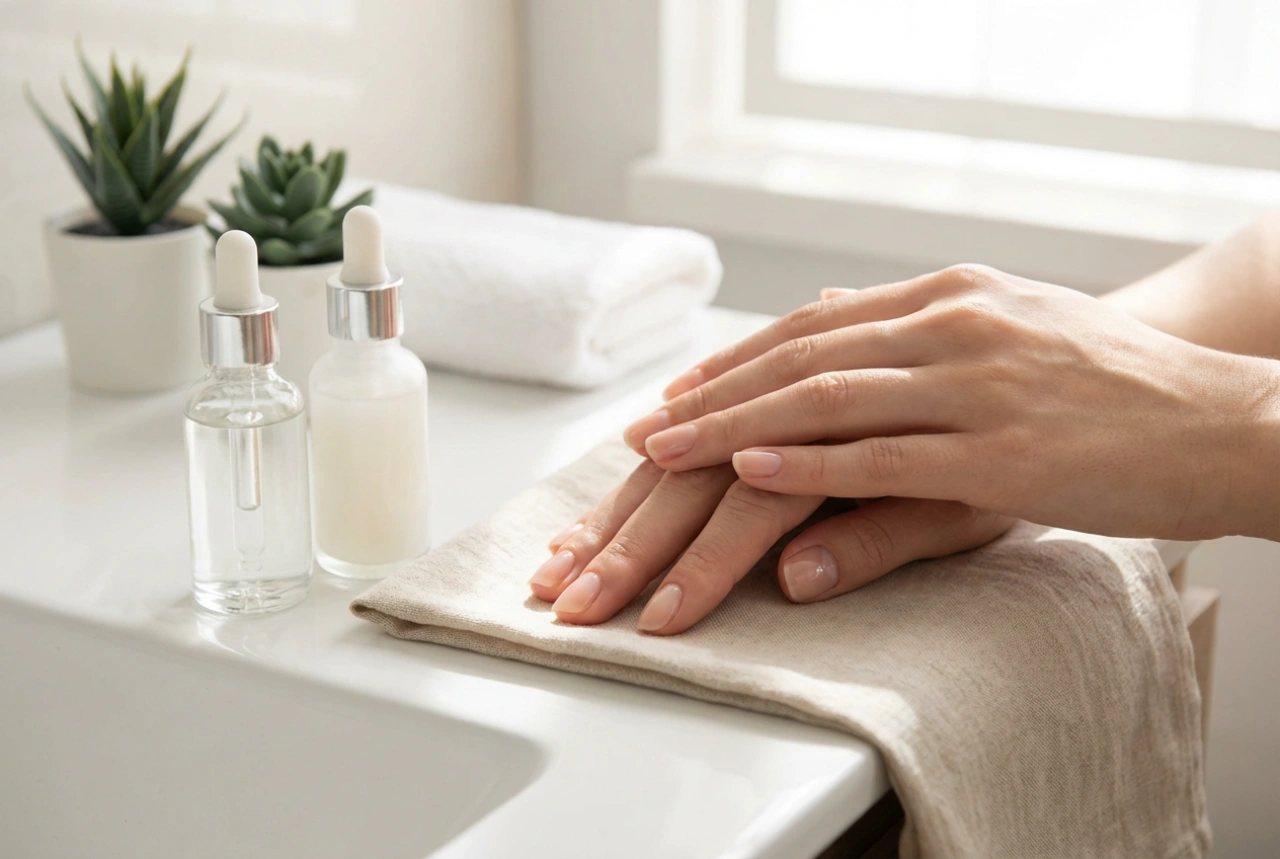
What You'll Need for Your Manicure
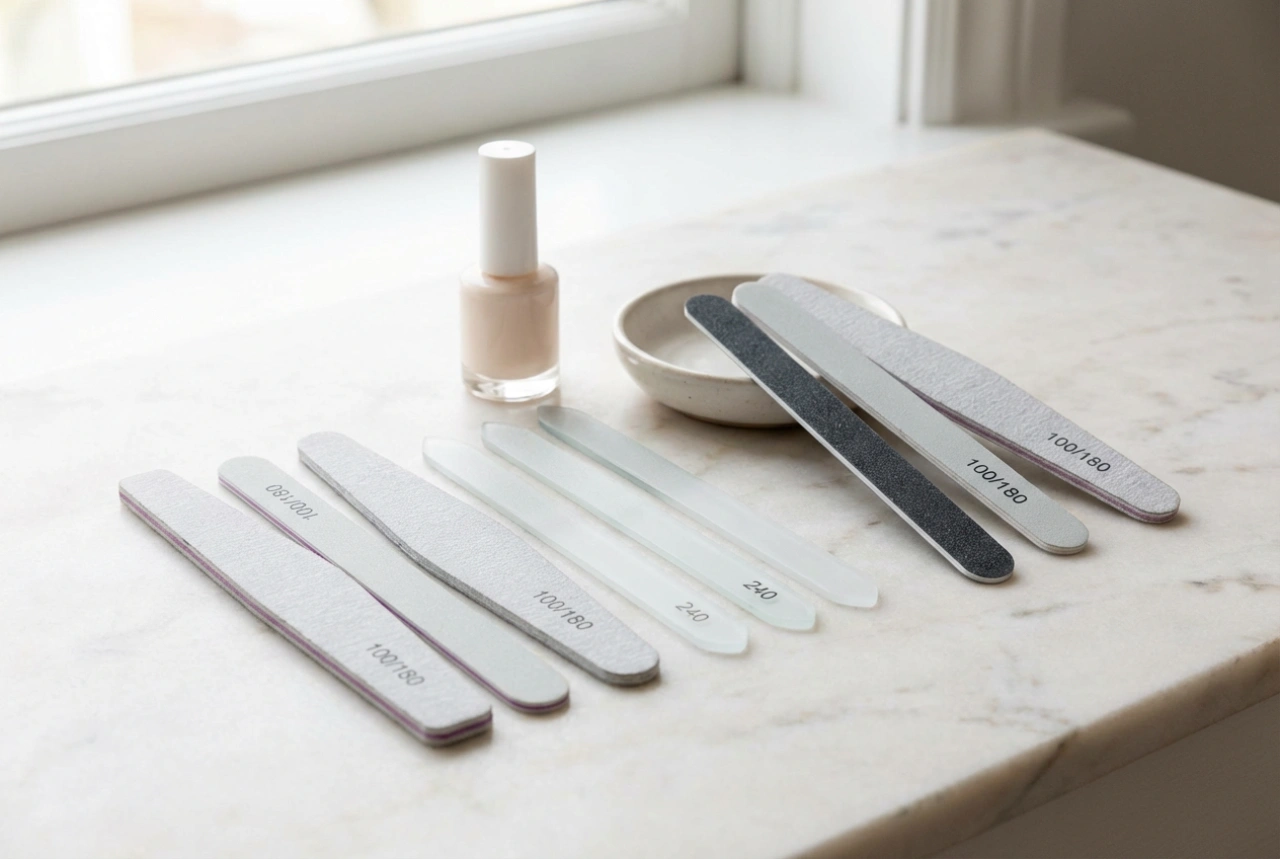
Before you begin, gather the essential tools and products. Having everything prepared will make the process smoother and more enjoyable. You will need a UV or LED lamp for curing, as this look is best achieved with gel polishes for durability and the specific finish required for the powder application.
- A nail file and buffer to shape and prepare the nail surface.
- A cuticle pusher and nipper for neatening the nail beds.
- Nail cleanser or isopropyl alcohol to dehydrate and clean the nails.
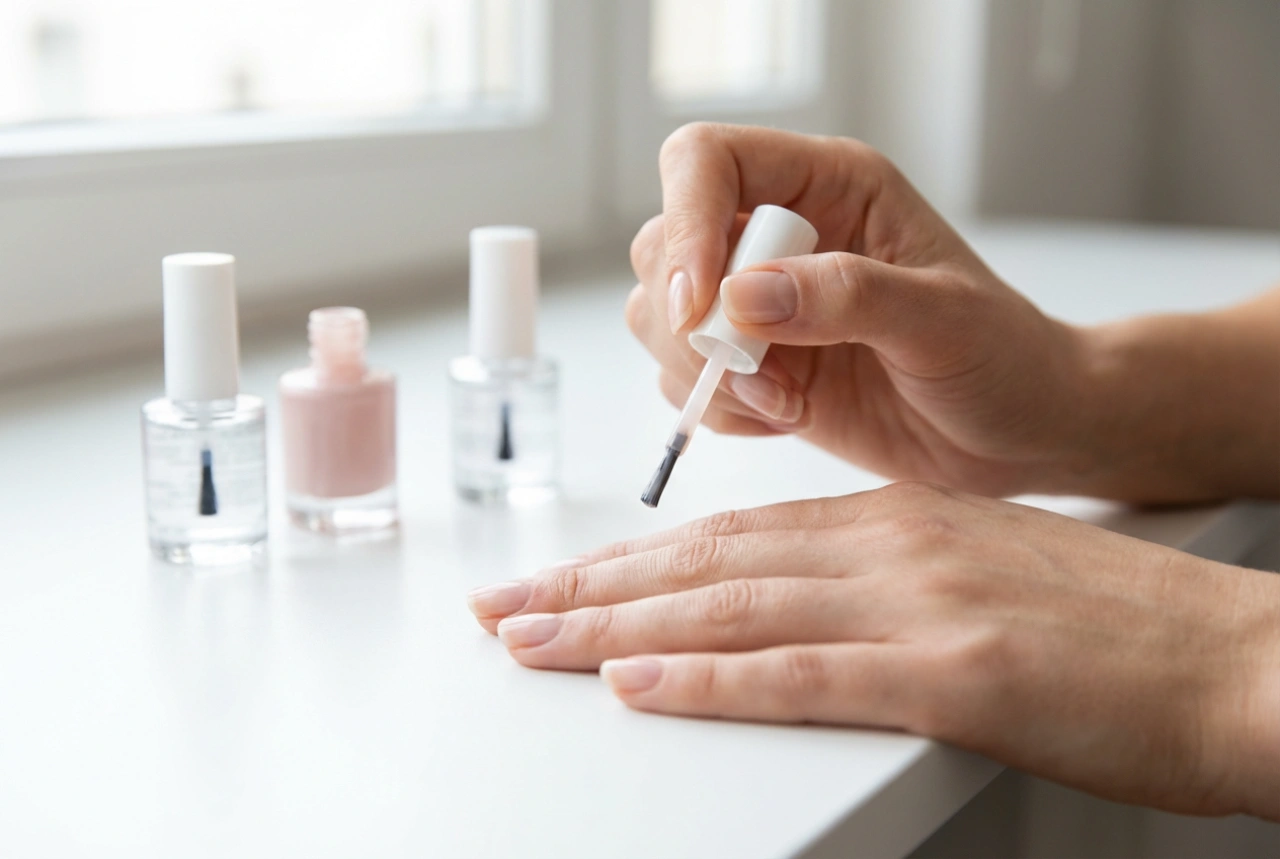
- A quality gel base coat to protect the nail and provide adhesion.
- Two or more gel polish colours of your choice for the ombre base.
- A sponge or small brush for creating the gradient effect.
- A 'no-wipe' gel top coat, which is crucial for the powder to adhere correctly.
- Mirror effect nail powder in your desired shade (e.g., silver, gold, iridescent).
- A small eyeshadow applicator or silicone tool for applying the powder.
- A soft, fluffy brush (like a fan brush) to dust off excess powder.
- A final gel top coat to seal and protect your finished design.
Step-by-Step Guide to Creating Ombre Mirror Nails
Follow these steps carefully to achieve a salon-quality finish. Patience is key, especially when blending the colours and applying the powder.
Step 1: Nail Preparation
Start with clean, dry hands. Gently push back your cuticles and trim any excess. File your nails into your desired shape and lightly buff the entire surface to remove any shine. This creates a slightly rough texture that helps the gel polish adhere better. Wipe each nail with a nail cleanser to remove any dust and oils.
Step 2: Apply the Base and Create the Ombre
Apply a thin layer of the gel base coat to each nail, making sure to cap the free edge. Cure under your UV/LED lamp according to the product's instructions. Next, apply your chosen gel polish colours to a makeup sponge or directly onto the nail to create the gradient. For example, apply the lighter colour to the top half of the nail and the darker colour to the bottom half. Gently dab the sponge onto the nail to blend the colours where they meet. Clean up any polish on the skin before curing. You may need two or three coats to achieve full opacity, curing between each layer.
Step 3: Apply the No-Wipe Top Coat and Mirror Powder
Once you are happy with your ombre base, apply a thin layer of the no-wipe top coat and cure it. It is essential to use a no-wipe formula, as the sticky layer of a standard top coat will not work with the powder. As soon as the nails are out of the lamp, while they are still warm, take your applicator and pick up a small amount of mirror powder. Begin rubbing it firmly onto the nail, focusing on the area where you want the mirror effect to be most prominent (e.g., the tip). Use gentle pressure to buff the powder in until the reflective finish appears. You can fade the powder out by using less product and a lighter touch as you move towards the middle of the nail to enhance the ombre effect.
Step 4: Seal the Design
After applying the powder to all nails, use a soft brush to gently dust away all excess particles from the nail and surrounding skin. Be very thorough, as any leftover powder can get trapped in the final top coat. To finish, apply a layer of your standard gel top coat over the entire nail, again capping the free edge. This will protect the powder and ensure your manicure lasts. Cure for the final time under the lamp. Once cured, your stunning ombre mirror nails are complete.
Tips for a Perfect and Lasting Finish
To ensure your manicure looks flawless and stands the test of time, keep these professional tips in mind. A little extra care during the application process can make a significant difference to the final result.
- The success of mirror powder hinges on the no-wipe top coat. Ensure it is fully cured but still warm for the best application.
- Less is more with mirror powder. Start with a tiny amount and build it up to avoid a gritty or clumpy finish.
- Be very gentle when applying the final top coat. Wiping too hard can drag the powder and ruin the smooth, reflective effect. Try to 'float' the brush over the nail.
- Experiment with colour combinations. A dark base with silver chrome powder creates a dramatic look, while a light pastel base with an iridescent powder offers a more subtle, ethereal style.
- Proper sealing is crucial. Make sure the final top coat fully covers the powder and seals the tip of the nail to prevent chipping and wear.