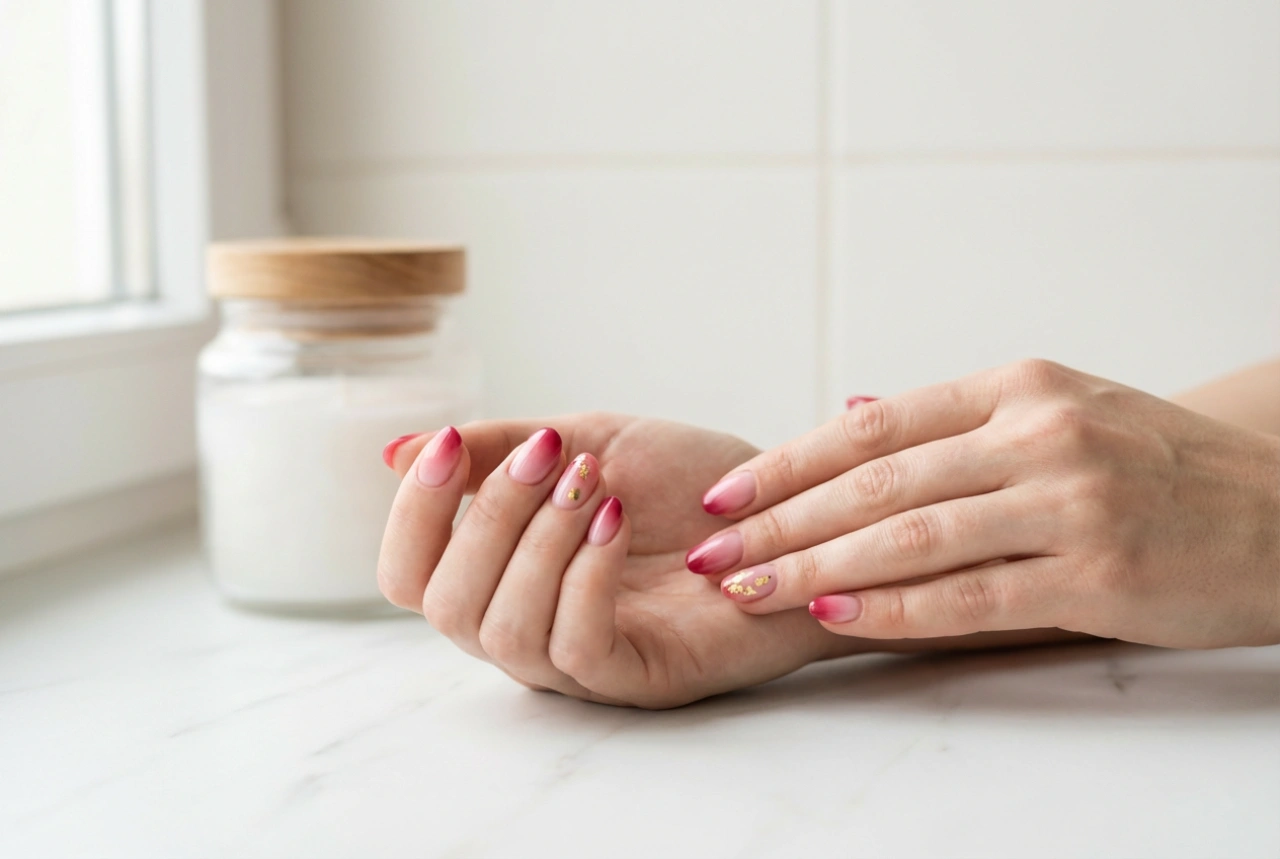


Achieving a beautiful, long-lasting manicure at home doesn't always require special equipment like UV or LED lamps. With the right products and techniques, you can create a professional-looking finish using traditional nail polishes. The key to success lies in proper preparation, careful application, and a few simple tricks to extend the life of your manicure. This guide will walk you through creating your own no-lamp nail kit and mastering the art of the perfect at-home manicure.
What to Include in Your No-Lamp Manicure Kit
Building a comprehensive kit is the first step towards flawless nails. You don't need dozens of products, but a few high-quality essentials will make a significant difference in the final result and longevity of your manicure.
Essential Components:
- Base Coat: This is a non-negotiable step. A good base coat protects your natural nails from staining, creates a smooth surface for the colour to adhere to, and helps the manicure last longer.
- Quality Nail Colour: Invest in polishes with a good formula. Look for ones that promise a smooth application and good pigmentation, which means you can often get away with two thin coats.
- Top Coat: A high-quality top coat is your secret weapon. It seals in the colour, adds a brilliant shine, and provides a protective layer against chips and scratches. Some top coats also offer quick-drying properties.
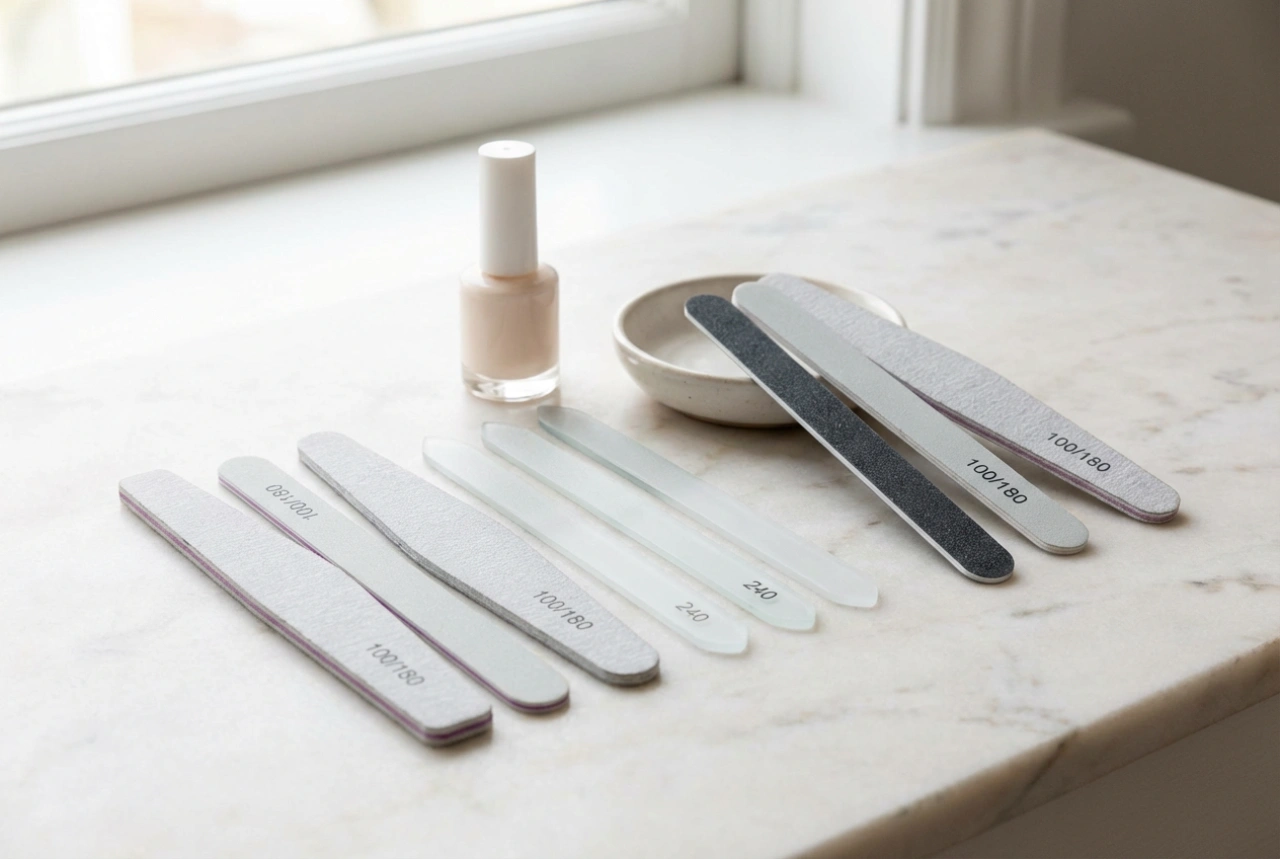
- Nail File and Buffer: A gentle nail file (glass or a fine-grit emery board) is essential for shaping your nails without causing splitting. A buffer helps to smooth the nail surface, creating an ideal canvas for polish.
- Cuticle Care: A cuticle pusher (wooden or rubber-tipped) and cuticle remover or oil are vital. Healthy, tidy cuticles are the foundation of a neat manicure. Pushing them back gently creates a larger, cleaner nail plate to work on.
- Nail Polish Remover and Cotton Pads: Choose an acetone-free remover if your nails are prone to dryness. It's useful not just for taking off old polish but also for cleaning up any mistakes during application.
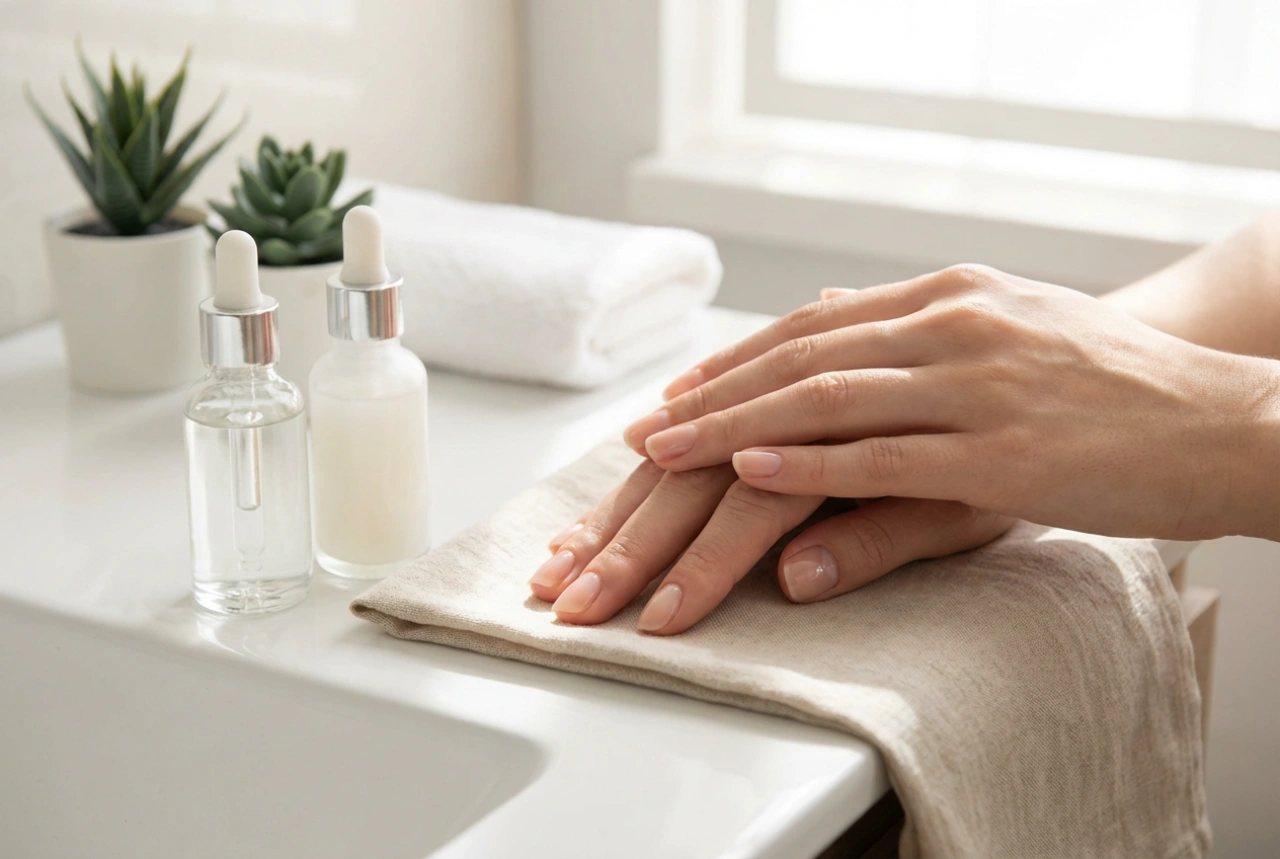
Preparing Your Nails for a Flawless Finish
Preparation is just as important as the application itself. Skipping these steps is often the reason why at-home manicures don't last. Dedicate a few minutes to prepping your nails properly, and you'll see a huge improvement in the durability of your polish.
- Start with Clean Nails: Remove any old polish completely. Wash your hands with soap and water, then make sure your nails are thoroughly dry.
- Shape and File: Use a nail file to gently shape your nails to your desired length and form. Always file in one direction, from the side to the centre, to prevent weakening the nail.
- Buff the Surface: Lightly buff the surface of your nails with a soft buffer. This removes natural oils and ridges, helping the polish to adhere better. Don't overdo it, as this can thin the nail.
- Care for Your Cuticles: Apply a cuticle remover or oil and let it sit for a minute. Gently push back your cuticles using a wooden or rubber-tipped stick. Never cut your cuticles, as they protect your nail bed from irritants.
- Final Cleanse: Wipe each nail with a cotton pad soaked in nail polish remover or rubbing alcohol. This final step removes any remaining oils or dust, ensuring the base coat can bond perfectly with the nail.
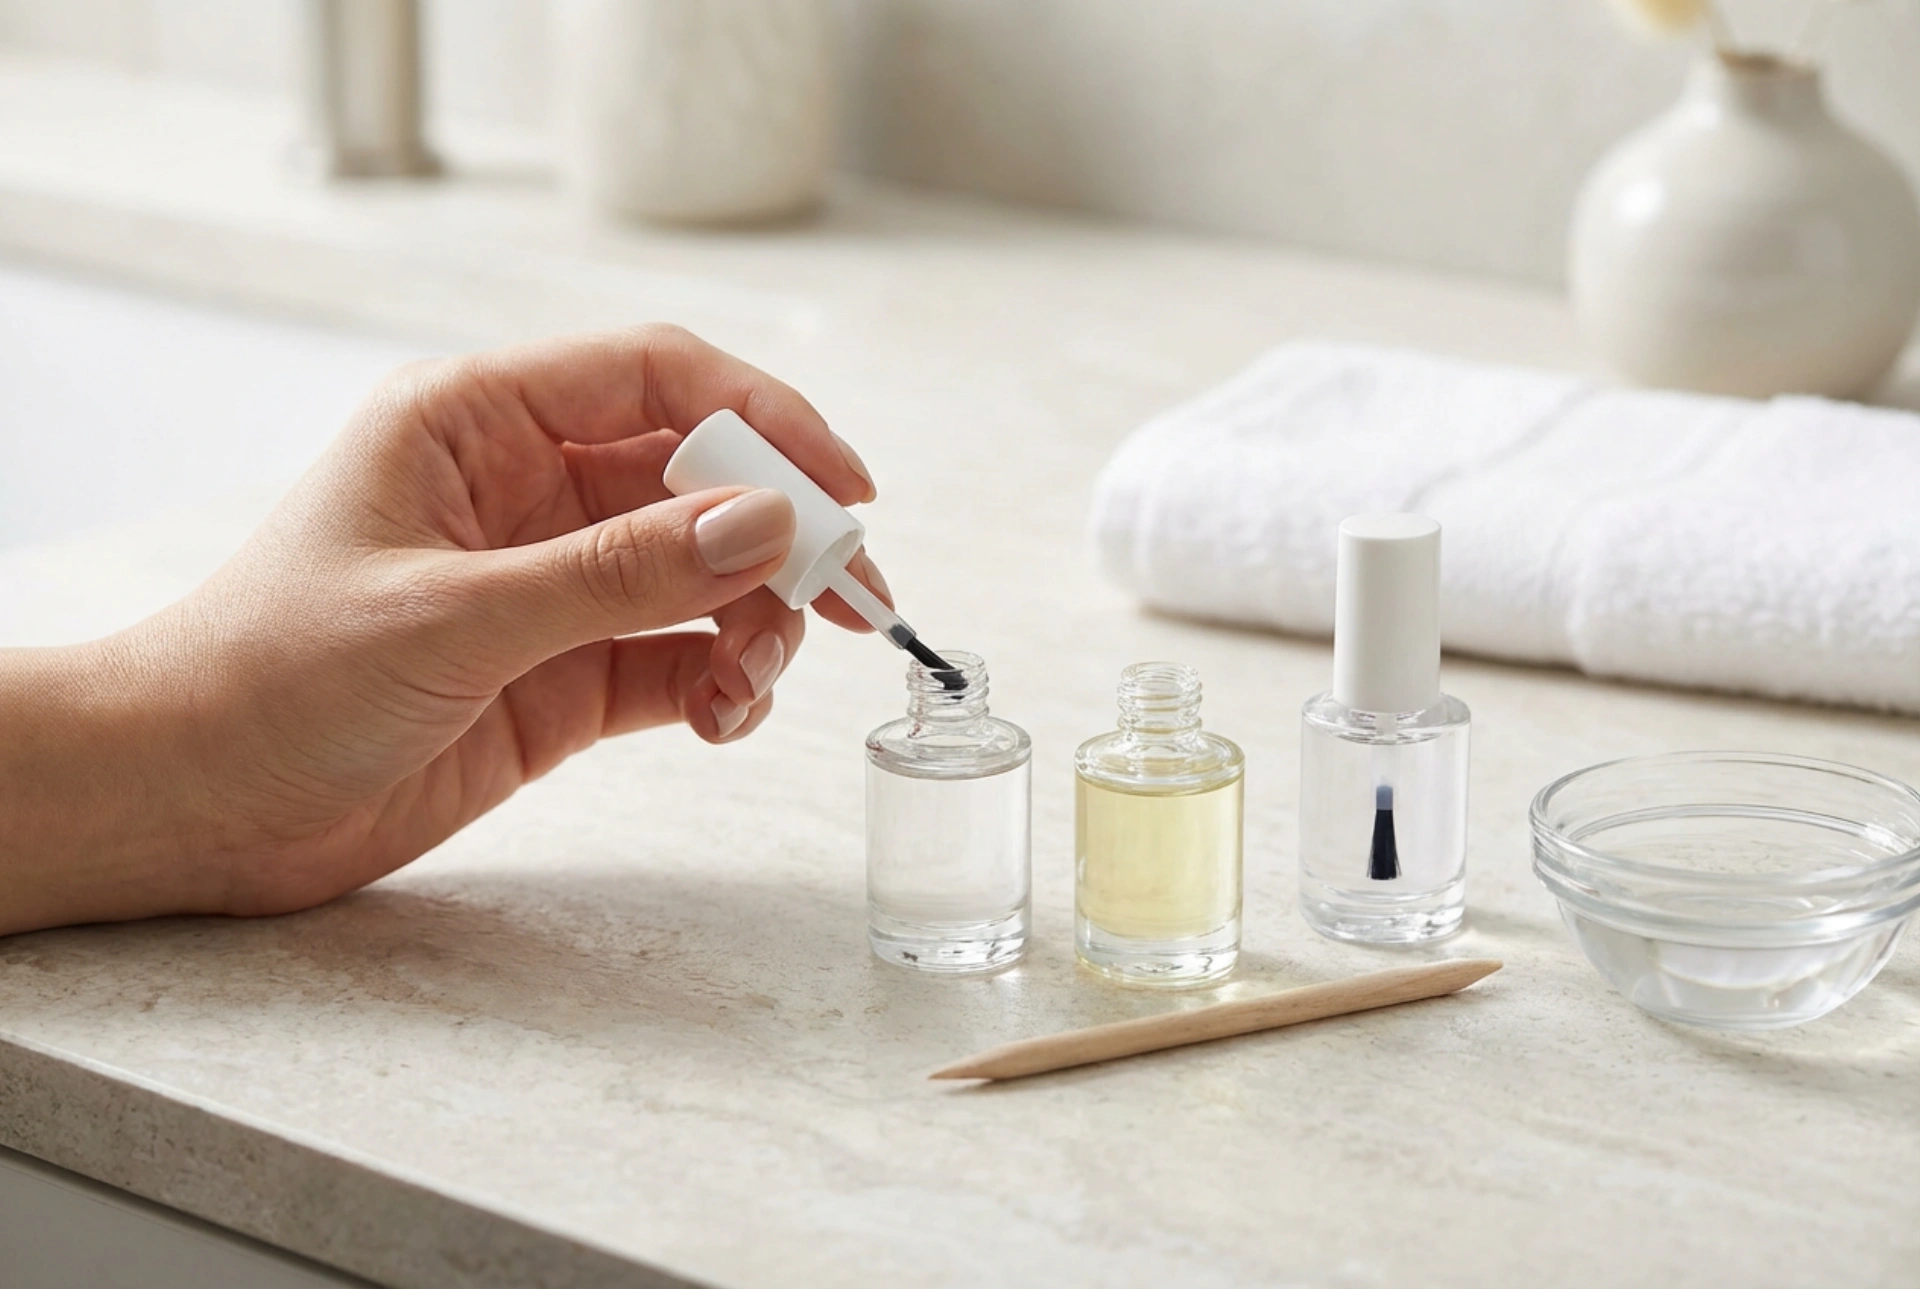
The Art of Application: A Step-by-Step Guide
Patience is key during the application process. Rushing through the steps or applying thick coats will lead to smudges, bubbles, and a manicure that chips quickly. Follow this method for a professional result.
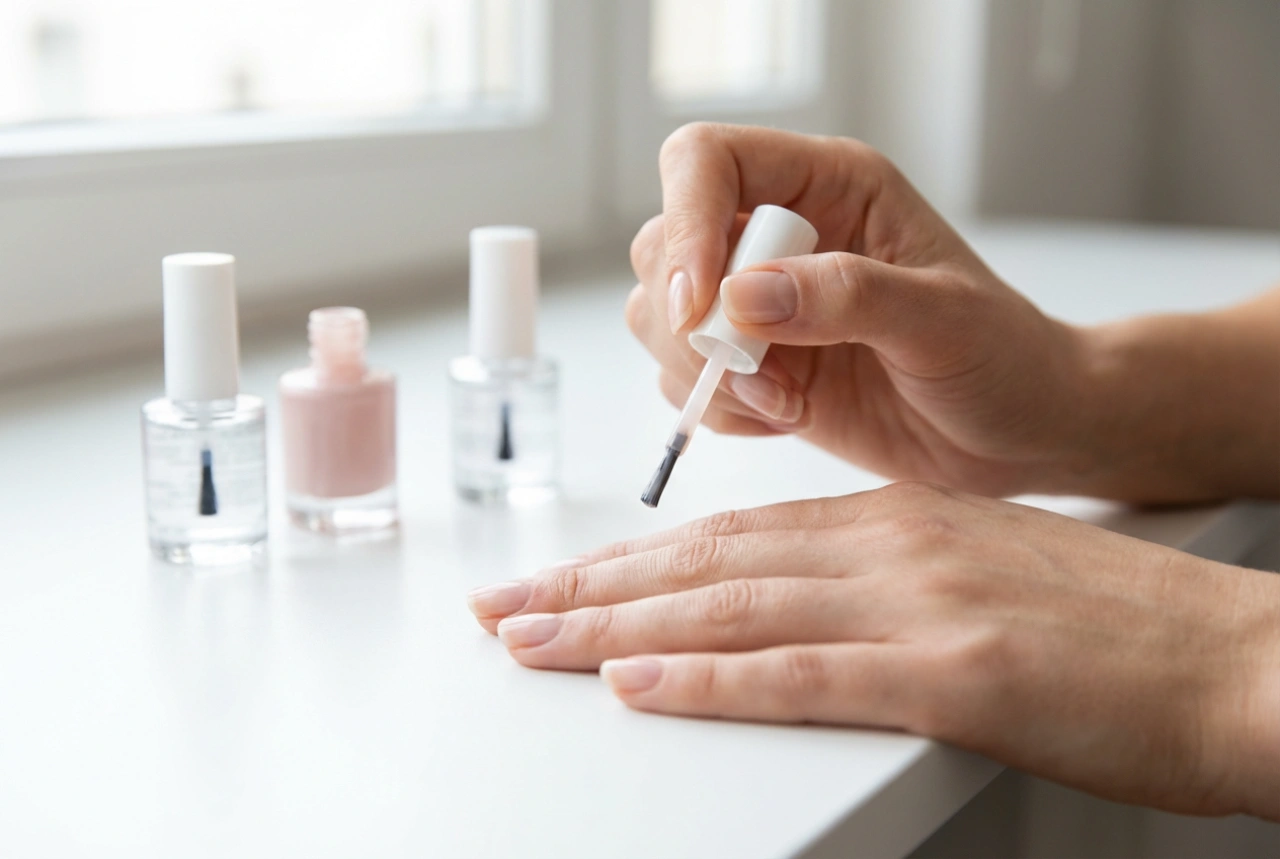
- Step 1: Apply the Base Coat: Paint one thin, even layer of base coat on each nail. Be sure to cover the entire nail surface. Let it dry completely for at least two minutes.
- Step 2: Apply the First Coat of Colour: Apply your chosen nail colour in a thin layer. The three-stroke method is effective: one stroke down the centre, followed by one on each side. Don't worry if the first coat looks a bit sheer.
- Step 3: Wait and Apply the Second Coat: Let the first coat of colour dry for at least two to three minutes. Applying the second coat too soon can drag the first one, creating streaks. The second thin coat will provide full coverage and vibrant colour.
- Step 4: Seal with a Top Coat: After waiting another few minutes for the colour to dry, apply a generous layer of top coat. Be sure to 'cap' the free edge of your nail by running the brush along the tip. This creates a seal that helps prevent chipping.
Tips for a Long-Lasting Manicure
Once your nails are painted, a little extra care can help your manicure last for a week or even longer. Incorporate these simple habits into your routine to keep your nails looking freshly painted.
Maintenance and Protection:
- Allow Ample Drying Time: Even if your nails feel dry to the touch, the polish underneath may still be soft. Give your manicure at least an hour to fully set. Avoid activities that could cause smudges during this time.
- Reapply Top Coat: To maintain shine and prevent chips, apply another thin layer of top coat every two to three days.
- Hydrate Your Cuticles: Apply cuticle oil daily. This keeps the skin around your nails healthy and can prevent the polish from drying out and becoming brittle.
- Be Mindful of Your Hands: Wear gloves when doing household chores, especially when washing dishes. Prolonged exposure to hot water and cleaning chemicals is the fastest way to ruin a manicure.
- Avoid Using Nails as Tools: Be gentle with your hands. Try not to use your nails to open cans, scrape labels, or perform other tasks that put direct pressure on the tips.