


The spiky hairstyle is a timeless classic that offers a sharp, modern edge. Achieving that perfectly textured, non-glossy finish requires more than just ruffling your hair; it involves the right technique and product choice. This guide will walk you through the steps to create a sophisticated spiky look with a matte effect, giving you complete control over the direction and definition of each strand, ideal for short to medium-length hair.
Hair Preparation: The Foundation of a Great Style
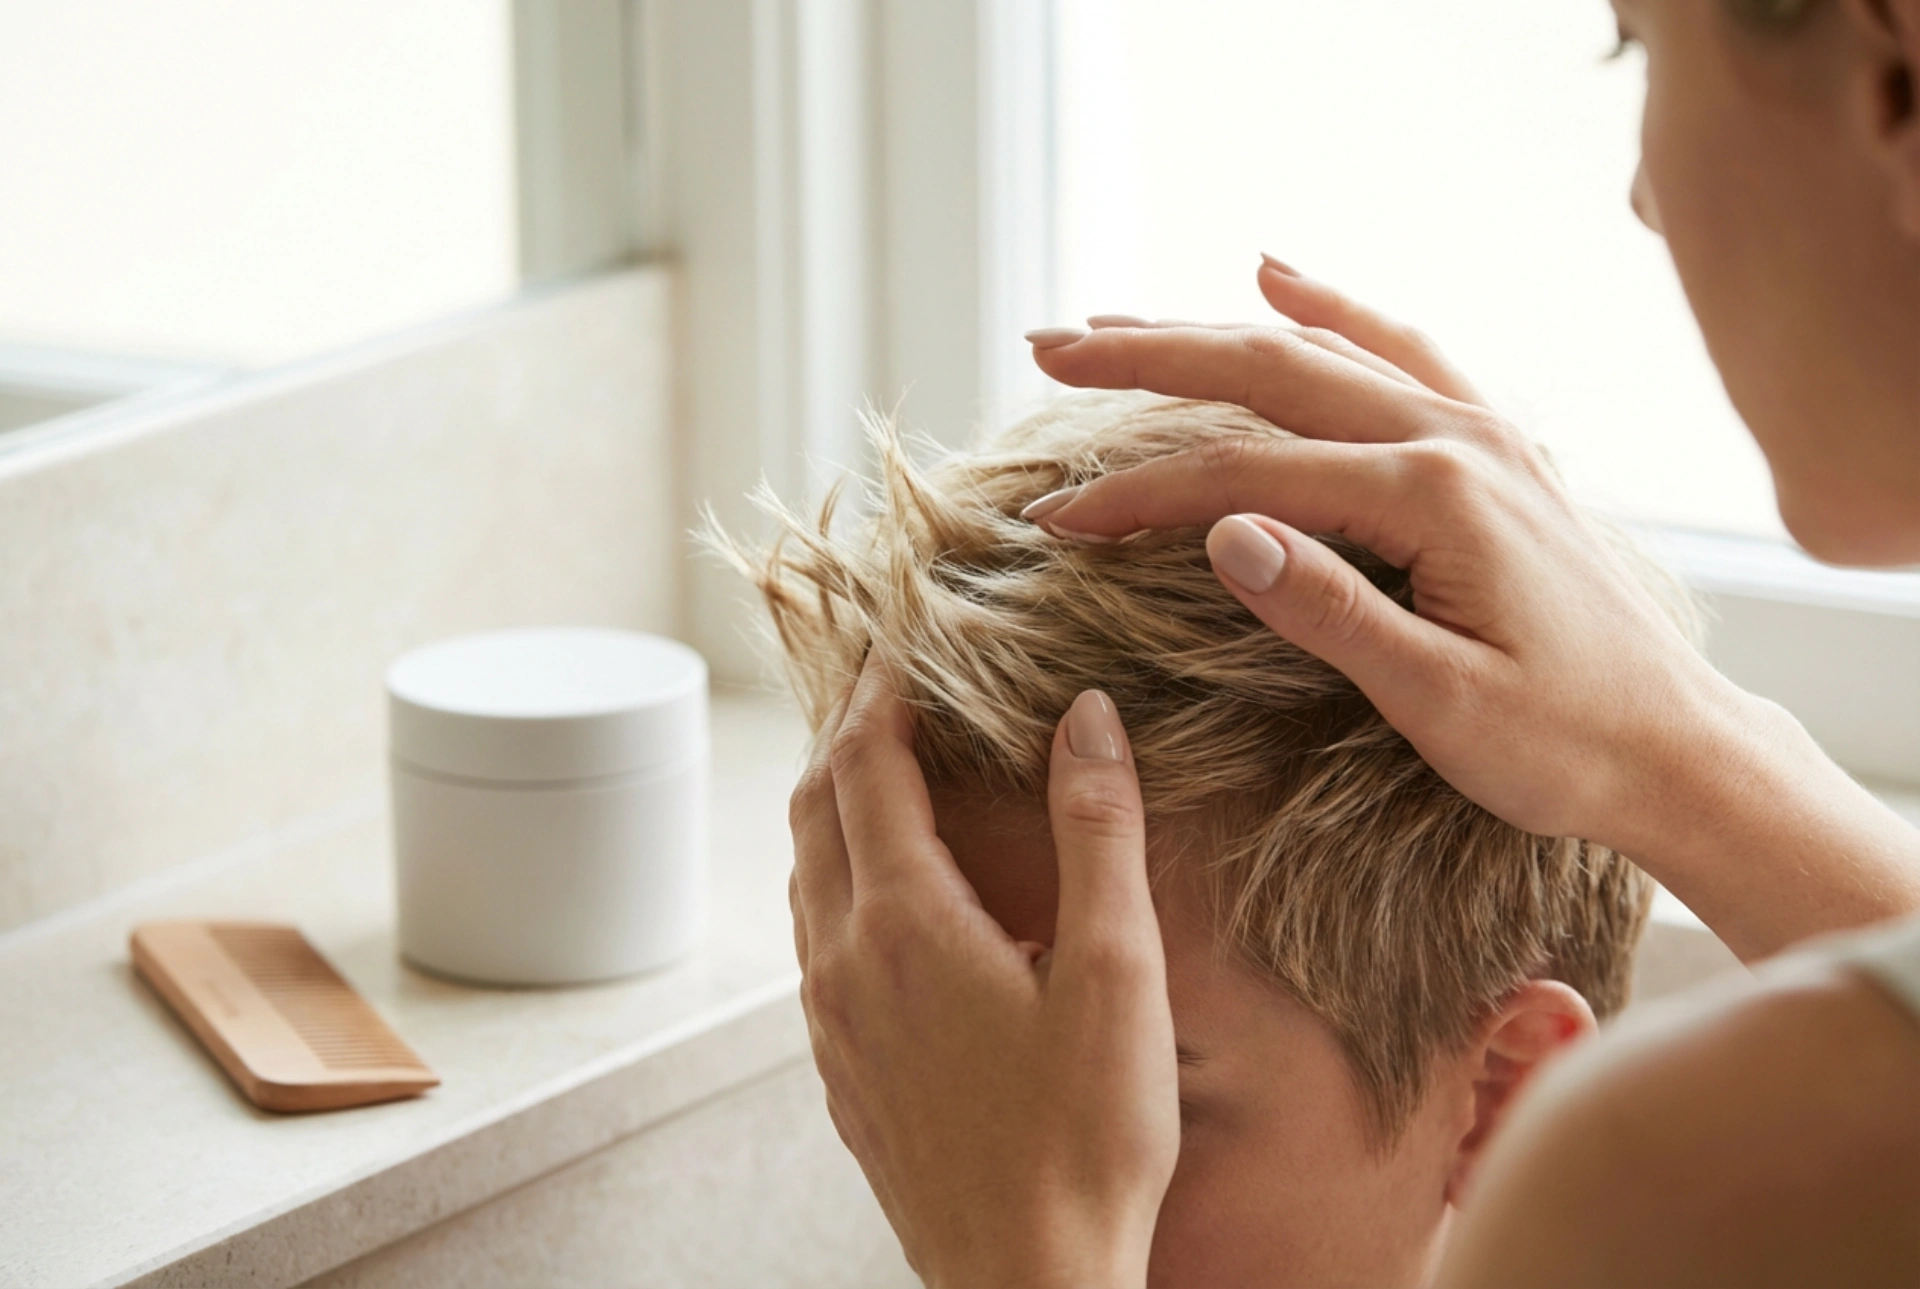
Before you even reach for a styling product, proper preparation is key. For best results, start with clean, completely dry hair. Styling damp hair can dilute the product and may result in a weaker hold and less texture. If you've just washed your hair, ensure it's thoroughly towel-dried and then either air-dried or blow-dried. Using a blow-dryer can add initial volume and help guide the hair in the general direction you want it to go, making the final styling process easier and more effective.
Choosing the Right Product for a Matte Finish
The secret to a modern spiky look lies in the finish. Instead of shiny gels that can look dated, opt for products that provide a matte or low-shine effect. Look for styling clays, pastes, or certain types of wax. Here’s what to consider:
- Styling Clay: Ideal for adding texture and thickness with a strong, pliable hold and a very matte finish. It works well for creating defined, separated spikes without any gloss.
- Fibre Paste: Offers a flexible hold with low shine, perfect for creating a more piecey, textured look that can be reworked throughout the day.
- Matte Wax: Provides a medium to strong hold and can help in sculpting precise shapes. Be sure to choose one specifically labelled as 'matte' to avoid unwanted shine.
The goal is to find a product that gives you control without making your hair look stiff, greasy, or wet. The right choice will depend on your hair type and the level of hold you require.
Mastering the Application Technique
How you apply the product is just as important as the product itself. Follow these steps for flawless application and maximum control:
Step 1: Use a Small Amount
Start with a pea-sized amount of product. It's always easier to add more if needed than to remove excess. Scrape it out with your fingertip and remember that a little goes a long way, especially with high-hold, matte-finish products.
Step 2: Warm the Product
Rub the product vigorously between your palms until it becomes warm and melts into a thin, even layer. This step is crucial for ensuring it distributes evenly through your hair and doesn't leave clumps. The product should be almost invisible on your hands before you apply it.
Step 3: Apply from Root to Tip
Work the product through your dry hair, starting from the back and moving forward. Make sure to apply it close to the roots to build a strong foundation and control the direction of the hair. Rake your fingers through your hair to distribute it evenly, covering all areas you intend to style.
Creating Definition and Direction
Once the product is distributed, it's time to create the spiky texture. Use your fingertips to grab small sections of hair and twist or pull them upwards and outwards. This is where you can be creative and define the style.
- For a uniform spiky look: Pull strands straight up, creating clean, separate spikes.
- For a messier, textured look: Pinch and twist sections in slightly different directions to create a more rugged, dynamic appearance.
- For directional control: Push the hair on the sides and back into place, and focus the height and texture on the top section. You can direct the front spikes slightly to one side for a contemporary asymmetrical look.
Avoid overworking the hair or applying too much pressure. The goal is to create defined texture that looks intentional yet effortless. The matte finish of your product will ensure the final result is modern and sophisticated, not glossy or stiff. You can make minor adjustments throughout the day as most matte products remain pliable.