


Creating your own skincare treatments at home can be a deeply satisfying ritual. Using simple, natural ingredients to craft a product tailored to your skin's needs connects us back to the basics of beauty care. A homemade purifying mask is an excellent way to help manage clogged pores and promote a clearer complexion. This guide will walk you through creating an effective mask using safe ingredients you likely already have in your kitchen, helping you achieve that fresh-faced feeling.
Understanding Clogged Pores
What are commonly known as blackheads are simply open pores that have become clogged with a mixture of excess sebum (the natural oil your skin produces) and dead skin cells. When this mixture is exposed to the air, it oxidises and turns dark, creating a small, dark spot on the skin's surface. They are a very common cosmetic concern, particularly in areas where the skin produces more oil, such as the nose, chin, and forehead. A consistent skincare routine, including gentle exfoliation and purifying masks, can help minimise their appearance.
Safe and Effective Ingredients from Your Kitchen
You don't need complex formulas to create a beneficial face mask. Many common kitchen staples possess wonderful properties for the skin. When selecting ingredients, always opt for pure, unprocessed versions where possible to avoid additives that could irritate the skin.
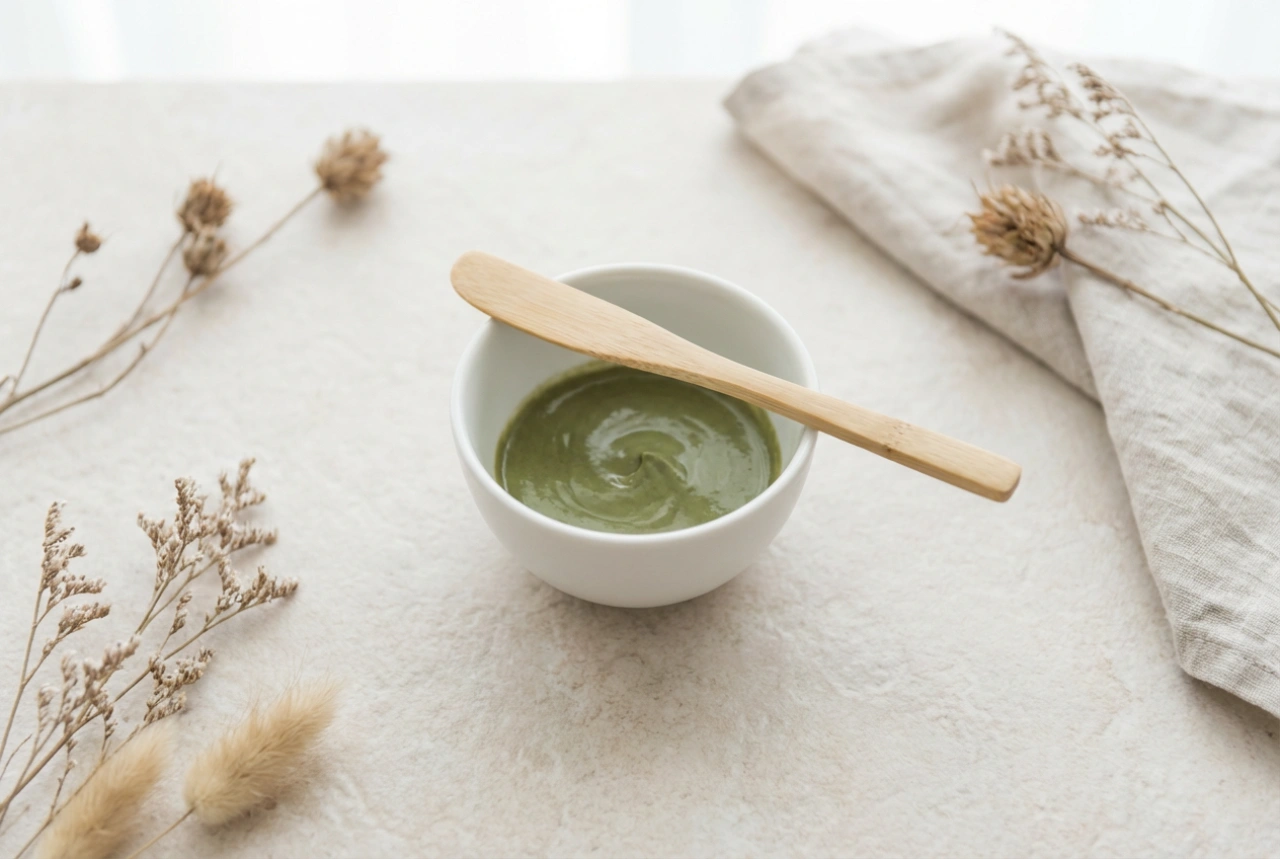
Green Clay
A star ingredient for oily and combination skin types. Green clay is highly absorbent and works like a magnet to draw out impurities, excess oil, and debris from the pores. This helps to deep-cleanse the skin, leaving it feeling refreshed and looking more refined.
Ground Oats
Oats are a wonderfully gentle ingredient, suitable for most skin types. When ground into a fine powder, they provide mild exfoliation to help slough away dead skin cells without being abrasive. They also have soothing properties that can help to calm the skin.
Raw Honey
Honey is a natural humectant, which means it helps to draw moisture into the skin. It also has cleansing properties, making it an ideal addition to a purifying mask. It ensures that while the clay is drawing out impurities, your skin remains hydrated and soft, preventing the tight, dry feeling that some masks can cause.
Natural Yoghurt
Plain, unsweetened yoghurt contains lactic acid, a form of alpha-hydroxy acid (AHA). Lactic acid provides gentle chemical exfoliation, helping to dissolve dead skin cells and improve skin texture. It also adds a creamy, soothing consistency to your mask.
Step-by-Step Guide to Your Purifying Mask
This recipe combines the oil-absorbing power of clay with the gentle exfoliating and soothing properties of oats and yoghurt. Remember to perform a patch test on a small area of your skin 24 hours before applying the mask to your entire face to ensure you don't have a reaction.
- Step 1: Gather Your Ingredients. You will need: 1 tablespoon of green clay, 1 tablespoon of finely ground oats, 1 teaspoon of raw honey, and about 2 tablespoons of plain natural yoghurt or water to create a paste.
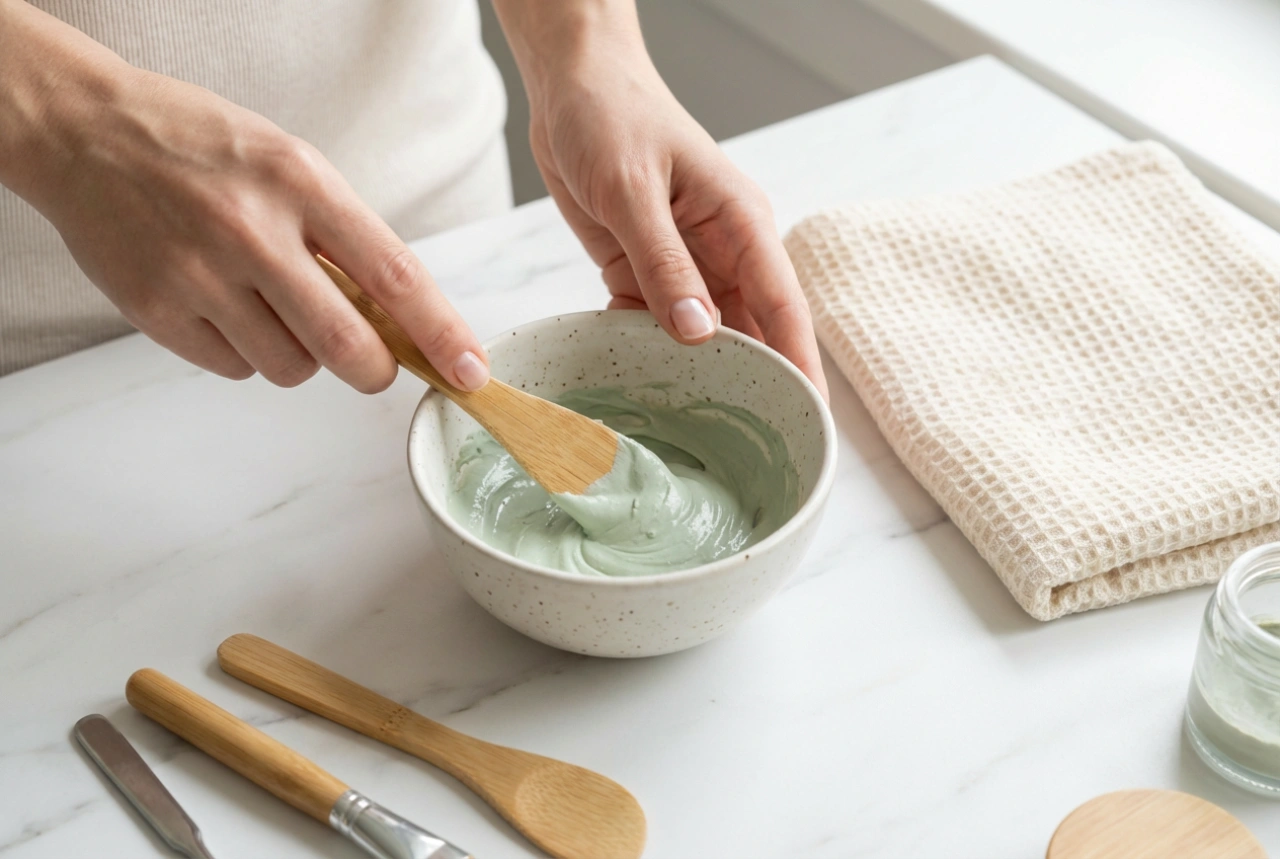
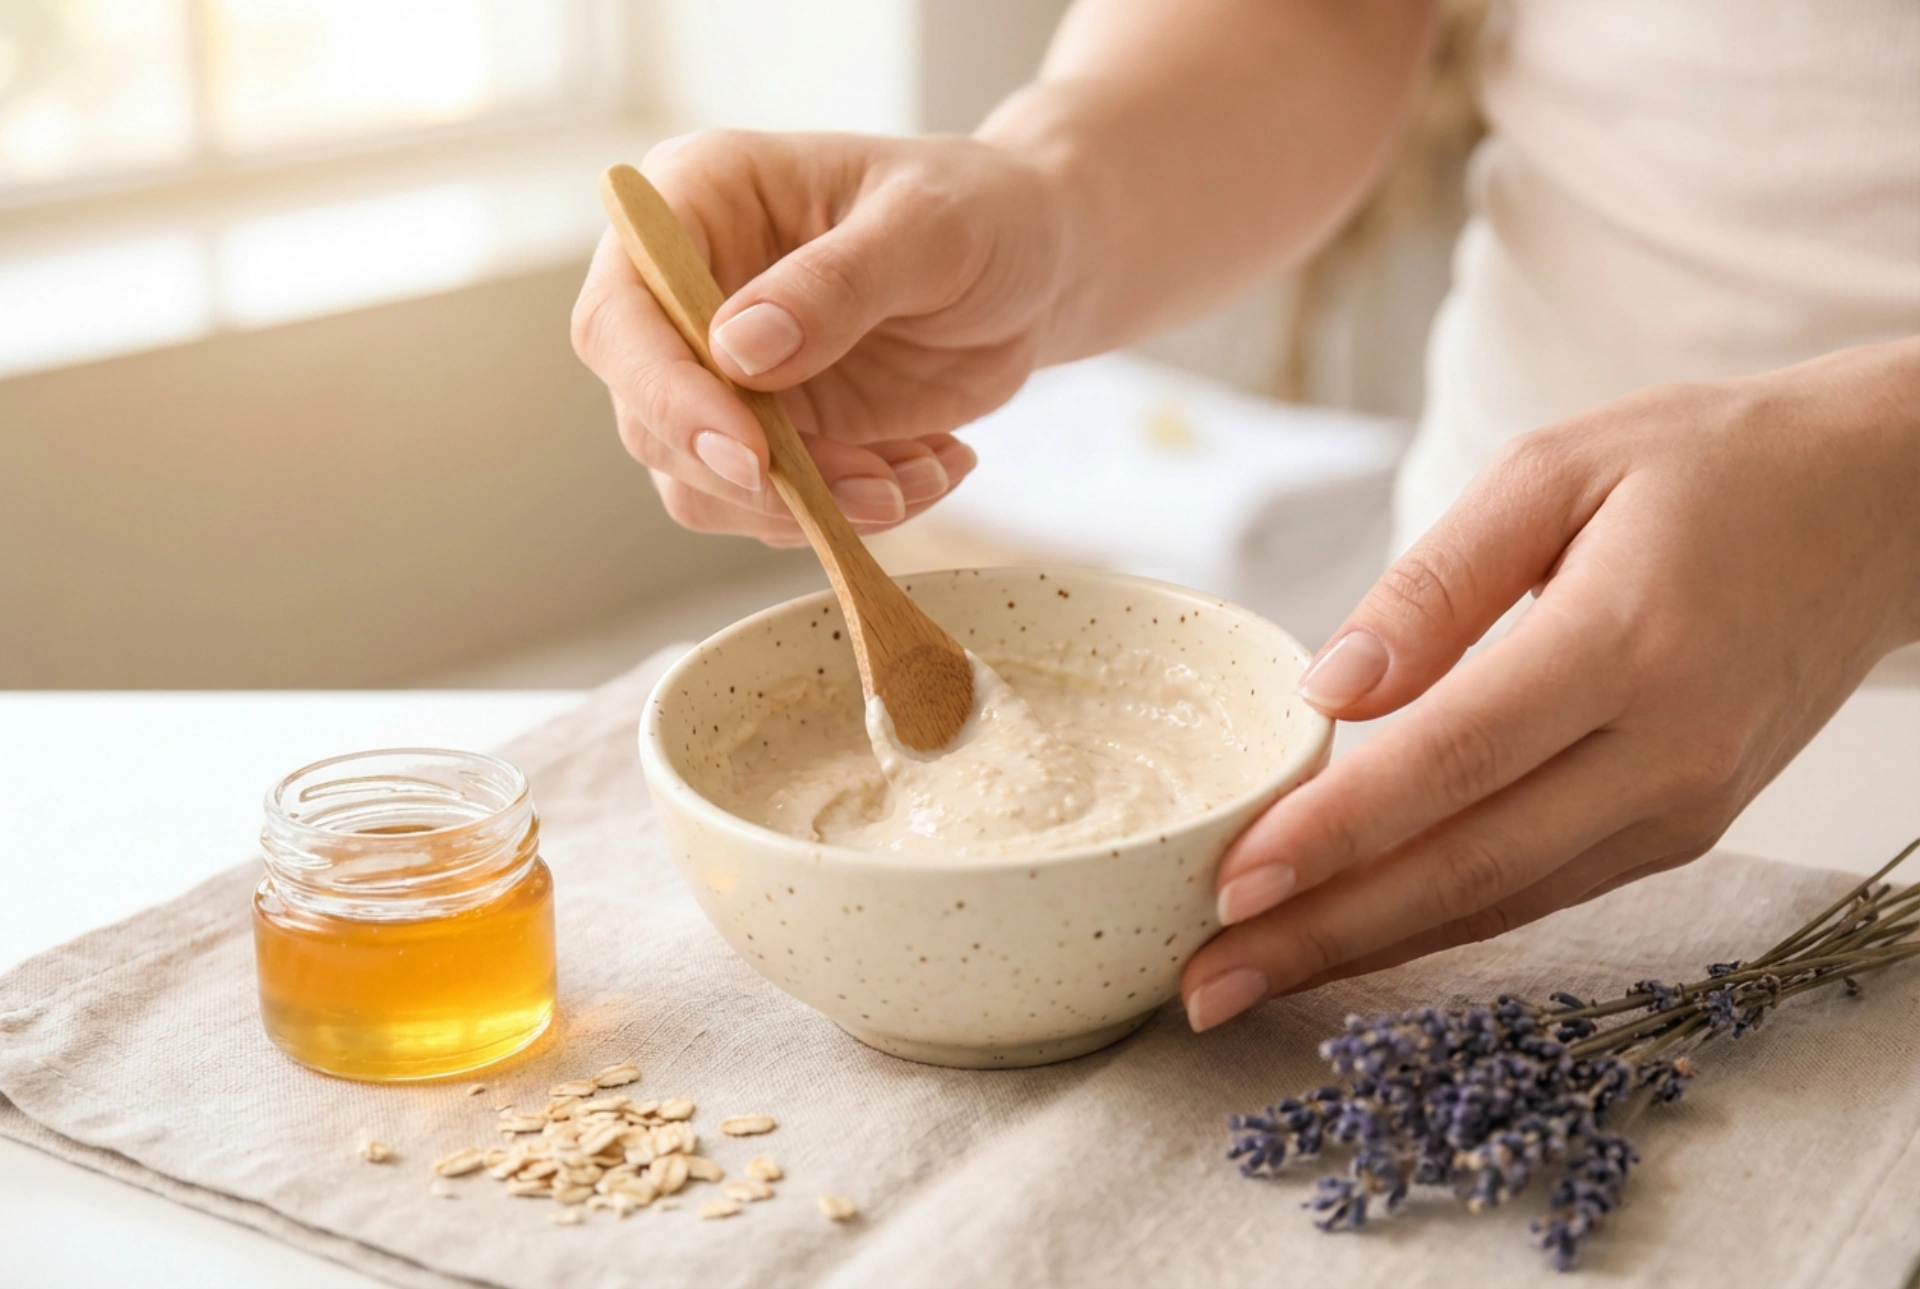
- Step 2: Mix the Mask. In a small, non-metallic bowl (metal can react with the clay), combine the green clay and ground oats. Add the honey and then slowly stir in the yoghurt or water until you achieve a smooth, spreadable paste that is not too runny.
- Step 3: Prepare Your Skin. Before applying the mask, cleanse your face thoroughly to remove any makeup and surface dirt. Pat your skin gently with a clean towel, leaving it slightly damp.
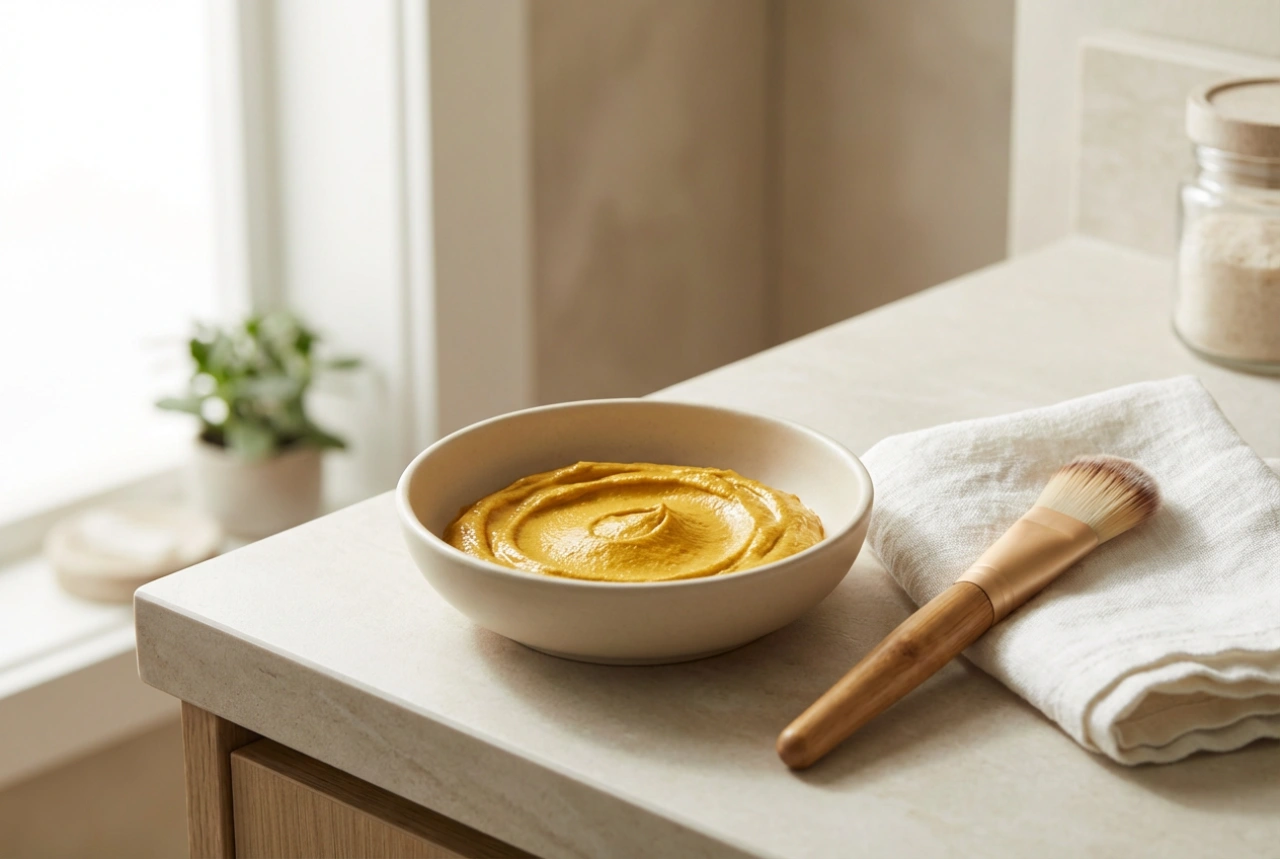
- Step 4: Apply the Mask. Using clean fingers or a soft brush, apply an even layer of the mask to your face. Focus on areas prone to clogged pores, but be sure to avoid the delicate skin around your eyes and mouth.
- Step 5: Relax and Rinse. Leave the mask on for 10-15 minutes. It's best to rinse it off before it dries completely and starts to crack, as overly dry clay can dehydrate the skin. To remove, wet your hands with lukewarm water and gently massage your face to loosen the mask, then rinse thoroughly.
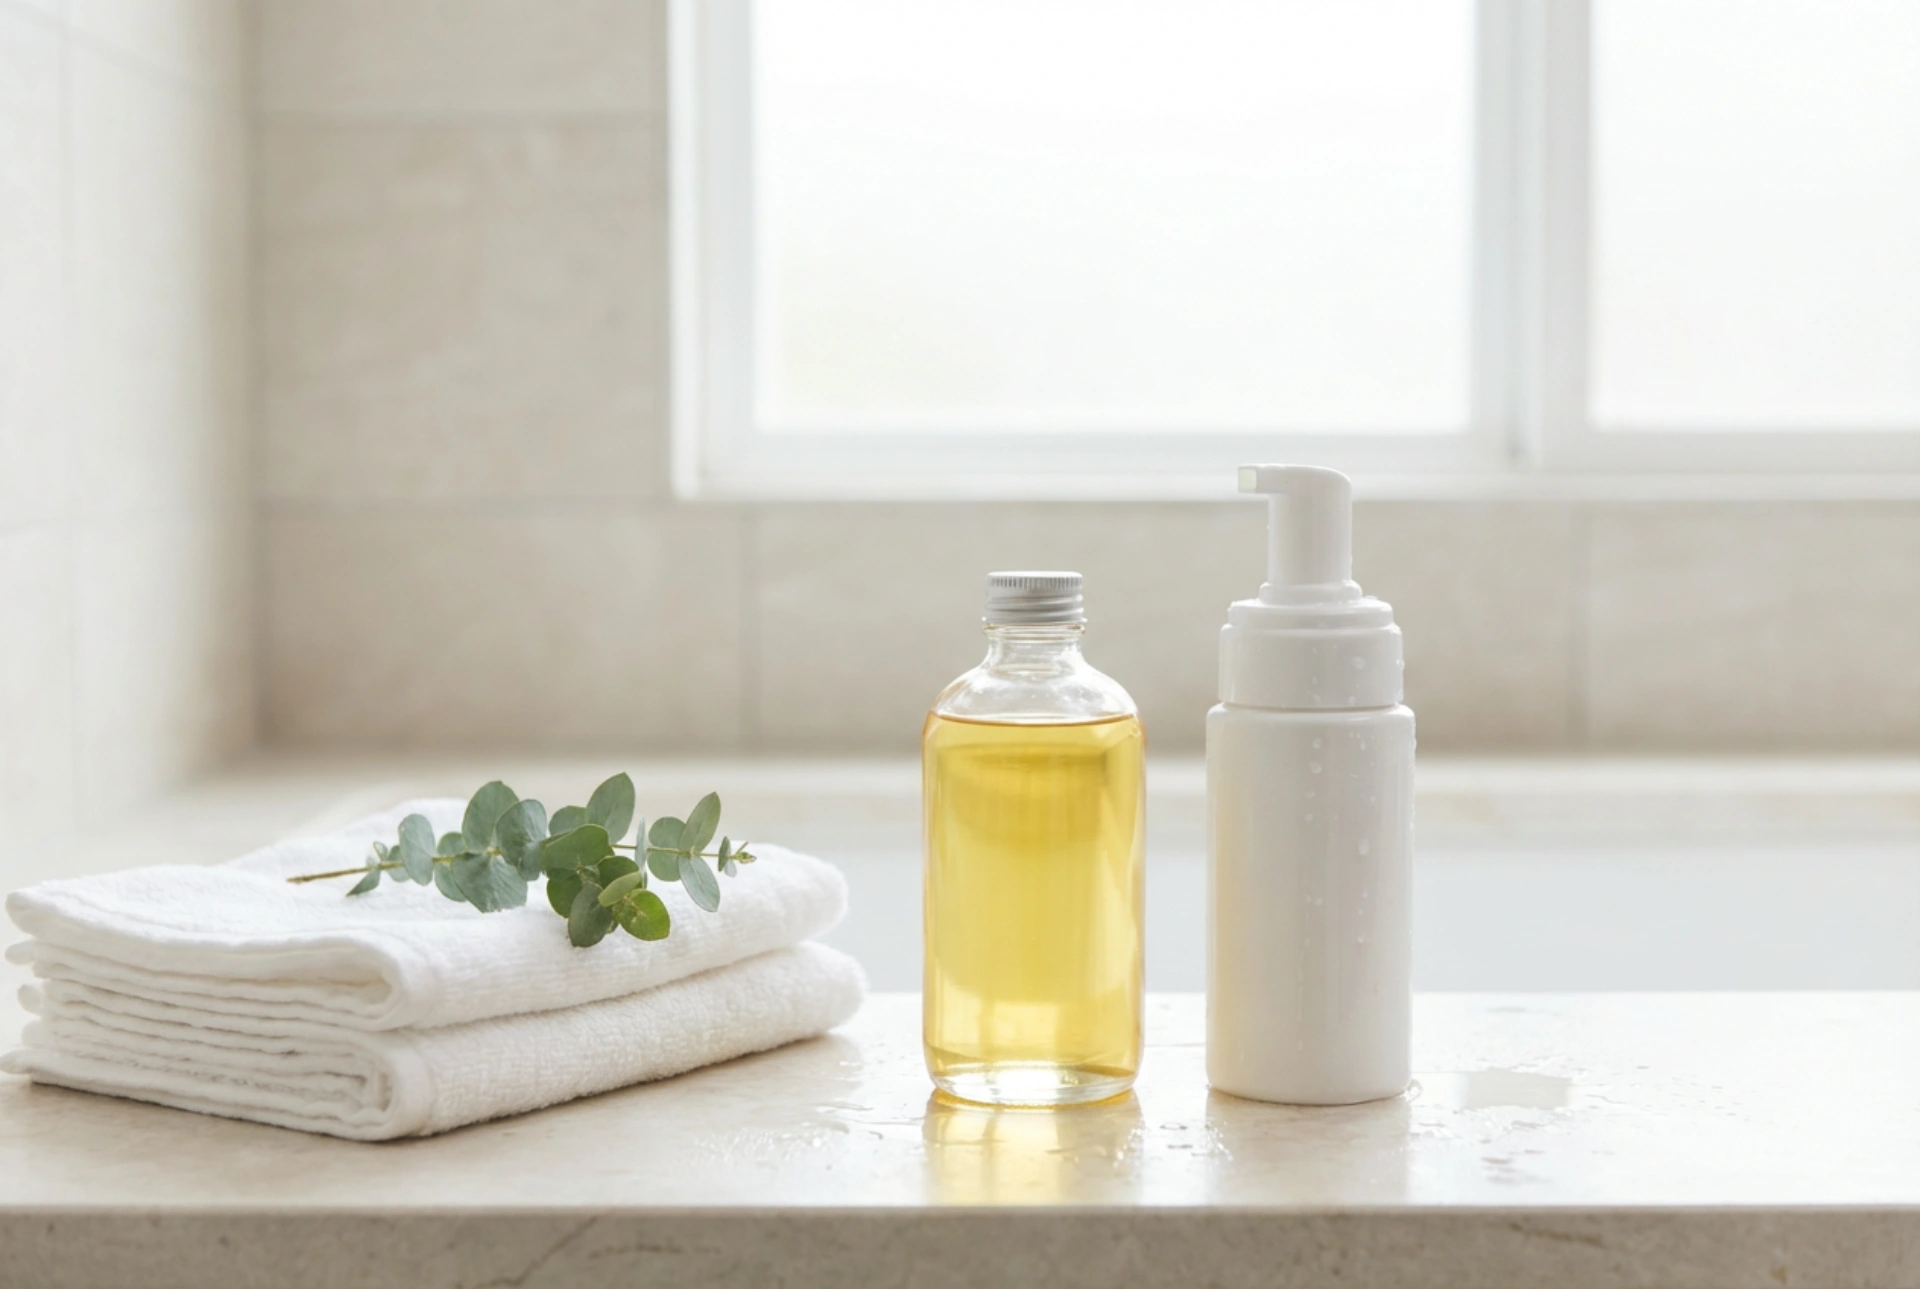
- Step 6: Moisturise. After patting your skin dry, apply your favourite hydrating serum or moisturiser to lock in moisture and protect your freshly cleansed skin.
Tips for Best Results
To get the most out of your homemade treatment, consistency is key. Use this purifying mask once or twice a week as part of your regular skincare routine. Always listen to your skin; if you notice any irritation, discontinue use. Maintaining a daily cleansing routine and ensuring your skin stays well-hydrated will also contribute significantly to a clear and balanced complexion. This simple act of self-care is not just beneficial for your skin, but also a wonderful way to unwind and relax.