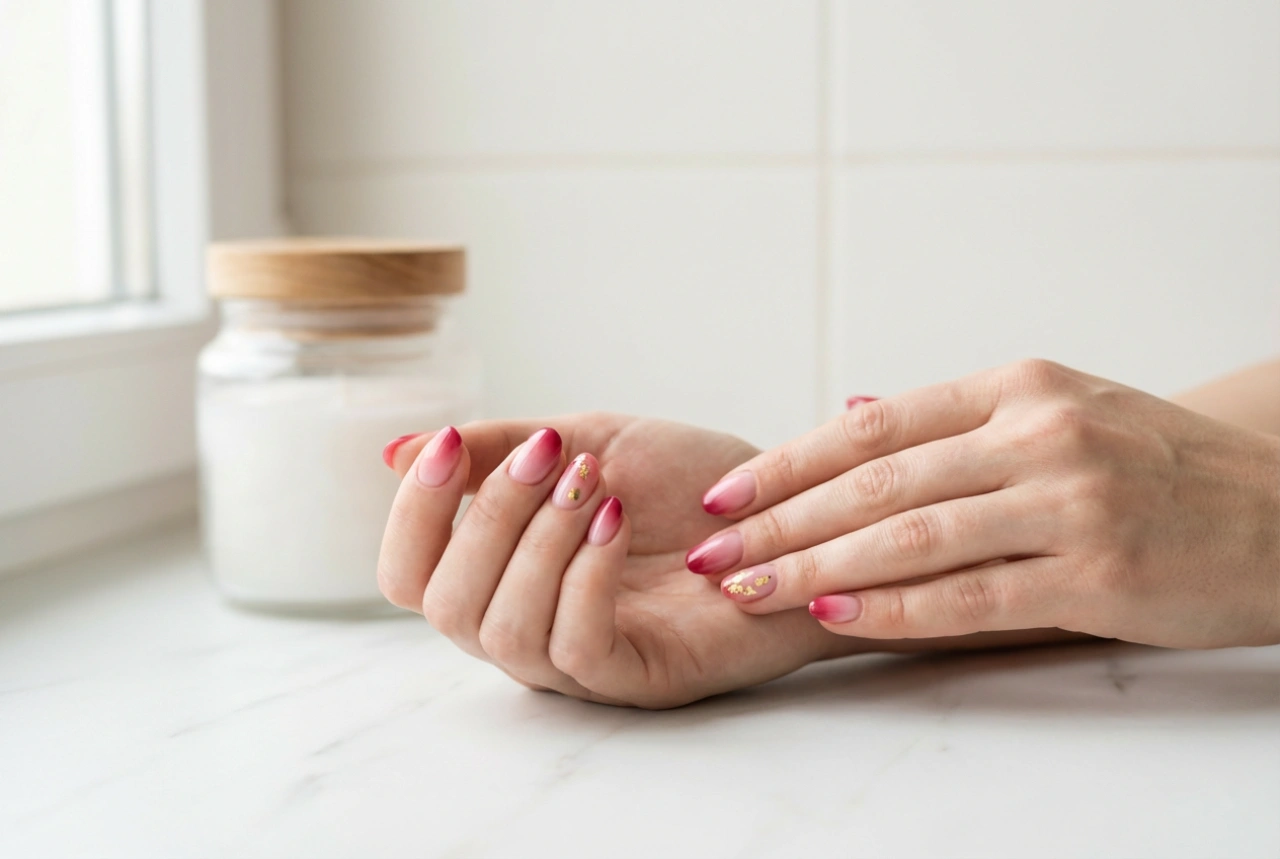


A deep, rich burgundy manicure exudes elegance and sophistication, but achieving that flawless, salon-quality finish at home can be challenging. Darker polishes are notorious for showing every streak, smudge, and imperfection. However, with the right preparation and technique, you can master the art of applying dark polish smoothly and evenly. This guide will walk you through the essential steps to get a perfect, streak-free burgundy manicure every time.
Proper Nail Preparation: The Foundation of a Perfect Manicure
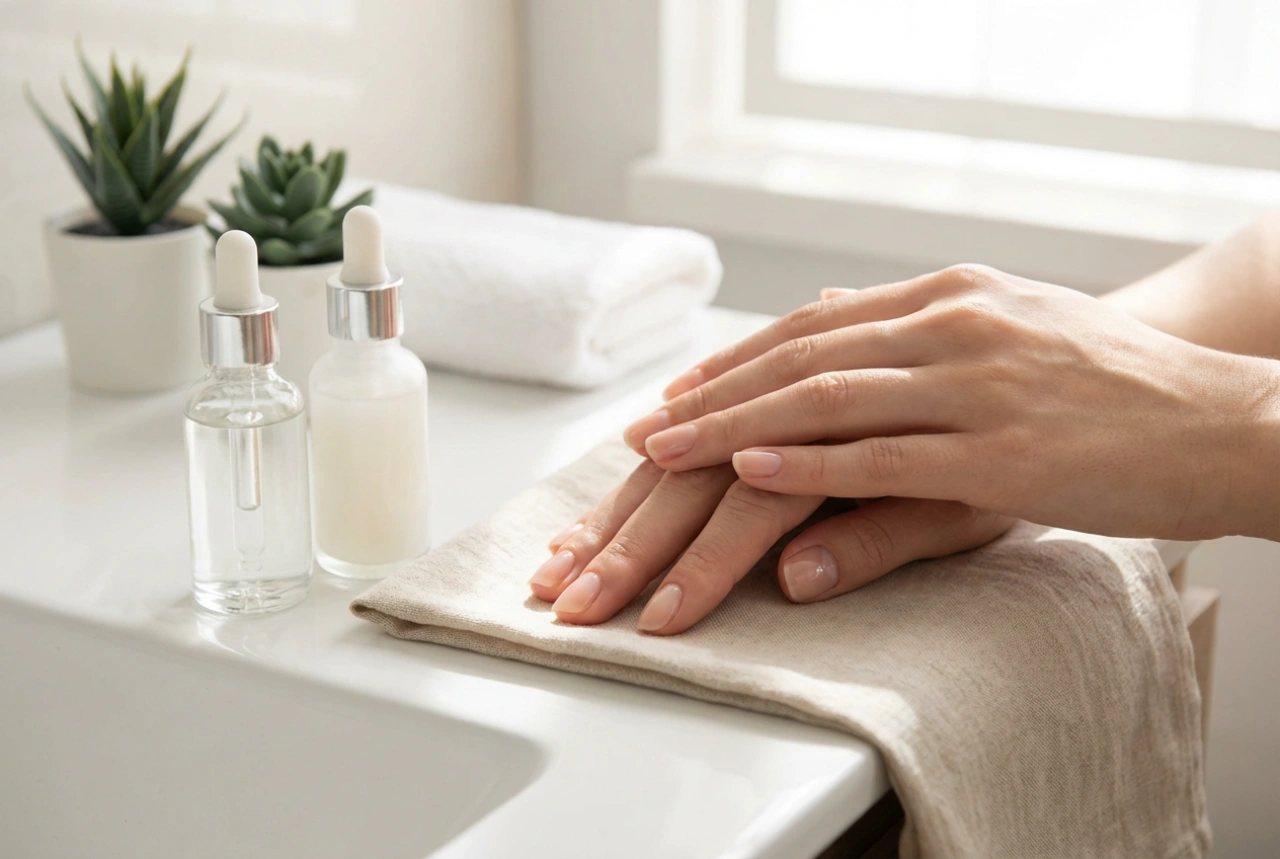
The secret to a long-lasting and even manicure begins long before you open the polish bottle. Proper preparation creates a smooth canvas for the colour, ensuring it glides on effortlessly and adheres well. Rushing this stage is a common cause of a messy application.
- Clean and Shape: Start by removing any old polish completely. Wash your hands to get rid of any oils or lotions. Gently push back your cuticles, but avoid cutting them. File and shape your nails to your desired length and form, ensuring all nails are uniform.
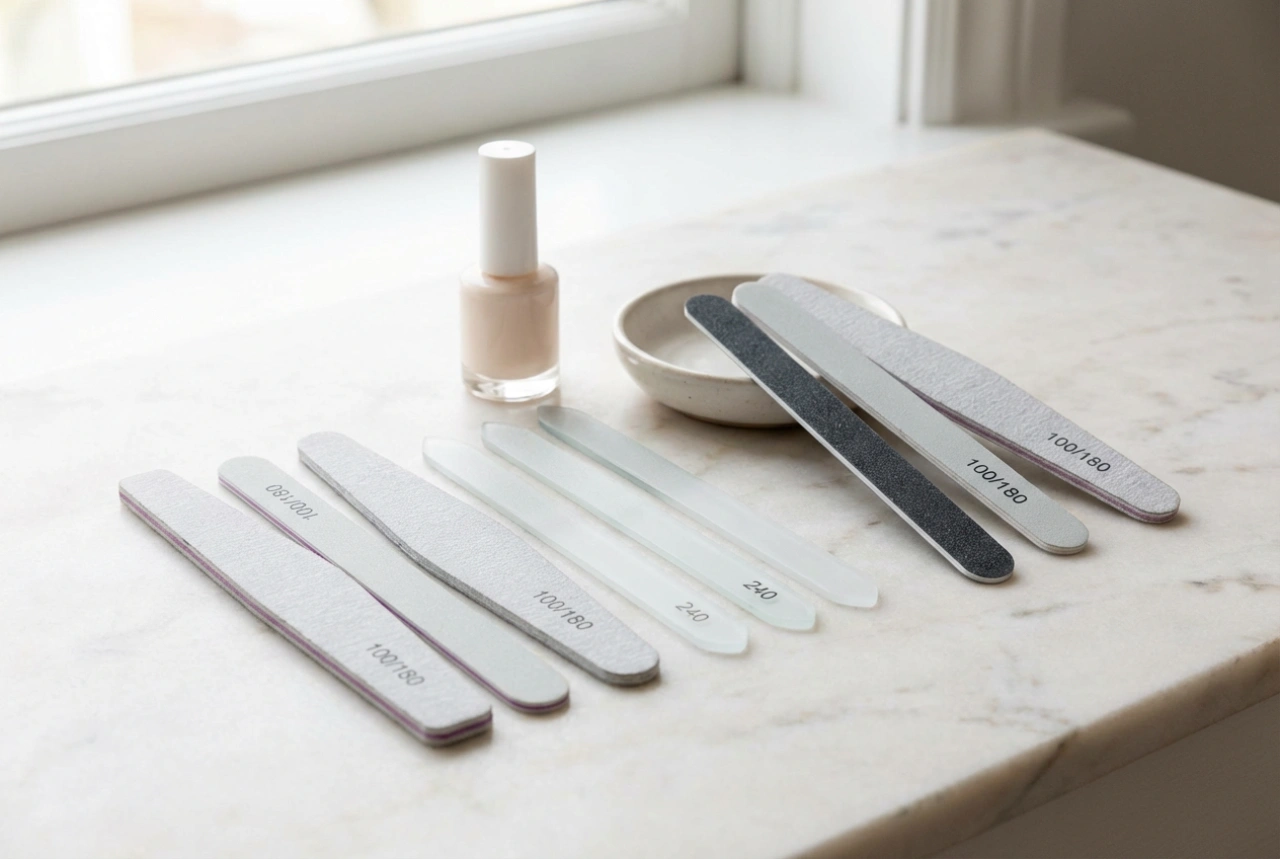
- Buff the Surface: Lightly buff the surface of your nails with a fine-grit buffer. This simple step removes natural oils and smooths out any tiny ridges, which helps the polish apply more evenly and prevents it from bubbling.
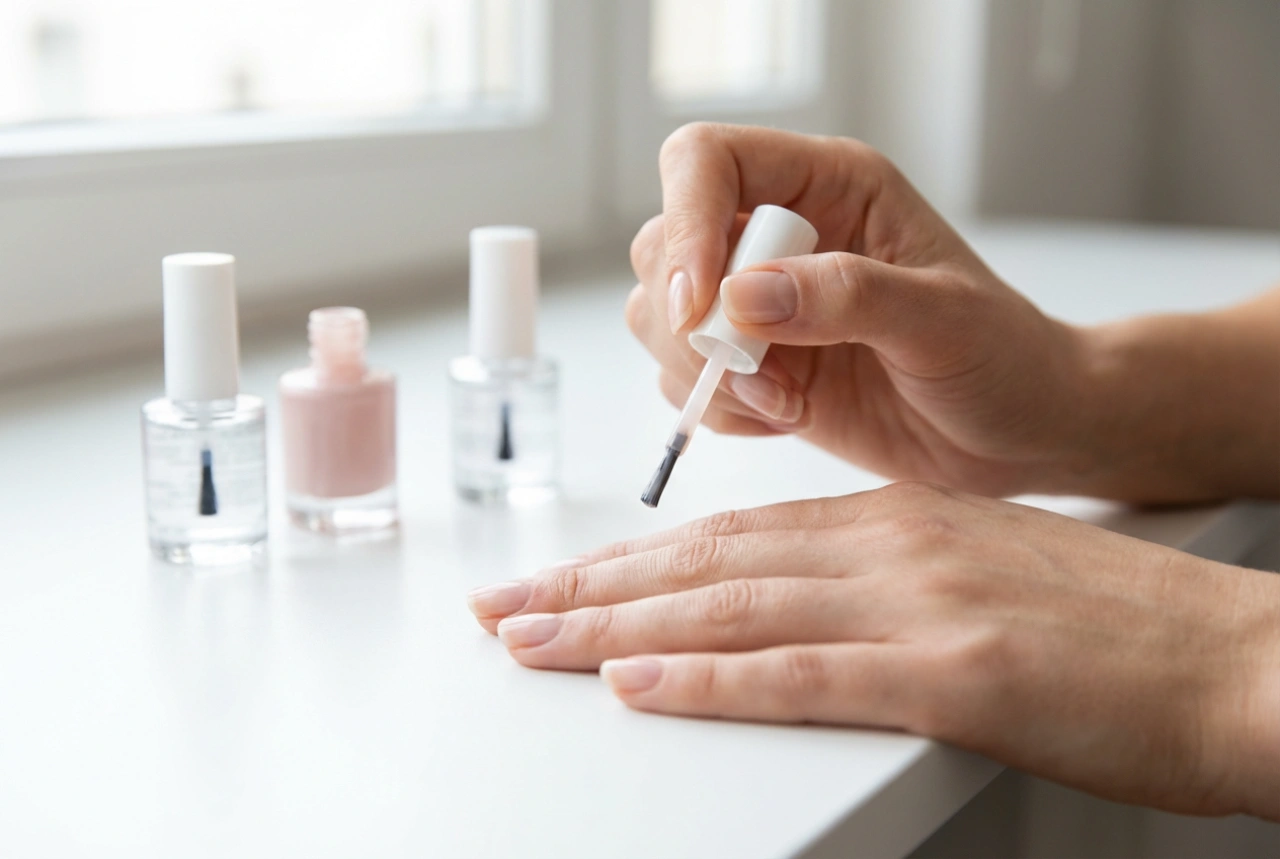
- Apply a Base Coat: Never skip the base coat, especially with a highly pigmented colour like burgundy. A quality base coat serves multiple purposes: it protects your natural nails from staining, fills in any remaining ridges for a smoother surface, and gives the nail polish something to grip onto, extending the life of your manicure.
The Art of Application: Mastering the Technique
When it comes to dark polish, the application method is crucial. The goal is to apply thin, even coats rather than one thick, gloopy layer, which is more likely to be patchy and take a very long time to dry. A steady hand and a systematic approach will yield the best results.
The Three-Stroke Method
This classic technique is favoured by professionals for its efficiency and ability to provide even coverage. Before you start, ensure you have the right amount of polish on your brush – not too much, not too little. Wipe one side of the brush on the neck of the bottle to remove excess.
- Place the brush in the centre of your nail, slightly away from the cuticle.
- Gently push the brush back towards the cuticle, leaving a tiny gap to avoid flooding the area.
- Pull the brush straight down to the tip of the nail in one smooth stroke.
- Return the brush to the base of the nail and sweep it down the left side.
- Repeat on the right side to cover the entire nail.
Work with thin layers. A sheer first coat is perfectly normal and actually desirable. It provides a base of colour that the second coat will build upon.
Building the Colour: Patience and Precision
The second coat is where the magic happens. It deepens the colour, covers any transparency from the first layer, and corrects minor imperfections. However, the most critical factor for success is allowing the first coat to dry sufficiently. Applying a second coat too soon will pull and drag the first layer, creating the very streaks and clumps you want to avoid. Wait at least two to five minutes between coats. The polish should be tacky but not wet to the touch.
Apply the second coat using the same three-stroke method. Be mindful to keep this layer thin as well. Two thin coats will provide a much more durable, chip-resistant, and professional-looking finish than one thick coat ever could. If, after the second coat, you still see some patchiness, you can apply a third, very thin coat after waiting for the previous one to dry.
Finishing Touches for a Professional Look
Once your colour is opaque and even, it's time for the final steps that will protect your manicure and give it a glossy, finished appearance.
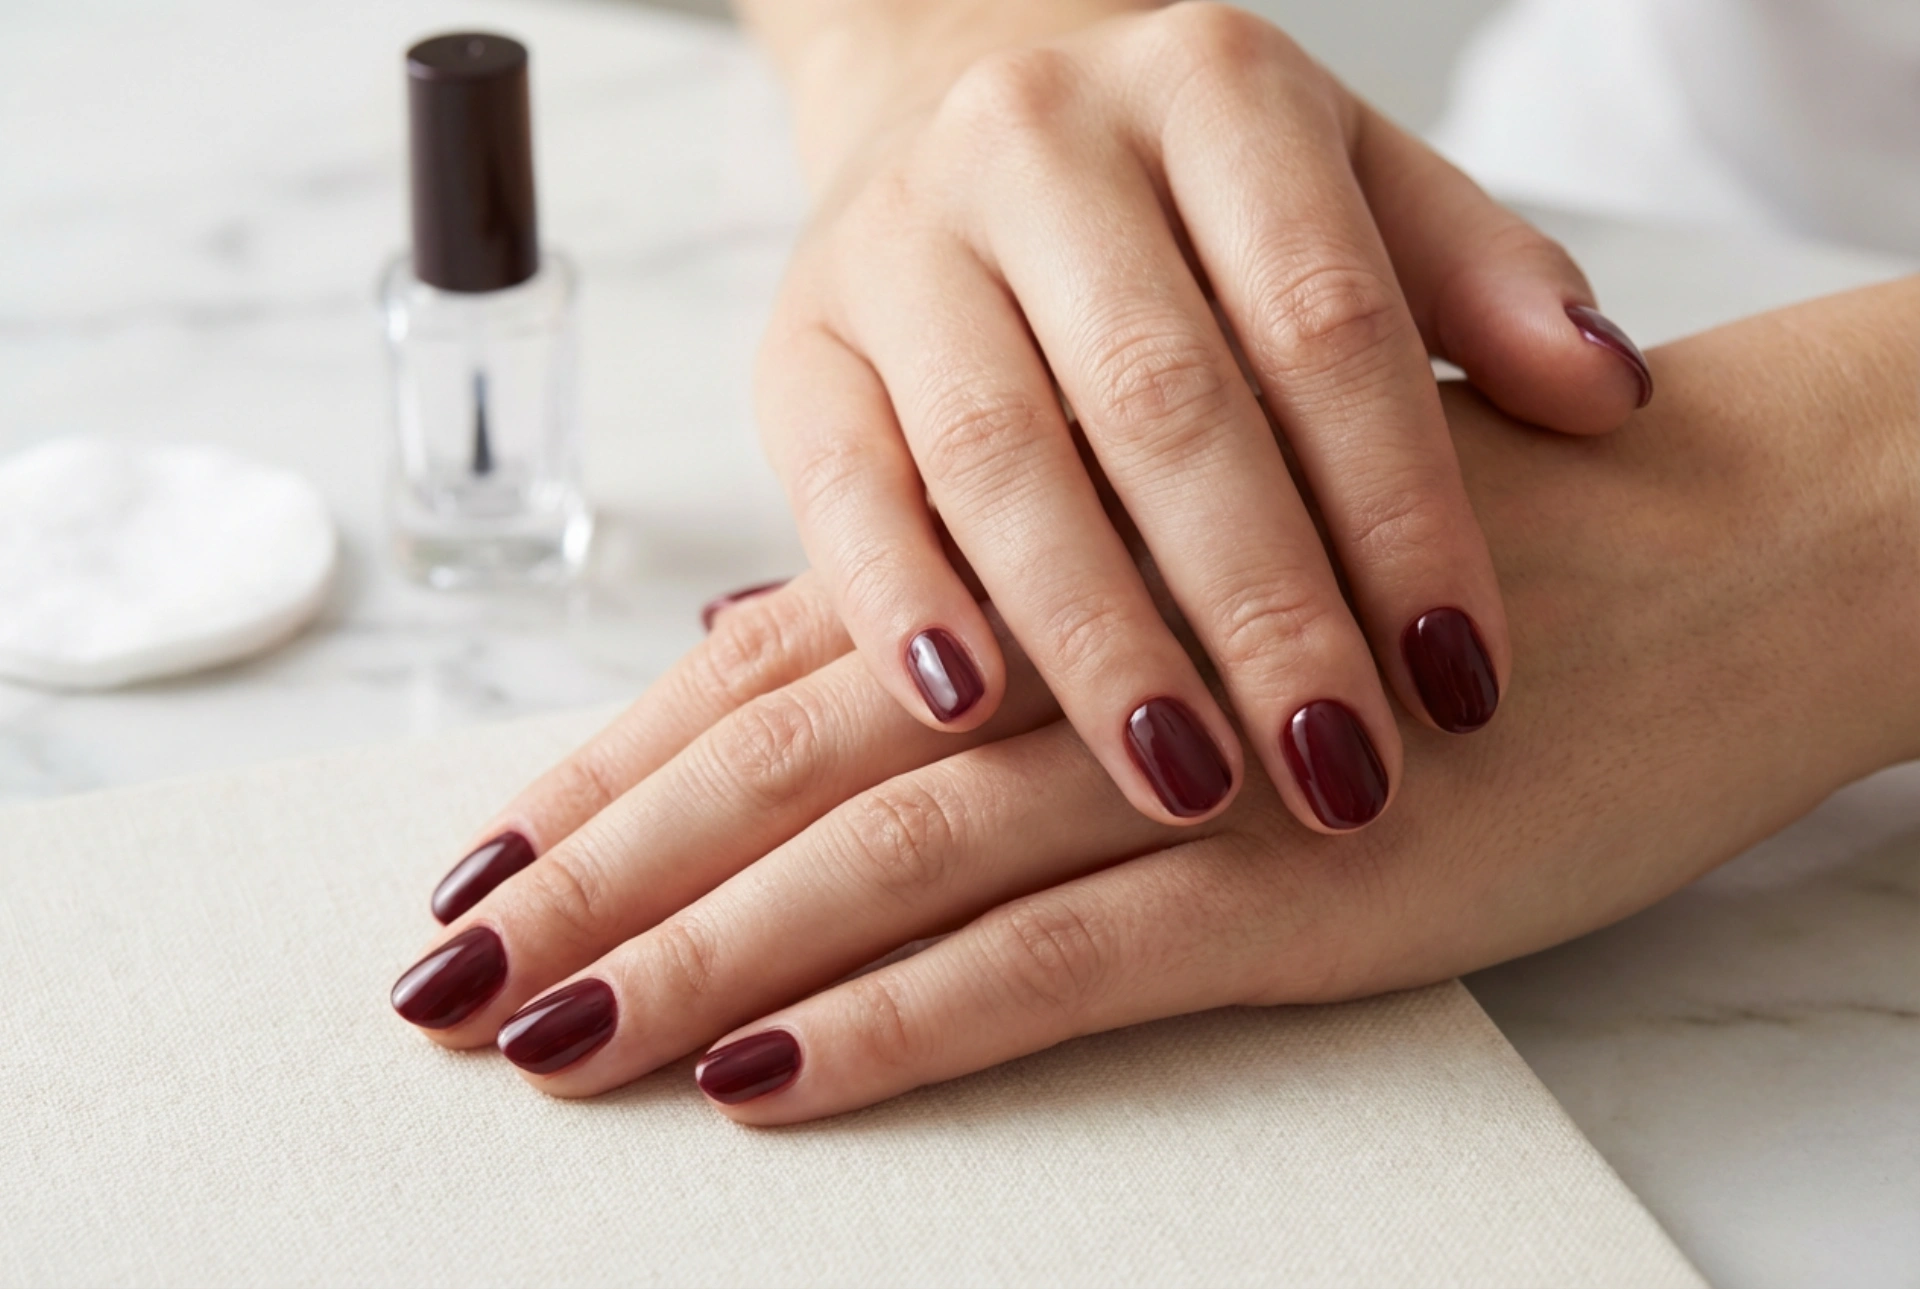
- Seal with a Top Coat: A high-quality top coat is non-negotiable. It adds incredible shine, protects the colour from chipping and fading, and can smooth over any minor surface imperfections. Apply the top coat over the entire nail, making sure to 'cap' the free edge by swiping the brush along the tip. This seals the polish and helps prevent chipping.
- Clean Up the Edges: It's common to get a little polish on the skin around your nails. For a truly neat finish, dip a small, clean brush (an old lip or eyeliner brush works well) or a cotton swab into nail polish remover and carefully trace around your cuticle and nail edges to remove any smudges. This final detail makes a huge difference and elevates your home manicure to a professional level.
With these techniques, you can confidently wear beautiful burgundy nails without worrying about streaks or gaps. A little patience and practice are all it takes to achieve a flawless finish that lasts.