


Perfectly groomed feet with a flawless pedicure can be a wonderful confidence booster, evoking a sense of polish and self-care. A hybrid pedicure is an excellent choice for achieving a durable, high-gloss finish that lasts for weeks, keeping your feet looking immaculate through holidays, special events, or simply everyday life. Understanding the process, from initial preparation to long-term care and safe removal, is key to enjoying all the benefits while maintaining healthy nails.
Preparing Your Feet for a Hybrid Pedicure
Proper preparation is the foundation of a long-lasting and beautiful pedicure. Rushing this stage can lead to a less durable finish and may not provide the clean, polished look you desire. Taking the time to properly prepare your feet and nails ensures a smooth canvas for the hybrid polish.
Step 1: Cleansing and Soaking
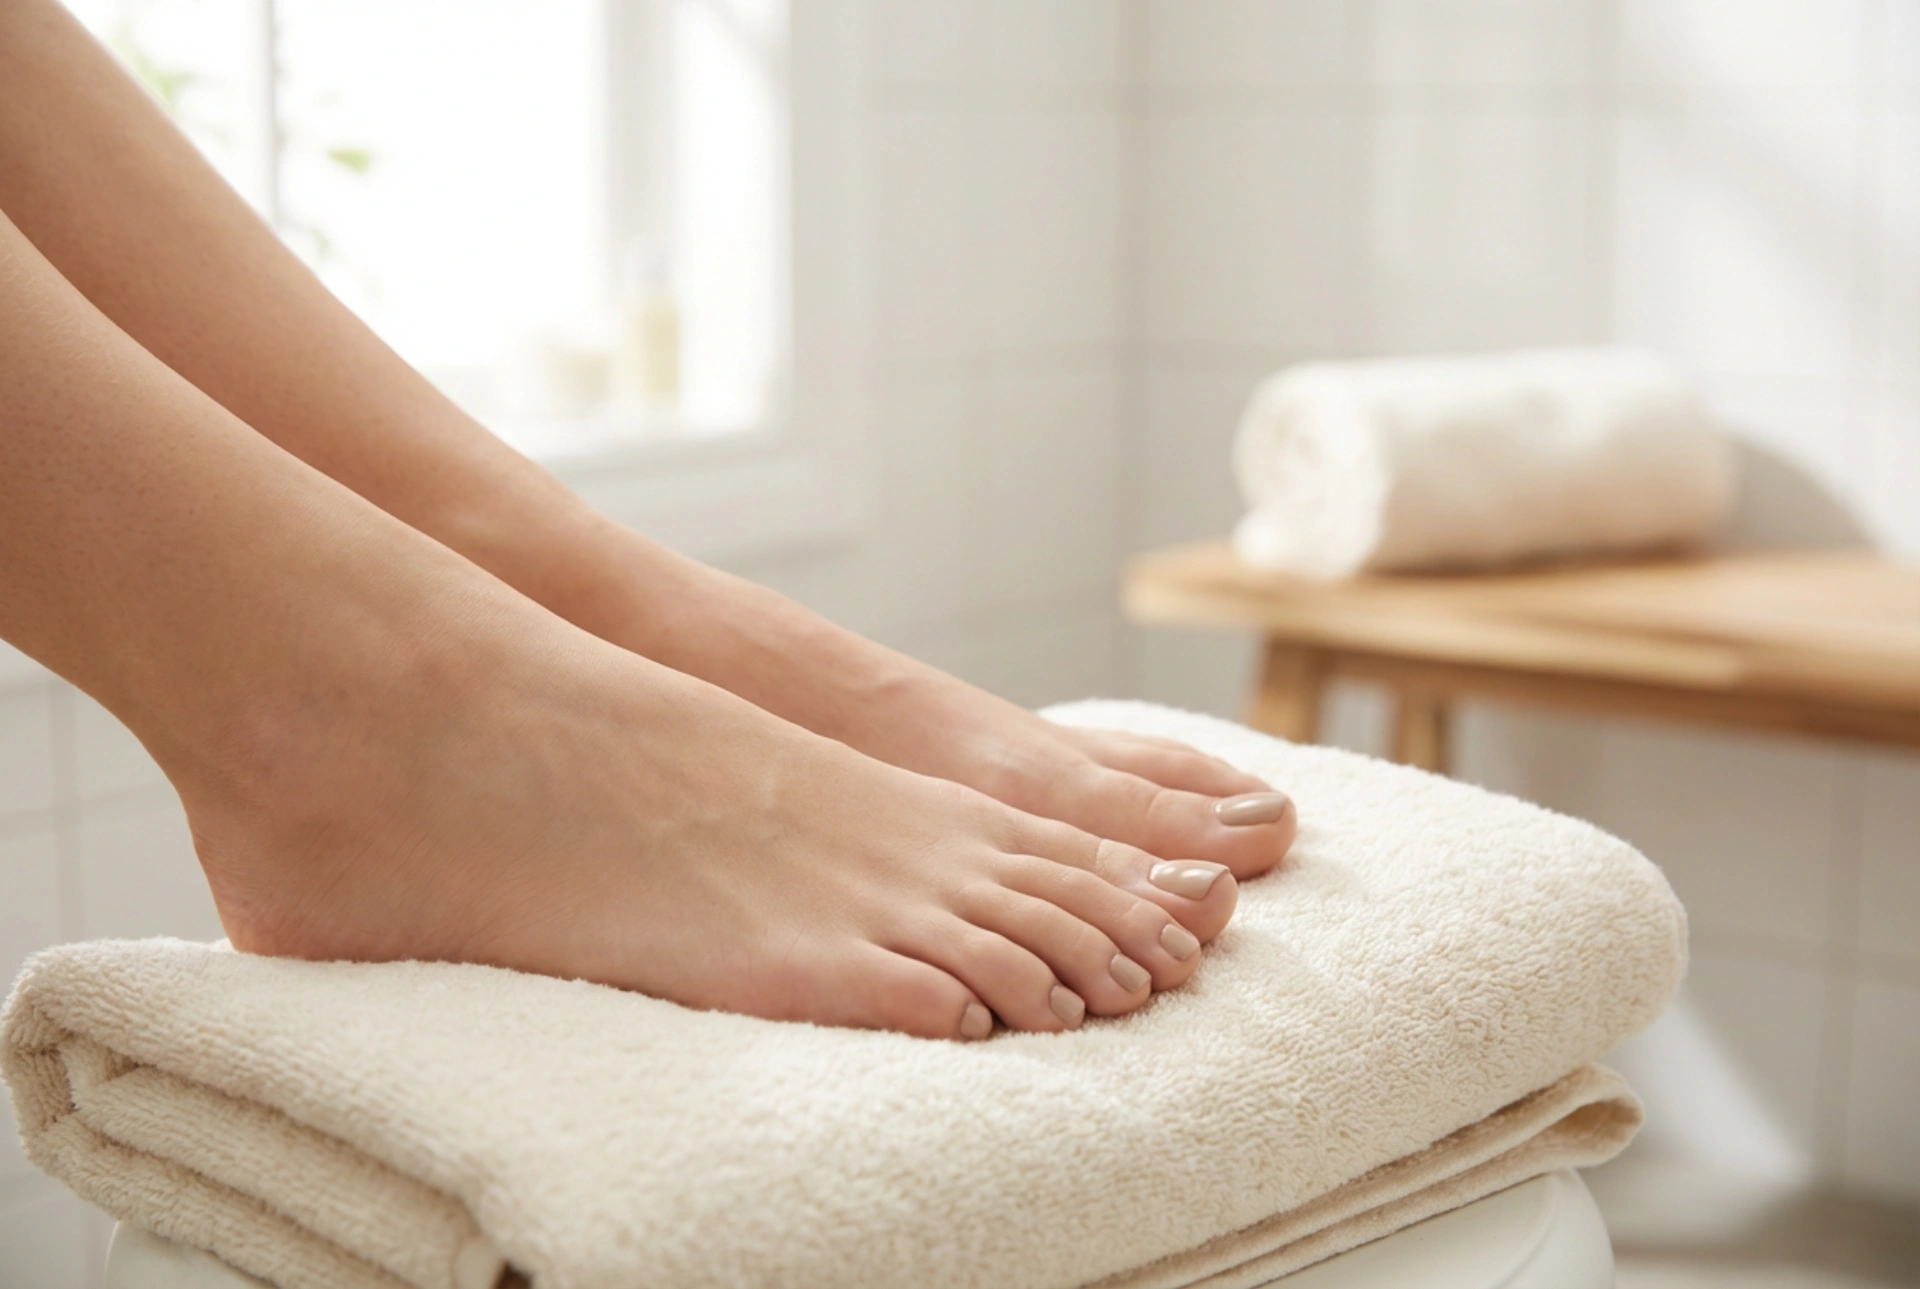
Begin by thoroughly cleaning your feet. A warm foot soak for 10-15 minutes can soften the skin and cuticles, making them easier to work with. You can add gentle bath salts or a mild foot soak solution to the water for a more relaxing experience. After soaking, pat your feet completely dry with a clean towel, paying special attention to the area between the toes and around the nails.
Step 2: Cuticle Care and Nail Shaping
Once the skin is soft, gently push back your cuticles using a wooden or rubber-tipped cuticle pusher. Avoid cutting the cuticles, as they serve as a protective barrier against external factors. Next, trim and file your toenails to your desired shape. It's generally best to file them straight across to help avoid potential issues, and then gently round the corners with a nail file for a smooth edge. Ensure all nails are of a uniform length for a neat appearance.
Step 3: Preparing the Nail Plate
For the hybrid polish to adhere properly, the nail plate must be clean and free of oils. Use a gentle nail buffer to lightly remove the shine from the surface of each toenail. This creates a slightly textured surface for the base coat to grip onto. Be very gentle; the goal is to buff, not to thin the nail. Afterwards, wipe each nail with a lint-free pad soaked in a nail cleaner or isopropyl alcohol to remove any dust and oils.
The Hybrid Application Process Explained
A hybrid pedicure involves applying several thin layers of a special gel-like polish, each of which is cured under a UV or LED lamp. This curing process is what gives the pedicure its signature durability and shine.
The Base Coat
The first layer to be applied is the base coat. This clear coat serves two main purposes: it protects your natural nail from the coloured pigment and provides a sticky surface for the colour to adhere to. Apply a thin, even layer to each nail, being careful to avoid the surrounding skin. Cure the base coat under the lamp for the time specified by the product's instructions.
Applying the Colour
Next comes the colour application. Hybrid polishes are highly pigmented, so thin coats are essential for a smooth, even finish. Apply the first thin layer of your chosen colour and cure it under the lamp. Most shades require a second coat to achieve full, opaque coverage. Apply the second layer just as thinly as the first and cure it again. Applying thin layers prevents the polish from bubbling or not curing properly.
The Top Coat
The final step in the application is the top coat. This is a clear layer that seals in the colour, provides a high-gloss or matte finish, and protects the pedicure from chips and scratches. Apply a thin layer over the entire nail, making sure to 'cap' the free edge by running the brush along the tip of the nail. This adds extra protection against chipping. Cure the top coat under the lamp. After curing, there will be a sticky inhibition layer on top, which should be wiped away with a lint-free pad and a specialised cleanser to reveal the hard, shiny finish.
Aftercare for a Long-Lasting Pedicure
With proper care, a hybrid pedicure can last for three to four weeks or even longer. Simple daily habits can make a significant difference in its longevity.
- Moisturise Daily: Keep the skin on your feet and around your cuticles hydrated. Apply a nourishing foot cream daily and use cuticle oil to keep the area around your nails healthy and prevent dryness.
- Be Gentle: Avoid using your toenails as tools to scrape or open things. Excessive pressure can cause the polish to lift or chip.
- Protect Your Feet: Wear comfortable, well-fitting shoes that don't put pressure on your toenails. When cleaning with harsh chemicals, consider wearing protective footwear if your feet might be exposed.
- Mind the Water: While a hybrid pedicure is very water-resistant, prolonged exposure to hot water in hot tubs or long baths can sometimes affect its longevity. Dry your feet thoroughly after swimming or bathing.
Safe Removal of Hybrid Polish
Incorrect removal is one of the biggest causes of nail damage. Never peel or pick off a hybrid pedicure. The correct method involves soaking the polish to break it down, allowing for gentle removal.
First, gently file the shiny surface of the top coat. This breaks the seal and allows the remover to penetrate the polish. Next, soak cotton pads in an acetone-based remover, place them on each toenail, and wrap them with small pieces of aluminium foil to hold them in place. Let them soak for 10-15 minutes. After soaking, the polish should have softened and lifted. Use a wooden cuticle stick to gently scrape away the softened polish. If it doesn't come off easily, re-wrap the nail and soak for a few more minutes. Once all the polish is removed, gently buff the nail surface and apply a generous amount of cuticle oil and hand cream to rehydrate the nails and skin.


