


A pristine white manicure is a symbol of timeless elegance and sophistication. However, anyone who has attempted to apply white gel polish knows it can be one of the most challenging shades to perfect. Streaks, uneven coverage, and a wobbly cuticle line can quickly spoil the effect. Fortunately, with the right technique and a little patience, achieving that flawless, opaque white finish is entirely possible. This guide will walk you through the steps to master the art of the perfect white gel manicure.
Preparing the Nail Plate: The Foundation for Perfection
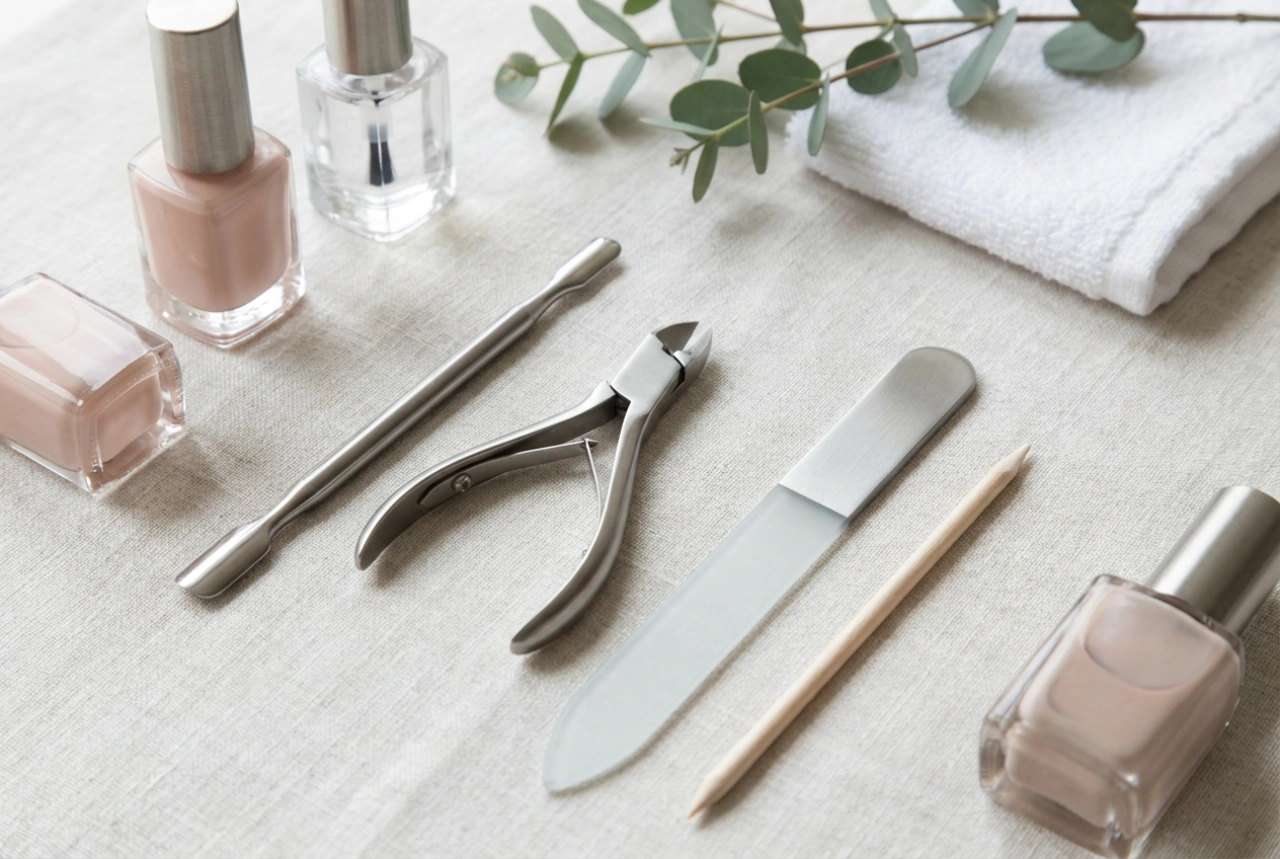
Before you even think about opening the white polish, proper nail preparation is essential. A smooth, clean canvas is non-negotiable for a professional-looking result. Start by gently pushing back and tidying your cuticles. Shape your nails to your desired length and form using a file. Next, lightly buff the surface of the nail plate with a fine-grit buffer. This removes any natural shine and creates a slightly textured surface for the polish to adhere to, preventing lifting. Finally, cleanse the nail with a lint-free wipe soaked in a nail prep solution or isopropyl alcohol to remove any dust and oils. Apply a thin, even layer of a quality base coat and cure it according to the manufacturer's instructions. This step not only protects your natural nail but also provides a sticky layer for the colour to grip onto.
The Art of Applying White Polish
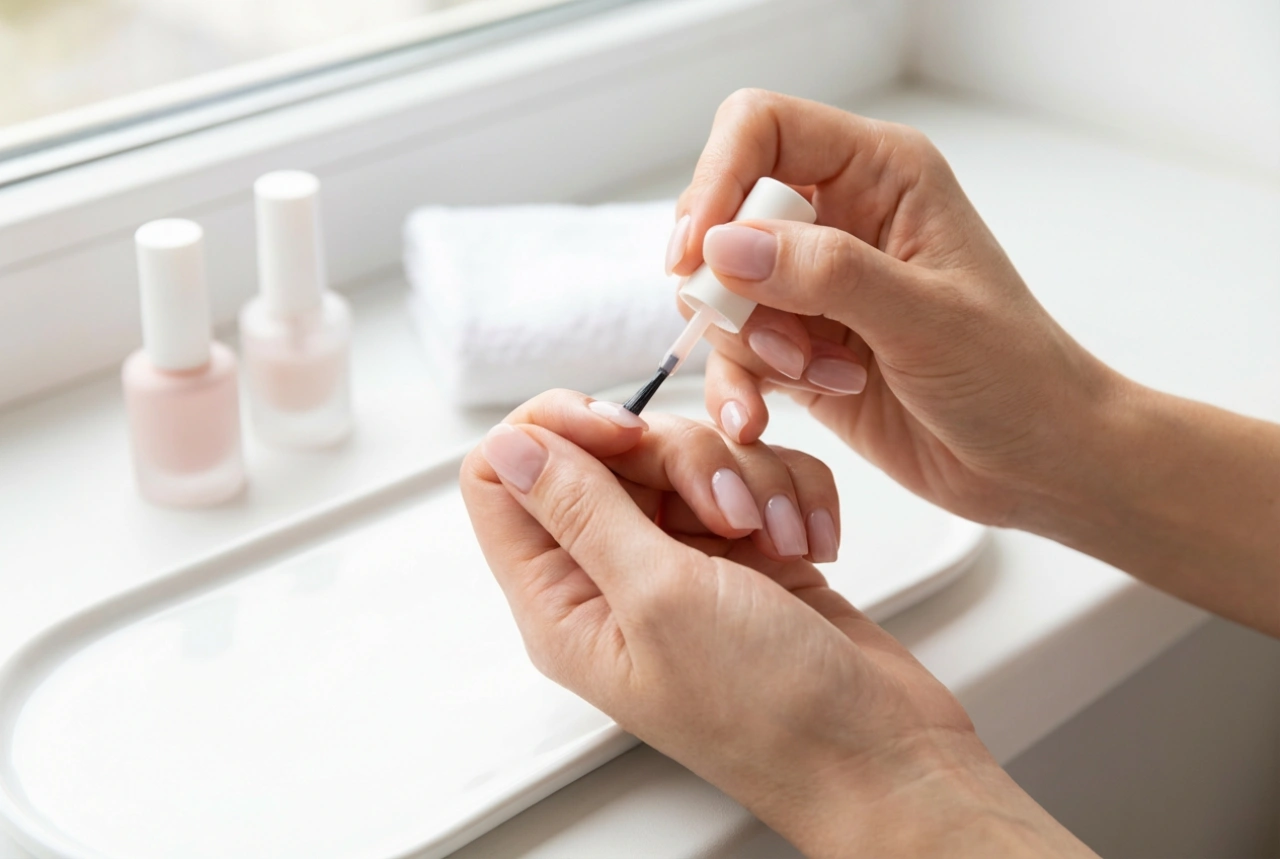
This is where precision and patience become your greatest tools. White pigments are notoriously tricky and require a specific application method to look smooth and opaque.
Thin Layers are Key
The biggest mistake when applying white polish is trying to get full coverage in one thick coat. This leads to a lumpy finish, uneven curing, and a high risk of the polish wrinkling or shrinking under the lamp. Instead, aim for very thin, almost translucent layers. Use the brush to apply a sheer wash of colour from the cuticle to the free edge. Don't worry if the first coat looks streaky; this is completely normal. The goal is to build up the colour gradually.
The Trick for a Flawless Cuticle Line
A clean, sharp line around the cuticle area is what elevates a manicure from amateur to professional. After applying your thin layer of white polish but before curing, take a very fine, long-bristled nail art brush. Dip it lightly into the white polish on the nail and use it to gently guide the colour into a perfect, smooth curve along your cuticle line. This technique gives you much more control than the standard bottle brush. If you get any polish on your skin, clean it up with the same brush dipped in a bit of cleanser before you cure. Cure the first layer completely.
Building Opaque Coverage
Repeat the process for the second and third coats. Apply another thin layer of white polish, use your detail brush to perfect the cuticle line, and cure. Most high-quality white gel polishes will require three thin coats to achieve full, streak-free opacity. Trying to rush this process with fewer, thicker coats will compromise the final result. Remember to cap the free edge of the nail with each colour coat to prevent chipping.
Curing and Finishing Touches
Proper curing is just as important as the application itself. Ensure you are curing each layer for the full time recommended by the polish manufacturer for your specific lamp (UV or LED). Under-cured polish can lead to a soft finish that is prone to smudging and peeling. Once your final colour coat is perfectly cured and you're happy with the opacity, it's time for the top coat. Apply a generous but even layer of a no-wipe top coat, making sure to cover the entire nail surface and cap the free edge. The top coat will seal in your work, provide a high-gloss shine, and protect your manicure from scratches and discolouration. Cure the top coat for the recommended time, and your flawless white manicure is complete.
Common Mistakes to Avoid
To ensure your white manicure is always perfect, be mindful of these common pitfalls:
- Applying layers that are too thick, which causes wrinkling and uneven curing.
- Forgetting to cleanse the nail plate properly before starting.
- Skipping the base coat, leading to poor adhesion and potential nail staining.
- Not cleaning up smudges around the cuticle before curing, resulting in a messy finish.
- Using old or thickened polish, which is impossible to apply thinly and evenly.
- Insufficient curing time for each layer.
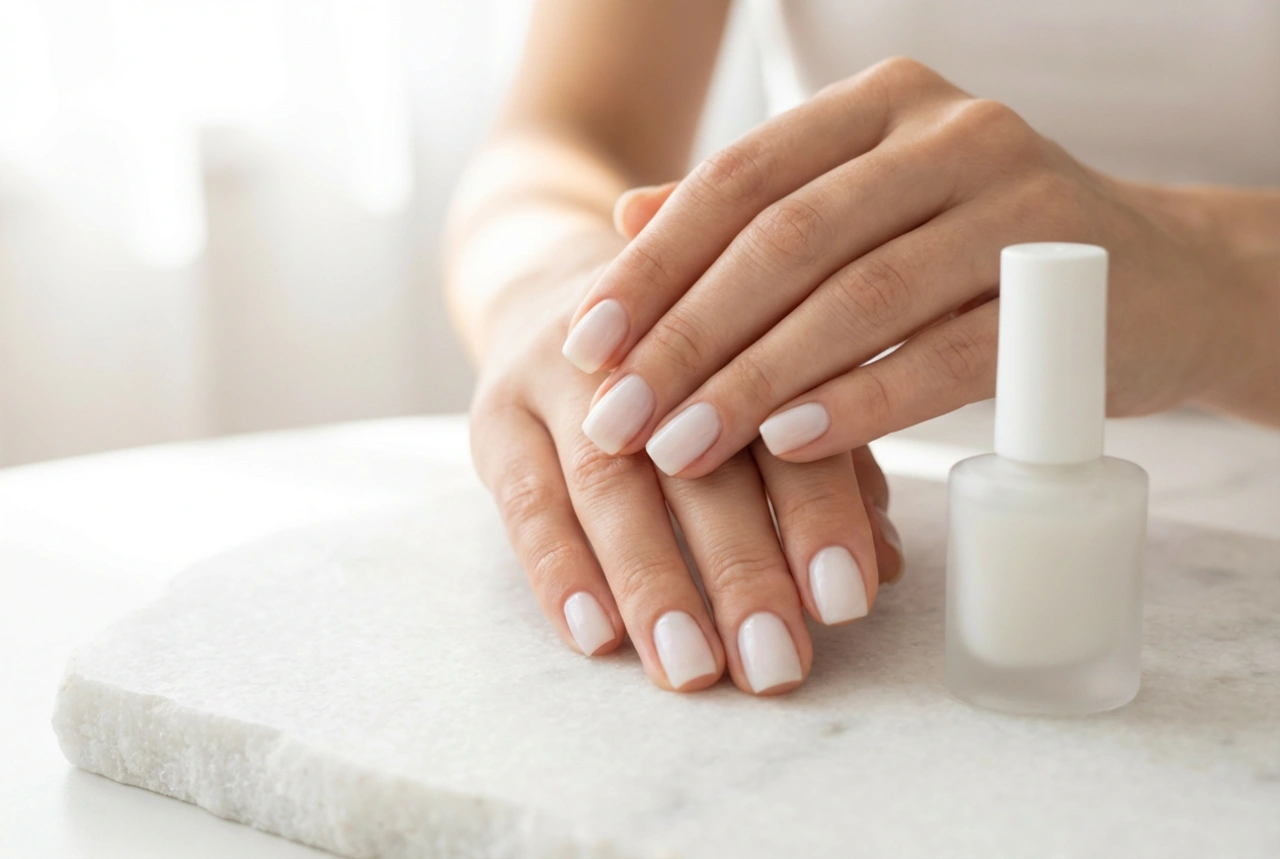
Achieving a perfect white gel manicure is a skill that combines careful preparation with a patient application technique. By using thin layers, perfecting the cuticle line with a detail brush, and ensuring each coat is properly cured, you can create a stunningly elegant and long-lasting look. This classic style is worth the extra effort, providing a clean, sophisticated finish for any occasion.