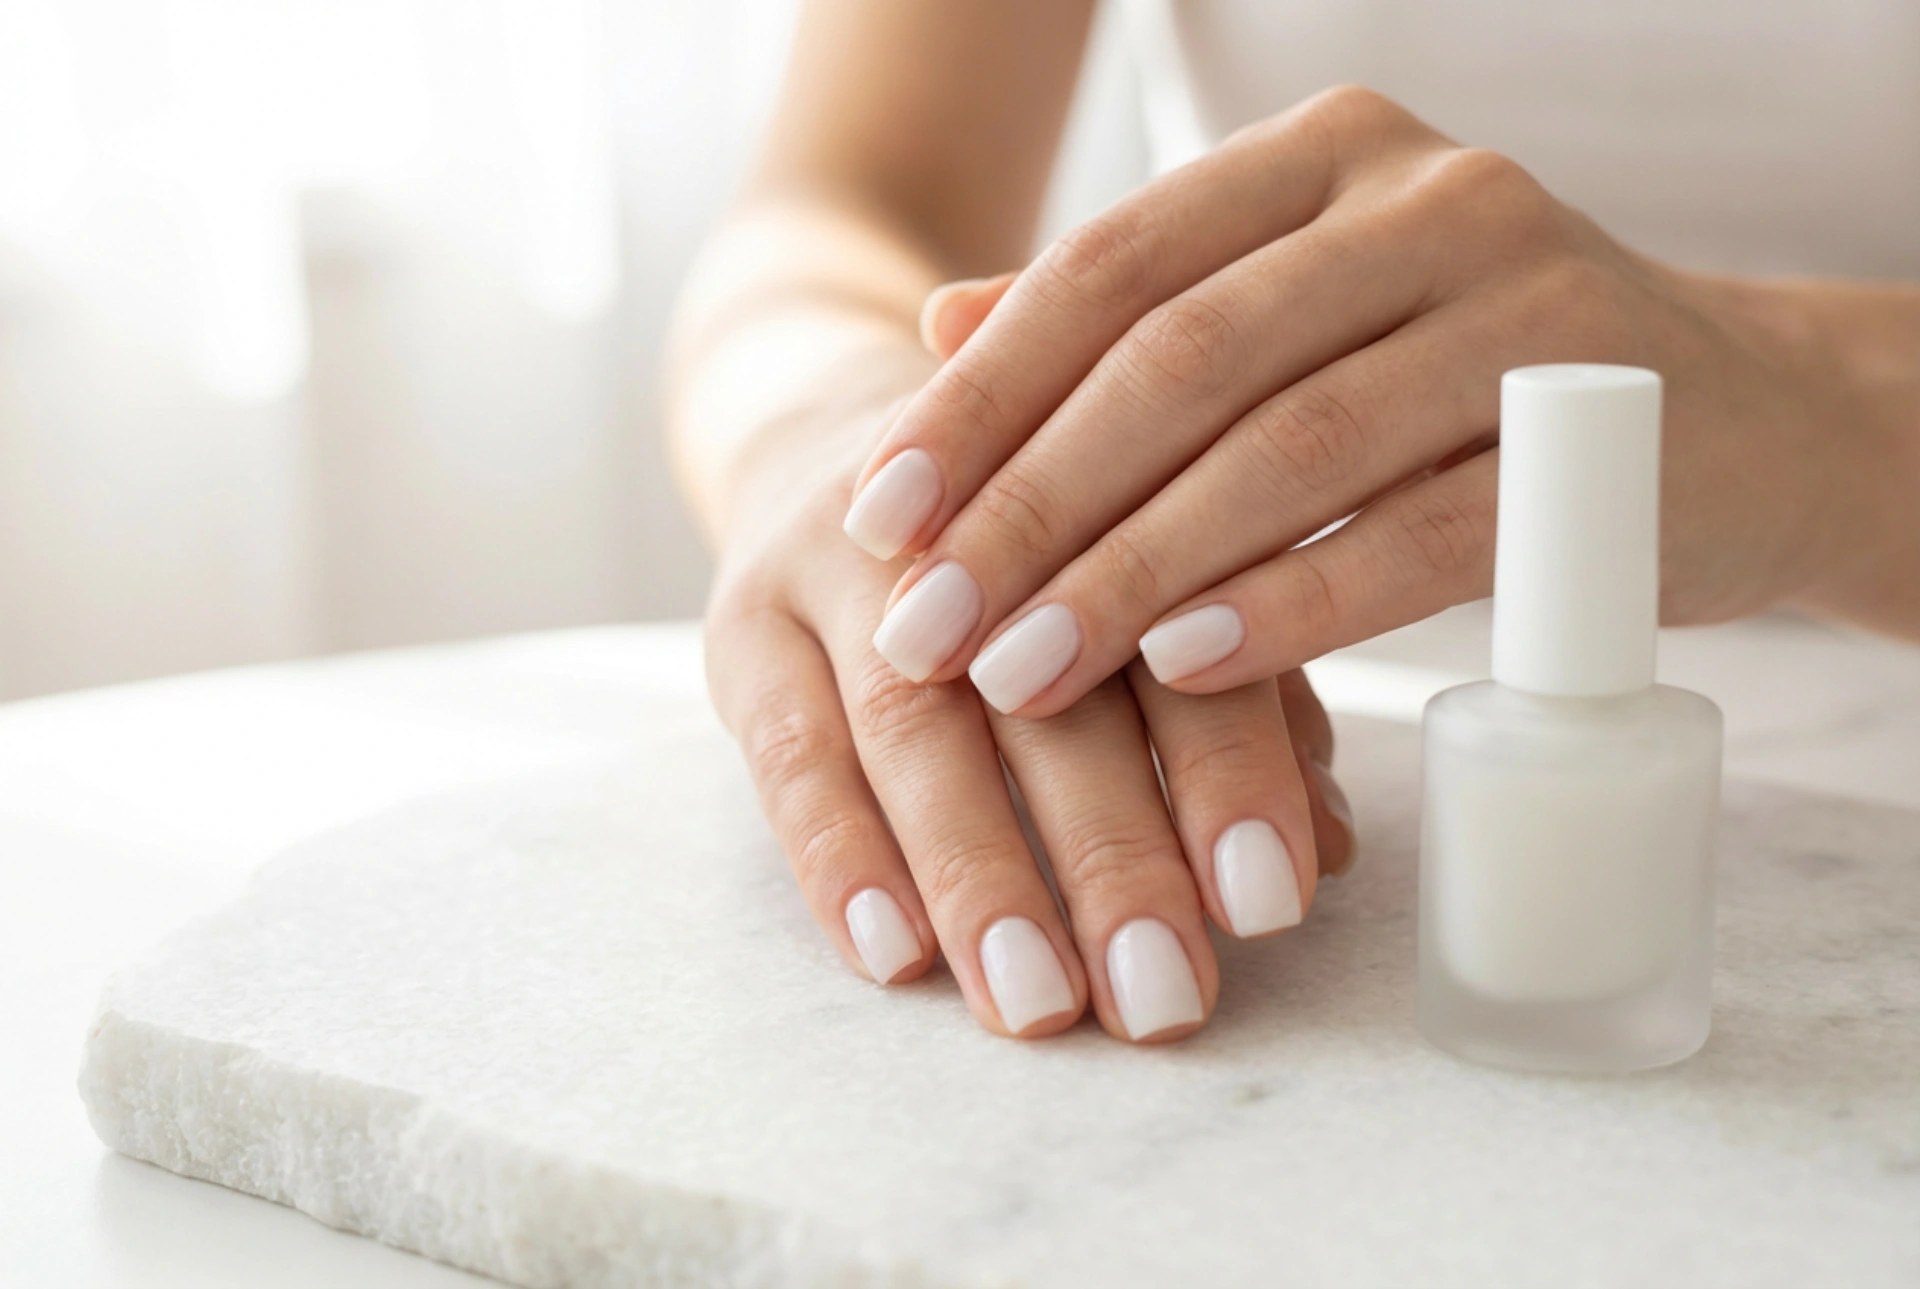


An elegant set of hands displaying a flawless, translucent milky white polish represents the height of modern, minimalist beauty. The milky manicure has become a staple for those seeking a clean, sophisticated look that subtly enhances the natural nails. Unlike stark opaque whites, a milky finish offers a soft, semi-sheer depth that complements any skin tone and transitions effortlessly from casual days to formal events. Achieving this seamless, streak-free look at home requires the right technique, as sheer polishes are notoriously prone to showing brush strokes and unevenness.
The Appeal of the Milky Manicure
The milky manicure strikes a perfect balance between natural simplicity and refined elegance. It mimics the soft appearance of milk glass, offering a semi-translucent coverage that looks clean and healthy. This style is incredibly versatile, working beautifully on short, active nails as well as long, almond-shaped extensions. Its popularity lies in its understated nature; it makes the hands look polished and elongated without drawing too much attention. Furthermore, because the polish is sheer, any minor nail growth near the cuticles is much less noticeable than with high-contrast, opaque colours, making it a low-maintenance option for busy lifestyles.
Preparing the Nails for a Flawless Finish
The key to a streak-free sheer manicure lies in the preparation of the nail plate. Any ridges, dry patches, or uneven areas will cause the milky polish to pool or streak, ruining the smooth effect. Follow these safe and simple home prep steps:
- Gently shape and buff: Use a fine-grit nail file to shape your nails to your desired length. Gently buff the surface of each nail with a soft buffer to smooth out any ridges and remove natural oils.
- Care for your cuticles: Gently push back your cuticles using a wooden manicure stick. Avoid cutting them, as this can lead to irritation. Keeping this area neat ensures the polish can be applied close to the base without flooding.
- Dehydrate and clean: Wipe the nails with a lint-free pad soaked in nail prep wipe or rubbing alcohol to remove any residual dust and oils, ensuring maximum adhesion for your polish.
Step-by-Step Guide to a Streak-Free Application
Applying sheer, milky shades requires a gentle touch and patience. To recreate the flawless look of professional hands resting on a clean, minimalist surface, follow this step-by-step method:
1. Apply a Smoothing Base Coat
Never skip the base coat. For milky manicures, a ridge-filling base coat or a slightly tinted pink or nude base works exceptionally well. It creates an even, slightly grippy surface that prevents the sheer polish from slipping and pooling in the natural grooves of the nail.
2. Use the Three-Stroke Technique
When applying your milky polish, load the brush with a moderate amount of product—not too little, as this causes dragging, and not too much, which leads to flooding. Place the brush a fraction of a millimetre away from the cuticle, push gently towards it, and then glide down the centre of the nail. Follow with one stroke down each side. Keep the brush almost parallel to the nail plate rather than pointing straight down to minimise brush marks.
3. Build Colour in Thin Layers
It is far better to apply three very thin layers than two thick ones. Thick layers of sheer polish will trap air, dry slowly, and create uneven shadows. Allow each layer to dry for a couple of minutes before applying the next. The first layer may look slightly patchy, but the second and third layers will build the perfect, translucent depth.
4. Seal with a Plumping Top Coat
A high-quality, plumping top coat is the secret weapon for a streak-free finish. It helps to self-level any remaining minor streaks in the colour coats and adds a glossy, glass-like finish that enhances the soft, milky dimension. Ensure you seal the free edge of the nail to prevent chipping.
Pro Tips for the Perfect Milky Finish
To ensure your milky manicure looks immaculate every single time, keep these practical tips in mind:
- Avoid shaking the bottle: Shaking your nail polish bottle vigorously introduces tiny air bubbles that will transfer to your nails, ruining the smooth finish. Instead, roll the bottle gently between your palms to mix the pigments.
- Work with light pressure: Let the brush do the work. Pressing too hard on the nail plate with the brush bristles will scrape off the polish you just applied, creating streaks.
- Choose a self-levelling formula: Look for polishes that mention self-levelling properties on their packaging. These formulas naturally smooth themselves out as they dry, doing half the work for you.
Maintaining Your Milky Manicure
Once you have achieved your flawless, streak-free look, a little maintenance will keep it looking fresh for longer. Apply a fresh layer of thin top coat every two to three days to restore shine and protect against minor wear. Daily application of a nourishing cuticle oil is also recommended; it keeps the skin surrounding the nails hydrated and prevents lifting at the edges, ensuring your elegant, minimalist hands continue to look pristine.




