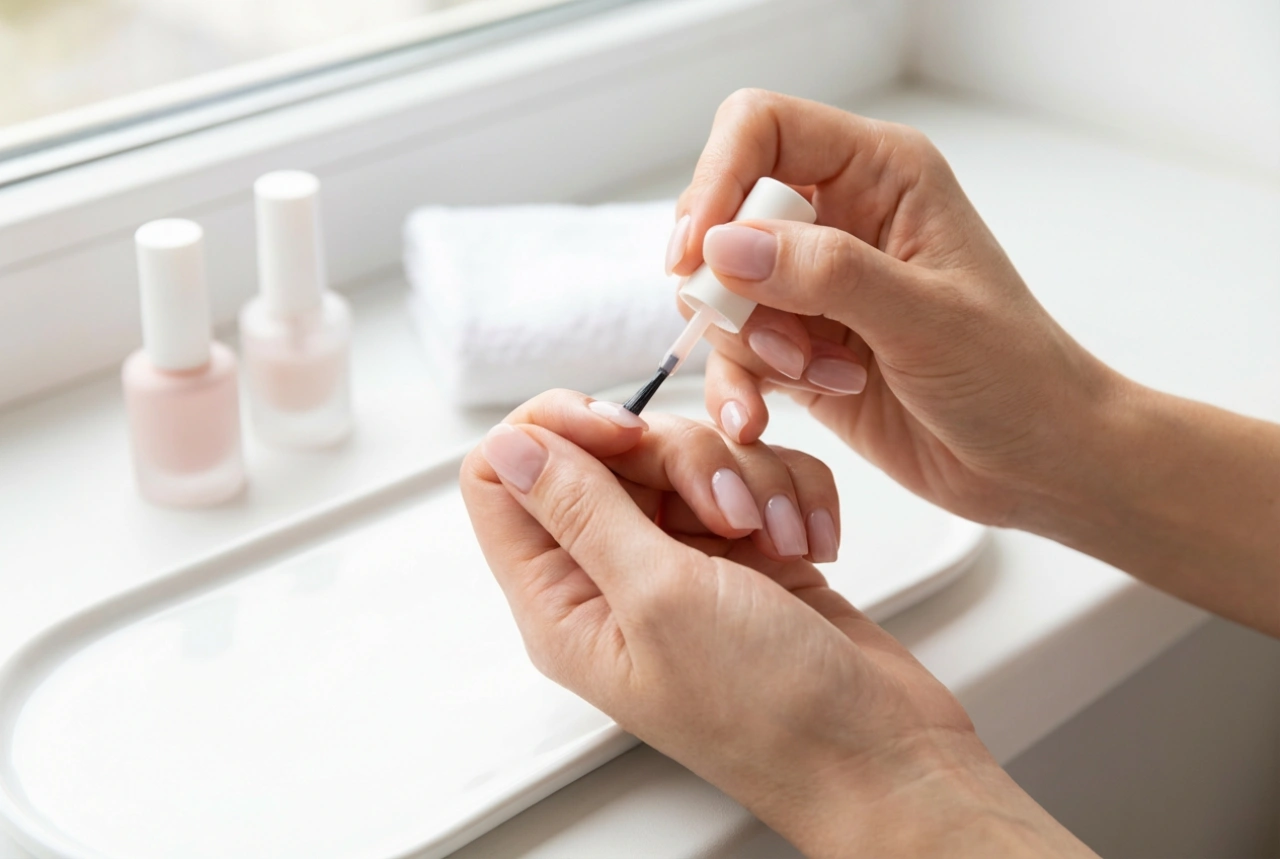


Creating beautiful and long-lasting nail extensions is an art form that relies on precision, skill, and the right tools. Whether you're a seasoned enthusiast or just starting your journey, understanding the fundamental accessories is key to achieving a flawless finish. The two most common methods for adding length to natural nails involve using either tips or forms. Each technique offers unique benefits and requires a specific set of tools and application knowledge, allowing for a wide range of creative possibilities in modern nail enhancement.
Understanding the Basics: Nail Forms vs. Tips
The choice between nail forms and tips is the first major decision in the extension process. While both can be used with building materials like gel or acrylic, they work in fundamentally different ways. Your selection will depend on the desired final look, the condition of the natural nails, and your personal preference or skill level.
What Are Nail Tips?
Nail tips are pre-shaped plastic extensions that are glued onto the free edge of the natural nail. They act as a solid base, providing immediate length and a consistent shape. They are available in various styles, lengths, and curvatures, such as square, coffin, or stiletto, making them a popular choice for achieving a uniform look quickly. Once a tip is properly sized and adhered, the building material (gel or acrylic) is applied over both the natural nail and the tip to create a seamless, strong structure.
What Are Nail Forms?
Nail forms, on the other hand, are temporary guides, typically made of paper with a sticky backing or reusable metal/plastic. They are placed snugly under the free edge of the natural nail, creating a supportive platform. The technician then sculpts the entire extension directly onto the form using a building material. Once the material has hardened, the form is removed, revealing a custom-shaped extension. This method offers unparalleled control over the final shape, thickness, and curvature, allowing for a highly personalised and often more natural-looking result.
A Closer Look at Nail Forms
Working with forms allows for true nail artistry, as you build the extension from scratch. The success of this technique heavily depends on the correct placement of the form.
Choosing and Applying Forms
Disposable paper forms are most common and come with printed grid lines to help guide shaping and length. Reusable forms are a more sustainable option but require thorough cleaning after each use. The key is to choose a form that can be customised to fit the natural nail's curve perfectly.
- Preparation: Begin by preparing the natural nail, including gentle cuticle work and buffing the surface.
- Fitting the Form: Gently bend the form to create a C-curve. You may need to use scissors to cut the form around the fingertip to ensure a snug fit against the hyponychium (the skin under the free edge) with no gaps.
- Placement: Slide the form under the nail's free edge, ensuring the centre line of the form aligns with the centre of the finger. The form should look like a natural continuation of the nail.
- Securing: Press the wings of the form together underneath the finger to secure it firmly in place. It should not move or wiggle during application.
Mastering the Use of Nail Tips
Nail tips are often considered more beginner-friendly because they provide a pre-defined structure. However, proper application is still crucial for durability and a natural appearance.
Choosing and Applying Tips
Tips are typically made from ABS plastic, which is durable yet flexible. They come in various types, including full-well, half-well, or well-less, referring to the contact area that adheres to the natural nail. Sizing is critical; a tip should fit from one side wall of the nail to the other without force.
- Sizing: Select a tip for each finger, ensuring a perfect fit. If you're between sizes, choose the slightly larger one and gently file the sides for a custom fit.
- Preparation: Prepare the natural nail and gently etch the inside of the tip where it will make contact with the nail to improve adhesion.
- Adhesion: Apply a small amount of professional nail adhesive to the well of the tip. Press it onto the natural nail at a 45-degree angle, starting at the free edge and slowly lowering it to push out any air bubbles.
- Blending: Once the glue is dry, use a file to carefully blend the seam where the tip meets the natural nail until it is smooth and invisible. Avoid over-filing the natural nail.
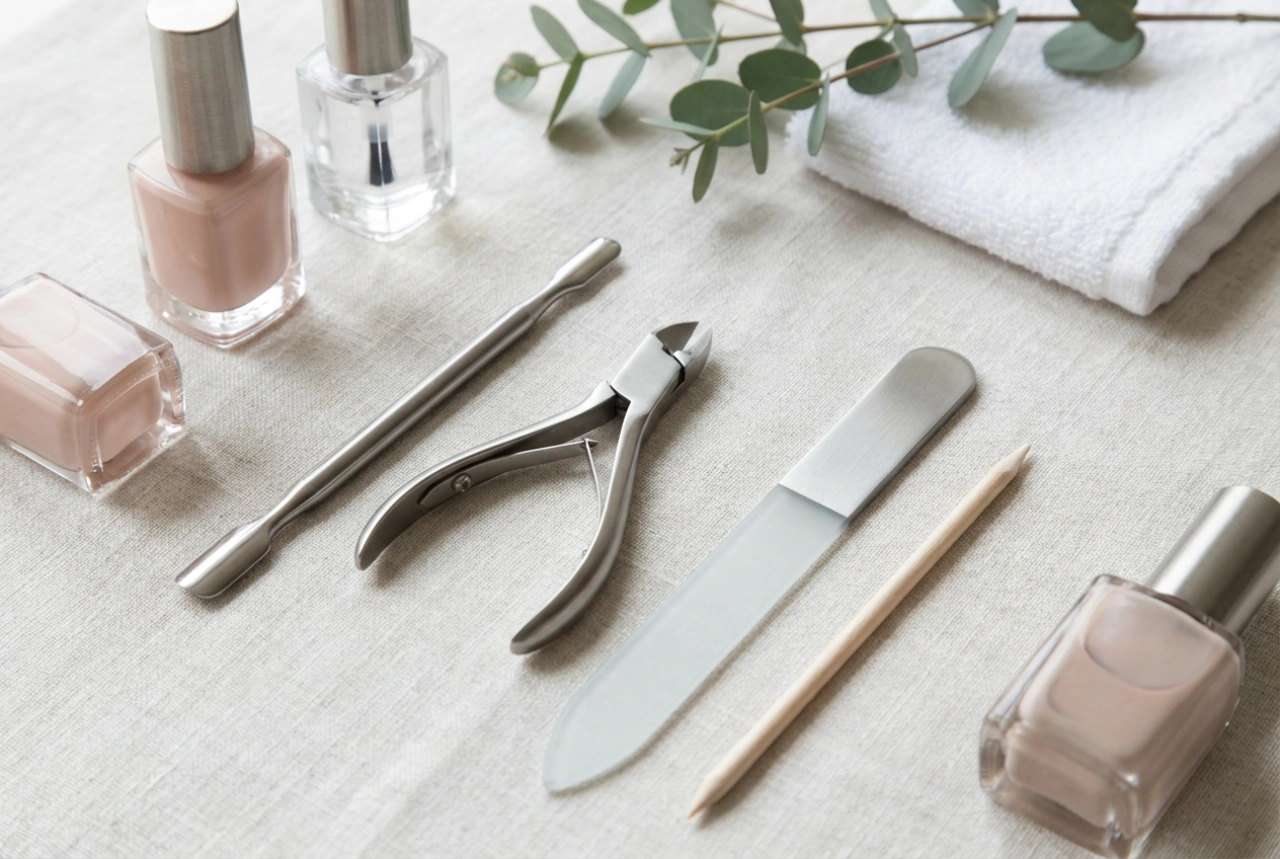
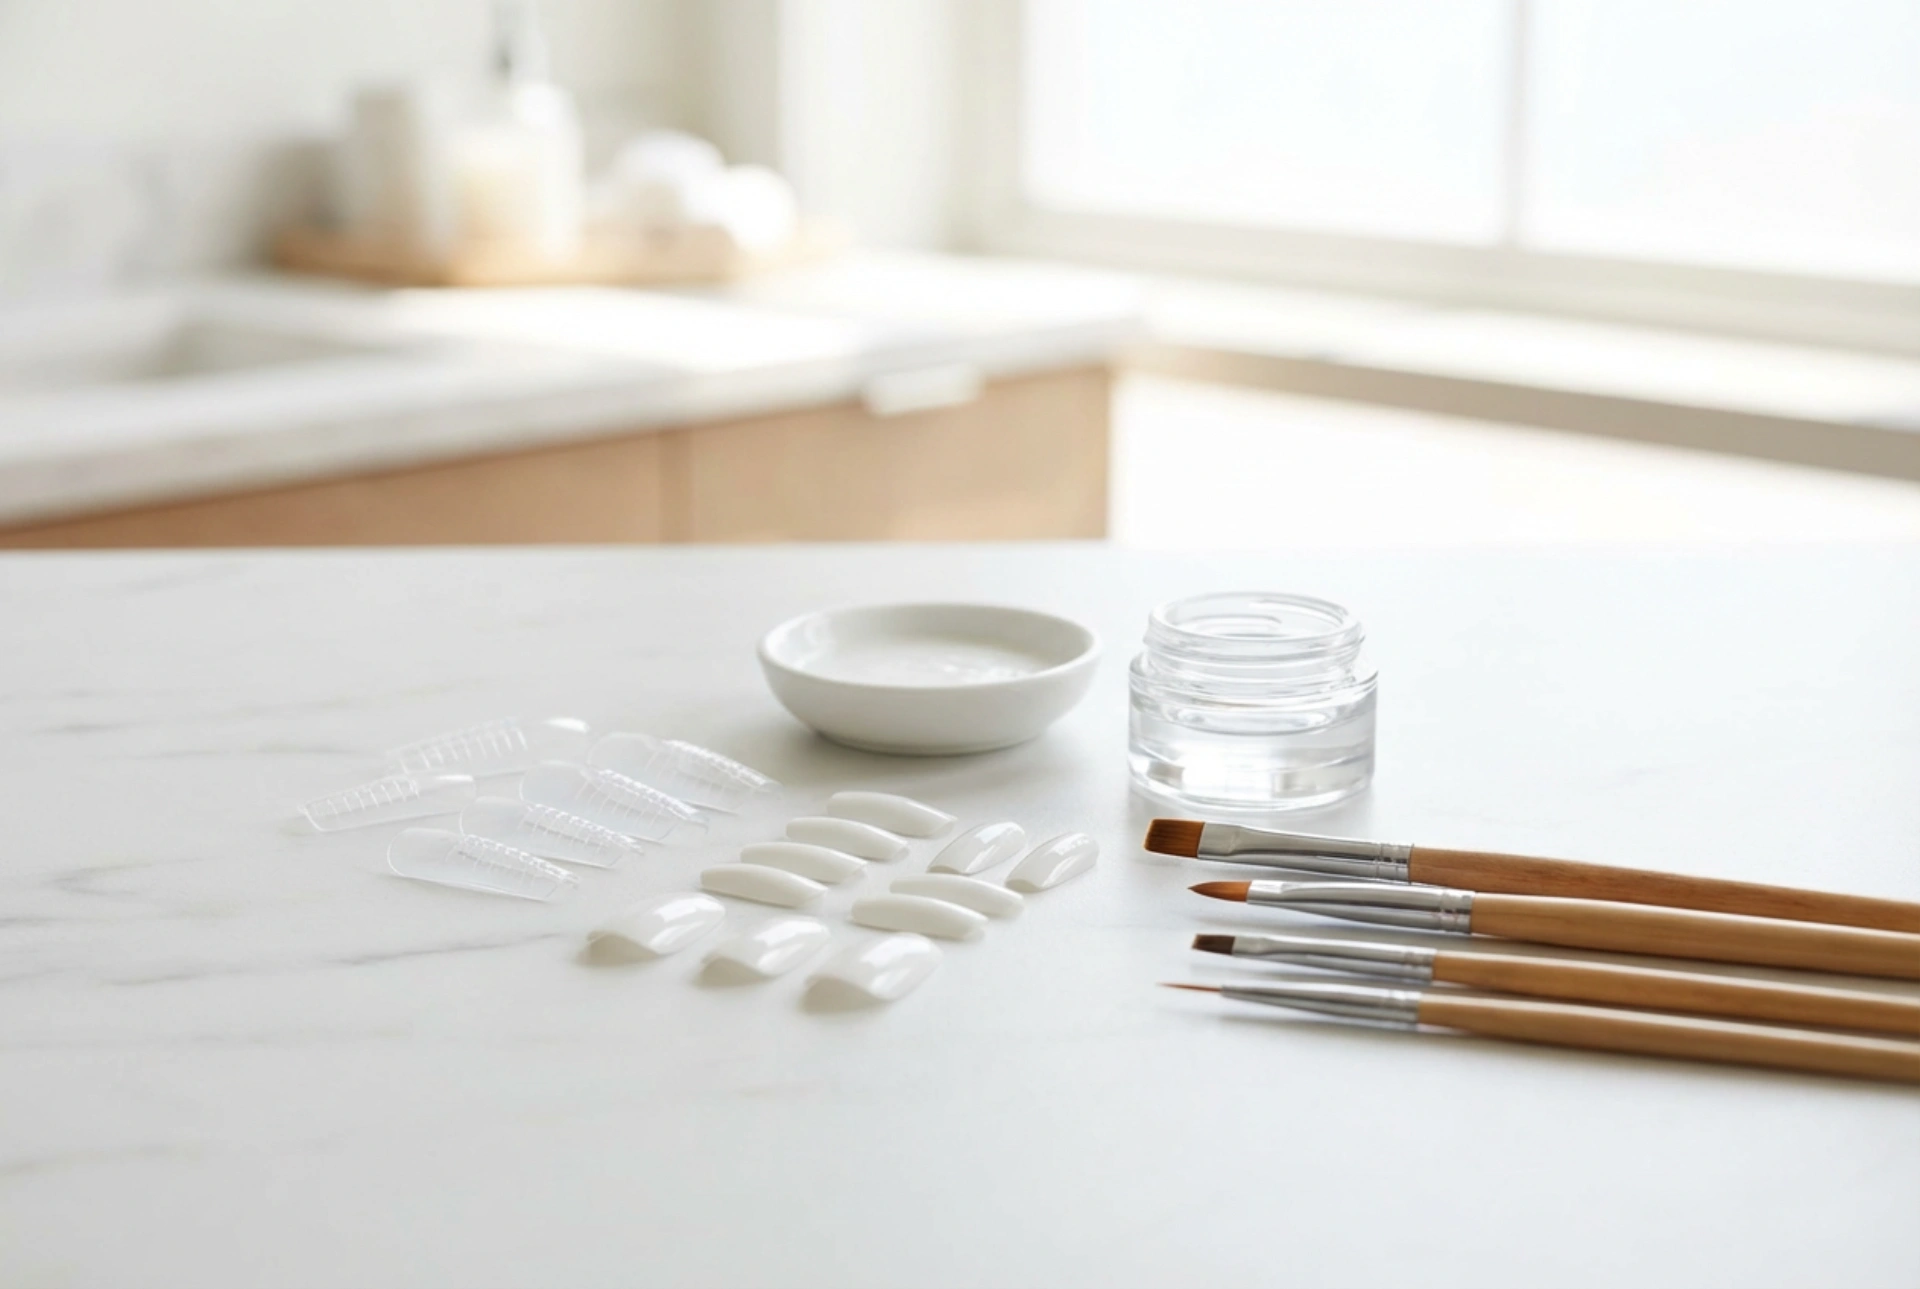
Essential Tools for a Flawless Application
Regardless of whether you choose forms or tips, a set of high-quality tools is non-negotiable for achieving a professional finish. These accessories work together to ensure the extension is strong, durable, and beautifully shaped.
- Nail Prep Products: A nail dehydrator and primer are essential for removing oils and improving the adhesion of the building material.
- Application Brushes: The type of brush depends on your chosen material—a flatter, rounded brush for gel, and a pointed, natural-hair brush (like kolinsky) for acrylic.
- Files and Buffers: A range of grits is needed. Coarser files (around 100/180 grit) are for shaping the extension, while finer grits (240 or higher) and buffers are for refining and smoothing the surface.
- Cuticle Pusher: A metal or wooden stick is used to gently push back the cuticles for a clean application area.
- Nail Cleanser: An alcohol-based solution is used to wipe away the tacky inhibition layer after curing gel or to clean the nail plate.
- Curing Lamp: If you are using gel products, a reliable UV/LED lamp is essential for properly curing the material.
Ultimately, both forms and tips are excellent methods for creating stunning nail extensions. The best choice depends on your goals and comfort level. Tips offer speed and uniformity, while forms provide complete creative freedom. Whichever path you choose, mastering proper preparation and application techniques is the secret to a manicure you can be proud of.