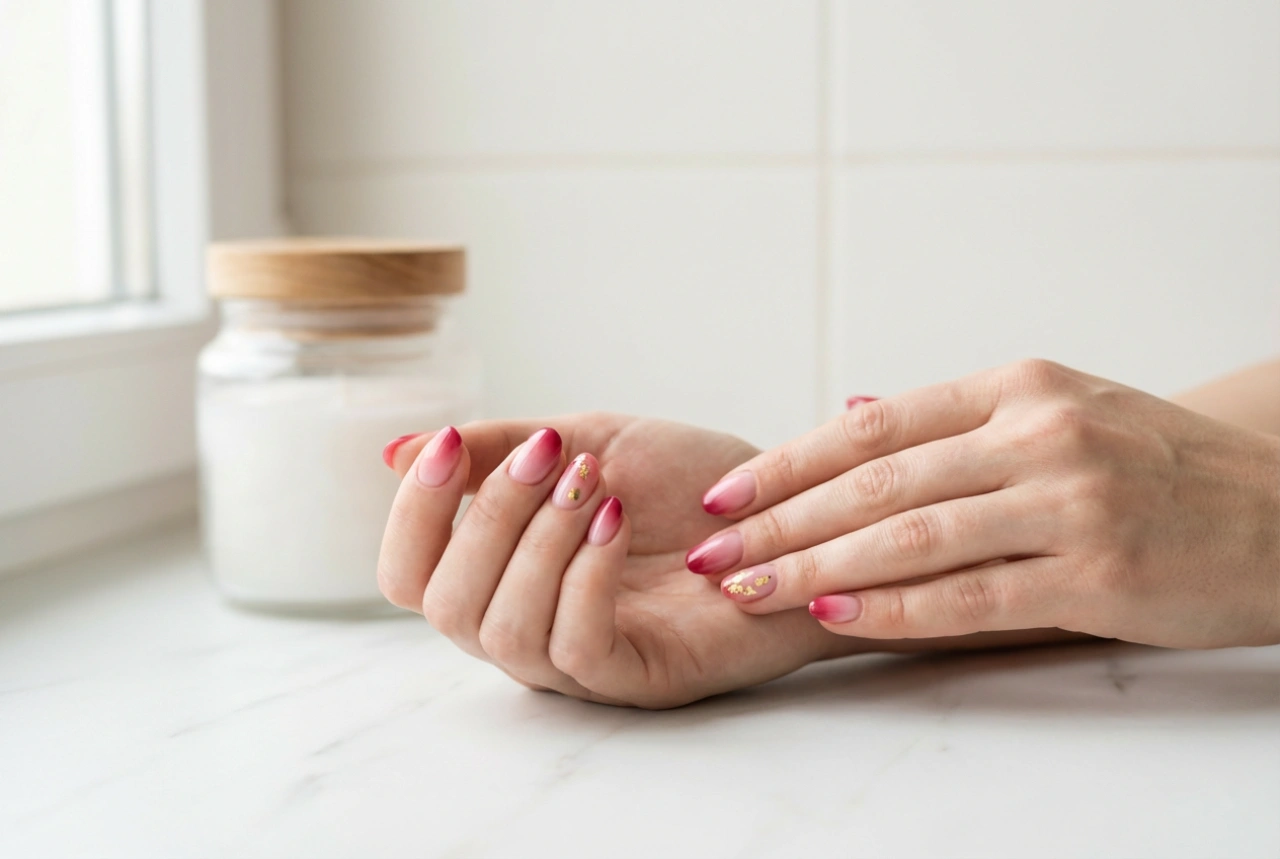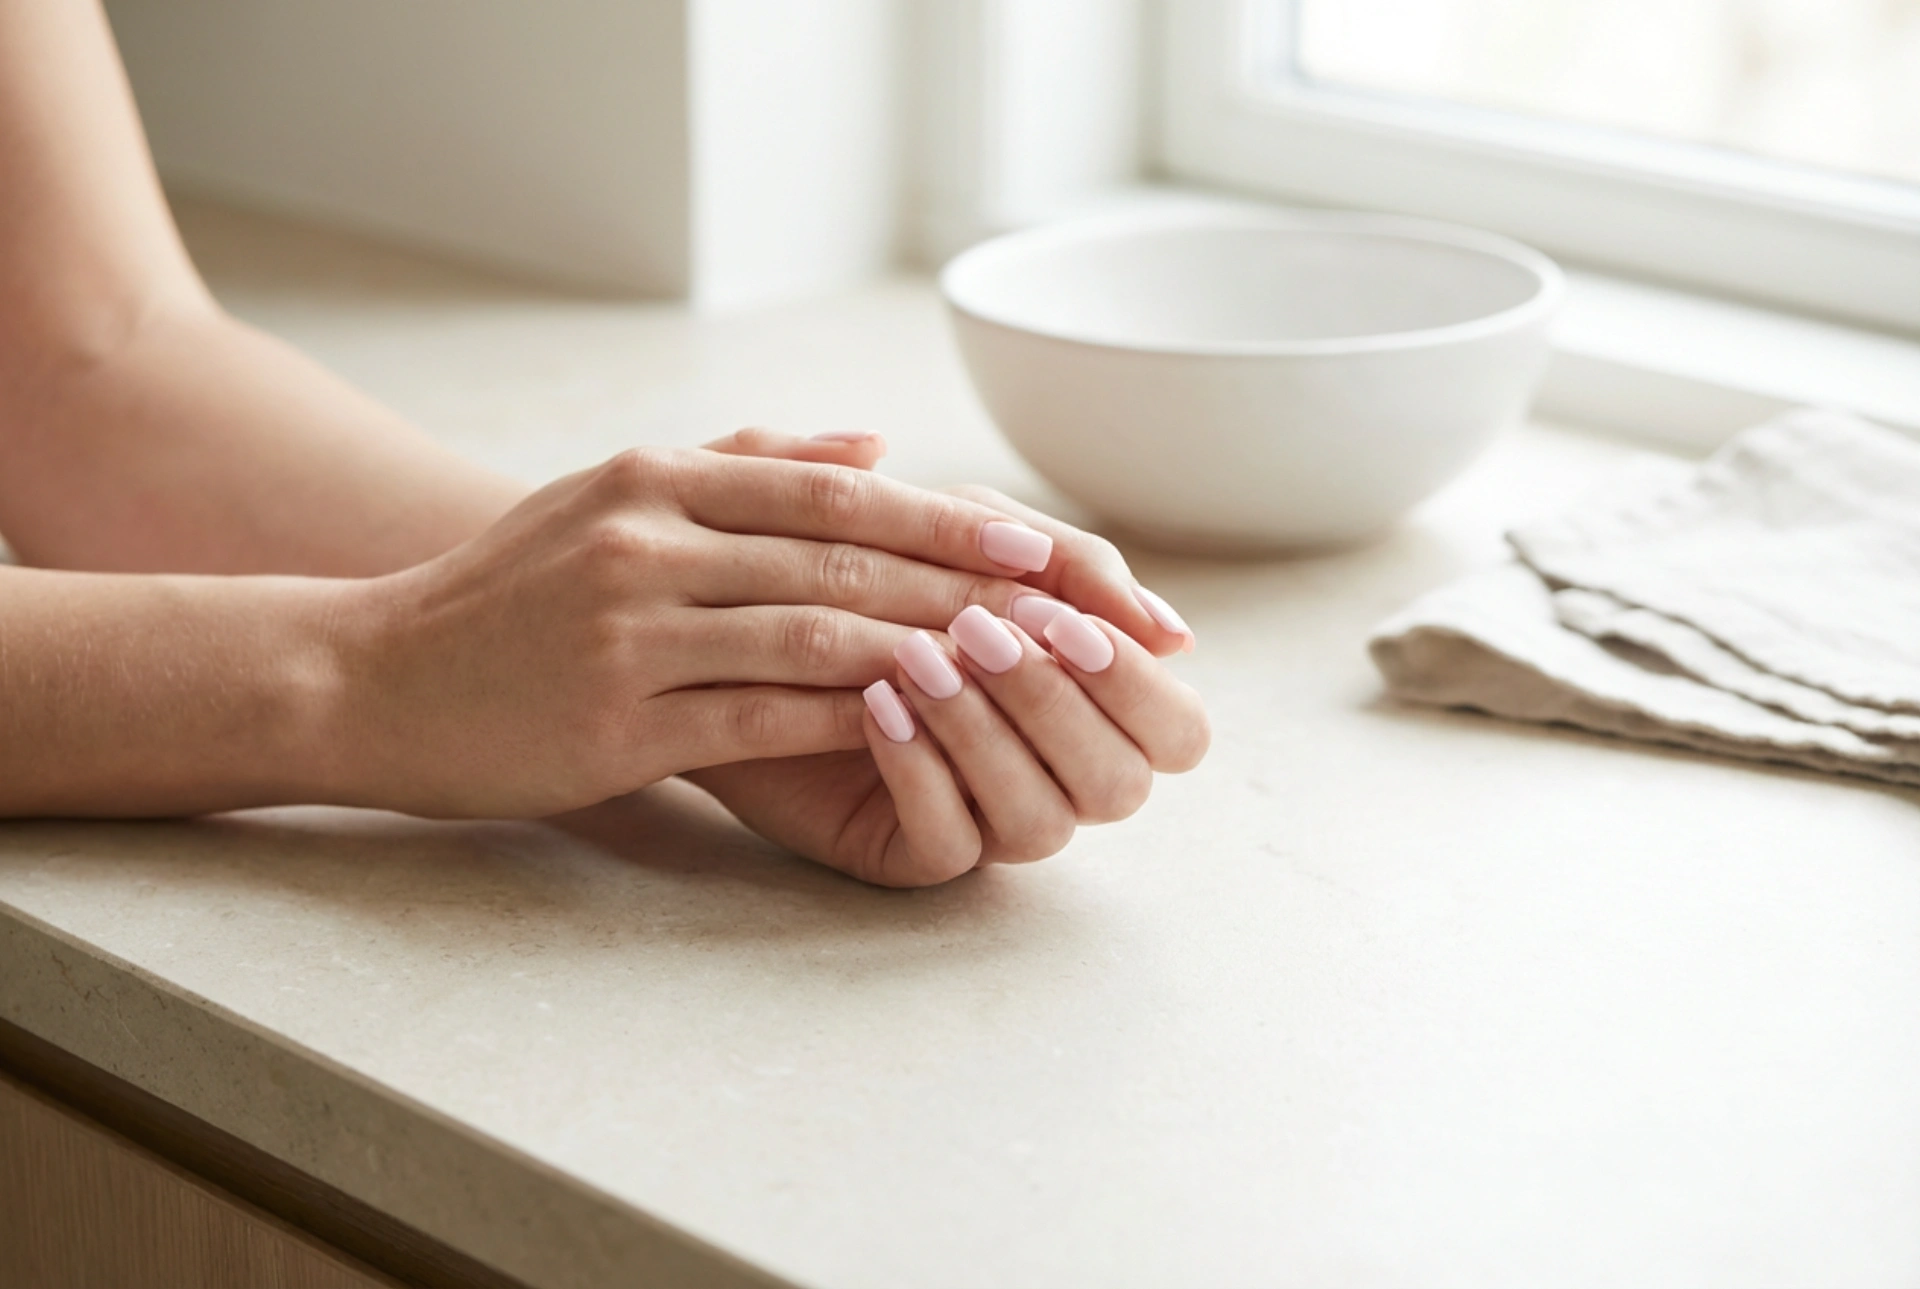


The classic pink manicure is a symbol of timeless elegance and sophistication. When paired with a neatly shaped square nail, it creates a look that is both modern and understated. Achieving that salon-perfect finish at home, complete with soft edges and impeccable, even coverage, is entirely possible with the right techniques and a little patience. This guide will walk you through the process of creating beautiful pink square nails, from preparation to the final glossy top coat.
Preparing Your Nails for a Flawless Manicure
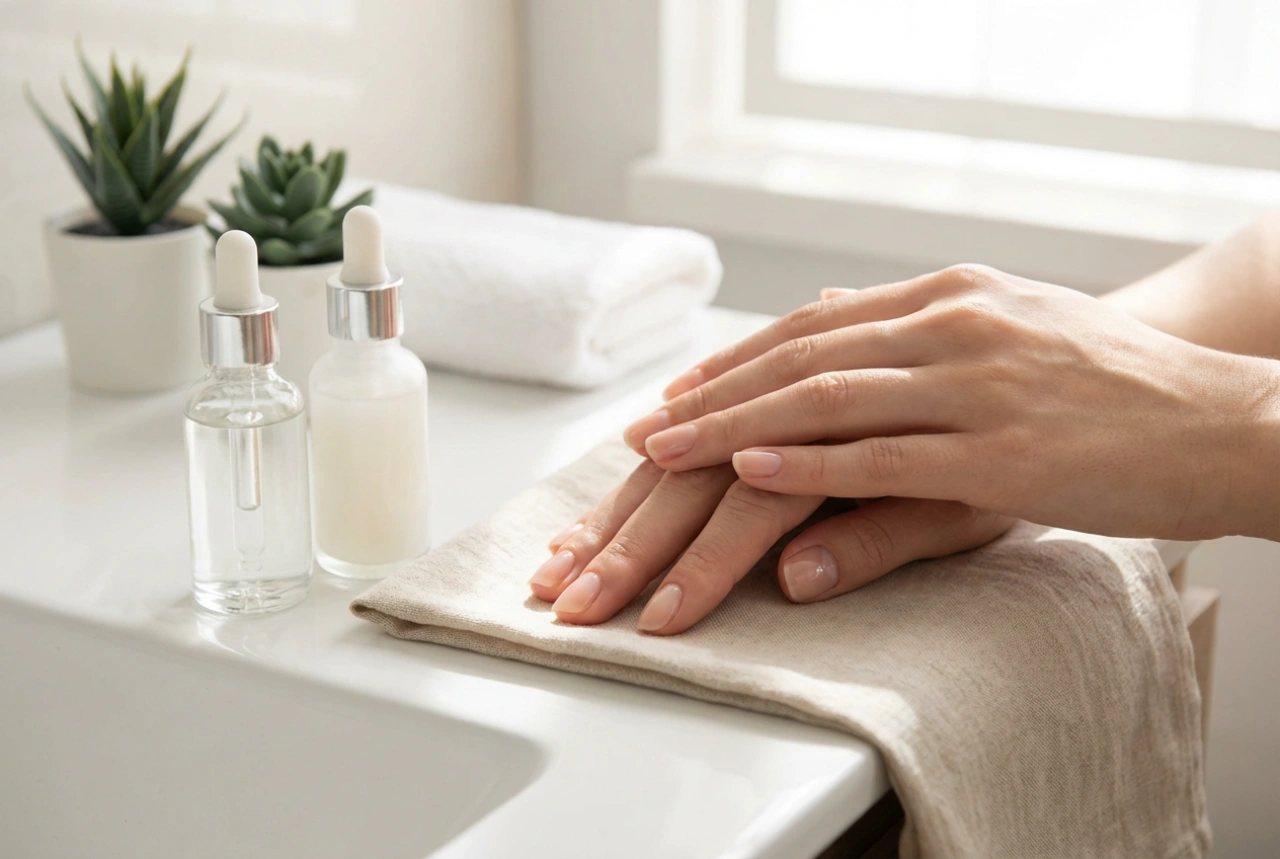
The foundation of any great manicure is well-prepared nails. Before you even think about reaching for the polish, it is crucial to create a clean and smooth canvas. Start by removing any old nail polish using a gentle, non-acetone remover to avoid drying out your nails and cuticles. Afterwards, wash your hands with a mild soap and water. Once your hands are dry, it is time to address your cuticles. Instead of cutting them, which can lead to irritation, gently push them back using a wooden orange stick or a cuticle pusher. This creates a larger, cleaner nail plate for polish application and gives your manicure a more professional appearance. Finally, lightly buff the surface of your nails with a fine-grit buffer to smooth out any ridges, ensuring the polish will glide on evenly.
Shaping the Perfect Soft Square
The square nail shape is chic and strong, but sharp corners can be prone to snagging and breaking. The key is to create a 'soft square' or 'squoval' shape that combines the clean lines of a square with the practicality of slightly rounded edges.
Filing Technique
To begin, file the tip of your nail straight across. It is important to file in one direction only, rather than using a back-and-forth sawing motion, which can weaken the nail and cause it to peel. Use a high-quality nail file, such as a glass or crystal file, for a smoother finish. Once you have a clean, straight edge, you can soften the corners. Hold the file at a slight angle to the corner of your nail and gently file it inwards, just enough to round off the sharp point. Do this on both sides, making sure the shape is symmetrical. The goal is to remove the sharpness without losing the overall square structure.
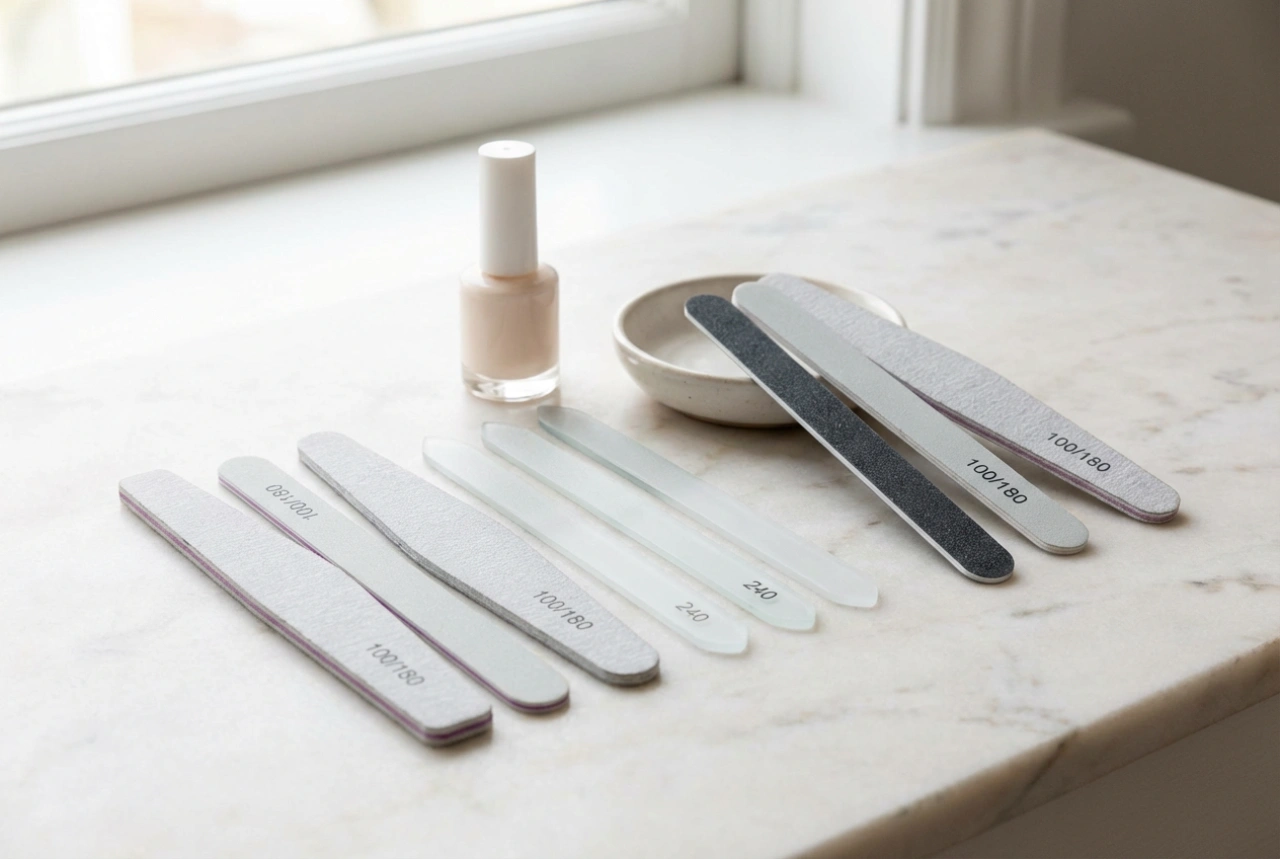
Choosing Your Tools
- Emery Boards: These are common and affordable but can be harsh on natural nails. If you use one, opt for a fine grit (240 or higher).
- Glass or Crystal Files: These are an excellent investment. They seal the nail edge as you file, preventing splitting and peeling, and are gentle enough for daily use.
- Buffers: A four-sided buffer block can help you file, buff, smooth, and shine your nails, providing an all-in-one preparation tool.
The Art of Flawless Polish Application
Achieving streak-free, even coverage requires a methodical approach. Rushing the process is the most common cause of bubbles, smudges, and uneven colour. Take your time with each step for the best results.
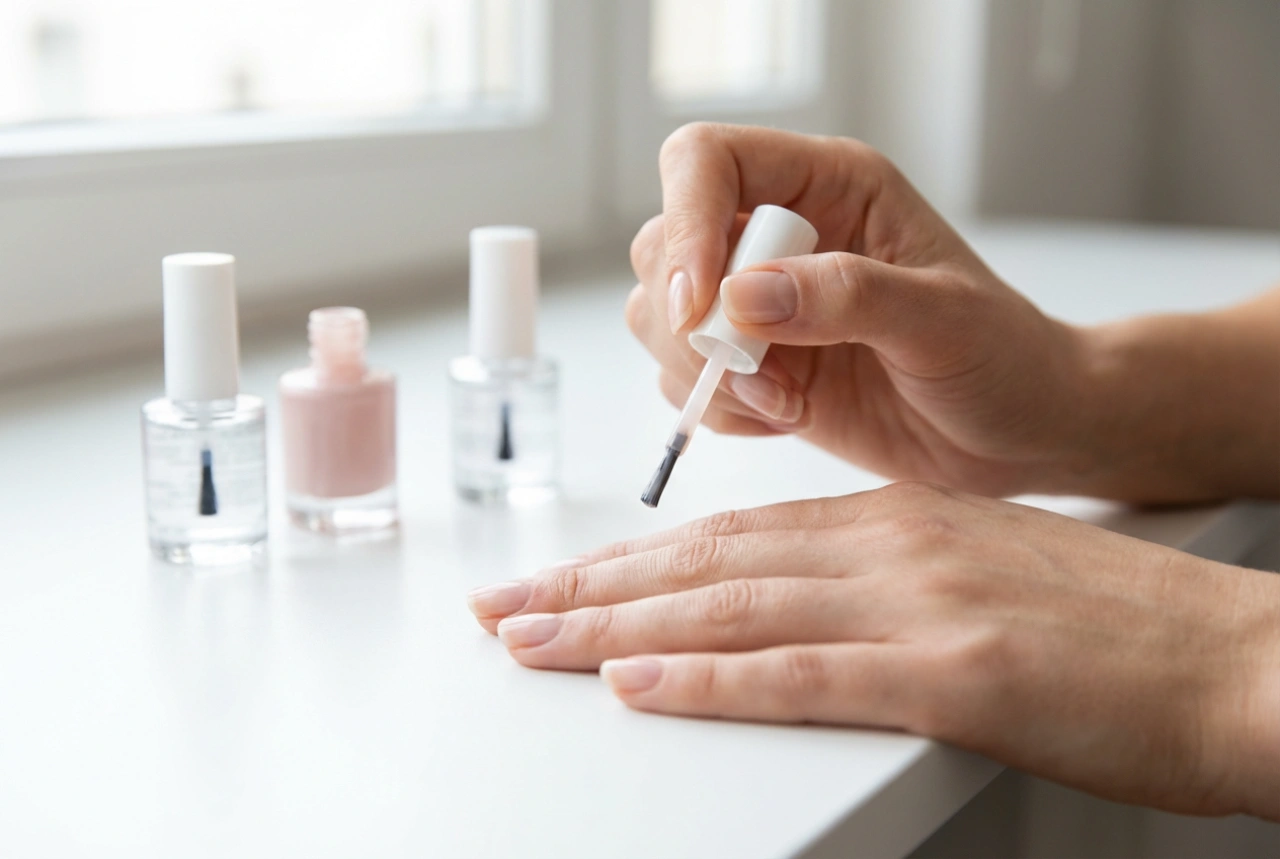
Step 1: The Essential Base Coat
Never skip the base coat. It serves multiple purposes: it protects your natural nails from being stained by the pigment in the polish, it fills in minor ridges for a smoother surface, and it gives the coloured polish something to grip onto, extending the life of your manicure. Apply one thin, even layer and allow it to dry completely before moving on.
Step 2: Applying the Pink Colour
For a flawless finish, apply your pink polish in thin coats. A single thick coat will take a long time to dry and is more likely to smudge or bubble. The classic three-stroke method is most effective: place a small bead of polish in the centre of your nail, slightly away from the cuticle. Push it back towards the cuticle, leaving a tiny gap, and then pull the brush straight down to the tip. Return to the base and paint one stroke down the left side, and another down the right side. Let the first coat dry for at least two minutes before applying a second. Two or three thin coats will provide much better opacity and durability than one thick one.
Finishing Touches and Aftercare
The final steps are just as important as the first. A top coat is non-negotiable if you want your manicure to last. Apply a high-shine top coat to seal in the colour, protect against chips, and accelerate the drying process. Be sure to 'cap' the free edge of your nail by running the brush along the tip; this provides extra protection against chipping. Once your nails are dry to the touch, apply a nourishing cuticle oil to rehydrate the skin around your nails. Finish by moisturising your hands with a rich hand cream to keep them soft and supple, complementing your perfect pink manicure.