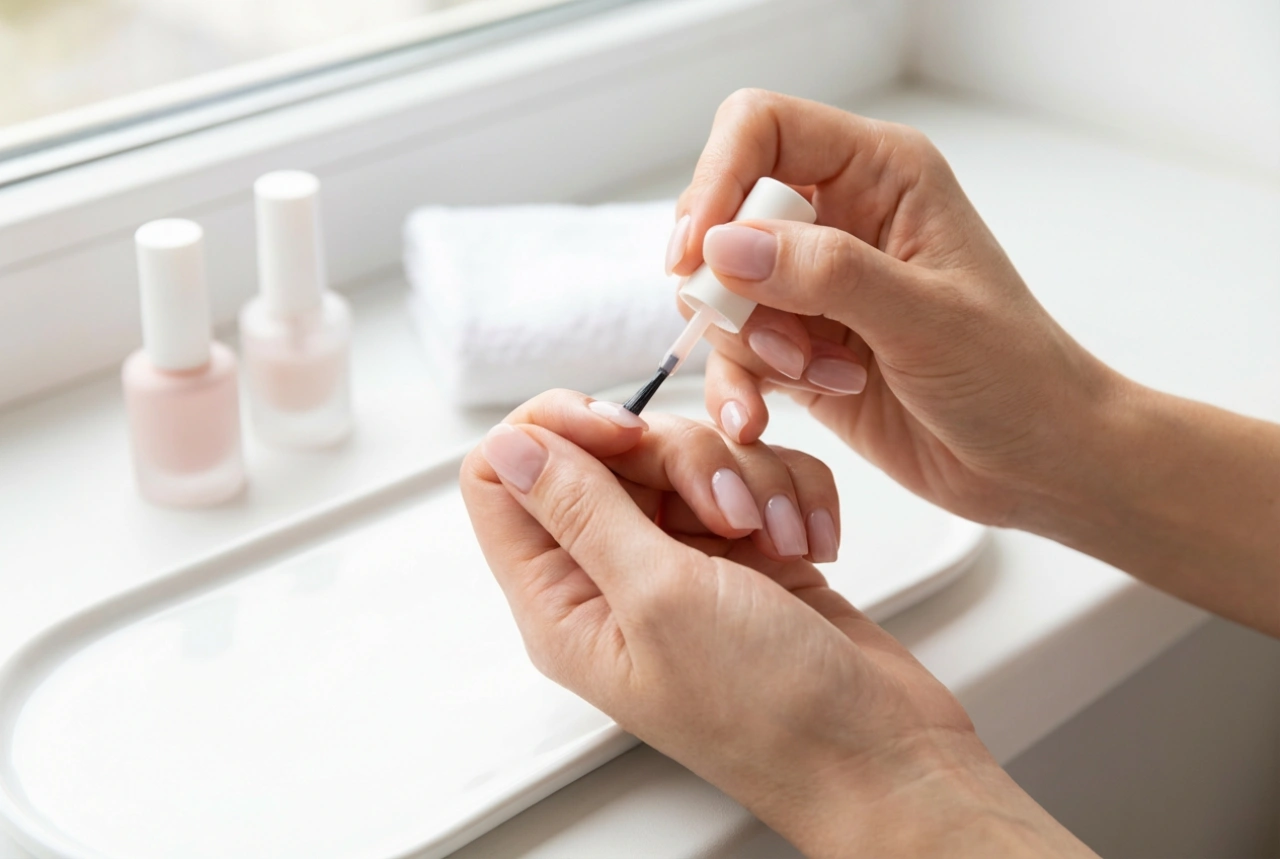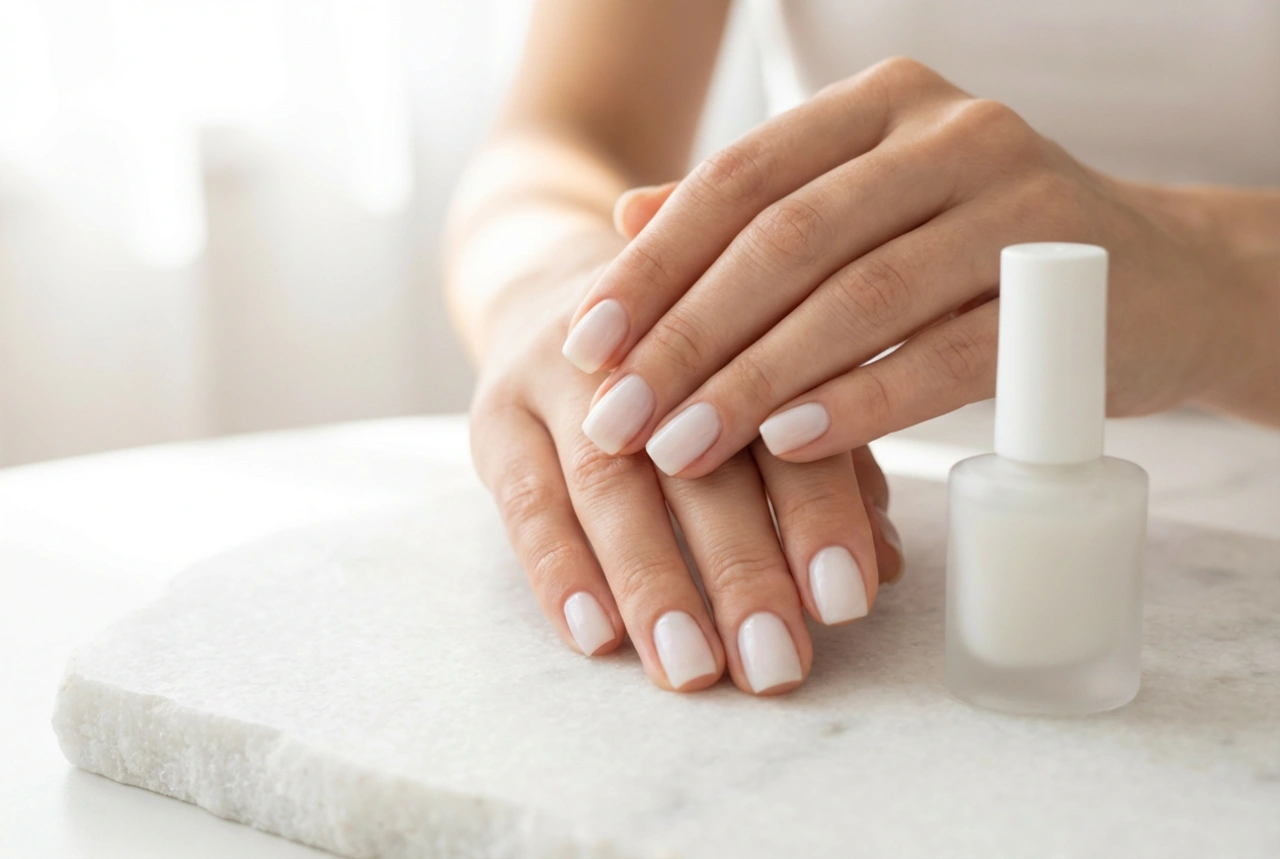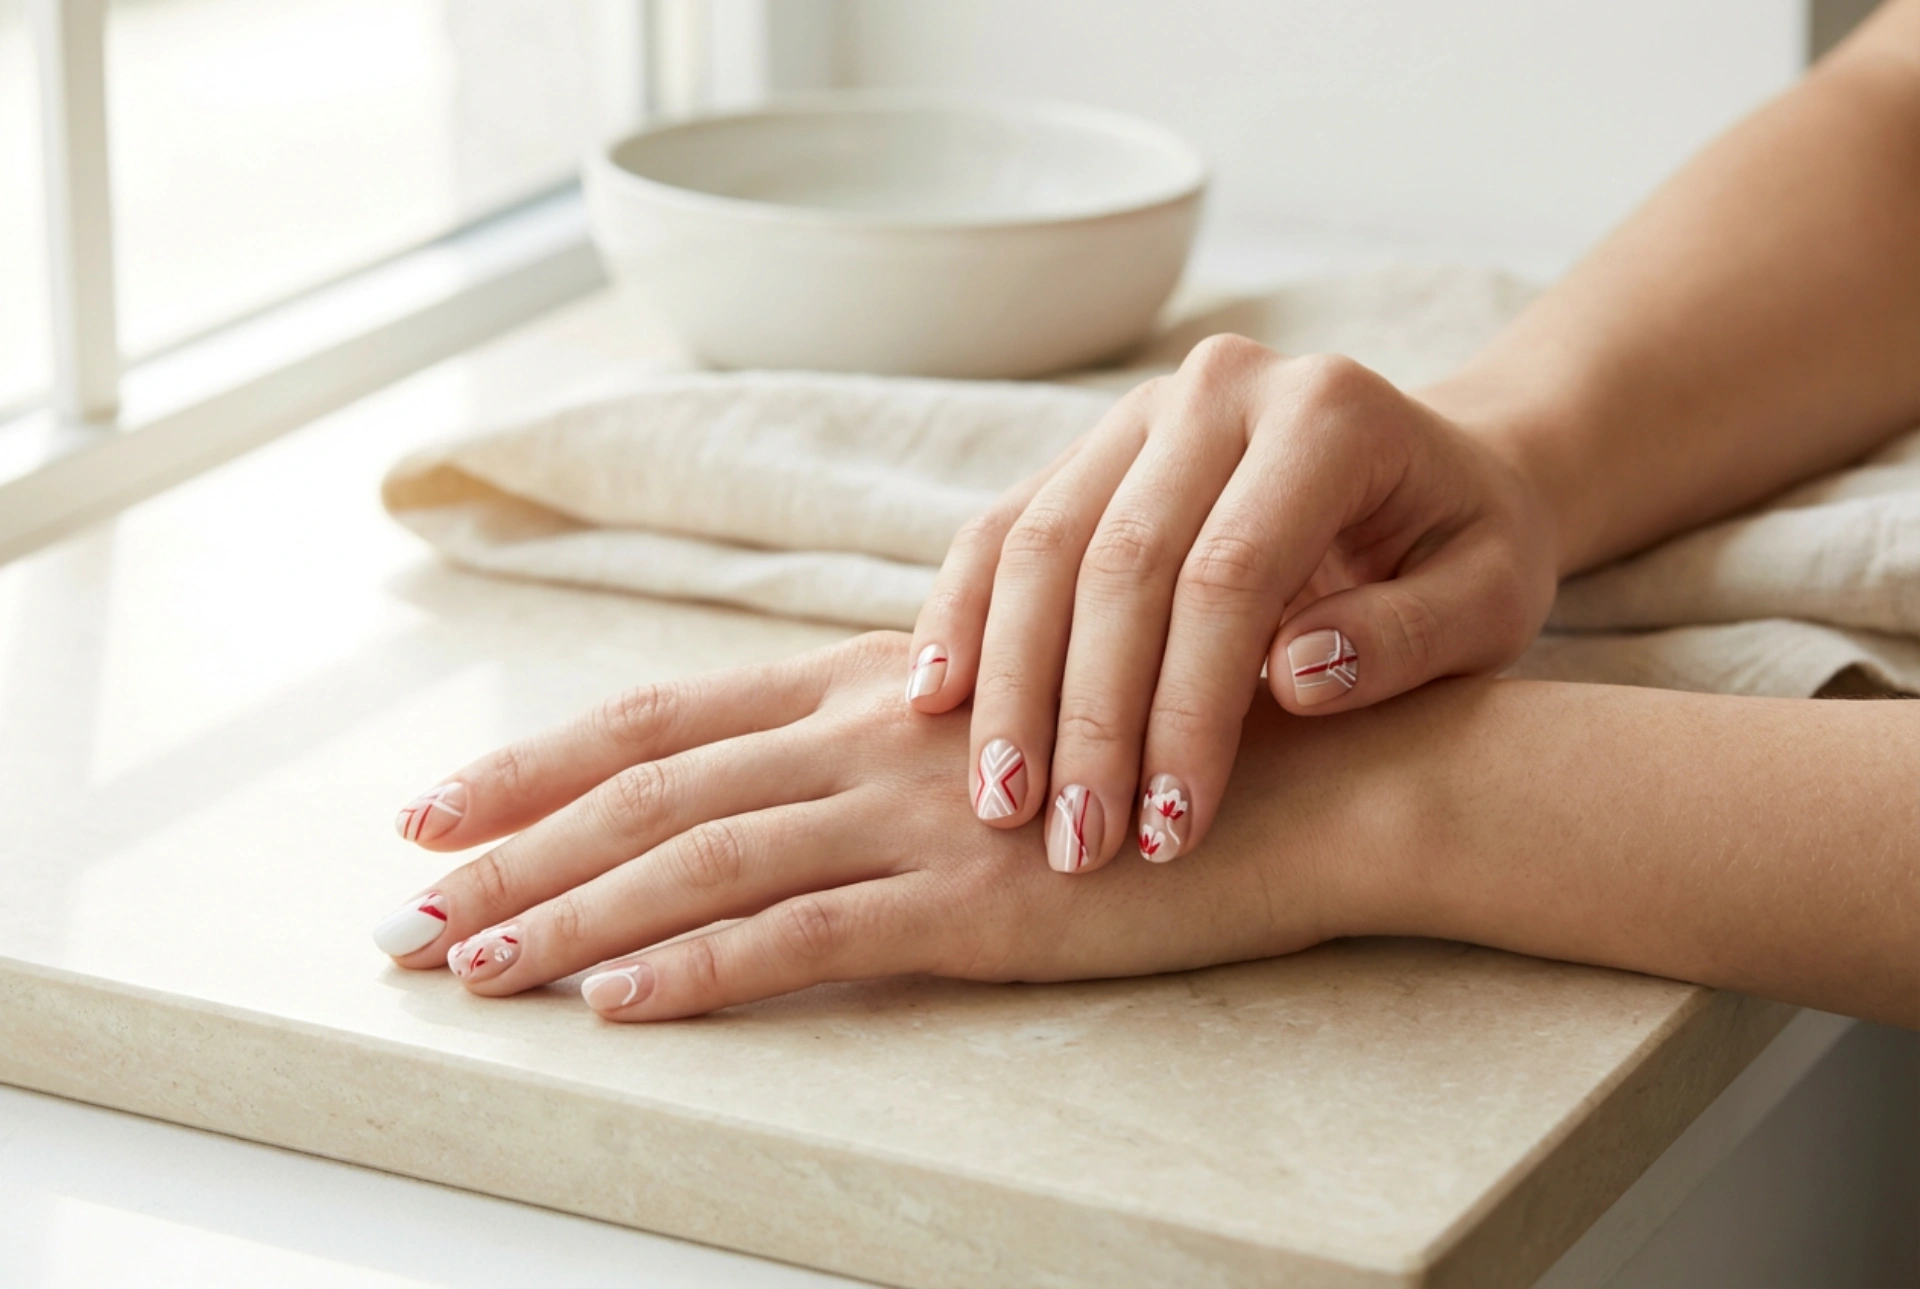


The combination of white and red on nails is a timeless classic that exudes both elegance and confidence. This dynamic duo can be adapted to create a wide range of styles, from subtle and sophisticated to bold and artistic. Whether you're preparing for a special occasion or simply wish to add a touch of flair to your everyday look, white and red nail art offers endless creative possibilities. This guide will walk you through five distinct techniques to help you master this beautiful colour pairing at home.
1. The Modern French Manicure
A French manicure is the epitome of elegance, but you can give it a contemporary update by incorporating red. Instead of the traditional white tip, a vibrant red line offers a striking contrast. Alternatively, a subtle red accent can elevate the classic look.
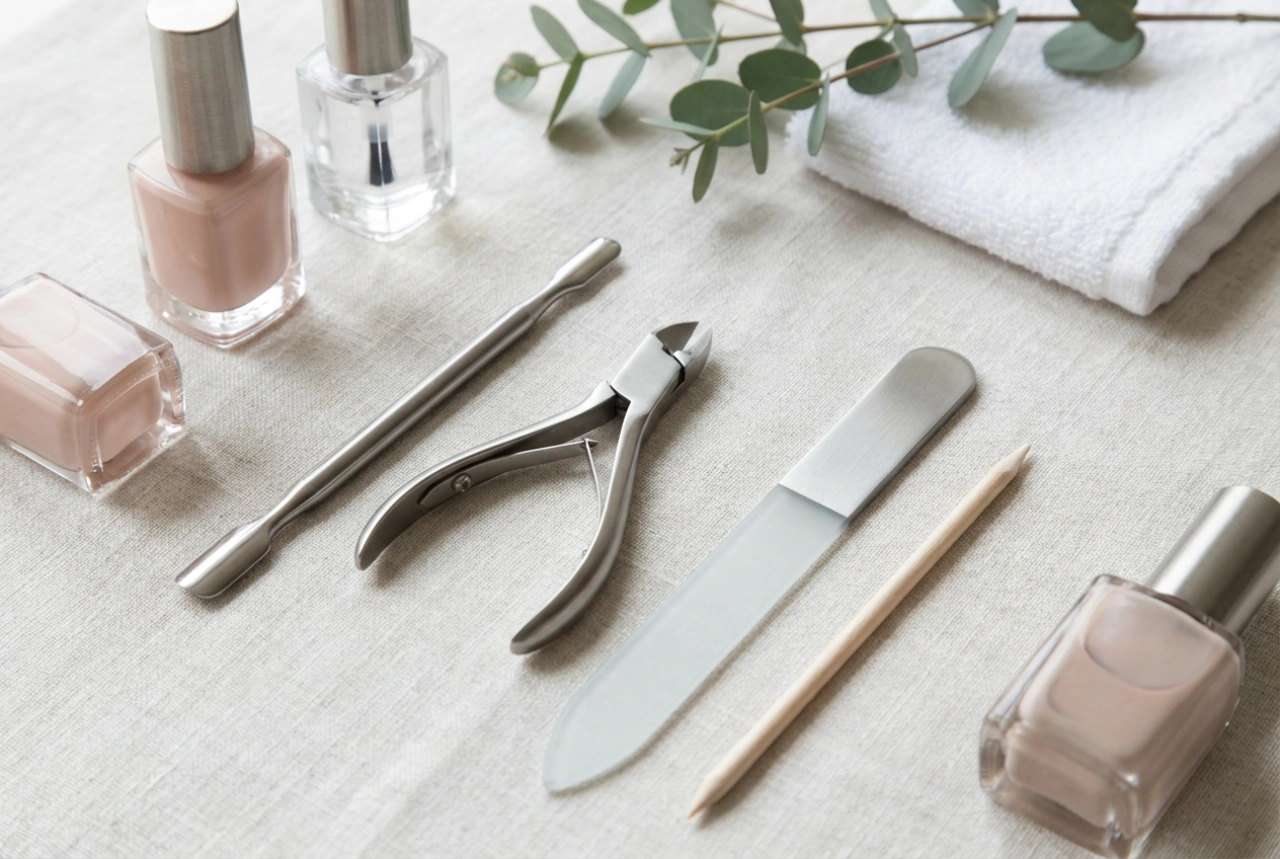
What You Will Need
- A sheer or nude base coat polish
- A white nail polish
- A red nail polish
- A fine-tipped nail art brush or striping tape
- A glossy top coat
Step-by-Step Guide
Start by applying one or two coats of your chosen base colour and let it dry completely. For a red-tipped French, carefully paint the tips of your nails with the red polish. You can use guide stickers for a cleaner line. For a more subtle design, create a classic white French tip first. Once it's dry, use a very fine brush to paint a thin red line just below the white tip. Allow everything to dry thoroughly before sealing your design with a top coat for shine and durability.
2. Minimalist Geometric Patterns
Geometric designs are perfect for achieving a modern and clean aesthetic. The sharp contrast between white and red makes lines, triangles, and chevrons particularly impactful. This technique is all about precision and crisp edges.
What You Will Need
- A white or red nail polish for the base colour
- The contrasting colour polish (red or white)
- Thin nail art striping tape
- A fine-tipped nail art brush
- A glossy top coat
Step-by-Step Guide
Apply two coats of your base colour and wait until it is completely dry—this is crucial to prevent the tape from lifting the polish. Place the striping tape on your nails to create your desired pattern, such as a triangle at the base or a diagonal line across the nail. Press the tape down firmly to avoid any polish bleeding underneath. Paint the contrasting colour over the taped-off section. Carefully remove the tape while the polish is still slightly wet to ensure a clean line. Let it dry, then apply a top coat.
3. Elegant Ombré Effect
An ombré or gradient effect creates a beautiful, soft transition between colours. Blending white into red can result in a stunning visual that looks complex but is surprisingly simple to achieve with the right tools.
What You Will Need
- A white nail polish
- A red nail polish
- A latex barrier or tape for around your nails
- A small, disposable makeup sponge
- A glossy top coat
Step-by-Step Guide
Begin by applying a solid base coat of white polish and let it dry. Protect the skin around your nails with a liquid latex barrier or tape to make clean-up easier. On a flat, non-porous surface, paint a stripe of white polish and a stripe of red polish right next to each other. Use a toothpick to gently swirl the area where the two colours meet. Dab the makeup sponge directly onto the polish a few times. Gently press and dab the sponge onto your nail, moving it slightly up and down to blend the colours. Repeat for a more opaque look. Remove the latex barrier and clean up any excess polish with a brush dipped in remover. Finish with a generous top coat to smooth out the texture.
4. Delicate Floral Motifs
Floral designs add a feminine and delicate touch to any manicure. Using white and red, you can create simple yet beautiful flowers that are perfect for any season. A dotting tool is your best friend for this technique.
What You Will Need
- A base colour polish (white, red, or nude)
- White and red nail polishes for the design
- A dotting tool with different-sized tips
- A glossy top coat
Step-by-Step Guide
Apply your base colour and let it dry. To create a simple flower, dip the larger end of your dotting tool into the white polish and place five dots in a circle to form the petals. Clean the tool, then dip the smaller end into the red polish and place a single dot in the centre of the white petals. You can reverse the colours for a different look—red petals with a white centre. Create a single statement flower on an accent nail or a pattern across all nails. Allow the design to dry before applying a top coat.
5. Abstract Marble Effect
The marble effect gives your nails a unique and luxurious appearance. Each nail will have a one-of-a-kind design, mimicking the natural patterns found in stone. This can be achieved with a few simple household items.
What You Will Need
- A white base coat polish
- Red nail polish
- A small piece of crumpled plastic wrap
- A glossy top coat
Step-by-Step Guide
Apply two coats of white polish and let them dry completely. Place a few drops of red polish onto a palette or piece of foil. Lightly scrunch up a small piece of plastic wrap and dab it into the red polish. Gently press the plastic wrap onto your white nail in random spots. Be careful not to press too hard; you want to transfer the colour in an abstract pattern, not cover the whole nail. You can repeat this with a tiny bit of white polish on top of the red to add more depth. Once you are happy with the design, let it dry and finish with a thick top coat to smooth the surface and add shine.