


Perfectly shaped eyebrows frame the face and enhance your natural beauty, creating a polished and put-together look. One of the most effective tools for achieving this is an eyebrow corrector. Whether you're dealing with sparse patches, uneven growth, or simply want a more defined arch, the right product and technique can make all the difference. Mastering the art of brow correction is a simple way to elevate your daily makeup routine, resulting in a clean, refined finish that looks effortlessly natural.
What Exactly is an Eyebrow Corrector?
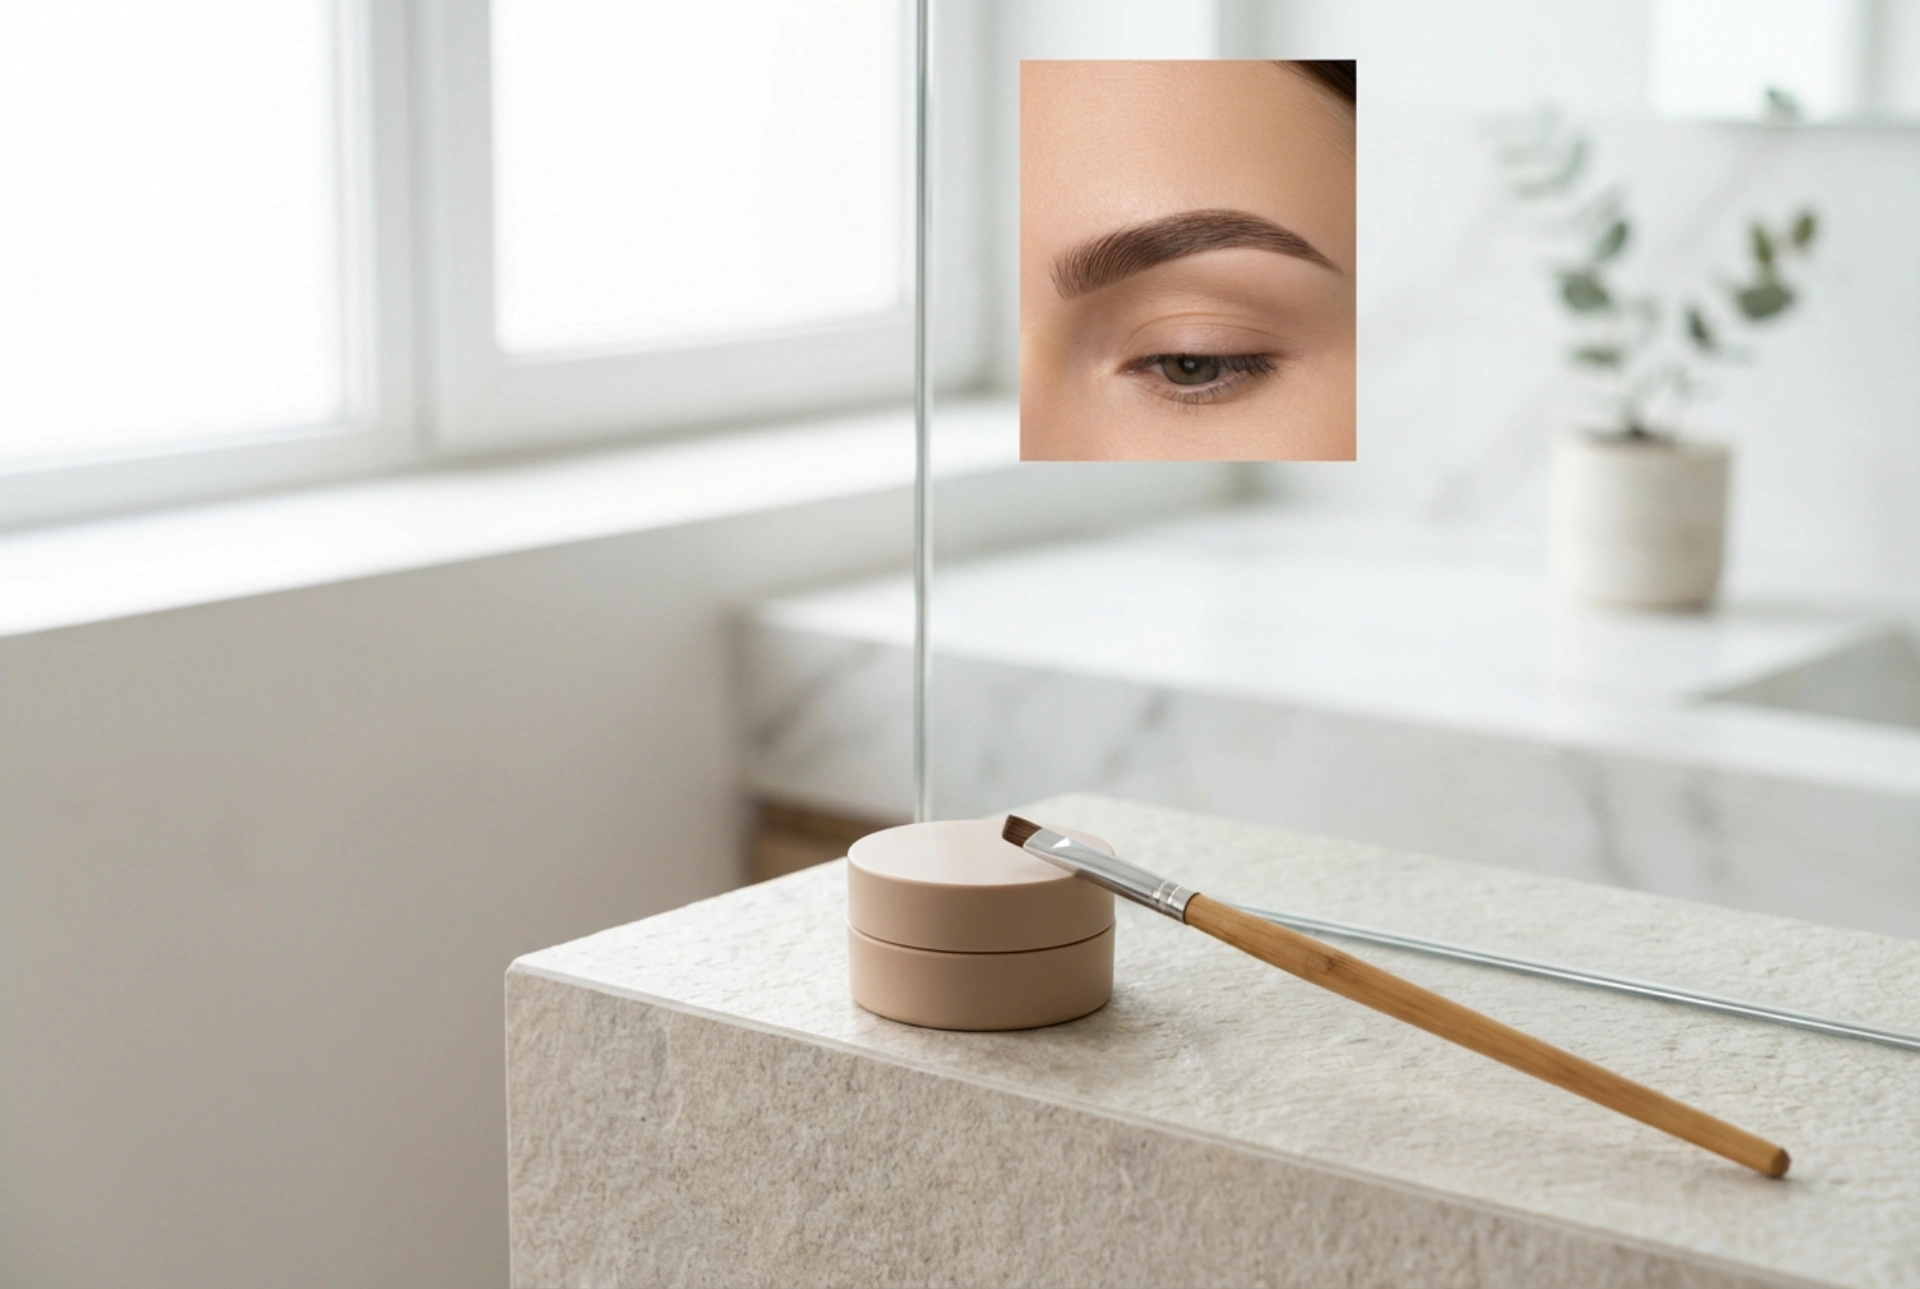
An eyebrow corrector is a cosmetic product specifically designed to enhance the appearance of the eyebrows. Unlike a simple pencil that draws lines, correctors often come in cream, pomade, or tinted gel formulas that add colour, texture, and volume. Their primary purpose is to fill in sparse areas, define the shape of the brow, and hold the hairs in place. Pomades and creams are typically applied with a fine, angled brush, offering high precision for sculpting the arch and tail. Tinted gels, on the other hand, usually come with a spoolie-like wand and are brushed directly through the brow hairs to add a hint of colour and control.
Choosing Between Formulas
The ideal formula depends on your brow needs and desired finish. If you have naturally full but unruly brows, a tinted gel can provide light colour and all-day hold. For those with thinner or very light brows who need to build more shape and definition, a pomade is an excellent choice. It allows you to create hair-like strokes and sculpt a precise arch. Cream formulas offer a balance, providing good coverage with a softer, more blendable finish than some pomades.
Selecting the Perfect Shade
Choosing the right colour is crucial for a natural look. A common mistake is selecting a shade that is too dark, which can result in a harsh, artificial appearance. As a general rule, aim for a shade that matches your natural brow hair colour or is one shade lighter. If you have very dark hair, a soft black or dark brown is suitable, but avoid jet-black unless your hair is naturally that colour. For blondes, a taupe or light ash-brown shade works well to add definition without overwhelming the face. Always test the shade in natural light if possible to ensure it blends seamlessly with your hair and skin tone.
A Step-by-Step Guide to Flawless Application
Achieving a professional-looking result at home is straightforward with the right technique. Patience and a light hand are key. Follow these steps for beautifully defined brows.
Step 1: Preparation and Grooming
Start with clean, dry skin, free of any moisturisers or oils in the brow area. Use a clean spoolie brush to comb your brow hairs upwards and outwards. This helps you see the natural shape of your brows and identify any sparse areas that need filling. Trimming any overly long hairs with a small pair of cosmetic scissors can also help create a neater canvas.
Step 2: Defining the Shape
If you are using a pomade or cream, dip a small, angled brush into the product and wipe any excess off on the back of your hand or the lid. Less is more; you can always add another layer. Begin by lightly outlining the bottom edge of your brow, from the start to the tail. This creates a clean, defined base and establishes the shape of your arch.
Step 3: Filling and Blending
With the remaining product on the brush, start filling in the sparse areas using short, light, hair-like strokes in the direction of hair growth. Concentrate the most product on the arch and tail of the brow, as this is where definition is typically needed most. Keep the front, inner part of the brow lighter and more diffused to avoid a blocky, unnatural look. Once filled, take your clean spoolie and gently brush through the brows again. This step is vital for blending the product, softening any harsh lines, and distributing the colour evenly for a seamless finish.
Common Mistakes to Avoid
Even with the best products, a few common errors can detract from the final look. Being aware of these pitfalls will help you achieve perfection every time.
- Using Too Much Product: Applying a thick, heavy layer will look unnatural and clumpy. Always start with a minimal amount and build up slowly.
- Choosing a Shade That Is Too Dark: This is the most common mistake and results in brows that look severe and drawn-on. When in doubt, go a shade lighter.
- Creating a Harsh Inner Corner: The front of the brow should be soft and slightly faded. Avoid creating a hard, square shape at the beginning of your brow.
- Forgetting to Blend: Skipping the final brush-through with a spoolie can leave behind visible lines and unblended product. Blending is essential for a natural look.
- An Overly Exaggerated Arch: Work with your natural arch shape. Creating an arch that is too high or sharp can create an unflattering, permanently surprised expression.


