


Summer is the perfect time to experiment with vibrant and cheerful nail designs, and the ombre effect remains a top choice for a stylish, modern look. The seamless blend of colours, reminiscent of a summer sunset or a tropical cocktail, adds a touch of sophistication to your hands. Achieving that perfect gradient, from a soft pink to a sunny orange, is not only about aesthetics but also about proper technique and aftercare to ensure your manicure looks flawless and lasts through all your summer adventures.
What Exactly Are Ombre Nails?
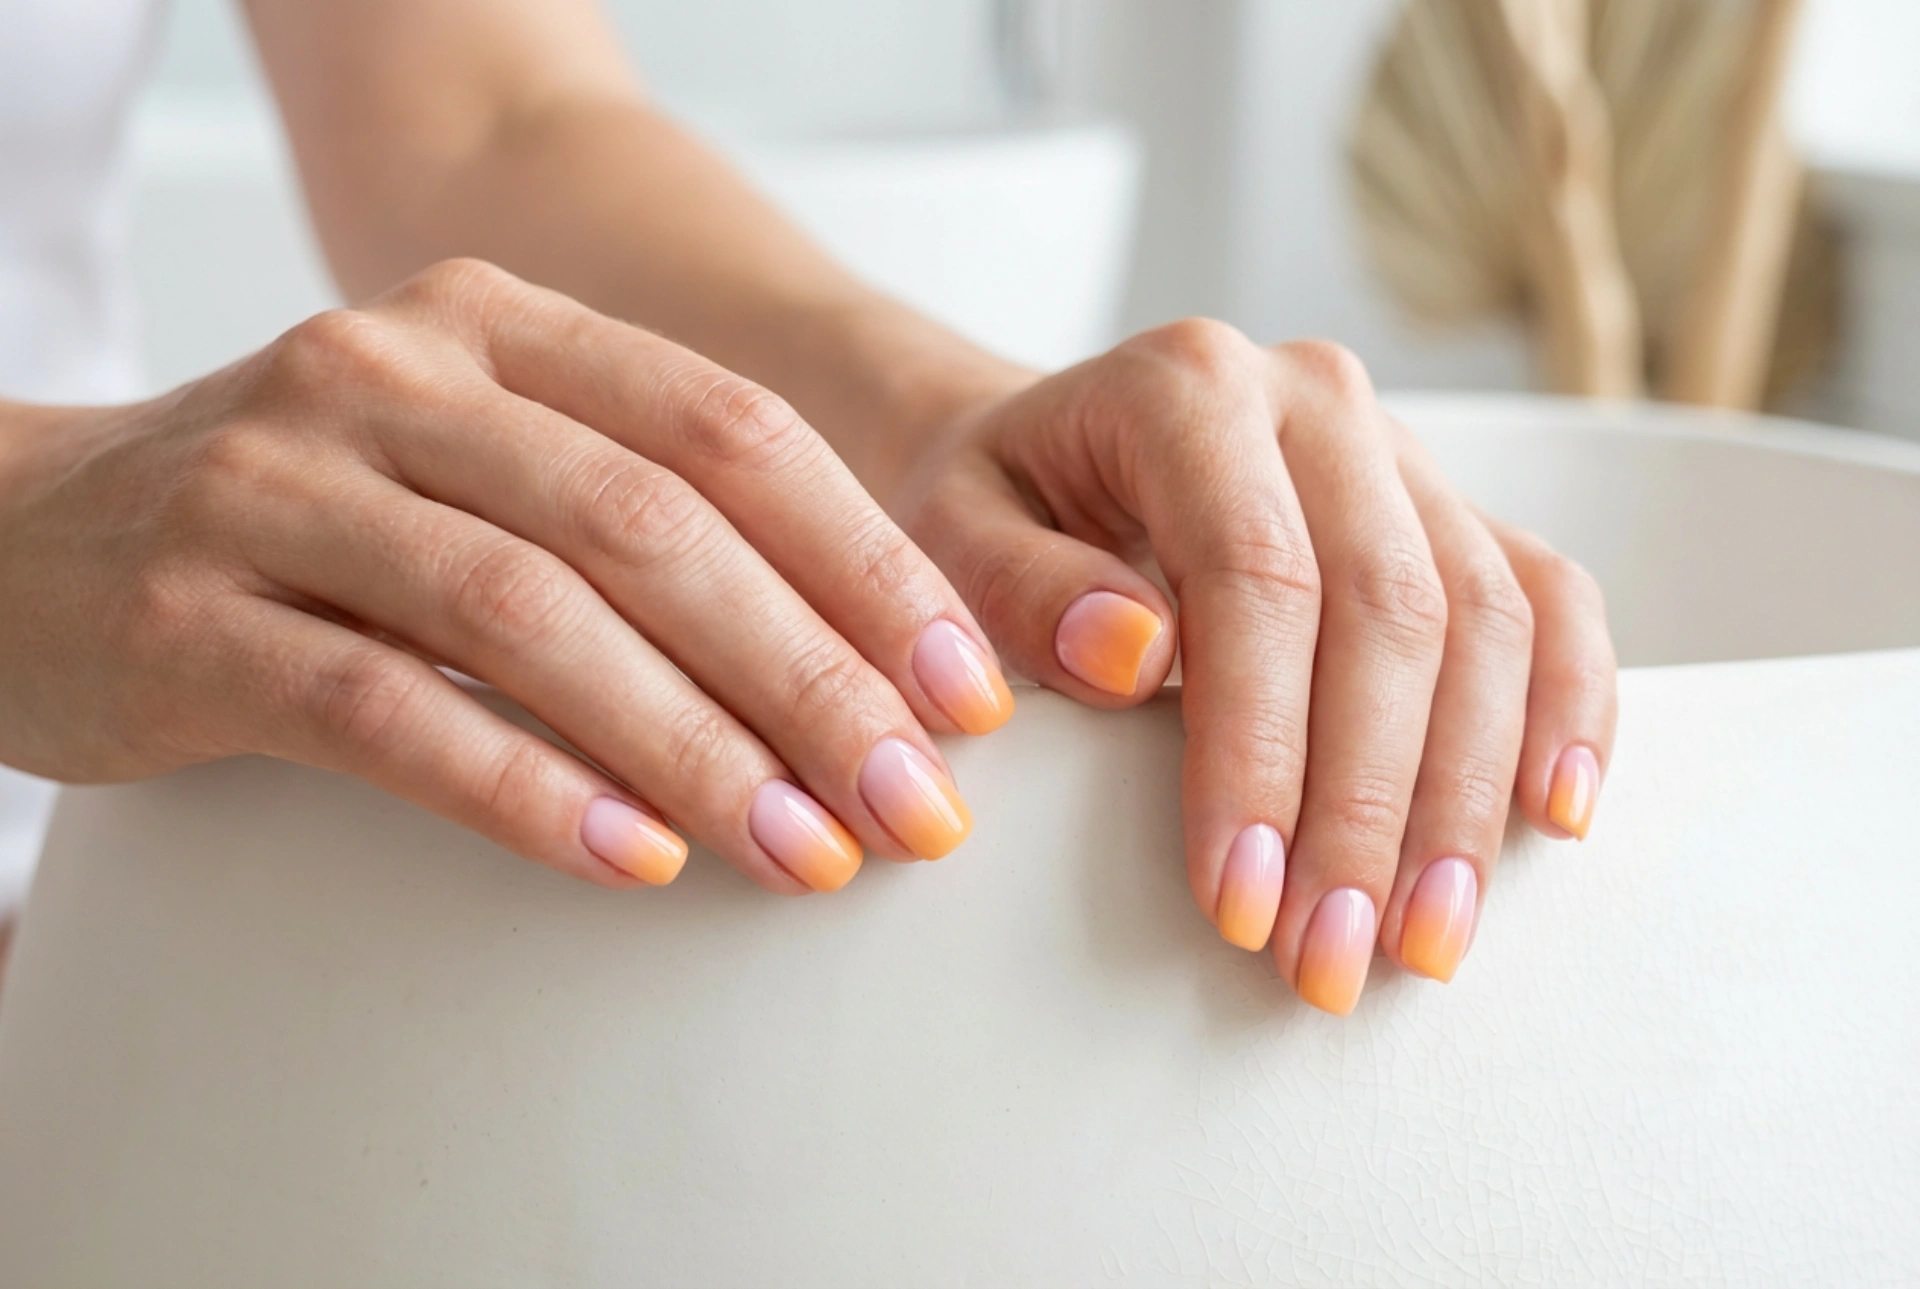
Ombre nails feature a colour gradient where one shade smoothly transitions into another. Unlike other nail art that might involve sharp lines or distinct patterns, the beauty of ombre lies in its subtle, blended effect. The term 'ombre' comes from the French word for 'shaded'. This technique can be applied with two or more colours, typically moving from a lighter to a darker shade, either across one nail or from one finger to the next. Its popularity surges in summer because it beautifully complements sun-kissed skin and pairs well with the bright, airy palettes of the season.
Popular Colour Combinations for a Summer Vibe
Choosing the right colours is key to capturing the essence of summer. The possibilities are endless, but certain combinations perfectly evoke the warmth and energy of the season.
Sunset Hues
Mimic the breathtaking colours of a summer sunset. Start with a soft yellow at the base of the nail, blending into a vibrant orange, and finishing with a deep pink or coral at the tip. This combination is warm, energetic, and eye-catching.
Oceanic Blues
For a cooler, more serene look, draw inspiration from the sea. A gradient that moves from a pale sky blue to a rich turquoise or deep navy creates a refreshing and elegant effect. It’s like having a piece of the ocean on your fingertips.
Tropical Fruit Medley
Think of juicy summer fruits. A blend of coral, mango, and zesty lime green can create a fun and playful look. These bright, saturated colours are perfect for holidays and outdoor gatherings, adding a pop of excitement to your style.
Pastel Dreams
If you prefer a softer aesthetic, pastel ombre is an excellent choice. Imagine a gentle fade from lavender to mint green, or from baby pink to soft blue. These delicate shades are incredibly chic and versatile, suitable for both casual days and special occasions.
How to Achieve Ombre Nails at Home
Creating a beautiful ombre effect at home is easier than it looks. With a few simple tools and a little patience, you can achieve a salon-quality finish. Before you begin, gather your supplies: a base coat, your chosen nail polish colours, a clear top coat, a small piece of makeup sponge, and some nail polish remover with a small brush for cleaning up.
- Step 1: Preparation is Key. Start with clean, dry nails. File them into your desired shape and gently push back your cuticles. Apply a thin layer of a quality base coat to protect your natural nails and help the polish adhere better.
- Step 2: Apply the Base Colour. Apply one or two coats of the lightest colour you have chosen for your ombre. Let it dry completely. This will serve as the foundation for your gradient.
- Step 3: Create the Gradient on the Sponge. Paint stripes of your chosen colours directly onto the makeup sponge in the order you want them to appear on your nail. Be generous with the polish, as the sponge will absorb some of it.
- Step 4: Dab onto the Nail. Gently press and dab the sponge onto your nail. You may need to roll it slightly from side to side to ensure the entire nail is covered. Repeat this dabbing motion to build up the colour intensity and blend the shades seamlessly. Don't worry about the mess on the skin around your nail; you will clean it up later.
- Step 5: Clean Up and Finish. Dip a small brush or a cotton bud into nail polish remover and carefully clean the polish off the skin around your nail. Once the design is dry, apply a generous layer of a glossy top coat. This will smooth out the texture from the sponge, add a beautiful shine, and seal your design.
Tips for a Long-Lasting Summer Manicure
You’ve created your beautiful summer ombre nails; now you want them to last. Proper care is essential to extend the life of your manicure and keep your hands looking their best.
- Reapply Your Top Coat: To prevent chipping and maintain that glossy finish, apply a fresh layer of top coat every two to three days.
- Protect Your Hands: When doing household chores, especially those involving water or cleaning agents, always wear protective gloves. This is the single most effective way to protect your manicure.
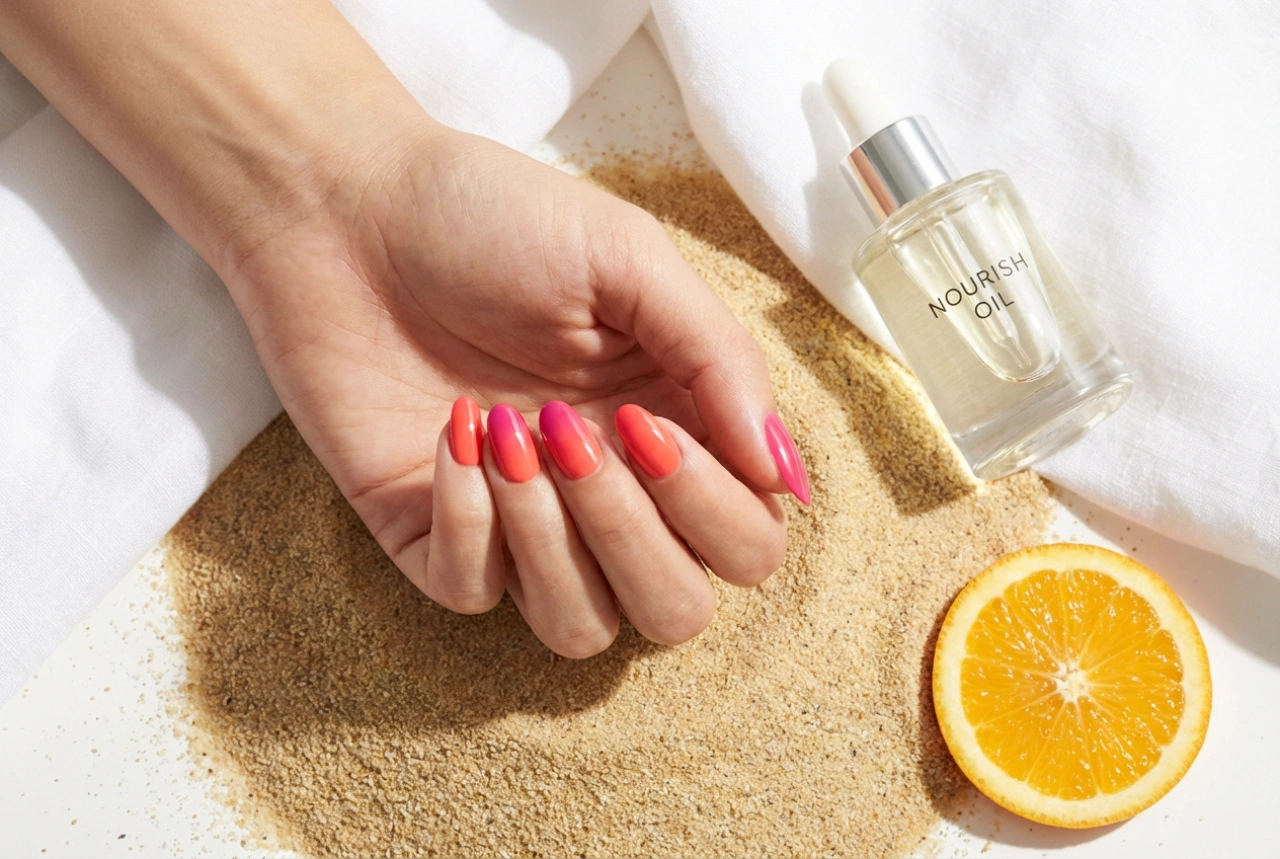
- Moisturise Regularly: Healthy, hydrated hands and cuticles are the foundation of a great manicure. Use a rich hand cream and a nourishing cuticle oil daily. This not only keeps your skin soft but also prevents the nail area from becoming dry and prone to breakage.
- Be Gentle: Avoid using your nails as tools to open cans, scrape stickers, or perform other tasks. This can easily lead to chips, breaks, and peeling polish. Treat your nails with care to preserve your beautiful artwork.