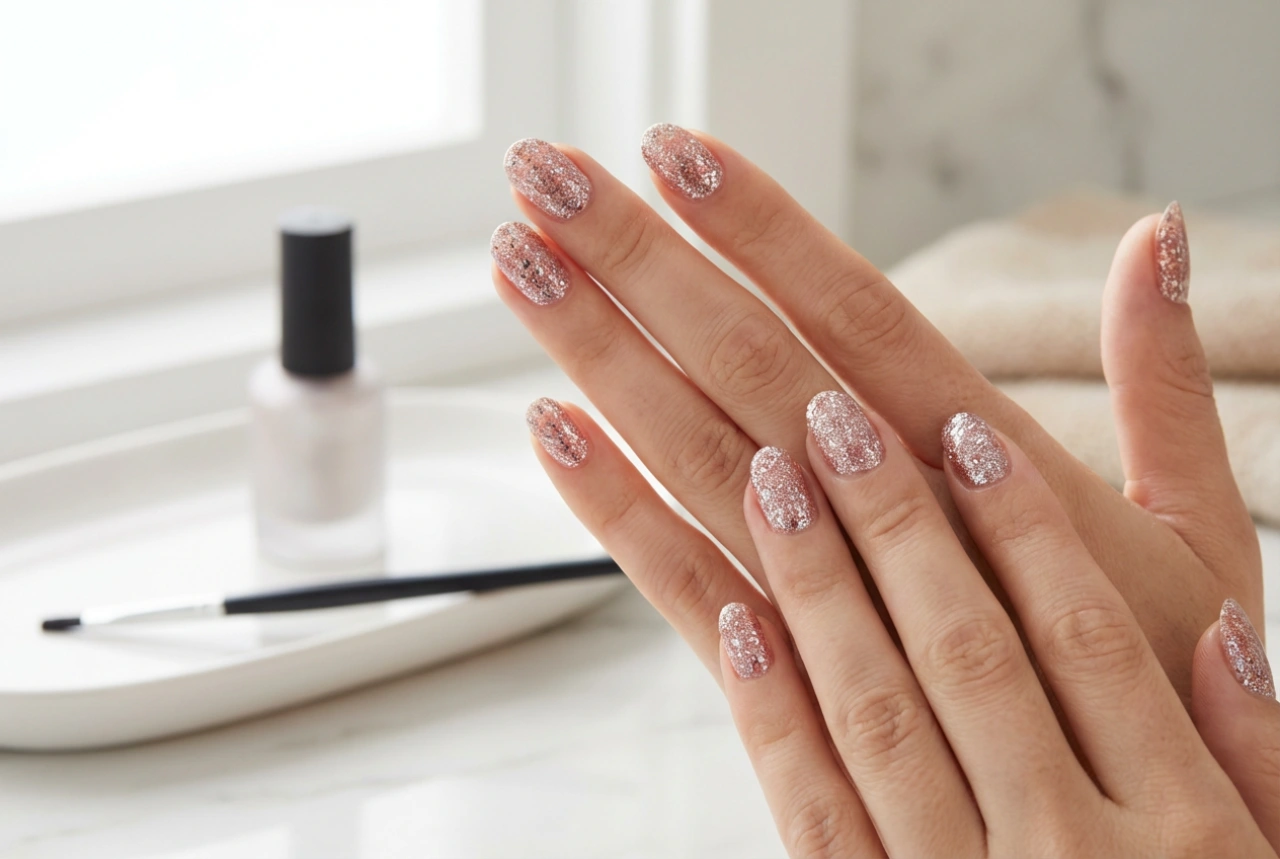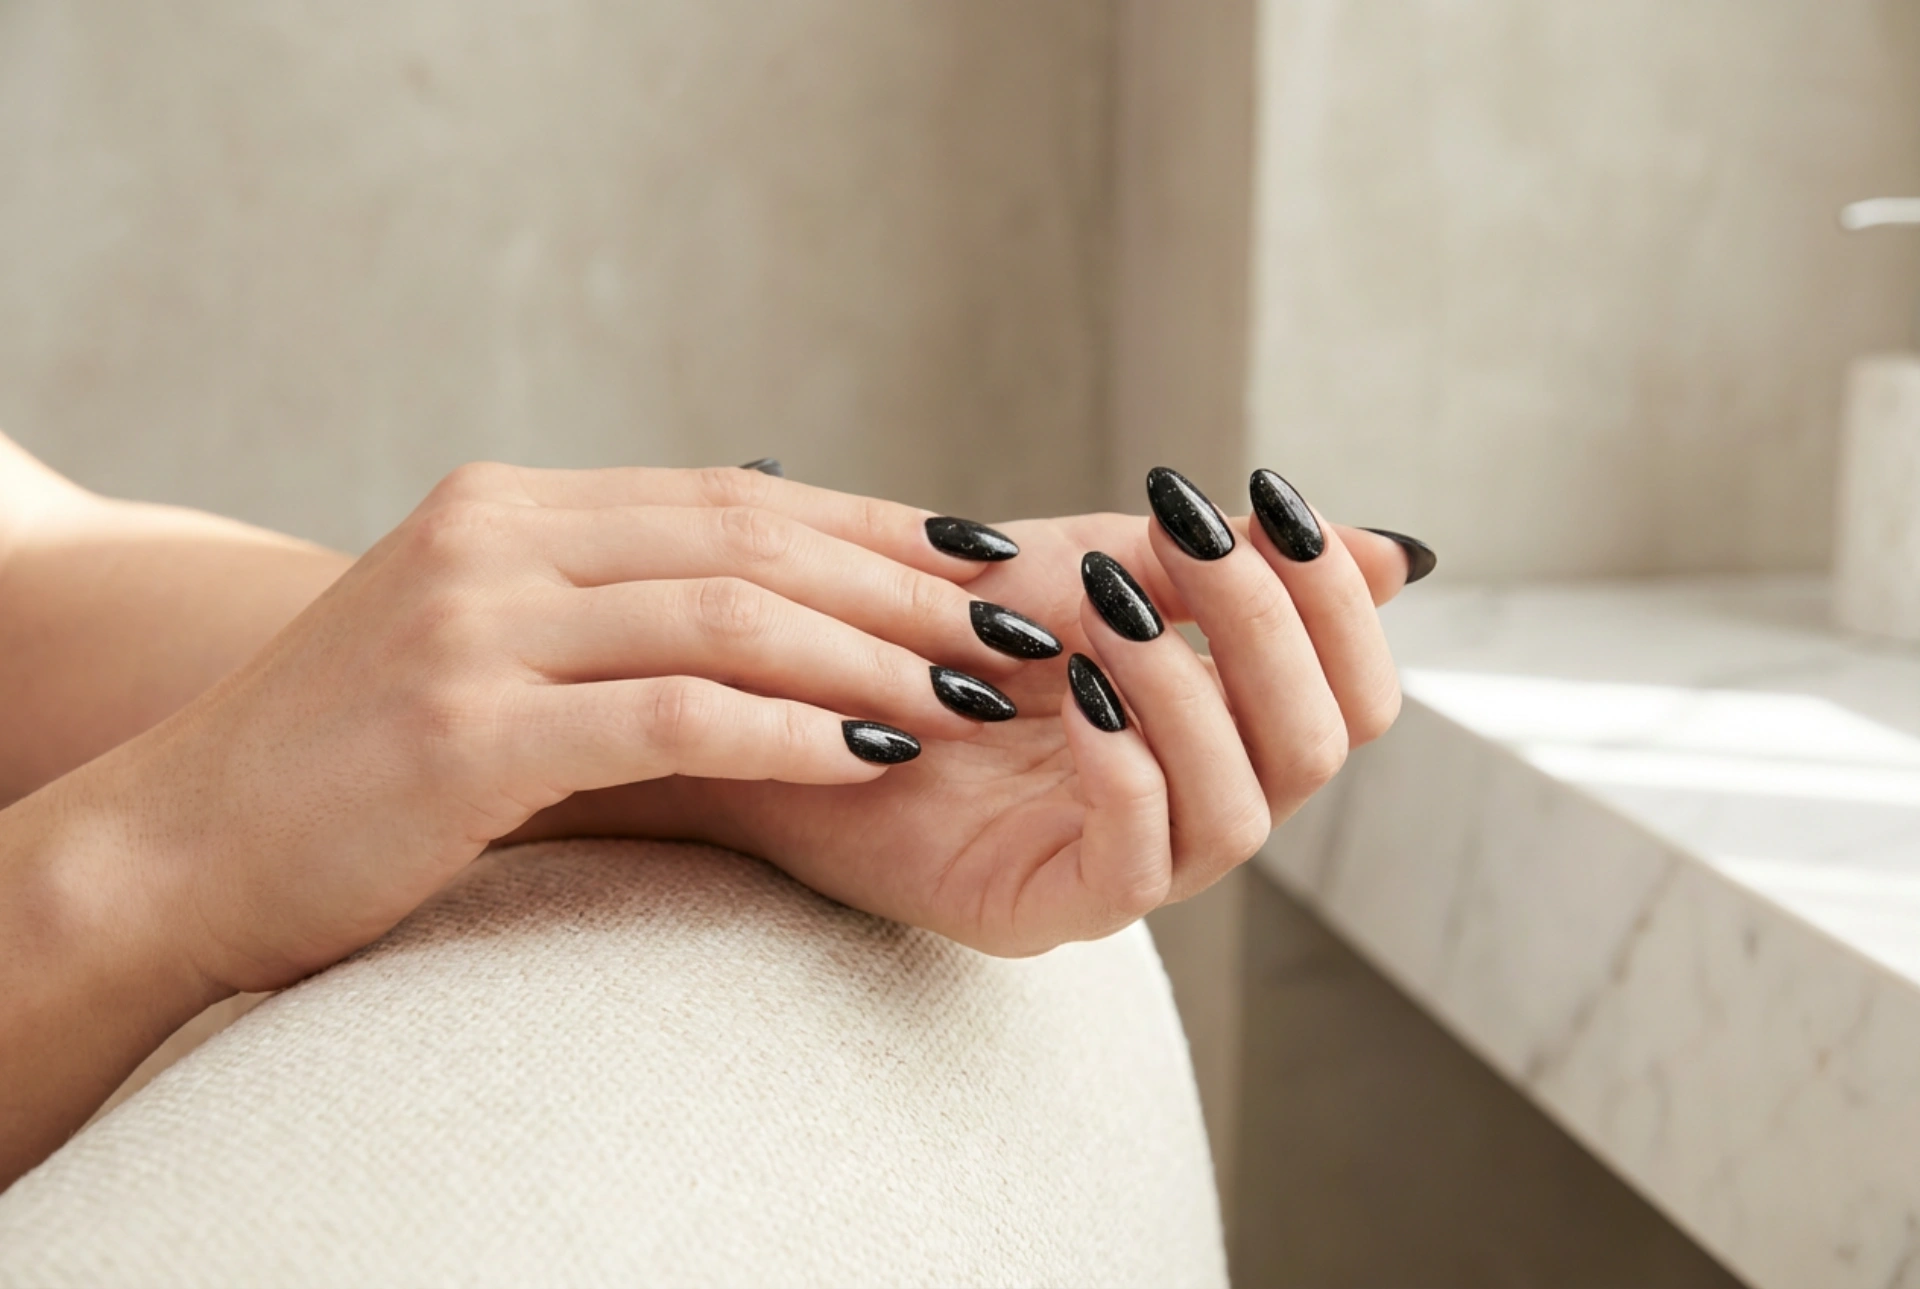


Black glitter nail polish offers a unique combination of dark sophistication and dazzling sparkle, making it a perfect choice for any occasion. While it looks stunning, applying glitter polish can sometimes result in a lumpy, uneven texture. However, with the right techniques, you can achieve a perfectly smooth and glossy finish that looks professionally done. This guide will walk you through the steps to get flawless, sparkling black glitter nails every time.
Preparation Is Key
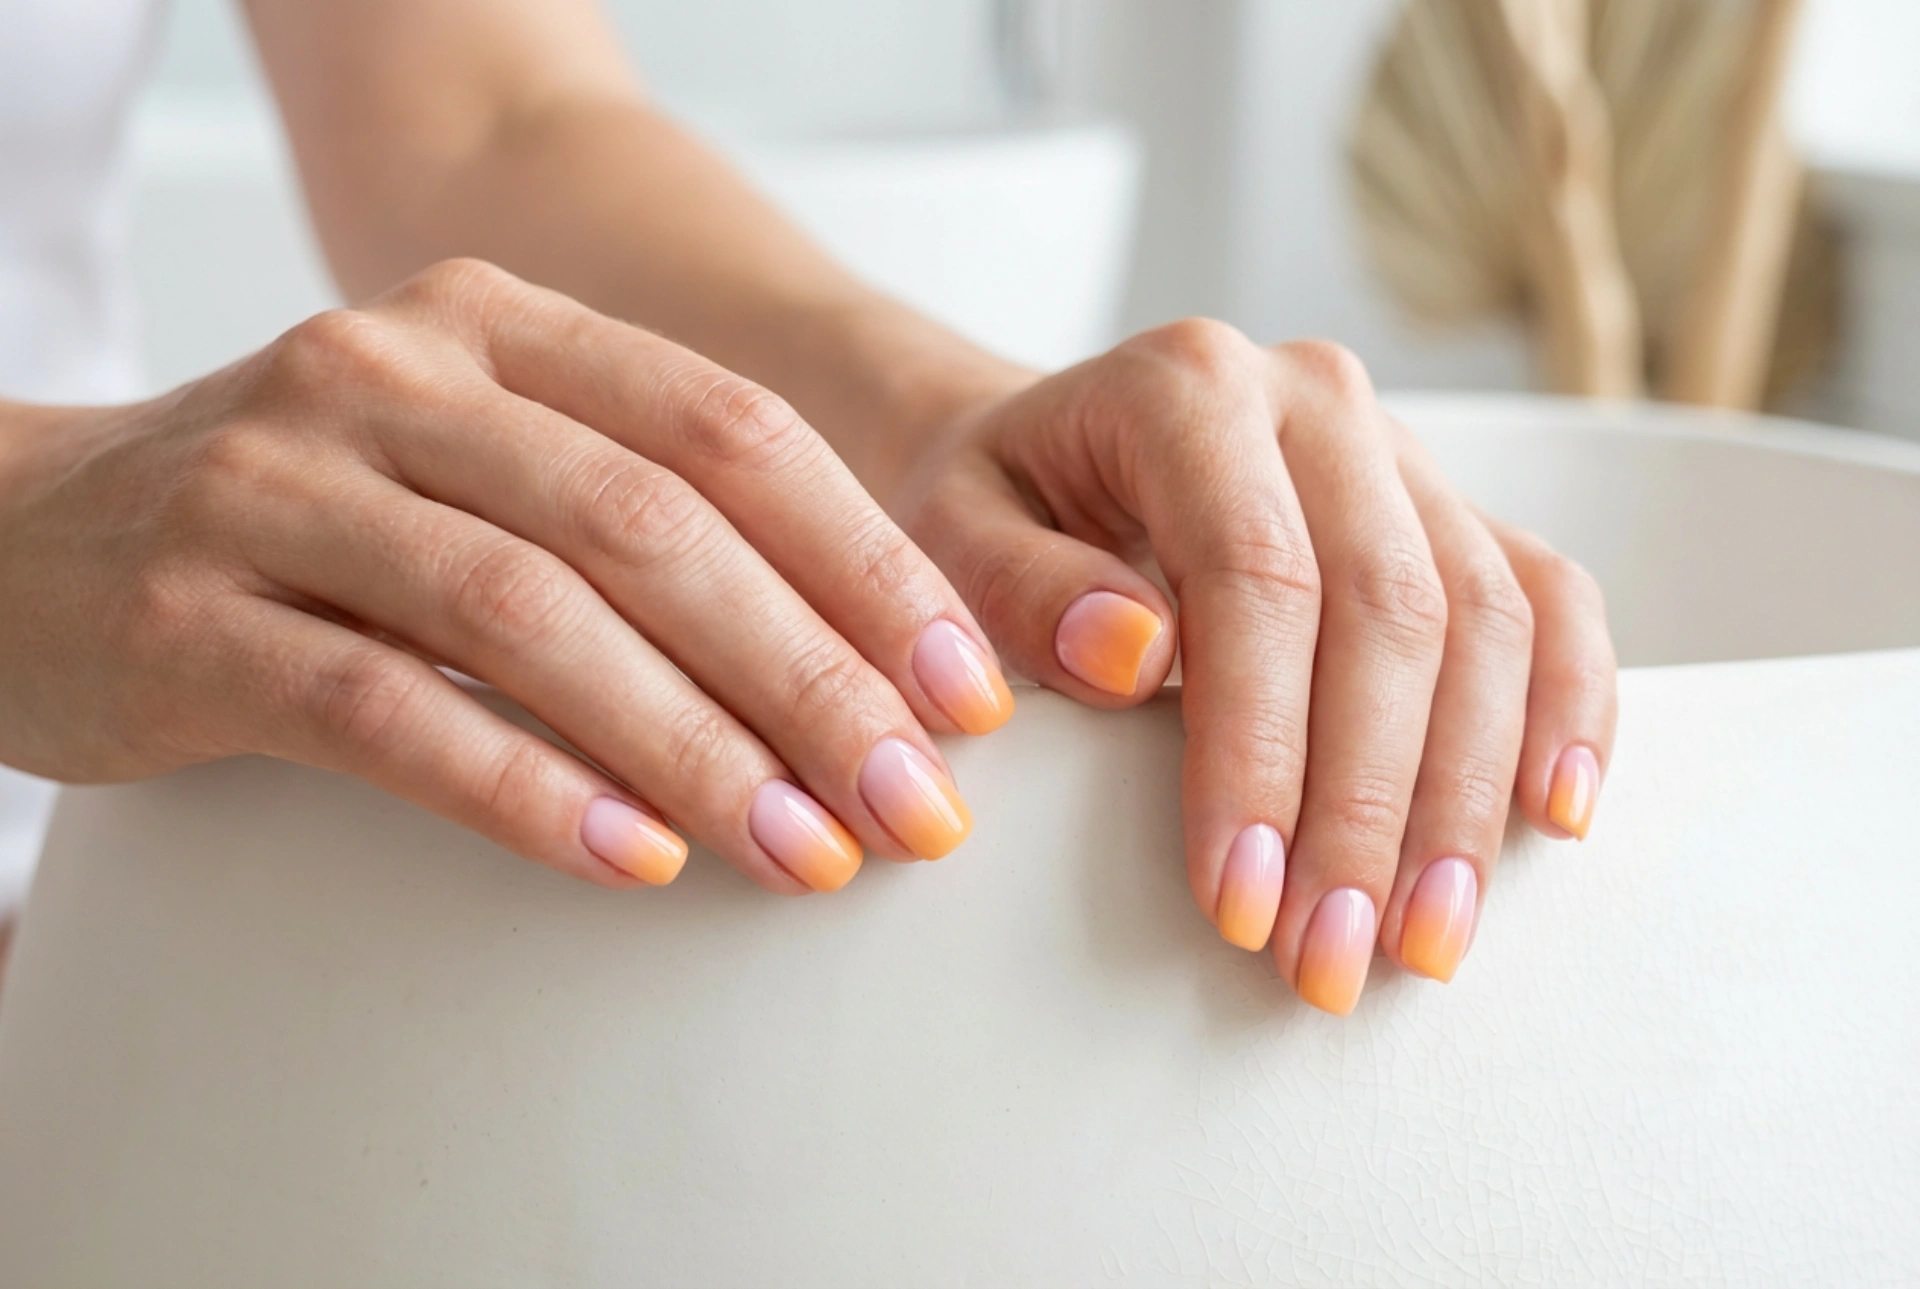
A beautiful manicure always begins with well-prepared nails. A smooth canvas is essential for a smooth application, especially with textured polishes like glitter. Start by ensuring your nails are clean and free of any old polish or oils. Use a gentle nail polish remover, then wash your hands.
Shaping and Buffing
Next, file your nails into your desired shape. An emery board or glass file works well for this. Afterwards, gently buff the surface of your nails. This step is crucial for glitter polish, as it smooths out any natural ridges or imperfections that could otherwise show through. Be careful not to over-buff, as this can weaken the nail. Finally, always apply a quality base coat. A base coat not only protects your natural nails from staining but also provides a tacky surface for the polish to adhere to, promoting a more even application.
The Art of Applying Glitter Polish
Applying glitter polish requires a slightly different approach than standard créme polishes. The goal is to build up the glitter coverage without creating thick, lumpy layers. Patience is your greatest tool here.
- Thin Coats: Always apply the glitter polish in thin, even coats. A thick first coat is more likely to become lumpy and take a very long time to dry.
- Dabbing Technique: For polishes with denser glitter, a dabbing or stippling motion can be more effective than traditional brush strokes. After applying a thin initial layer, use the brush to gently dab more glitter onto sparse areas. This allows you to control the placement of the glitter particles for a more uniform look.
- Drying Time: Allow each coat to dry thoroughly before applying the next. Rushing this step can cause the lower layers to smudge and create an uneven surface. Two to three thin coats are usually sufficient to achieve full coverage.
Achieving a Glass-Like Smoothness
The secret to transforming a gritty glitter texture into a sleek, smooth surface lies in the top coat. A standard top coat may not be enough to completely smooth over the raised glitter particles. Instead, opt for a thick, gel-like top coat designed to plump and add volume. Apply one generous layer, making sure to 'cap' the free edge of your nail by running the brush along the tip. This seals the polish and prevents chipping.
The Double Top Coat Method
For particularly textured glitters, a second layer of top coat can work wonders. Wait for the first top coat to become tacky to the touch, then apply a second layer. This fills in any remaining dips and creates a perfectly smooth, glossy finish that enhances the sparkle of the glitter. The result is a manicure that not only looks flawless but also feels smooth to the touch.
Maintenance and Removal
To prolong the life of your glitter manicure, reapply a thin layer of top coat every two to three days. When it's time for a change, remember that removing glitter polish can be challenging. The most effective method is to soak a cotton ball in nail polish remover, place it on the nail, and wrap the fingertip in a small piece of aluminium foil. Let it sit for five to ten minutes, and the polish should slide off easily with gentle pressure, preventing damage to your nails.