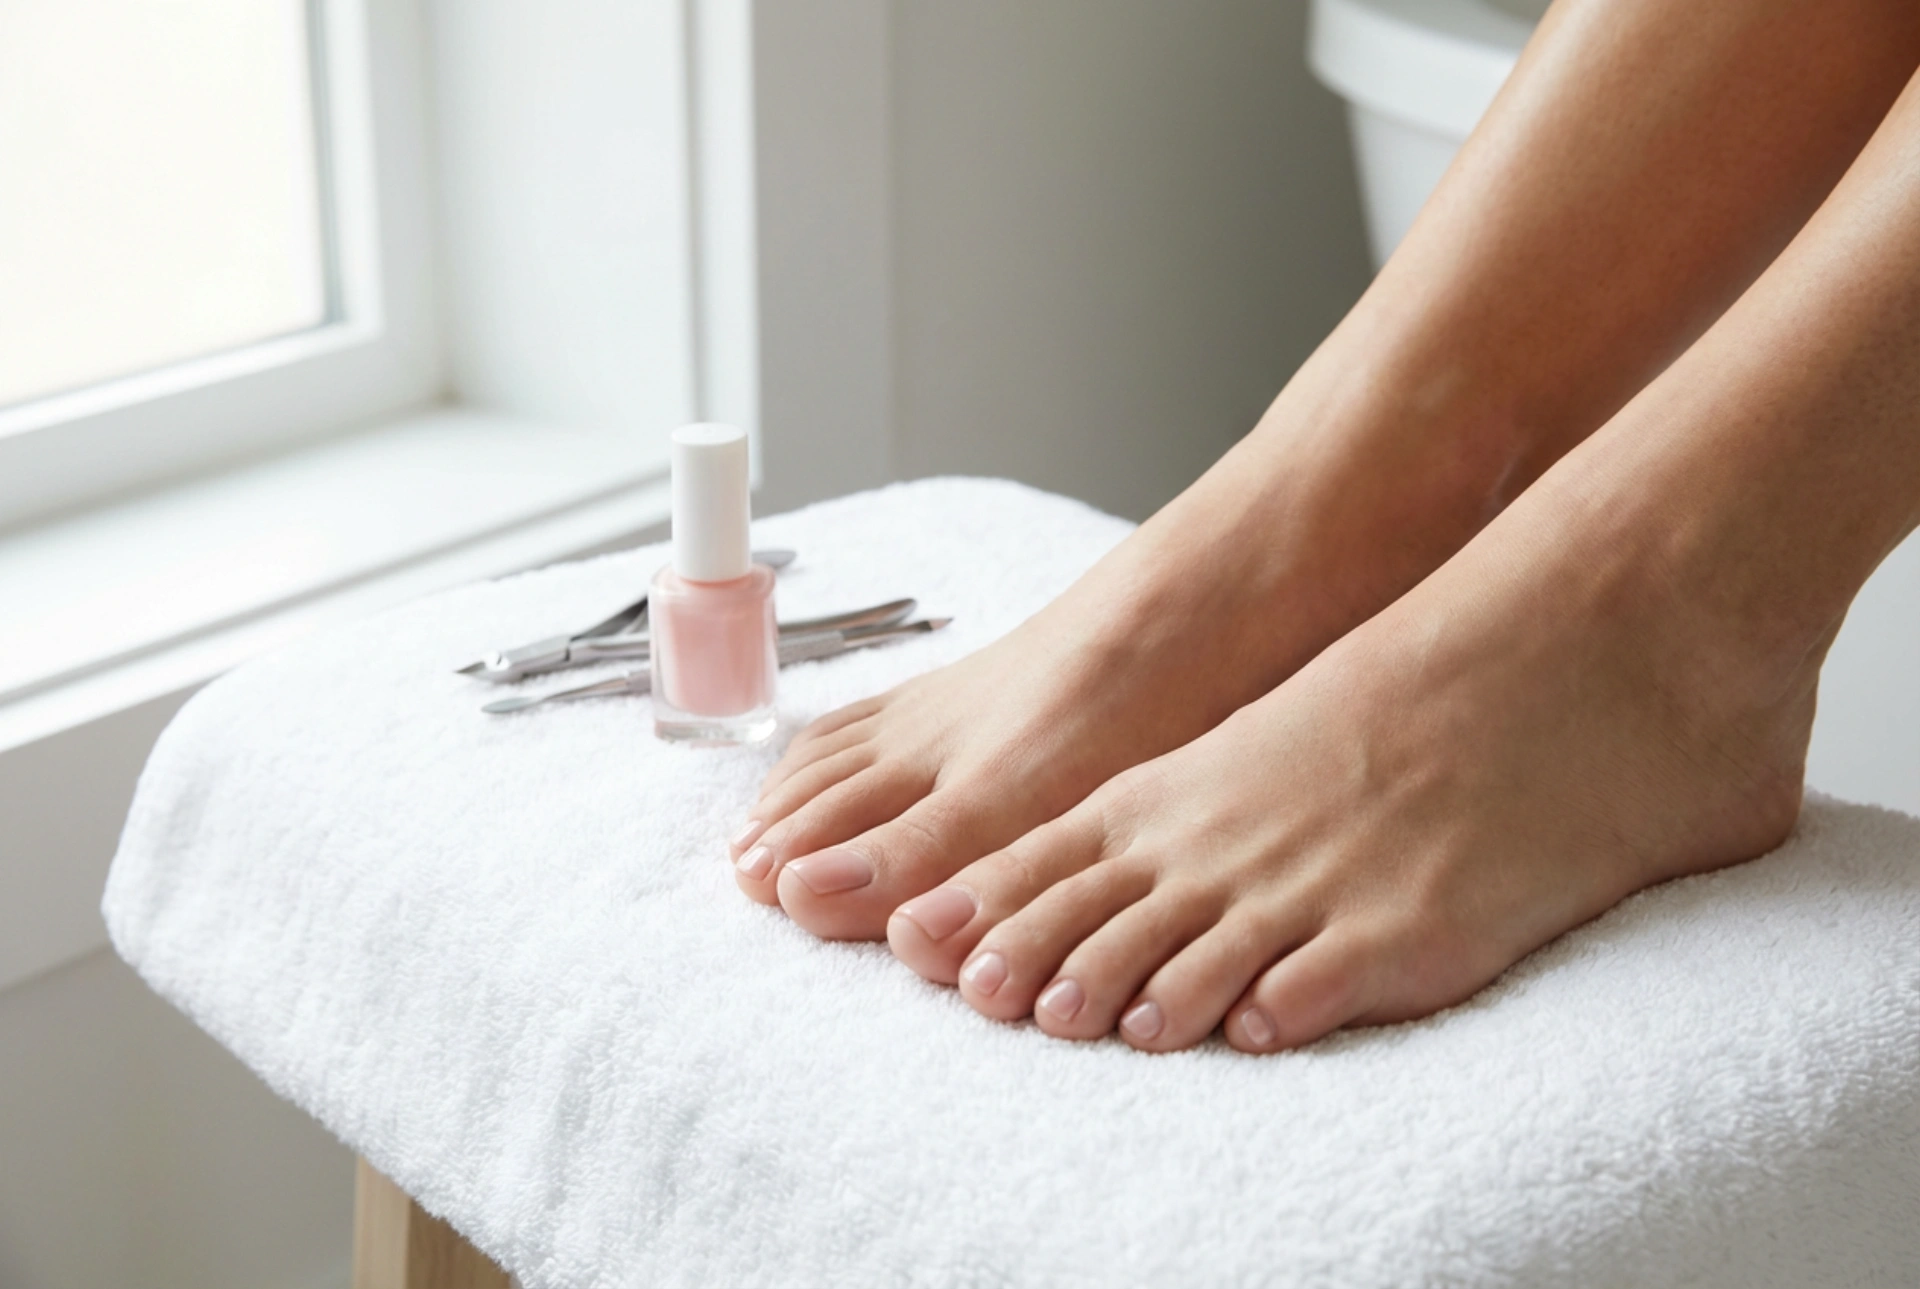


Taking care of our feet is an essential part of any beauty routine, often overlooked but crucial for both comfort and confidence. Creating a spa-like experience at home is not only possible but also a wonderful way to relax and unwind. A methodical home pedicure can leave your feet looking elegant and feeling wonderfully refreshed, just like the serene image of perfectly polished toes on a soft towel. This guide will walk you through each stage, from preparation to the final coat of polish, ensuring a professional-looking result every time.
Step 1: Essential Preparation - Soaking Your Feet
The first step to a perfect pedicure is to properly prepare your feet. Begin by filling a basin or a foot spa with warm water. The temperature should be comfortable, not scalding. Add a handful of Epsom salts or a few drops of your favourite essential oil, such as lavender or peppermint, to enhance the experience. Soaking your feet for 10-15 minutes serves multiple purposes: it cleanses the skin, softens rough calluses, and makes your nails and cuticles easier to manage. This relaxing ritual is the foundation for all subsequent steps, so take your time and enjoy the moment.
Step 2: Skin and Cuticle Care
Once your skin is softened, it's time to focus on exfoliation. Gently pat your feet dry with a clean towel. Using a pumice stone or a foot file, carefully work on areas with hardened skin, such as the heels, balls of the feet, and the sides of your big toes. Use gentle, circular motions and avoid being too aggressive, as the goal is to smooth the skin, not irritate it. Follow up with a granular foot scrub to exfoliate the entire foot, including the tops and ankles, for an all-over silky finish. Rinse your feet and dry them thoroughly. Next, apply a cuticle-softening product to the base of each toenail. After a minute, use a wooden orange stick or a cuticle pusher to gently push back the softened cuticles. It is important never to cut the cuticles, as they form a protective barrier against external factors.
Step 3: Nail Trimming and Shaping
With the skin and cuticles tended to, your attention can turn to the nails. Using a high-quality nail clipper, trim your toenails straight across. This technique is crucial for helping to prevent the discomfort of ingrown nails. Avoid cutting them too short or rounding the corners excessively. After trimming, use a nail file to gently smooth any sharp edges and shape the nails. A glass or crystal file is often recommended as it is gentler on the nails. File in one direction, from the side to the centre, to avoid weakening the nail structure. If the surface of your nails is uneven, you can use a soft buffing block to gently smooth them out, creating a perfect canvas for polish.
Step 4: The Finishing Touch - Polishing
The final stage is applying colour for that polished, chic look. This process requires patience and precision for the best results.
Preparing the Nail Plate
Before applying any polish, it's vital to ensure the nail surface is completely clean and free of oils or creams from the previous steps. Wipe each toenail with a cotton pad soaked in nail polish remover. This will help the polish adhere better and last longer. For a more comfortable and smudge-free application, use toe separators to keep your toes apart.
The Art of Application
The secret to a long-lasting pedicure lies in layering. Always begin with a clear base coat. This not only protects your nails from staining but also provides a smooth surface for the colour to grip onto. Once the base coat is dry, apply your chosen nail polish. It's best to apply two thin coats rather than one thick one. Start with a stripe down the centre of the nail, from the cuticle to the tip, then fill in each side. Allow the first coat to dry for a few minutes before applying the second. Finally, seal your colour with a high-shine top coat. This will protect the polish from chipping, add brilliant shine, and prolong the life of your pedicure.
Drying and Aftercare
Patience is a virtue, especially when it comes to drying nail polish. Allow at least 20-30 minutes for the polish to become touch-dry, and be mindful of your feet for a few hours to avoid smudges or dents. Once completely dry, you can apply a nourishing foot cream to keep your skin hydrated and soft. Regular moisturising will maintain the results of your pedicure for longer.


