


The trend for full, fluffy, and perfectly sculpted eyebrows has made the 'soap brows' technique a staple in many beauty routines. It's a simple yet effective method for achieving a laminated look that holds all day, using just a few basic tools. However, a common frustration is ending up with white, flaky residue or unsightly clumps in the brow hairs. The secret to a flawless finish lies not just in the products you use, but in mastering the correct technique. This guide will walk you through everything you need to know to achieve perfectly smooth, defined soap brows every time.
Essential Tools for Flawless Soap Brows
Achieving a professional-looking result starts with gathering the right tools. While the concept is simple, the quality and type of each item can make a significant difference in the final outcome. Fortunately, you likely have most of what you need already.
The Right Kind of Soap
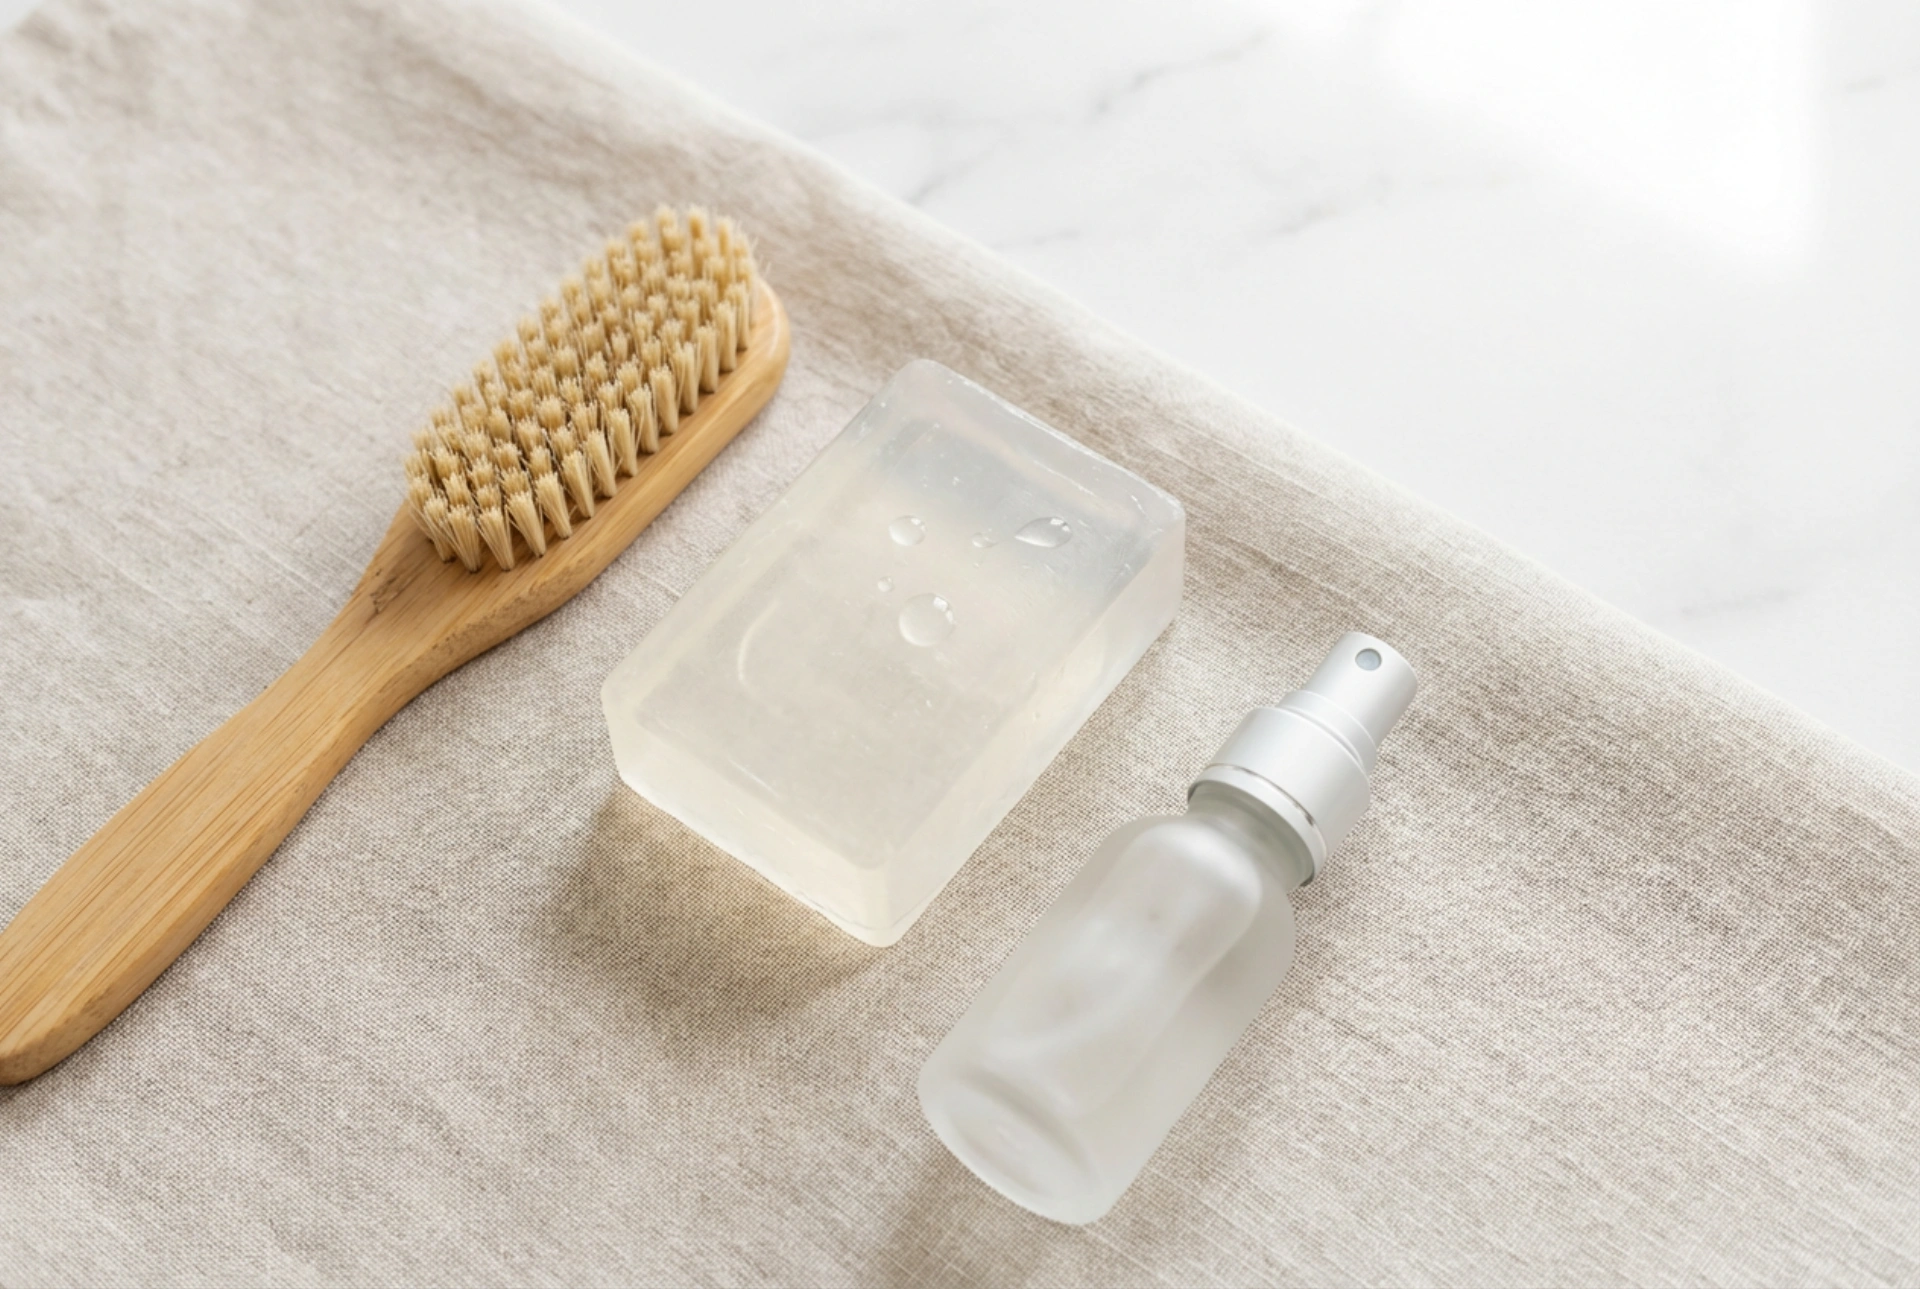
The star of the show is, of course, the soap. For this technique, not just any bar will do. The ideal choice is a clear, glycerin-based soap. Glycerin is a humectant, which means it attracts moisture and helps to create a flexible, strong hold without drying out the brow hairs or skin. Look for soaps that are free from opaque colourants, heavy moisturisers, or strong fragrances, as these ingredients are more likely to leave a white cast or cause irritation. A simple, transparent bar is your best option.
A Clean Spoolie Brush
Your main application tool is a spoolie brush – the small, mascara-wand-like brush used for grooming eyebrows. It's crucial that your spoolie is completely clean before each use. Any leftover makeup, oil, or old soap residue can interfere with a smooth application and contribute to clumping. You can wash your spoolie with a gentle cleanser and water, ensuring it is fully dry before you begin.
A Source of Moisture
To activate the soap and create a usable paste, you'll need a small amount of water. A facial mist or setting spray in a fine-mist bottle is ideal, as it allows for controlled application and prevents you from oversaturating the soap. If you don't have a mist bottle, you can also use a small amount of tap water, but be extra careful not to use too much.
A Step-by-Step Guide to Lump-Free Application
With your tools ready, you can move on to the application. The key is to work methodically and with a light hand. This process ensures every hair is coated evenly without excess product.
Step 1: Preparation is Key
Start with clean, dry eyebrows that are free from any oils or makeup products. Lightly mist your spoolie brush or the surface of the soap bar with water. One or two spritzes are usually enough. The goal is to make the soap slightly tacky and easy to pick up, not to create a bubbly lather.
Step 2: Create the Perfect Paste
Gently rub the damp spoolie back and forth on the surface of the soap. You want to create a clear, gel-like paste on the bristles. Avoid swirling the brush too vigorously, which can whip air into the soap and create foam. After loading the brush, scrape off any excess product on the rim of the soap's container. This is a critical step to prevent applying too much product and causing clumps.
Step 3: Application and Styling
Begin applying the paste to your brows. Start by brushing the hairs downwards (backcombing) to ensure the underside and roots of every hair are coated. Then, immediately brush the hairs upwards and outwards into your desired shape. Work quickly, as the soap will begin to set. Use the tip of the spoolie to define the arch and tail of the brow.
Step 4: Set the Shape
Once your brows are styled, use the handle of the spoolie or your fingertip to gently press the hairs flat against your skin. This creates the signature laminated effect and secures the hairs in place for a long-lasting hold. Allow the soap to dry completely, which should only take a minute or two.
Tips for a Long-Lasting and Flawless Finish
Once your brows are set, you might want to add some finishing touches. To ensure they look perfect all day, follow these simple tips.
- Fill in Gaps After Styling: If you have sparse areas in your brows, wait until the soap is completely dry before filling them in. Use a fine-tipped brow pencil or a small amount of powder to create hair-like strokes. Applying makeup before the soap can cause smudging and a muddy appearance.
- Clean Up the Edges: If any soap paste has gotten onto the skin around your eyebrows, you can easily clean it up. Dip a cotton bud in a small amount of water or a gentle makeup remover and carefully trace around the perimeter of your brows for a sharp, clean finish.
- Avoid Touching: Once your brows are styled and set, try to avoid touching them throughout the day to maintain the hold and prevent any flaking.
Common Soap Brow Mistakes to Avoid
If you're still struggling with clumps or a white cast, you might be making one of these common mistakes:
- Using too much water: This is the most frequent error. Too much water creates foam instead of a paste, which weakens the hold and can leave a flaky residue as it dries.
- Choosing the wrong soap: Creamy, opaque, or heavily perfumed soaps contain ingredients that will leave a visible film on your brow hairs. Stick to clear glycerin soap.
- Applying too much product: Loading the spoolie with too much paste will inevitably lead to clumps. Always remember to scrape off the excess before application.
- Not starting with clean brows: Natural skin oils and leftover makeup can prevent the soap from adhering properly, leading to a weaker hold and an uneven finish.
By following this detailed technique and avoiding common pitfalls, you can easily achieve the sleek, feathered, and perfectly held soap brows you admire. With a little practice, this simple method will become a quick and reliable part of your beauty routine, giving you flawless brows without any fuss or flakes.


