

Perfectly shaped eyebrows act as a natural frame for your face, enhancing your eyes and bringing balance to your features. Achieving a polished, elegant look often starts with well-groomed brows that complement your unique bone structure. While trends may come and go, understanding the fundamental principles of brow architecture allows you to create a timeless shape that is all your own. This guide will walk you through the process of mapping, shaping, and refining your eyebrows at home for a professional-looking result.
Understanding the Golden Rules of Eyebrow Proportions
Before you pick up a pair of tweezers, it's crucial to understand what makes an eyebrow shape flattering. The ideal brow shape is not determined by current fads, but by your individual facial structure. The goal is to create symmetry and balance. A well-proportioned brow can lift the appearance of the eye area and define your entire face. The key is to work with what you have, enhancing your natural brow line rather than trying to create an entirely new one. By following a few simple guidelines based on key facial landmarks, you can identify the perfect start, arch, and end points for your brows.
How to Map Your Perfect Eyebrow Shape
Mapping is the most important step in finding your ideal brow shape. It involves using a straight tool, like a thin makeup brush or a brow pencil, to find three critical points that align with your features. This technique ensures that your brows are in proportion with your eyes and nose.
- Point 1: The Start of the Brow. Place your straight tool vertically along the side of your nose. The point where the tool intersects with your brow bone is where your eyebrow should begin. This prevents the brows from being too far apart or too close together, which can alter the appearance of your nose and eyes.
- Point 2: The Arch. To find the highest point of your brow, look straight ahead into a mirror. Angle the tool from the side of your nostril through the centre of your pupil. Where the tool crosses your brow is where your arch should be. Placing the arch correctly provides a natural-looking lift to the eye.
- Point 3: The End of the Brow. Lastly, pivot the tool from the side of your nostril to the outer corner of your eye. The point where the tool meets your brow line is the ideal endpoint. Brows that are too short can make the eyes look smaller, while brows that are too long can drag the face down.
Once you have identified these three points, you can use a brow pencil to make small marks as a guide for shaping.
Techniques for Shaping and Grooming
With your brow map in place, you can begin the grooming process. The key is to be conservative and remove only stray hairs that fall outside your desired shape.
Precision Tweezing
Tweezing is an effective method for removing individual hairs with precision. Always work in good, natural light to see every hair clearly. Before you begin, brush your brow hairs upwards with a spoolie to see their natural shape. Only tweeze hairs that are below your main brow line; removing hairs from above can drastically alter the shape and is often difficult to correct. Pluck one hair at a time in the direction of its growth to minimise discomfort and prevent breakage. Take a step back from the mirror frequently to assess your progress and avoid over-plucking.
Trimming for a Neat Finish
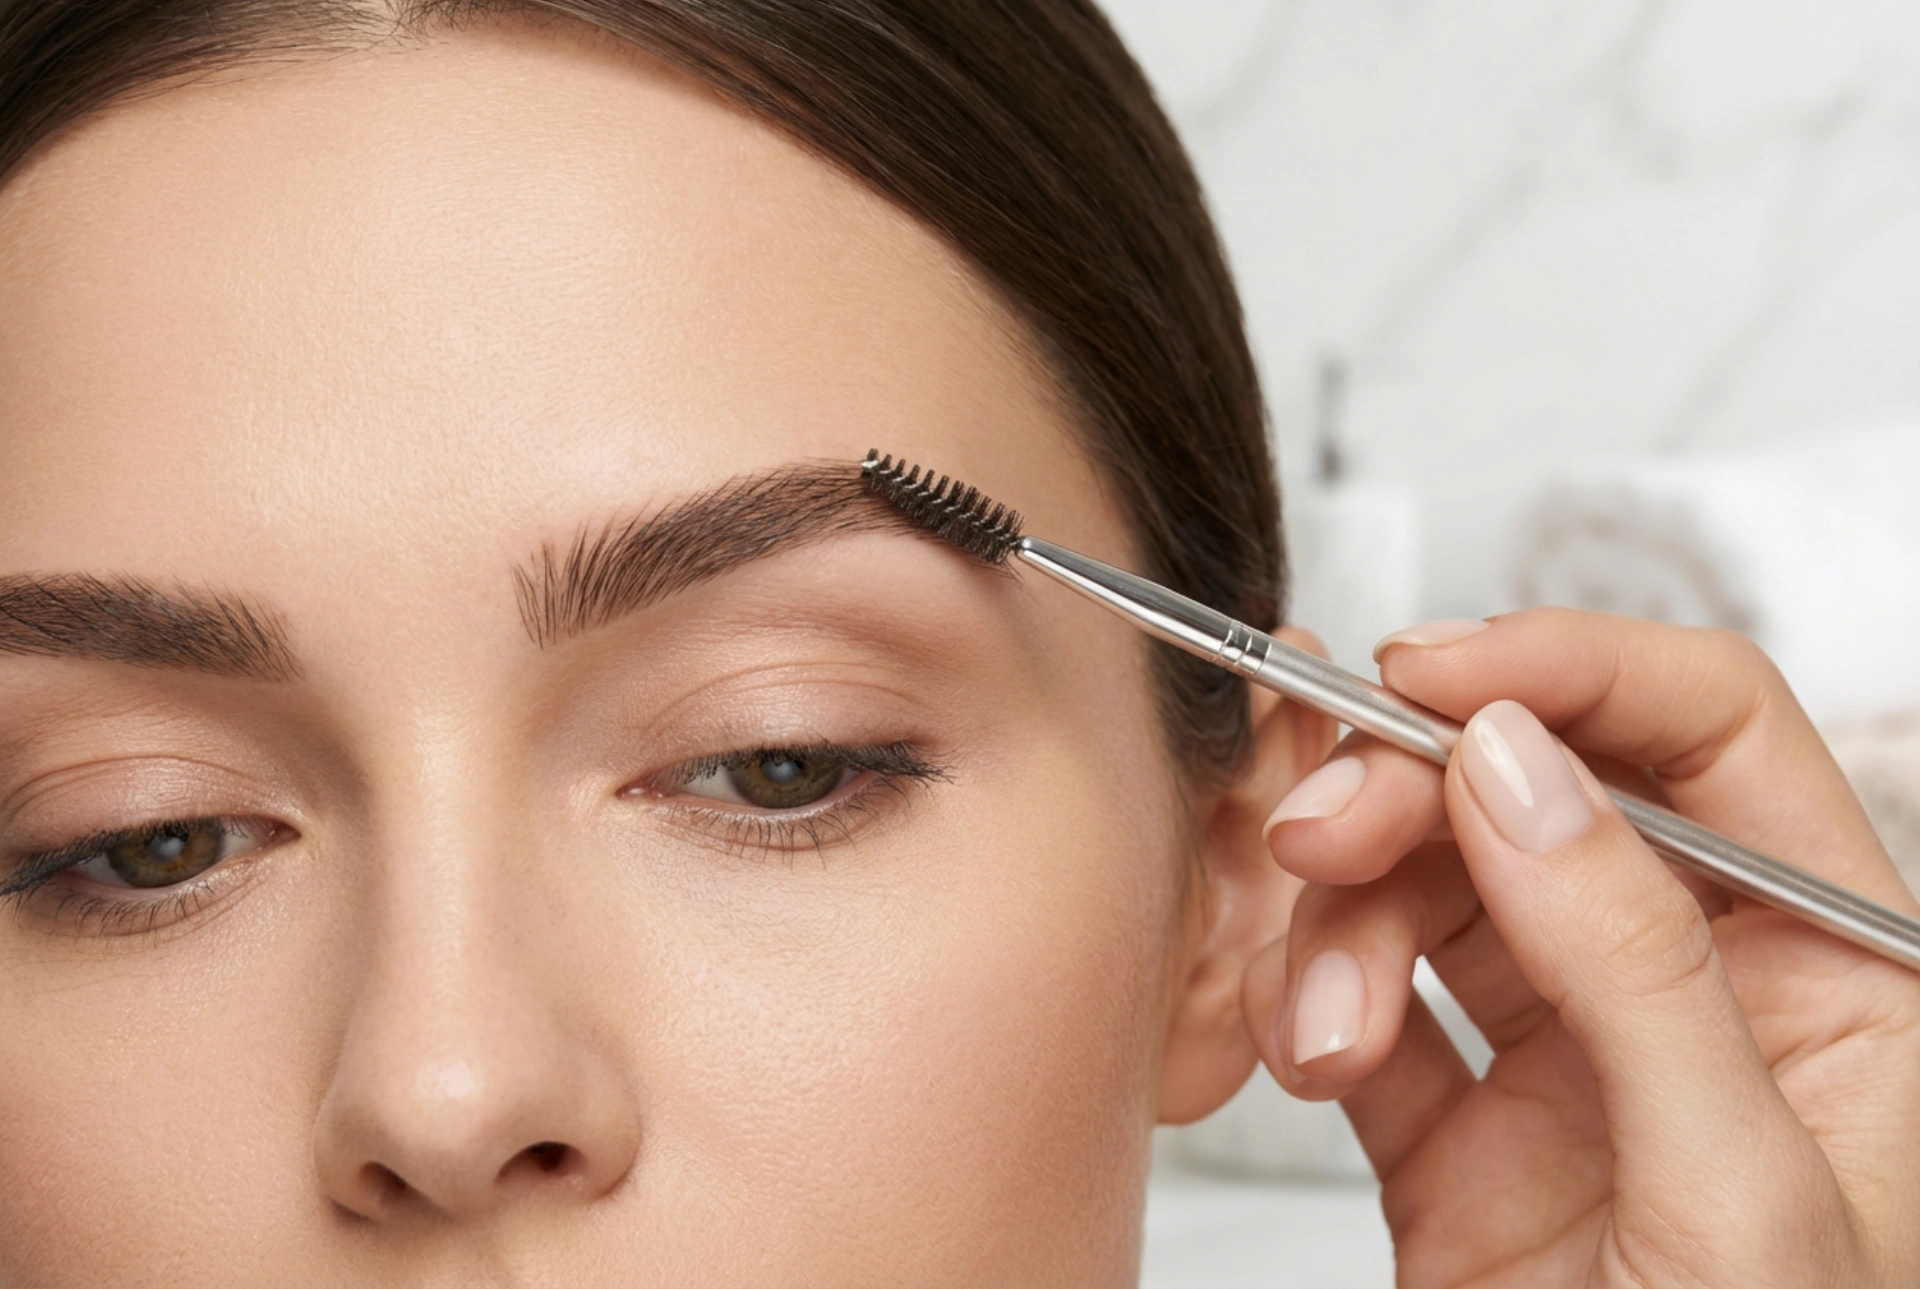
Sometimes, brows don't need extensive plucking but simply a light trim to look neater. Use a spoolie to brush the hairs at the front of your brow straight up. Carefully use a small, straight pair of cosmetic scissors to trim any hairs that extend far beyond the top of your main brow line. For the body and tail of the brow, brush the hairs downwards and trim any that are excessively long. This technique tames unruly hairs without thinning the brow.
Making Corrections and Adjustments
Mistakes can happen, especially when you are first learning to shape your own brows. The most common issue is over-plucking. If you find you have removed too much hair, the best course of action is to put the tweezers down and be patient. Allow the hairs to grow back, which can take several weeks or even months. During this time, you can use a brow pencil or powder to gently fill in the sparse areas. Remember to use light, feathery strokes to mimic the appearance of natural hair. When shaping, always remember that it is easier to remove more hair later than it is to wait for it to grow back. The goal is a clean, natural brow that enhances your beauty, not a perfectly thin, artificial line.