


A hybrid pedicure is a fantastic choice for anyone seeking a durable, high-shine finish on their toenails that lasts for weeks without chipping. It combines the longevity of gel systems with the application feel of traditional nail polish, making it ideal for holidays, special events, or simply enjoying beautifully groomed feet for longer. Achieving a perfect result requires careful preparation and a precise application method. This guide will walk you through the entire process, from preparing your feet to the final glossy touch and safe removal.
Preparing Your Feet and Nails
Proper preparation is the cornerstone of a long-lasting hybrid pedicure. Rushing this stage can lead to the polish lifting prematurely. Dedicate enough time to create a clean and smooth canvas for the application.
Initial Foot Care
Begin by removing any existing nail polish. Next, treat your feet to a relaxing soak in warm water with a few drops of a gentle foot soak or mild soap for about 10-15 minutes. This will soften the skin and cuticles. Afterwards, you can use a foot file or pumice stone on any calloused areas, focusing on the heels and balls of the feet. Follow up with a gentle foot scrub to exfoliate and smooth the skin. Rinse your feet thoroughly and pat them completely dry with a clean towel, paying special attention to the areas between the toes and around the nails.
Nail and Cuticle Preparation
Once your feet are dry, it's time to shape your nails. Use a good quality nail file to shape your toenails as desired; a square or 'squoval' (square-oval) shape is often popular and helps prevent ingrown nails. File in one direction to avoid weakening the nail. Next, apply a cuticle remover solution to the base of each nail and allow it to work for a minute. Then, using a wooden stick or a metal cuticle pusher, gently push back the softened cuticles from the nail plate. Avoid cutting the cuticles, as they serve as a protective barrier against external factors.
Preparing the Nail Plate
This is a critical step for ensuring the hybrid polish adheres properly. Take a fine-grit buffer block and very gently buff the entire surface of each nail. The goal is not to thin the nail, but simply to remove the natural shine. Once all nails are lightly buffed, use a lint-free wipe saturated with a specialised nail cleanser or degreaser to wipe each nail clean. This removes any dust and natural oils, creating the perfect surface for the base coat. From this point on, avoid touching your nails with your fingers.
The Hybrid Application Process: Step by Step
Working with hybrid polish involves applying several thin layers, each of which must be 'cured' or hardened under an LED or UV lamp. Patience and precision are key to a professional-looking result.
- Step 1: The Base Coat. Apply a very thin, even layer of hybrid base coat to one foot's nails. Be careful not to let the product touch the surrounding skin or cuticles. 'Cap' the free edge of each nail by running the brush along its tip; this helps to seal the polish and prevent chipping. Cure the nails under your LED/UV lamp according to the manufacturer's specified time (typically 30-60 seconds for an LED lamp). Repeat on the other foot.
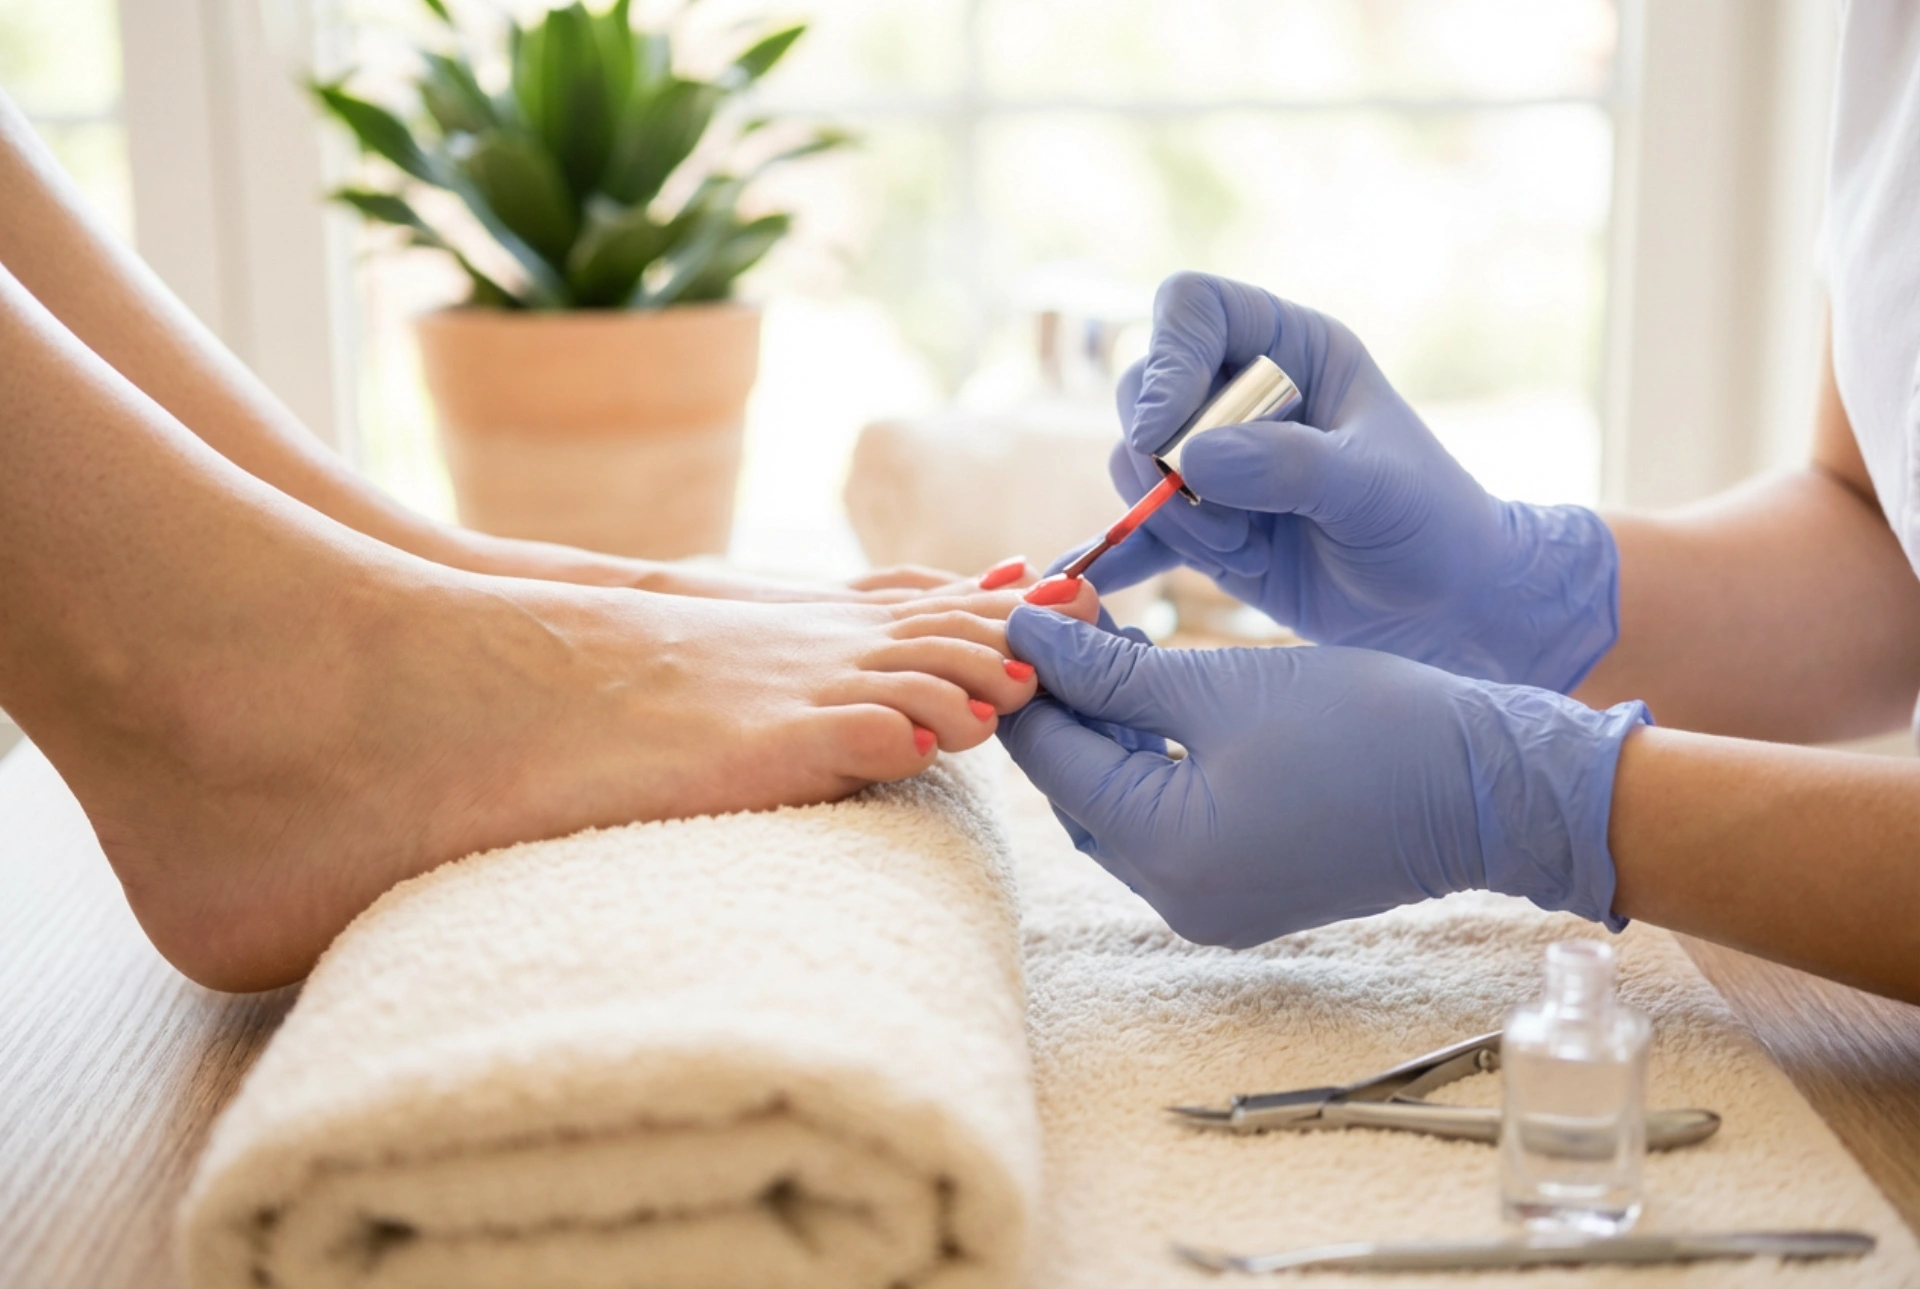
- Step 2: Applying the Colour. Apply your chosen hybrid colour in a very thin, even coat. Again, precision is crucial—keep it off the skin. A thin coat is better than a thick one, as it will cure more effectively and look neater. Cure under the lamp. Apply a second thin coat of colour to achieve full opacity and an even finish, then cure again. Repeat the process for the other foot.
- Step 3: The Top Coat. To finish, apply a thin layer of hybrid top coat. This layer provides the signature high-gloss shine and durable protection. Remember to cap the free edge of the nail again. Perform the final cure under the lamp, sometimes for a slightly longer duration as per the product's instructions. Repeat on the second foot.
Achieving the Perfect Finish and Aftercare
The final steps are just as important for ensuring a flawless look and extending the life of your pedicure.
Final Touches and Nourishment
After the final cure, many hybrid top coats leave a sticky or tacky 'inhibition layer'. This is completely normal. To remove it, take a fresh lint-free wipe with your nail cleanser solution and wipe each nail firmly. You will be left with a hard, dry, and brilliantly shiny surface. To complete the pedicure, apply a nourishing cuticle oil to the skin around each nail and massage it in. Finish by applying a rich moisturising foot cream all over your feet to rehydrate the skin.
Making Your Pedicure Last
To keep your hybrid pedicure looking perfect for as long as possible, avoid exposing your feet to harsh cleaning chemicals without protection. Wear comfortable, well-fitting shoes that don't put excessive pressure on your toenails. Finally, keep your feet and cuticles moisturised daily to maintain skin health.
Safe Removal of Hybrid Polish
Never peel or pick off a hybrid pedicure, as this can strip away layers of your natural nail and cause damage. Proper removal is gentle and straightforward.
First, use a coarse file to gently buff the shiny surface of the top coat on each nail. This breaks the seal and allows the remover to penetrate. Next, soak small pieces of cotton wool in a specialised hybrid polish remover. Place a soaked piece onto each toenail and wrap it securely with a small piece of aluminium foil. Let your nails soak for 10-15 minutes. After this time, remove the foil from one nail. The polish should look cracked and lifted. Use a wooden orange stick or a gentle removal tool to lightly scrape off the loosened polish. If it doesn't come off easily, re-wrap the nail and soak for a few more minutes. Once all the polish is removed, lightly buff the nail surface to smooth it, wash your feet, and apply a generous amount of nail and cuticle oil to rehydrate.


