


Transforming your nails from a simple coat of colour to a miniature canvas for art is an exciting form of self-expression. While a standard manicure is elegant, adding bespoke designs allows you to showcase your creativity. The key to unlocking this potential lies in using the right polishes and tools. With a selection of vibrant nail art lacquers and delicate brushes, you can create everything from simple dots and stripes to intricate patterns, all from the comfort of your home.
Choosing the Right Polish for Your Design
Not all nail polishes are created equal, especially when it comes to detailed artwork. The consistency, pigmentation, and drying time can significantly impact your results. Understanding the different types available will help you select the best medium for your creative vision.
Standard Nail Polish
This is the polish most of us have in our collections. It's versatile and can certainly be used for simple nail art like dots or colour blocking. However, its consistency might be too thin for complex designs, and it can take longer to dry, increasing the risk of smudging your intricate work. It's a great starting point, but for more advanced art, you may want to explore specialised options.
High-Pigment Polishes
Often referred to as stamping polishes, these lacquers are specifically formulated for nail art. They have a much higher concentration of pigment, meaning you get opaque coverage in a single, thin coat. Their thicker consistency prevents the polish from running, making them ideal for:
- Stamping techniques, where a design is transferred from a metal plate to the nail.
- Fine lines and details that need to stand out.
- One-stroke painting methods.
Liner or Striper Polishes
These are not a different type of formula, but rather a unique packaging. Liner polishes come in a bottle equipped with a very long, thin brush (a striper brush). This built-in tool is designed for drawing precise straight or curved lines, making it incredibly convenient for stripes, geometric patterns, and outlines without needing a separate brush.
Gel Polishes
For those who use a UV or LED lamp at home, gel polish is a fantastic option for nail art. Because it does not air-dry, you have unlimited time to perfect your design before curing it under the lamp. This allows for blending colours, creating detailed scenes, and correcting mistakes with ease. Once cured, it provides a durable, chip-resistant finish that protects your artwork.
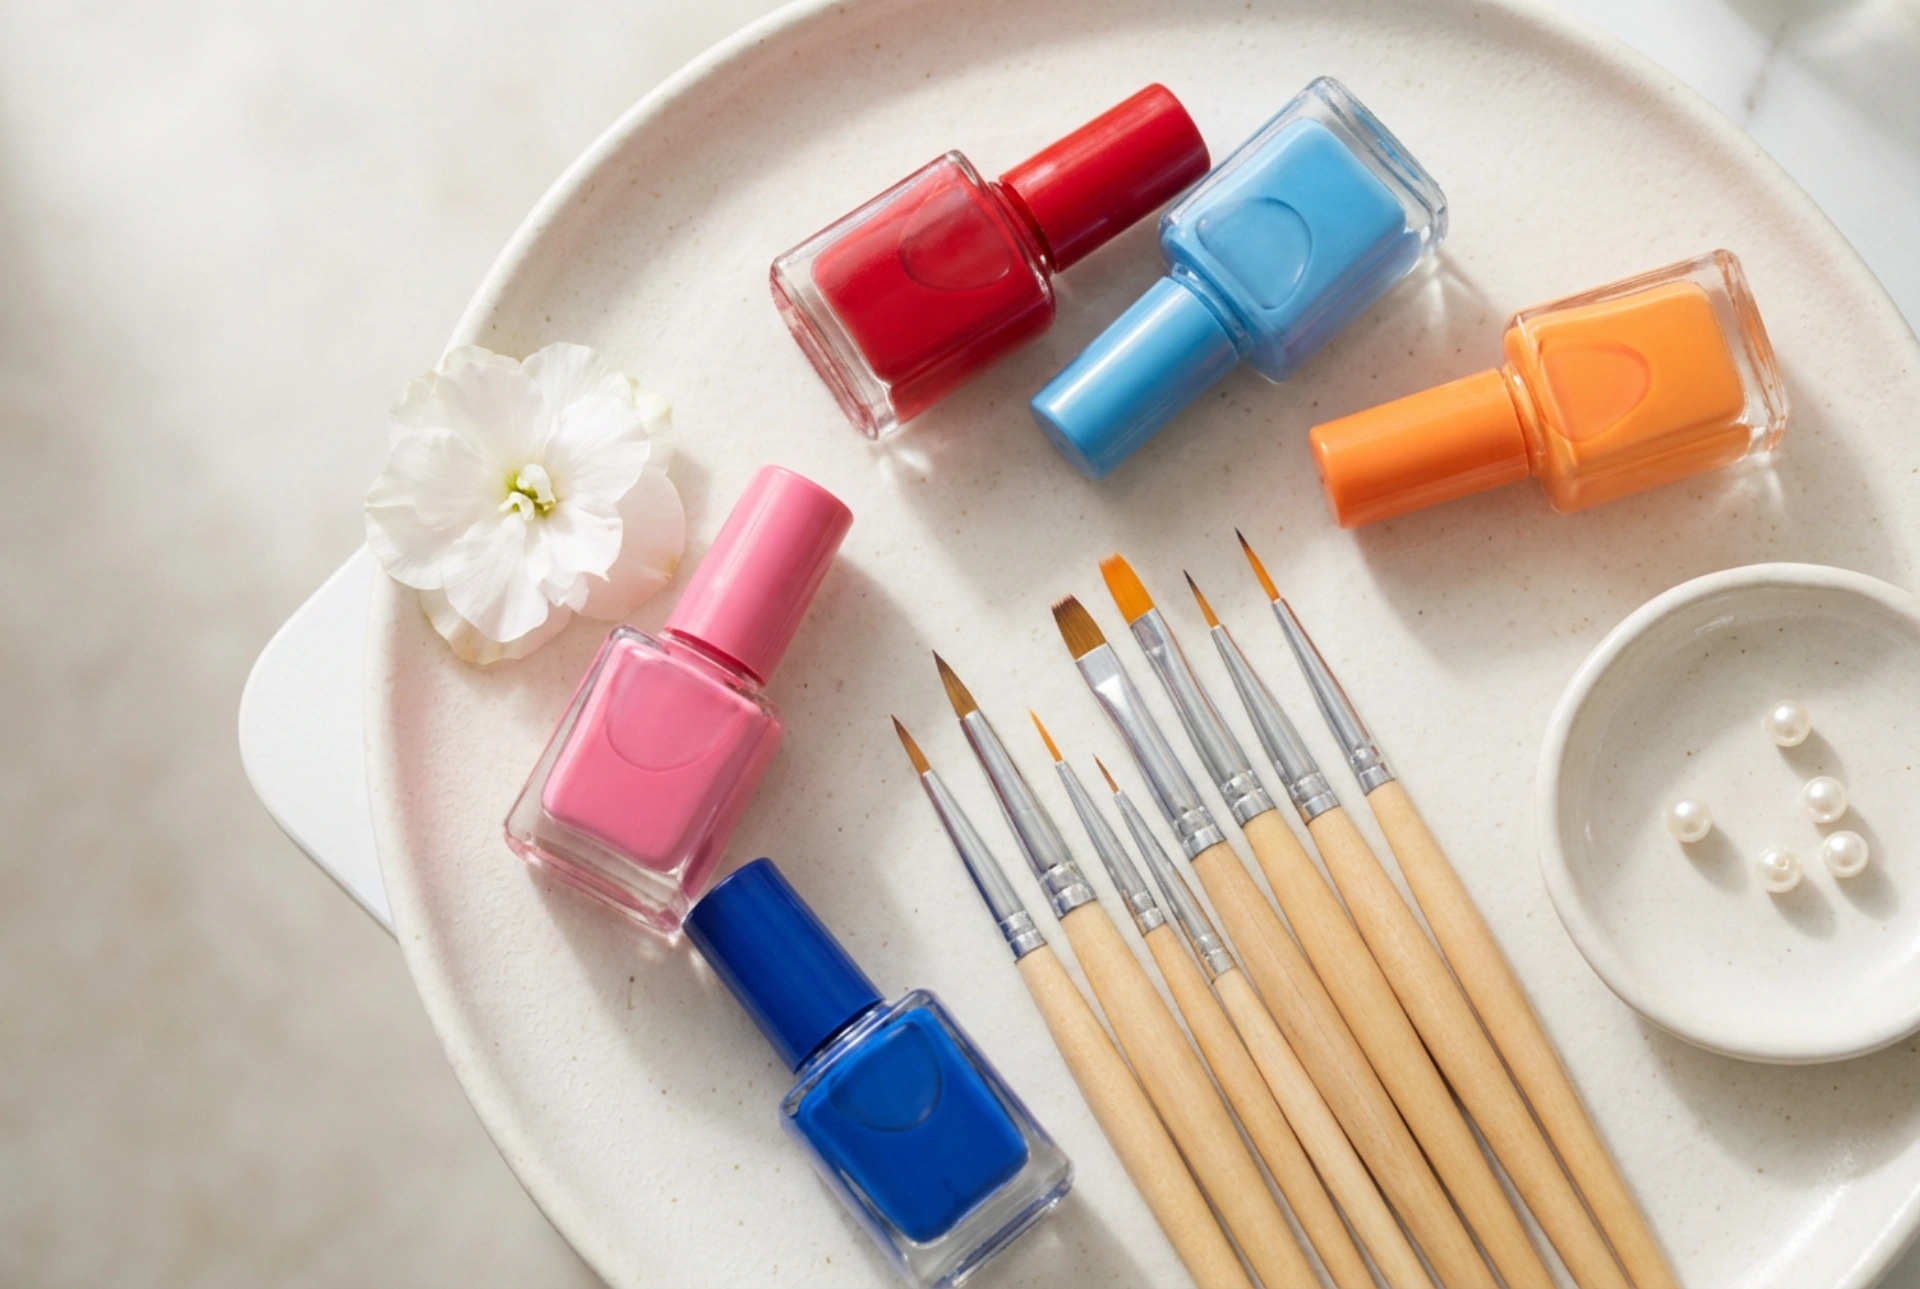
The Essential Toolkit: Nail Art Brushes and Tools
The right brush is like a magic wand for nail artists. Investing in a small set of specialised brushes will elevate your designs from amateur to artistic. Each brush has a specific purpose that makes creating certain effects much easier.
The Detailer Brush
This is perhaps the most crucial brush for intricate work. It has a very short, fine tip, giving you maximum control for painting tiny details, lettering, delicate flowers, and complex patterns. If you want to draw anything with precision, the detailer brush is your go-to tool.
The Striper Brush
As mentioned earlier, this brush is defined by its long, thin bristles. Its length helps to create fluid, continuous lines in a single stroke. It's perfect for long straight lines, French manicure tips, and sweeping curves. The key is to load it with enough polish and pull it gently across the nail.
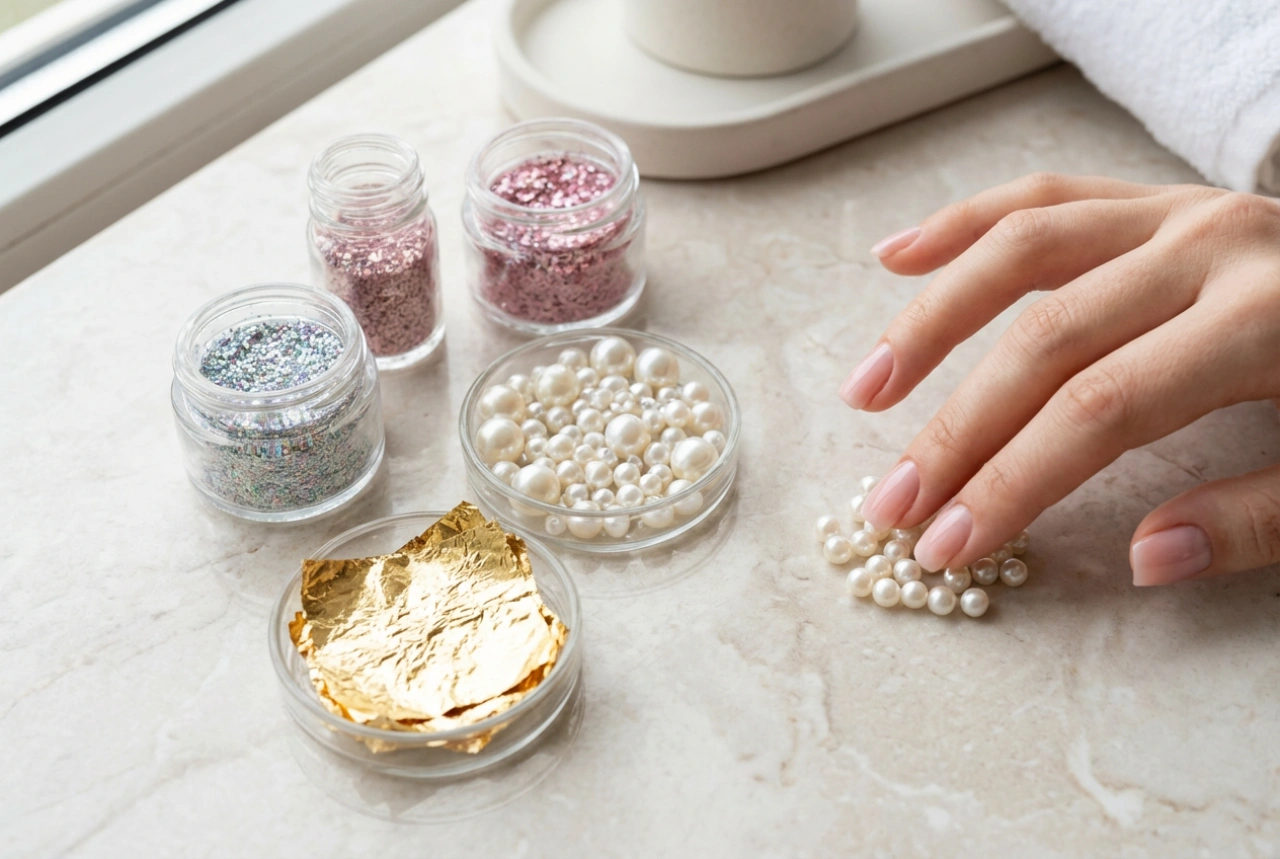
The Fan Brush
A fan brush has bristles splayed out in a fan shape. It's a multi-purpose tool used for several effects, including applying loose glitter, creating subtle gradient or ombre effects by blending colours, and painting wispy, abstract strokes.
Dotting Tools
While not technically a brush, a set of dotting tools is indispensable for beginners and experts alike. These tools typically have a small metal ball at each end, in various sizes. They are used to create perfectly uniform dots, which can be arranged to form flowers, mandalas, animal prints, and countless other patterns. Simply dip the tool in polish and press it onto the nail.
Fundamental Application Techniques
With your polishes and tools ready, it's time to learn some basic techniques. Patience and practice are your best friends in nail art. Start simple and build your skills over time.
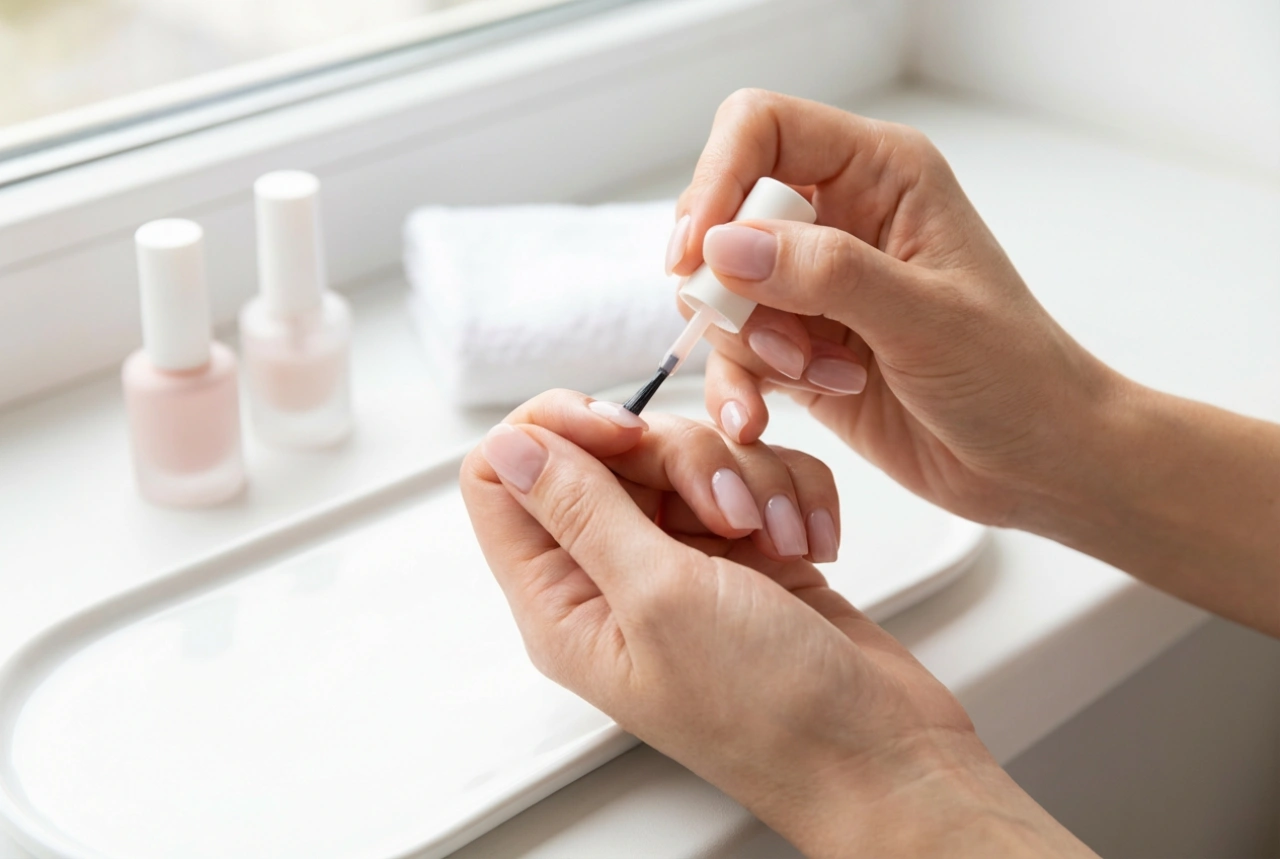
Prepare Your Canvas
A successful design starts with a good base. Ensure your nails are clean, filed, and free of any oils. Always apply a base coat to protect your natural nail and create a smooth surface for the polish to adhere to. Let your base colour dry completely before you begin any artwork.
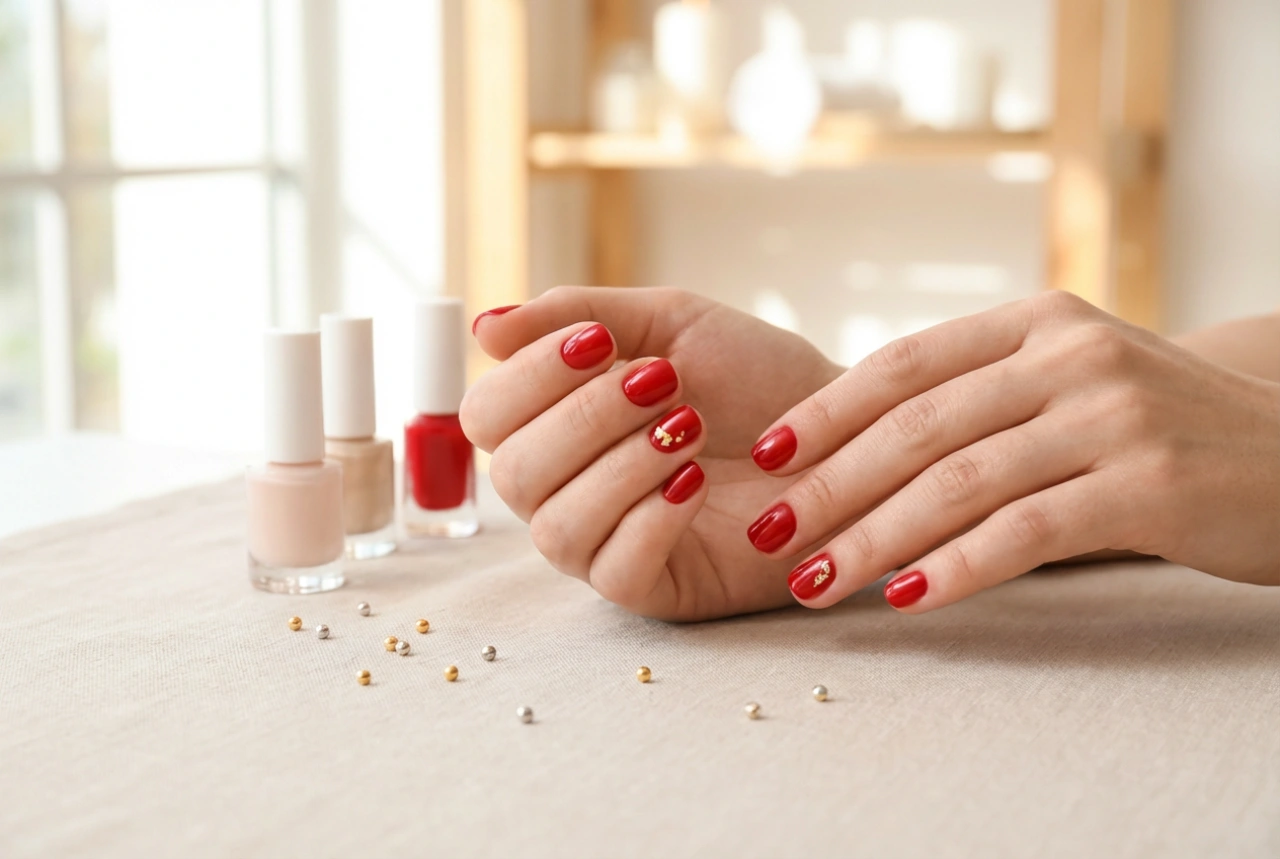
Mastering Lines and Dots
Start with the basics. Practice using a dotting tool to create dots of different sizes. Arrange them in lines, clusters, or flower shapes. Next, take a striper brush and practice making lines on a piece of paper first to get a feel for the pressure and speed required. A steady hand is developed through practice, so don't be discouraged by wobbly first attempts.
Blending Colours
Creating a gradient or ombre effect is easier than it looks. Apply two or more colours side-by-side on a non-porous surface (like a silicone mat or a piece of foil). Use a small, disposable makeup sponge to dab the colours, blending them slightly, and then press the sponge onto your nail. Repeat until you achieve the desired opacity. Clean up the skin around your nail with a brush dipped in nail polish remover.
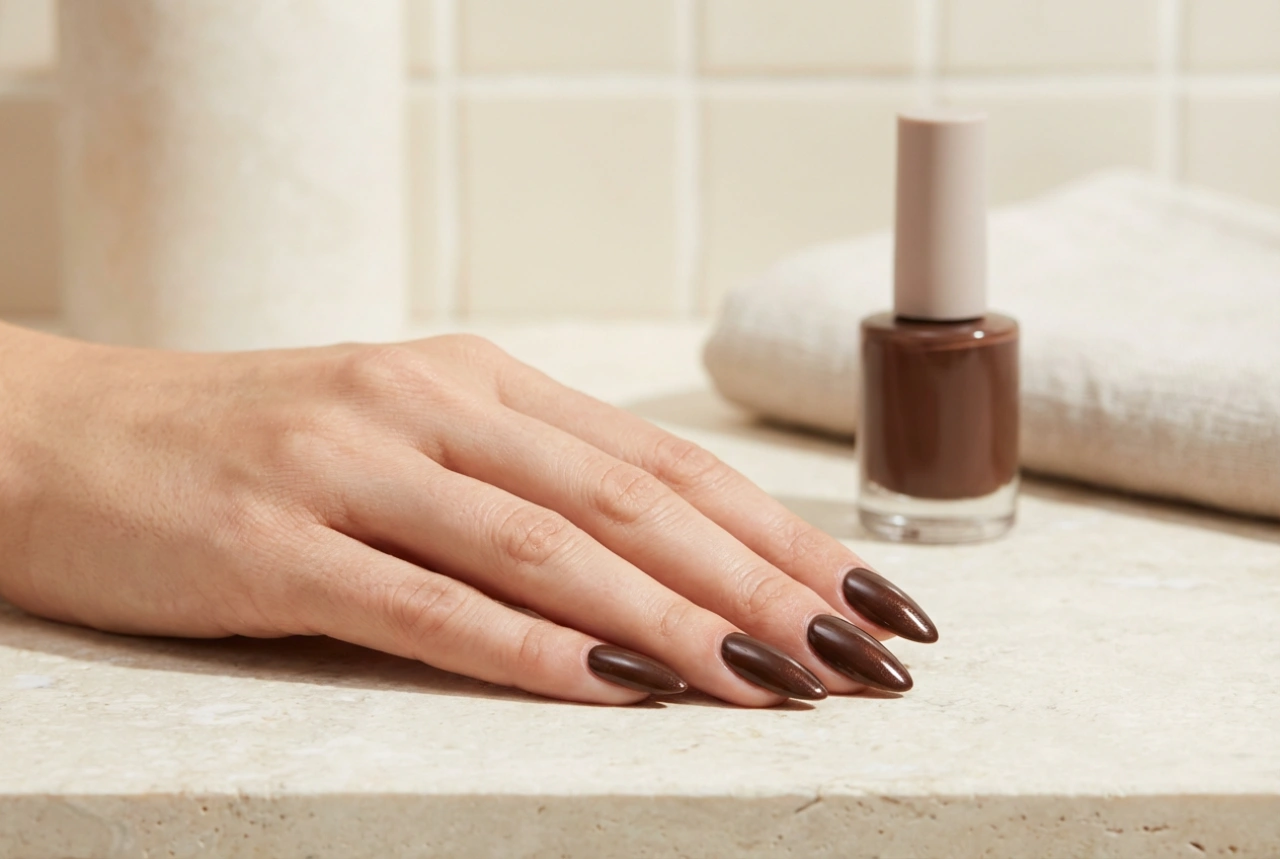
Seal Your Masterpiece
After you have finished your design and allowed it to dry thoroughly, the final step is to apply a high-quality top coat. This is non-negotiable. A top coat not only adds a beautiful shine but also seals and protects your artwork from chipping and fading, ensuring your creative efforts last as long as possible.