


Achieving well-defined eyebrows can significantly enhance your facial features, and waxing is a popular method for creating a clean, long-lasting shape. The precision tools, such as warm wax, strips, and tweezers, allow for meticulous grooming at home. While the process may seem intricate, understanding the fundamentals of preparation, application, and aftercare can lead to excellent results. This guide breaks down the steps to help you perform eyebrow waxing safely and effectively for a polished, professional-looking finish.
Essential Preparation for Flawless Results
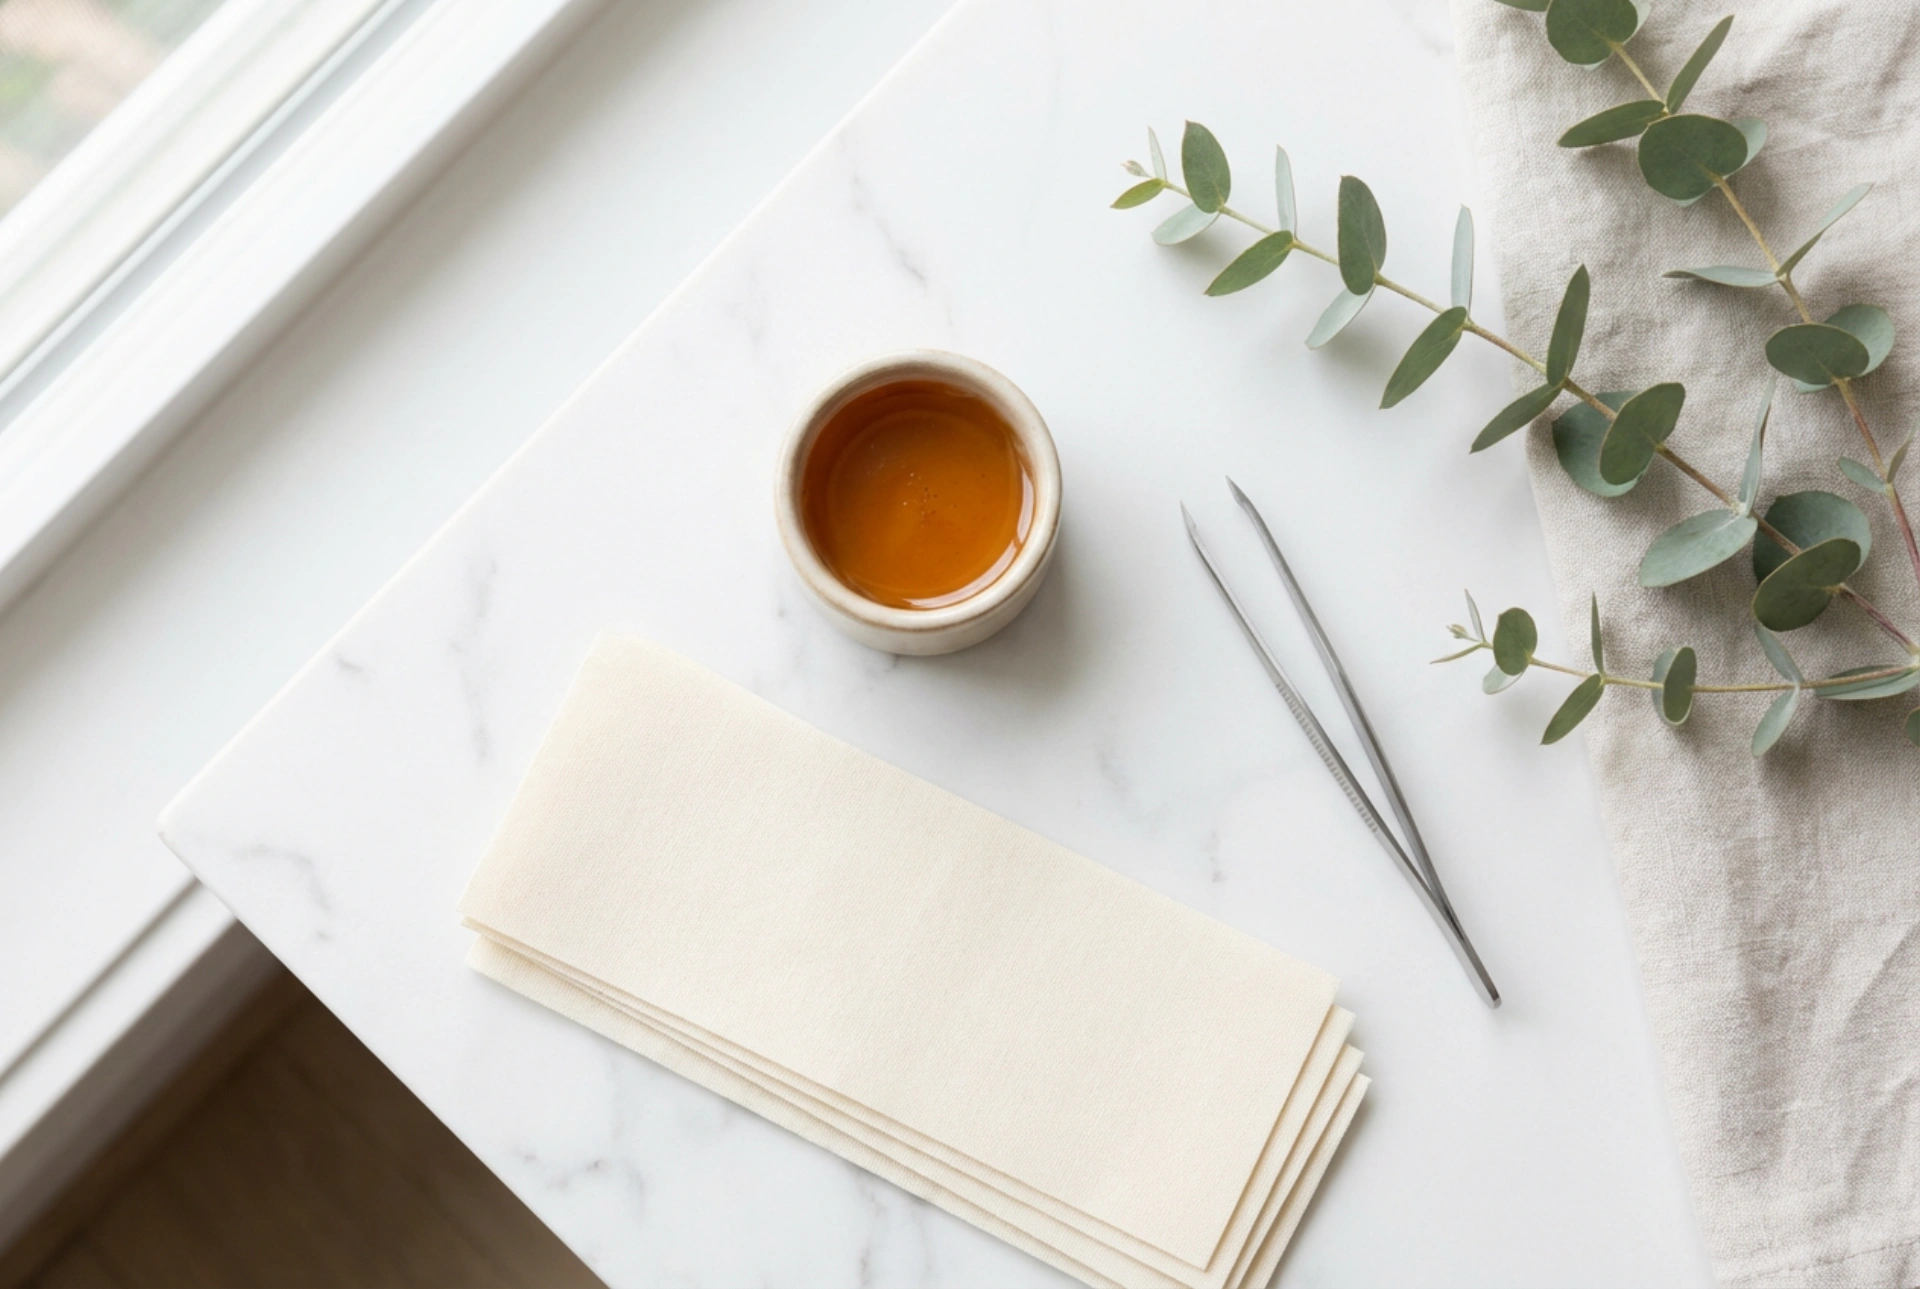
Proper preparation is the cornerstone of successful eyebrow waxing. It not only ensures better results but also helps protect your skin. Before you even touch the wax, take the time to prepare your brows and the surrounding skin. Start by cleansing the area thoroughly with a gentle, oil-free cleanser to remove any makeup, dirt, or natural oils. Pat the skin completely dry. Oily or damp skin can prevent the wax from adhering properly to the hair. Next, lightly dust the area with a pre-wax powder or cornflour. This absorbs any residual moisture and creates a protective barrier between the wax and your skin, which can reduce discomfort.
Mapping Your Ideal Eyebrow Shape
Before applying wax, it is crucial to define the shape you want. This prevents the removal of too much hair. Use an eyebrow pencil to mark the key points of your brow:
- Start: Hold a pencil vertically from the side of your nostril upwards. Where it meets your brow is where it should begin.
- Arch: Look straight ahead and angle the pencil from your nostril through your pupil. The point where it intersects your brow is the ideal location for your arch.
- End: Angle the pencil from your nostril to the outer corner of your eye. Where it touches the brow line is where your eyebrow should end.
The Waxing Process: A Step-by-Step Guide
With your brows prepped and mapped, you are ready to begin waxing. Always use wax specifically designed for facial use, as it is gentler on delicate skin. Heat the wax according to the manufacturer's instructions until it reaches a honey-like consistency. It's critically important to test the temperature on your inner wrist before applying it to your face to prevent burns. The wax should be warm, not uncomfortably hot.
Application and Removal Technique
Using a small applicator, apply a thin, even layer of wax to a small section of hair you want to remove. Always apply the wax in the direction of hair growth. Work in small, manageable sections rather than trying to do the entire brow at once. Immediately place a waxing strip over the wax, pressing down firmly and smoothing it in the direction of hair growth a few times to ensure it adheres well. Hold the skin taut with one hand, and with the other, grip the end of the strip. In one quick, fluid motion, pull the strip off in the opposite direction of hair growth. Pulling parallel and close to the skin, rather than upwards, is more effective and less painful. Continue this process in small sections until you have removed all unwanted hair outside your mapped shape.
Post-Waxing Care and Soothing the Skin
After waxing, your skin will likely be a little red and sensitive. Proper aftercare is essential to calm the skin and prevent irritation. Immediately after removing the final strip, press down on the waxed area with your fingertips for a few seconds to help alleviate the stinging sensation. Most waxing kits come with a post-wax oil or wipe to remove any sticky residue. If not, a small amount of natural oil (like jojoba or almond oil) on a cotton pad will work. Avoid using water-based products to remove wax residue. To soothe redness and calm the skin, apply a cool compress or a gentle, alcohol-free soothing lotion containing ingredients like aloe vera or chamomile. For the next 24 hours, it's best to avoid:
- Applying makeup, perfumed products, or heavy creams to the area.
- Exposing the skin to direct sunlight, saunas, or steam rooms.
- Touching or rubbing the area excessively.
Quick Fixes and Maintaining Your Shape
Even with careful application, you might find a few stray hairs left behind. It is important not to re-wax the same area during a single session, as this can damage the skin. Instead, use a clean pair of precision tweezers to pluck any remaining individual hairs. This allows for fine-tuning the shape without causing further irritation. Between waxing sessions, you can maintain the clean lines of your brows by tweezing any regrowth as it appears. This helps extend the time between full waxing treatments. Remember that consistency and a gentle touch are key to maintaining beautiful, healthy eyebrows.


