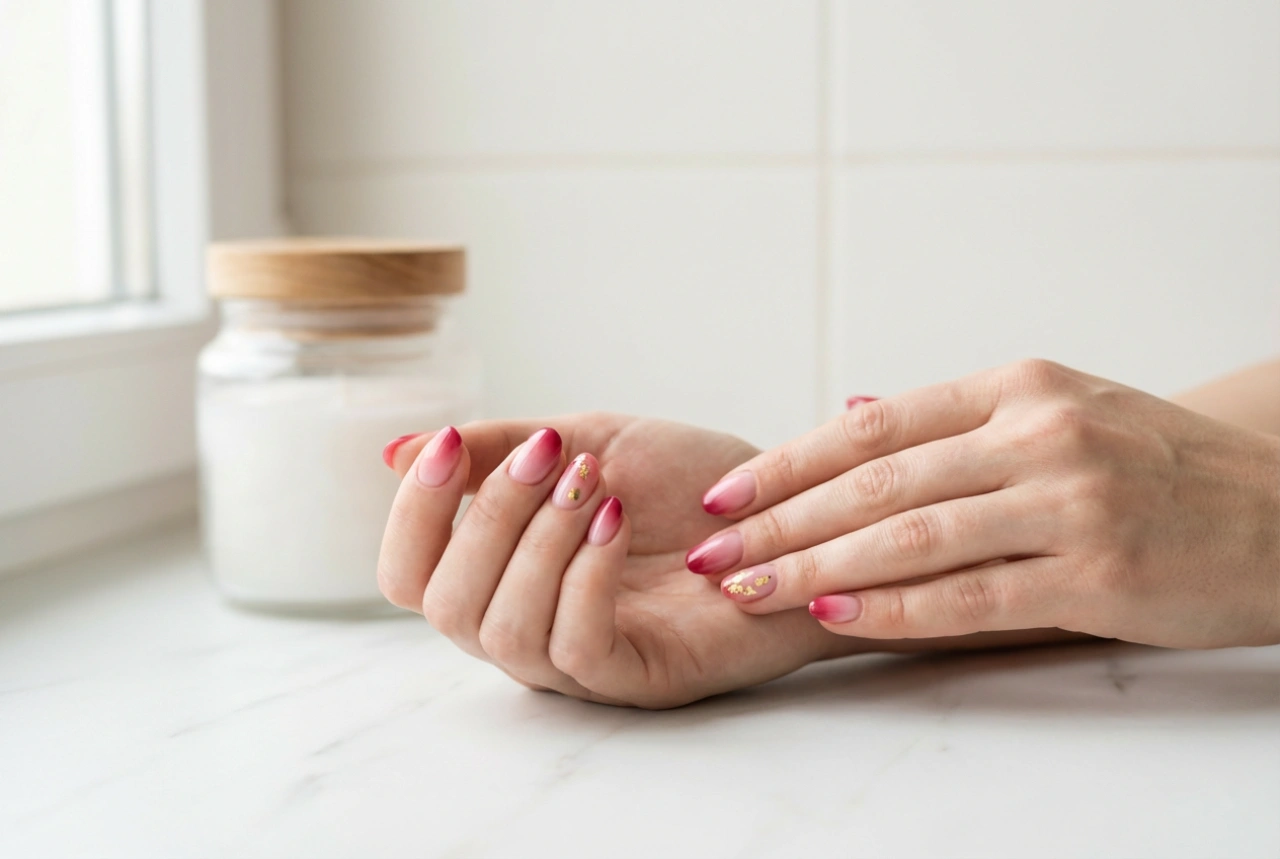


A beautifully executed manicure is a hallmark of a polished and refined look. The right combination of colours can transform your hands, turning them into a subtle yet powerful accessory. The pairing of pristine white and shimmering gold is a timeless choice that speaks of sophistication and elegance, perfect for anyone wanting to add a touch of luxury to their style. This guide will help you achieve this classic look at home, ensuring a result that is both stunning and personal.
The Timeless Appeal of White and Gold
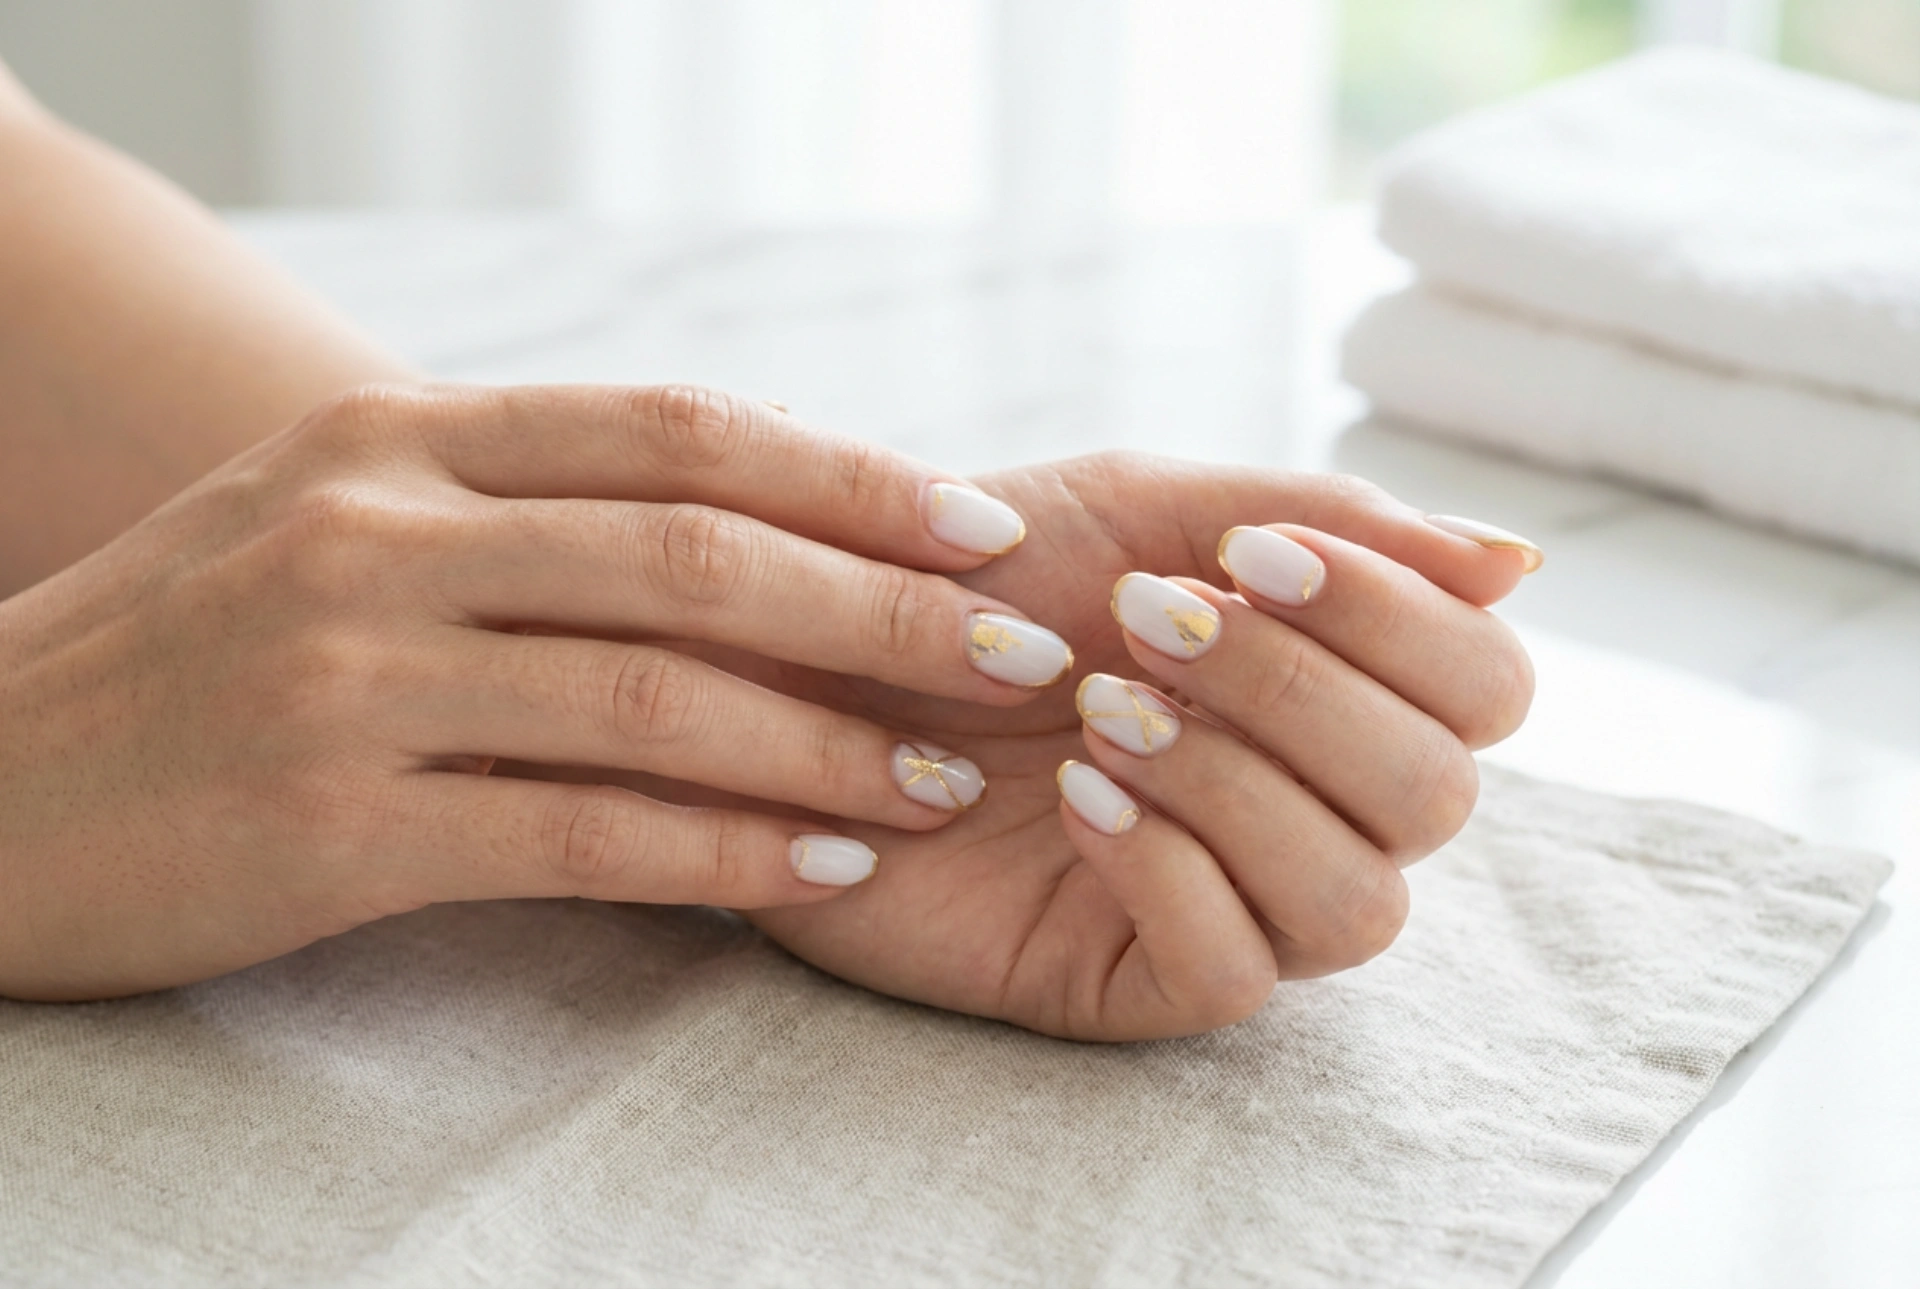
The combination of white and gold has long been associated with luxury and purity. In nail art, this pairing is incredibly versatile. It can be adapted for a wedding, a festive holiday, a formal event, or simply as an elevated everyday look. White provides a clean, crisp canvas that makes the gold accents pop, creating a design that is both eye-catching and tasteful. It’s a colour scheme that flatters all skin tones and complements a wide range of personal styles, from minimalist to glamorous.
Essential Preparation for a Flawless Manicure
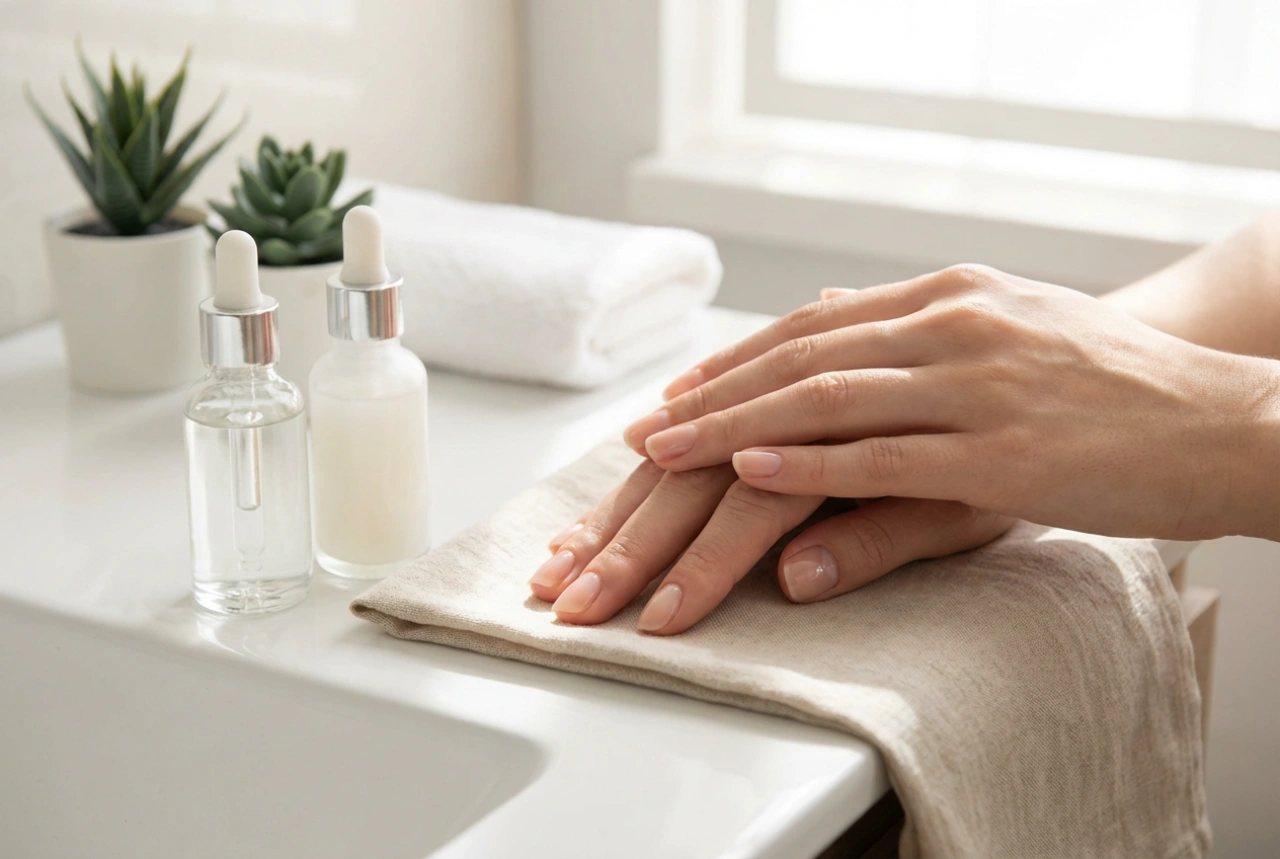
The secret to a professional-looking manicure is in the preparation. Before you even open a bottle of polish, taking the time to properly prepare your nails will ensure a smoother application and a longer-lasting result.
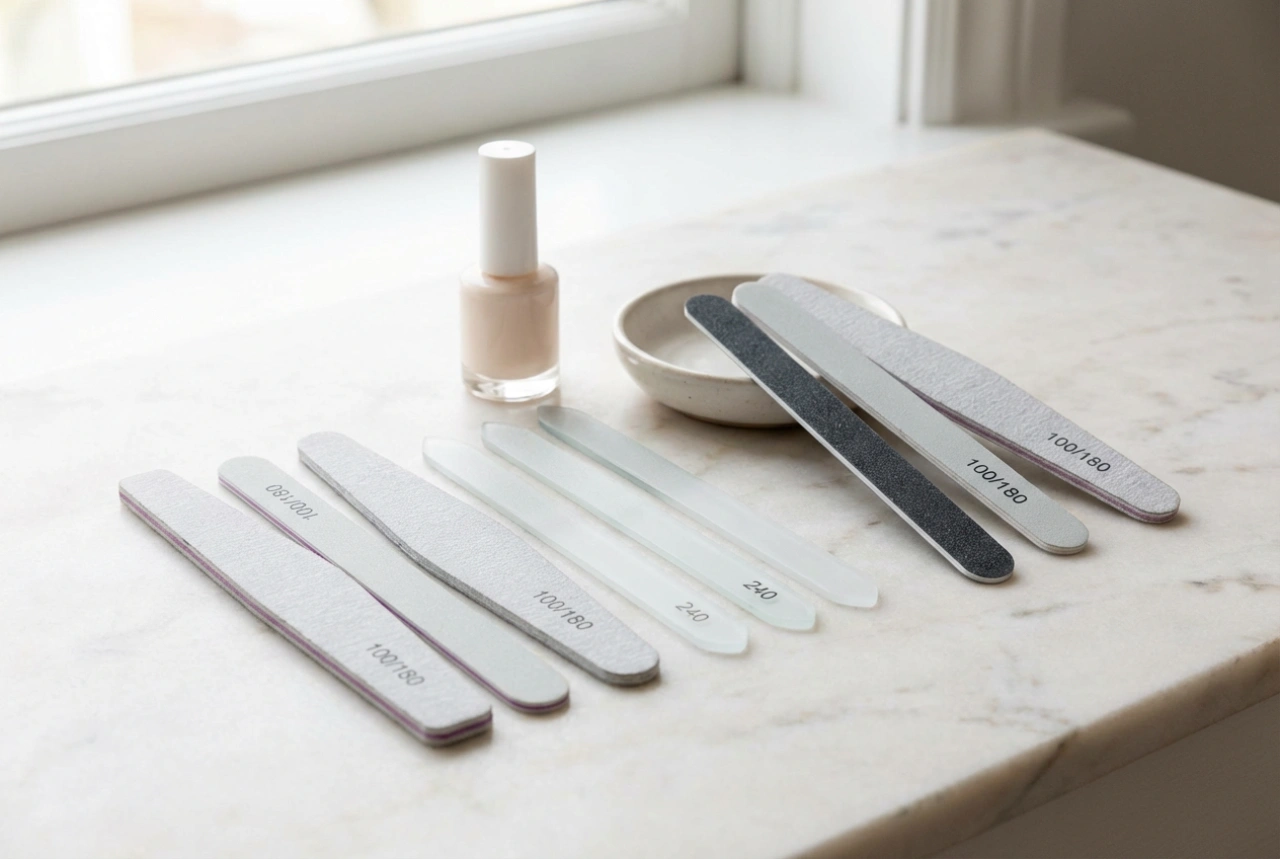
Gather Your Supplies
Ensure you have everything you need before you start. A basic kit should include:
- Nail file and buffer block
- Cuticle pusher
- A quality base coat
- An opaque white nail polish
- A gold nail polish (this could be a metallic, fine glitter, or chrome effect)
- A fine-detail art brush or a dotting tool for precision work
- A fast-drying, high-gloss top coat
- Nail polish remover and a small brush for clean-up
The Prep-Work Process
Follow these steps for the perfect canvas:
- Start by removing any old polish completely.
- File your nails into your desired shape, whether it's square, oval, or almond. File in one direction to prevent splitting.
- Gently buff the surface of your nails to smooth any ridges. This helps the polish adhere better.
- Soften your cuticles by soaking your fingertips in warm water for a few minutes, then gently push them back with a cuticle pusher.
- Finally, wipe each nail with a cotton pad soaked in nail polish remover to eliminate any oils or dust.
Creating the Look: A Step-by-Step Tutorial
With your nails prepped, you're ready for the creative part. Patience is key, so allow ample drying time between each step.
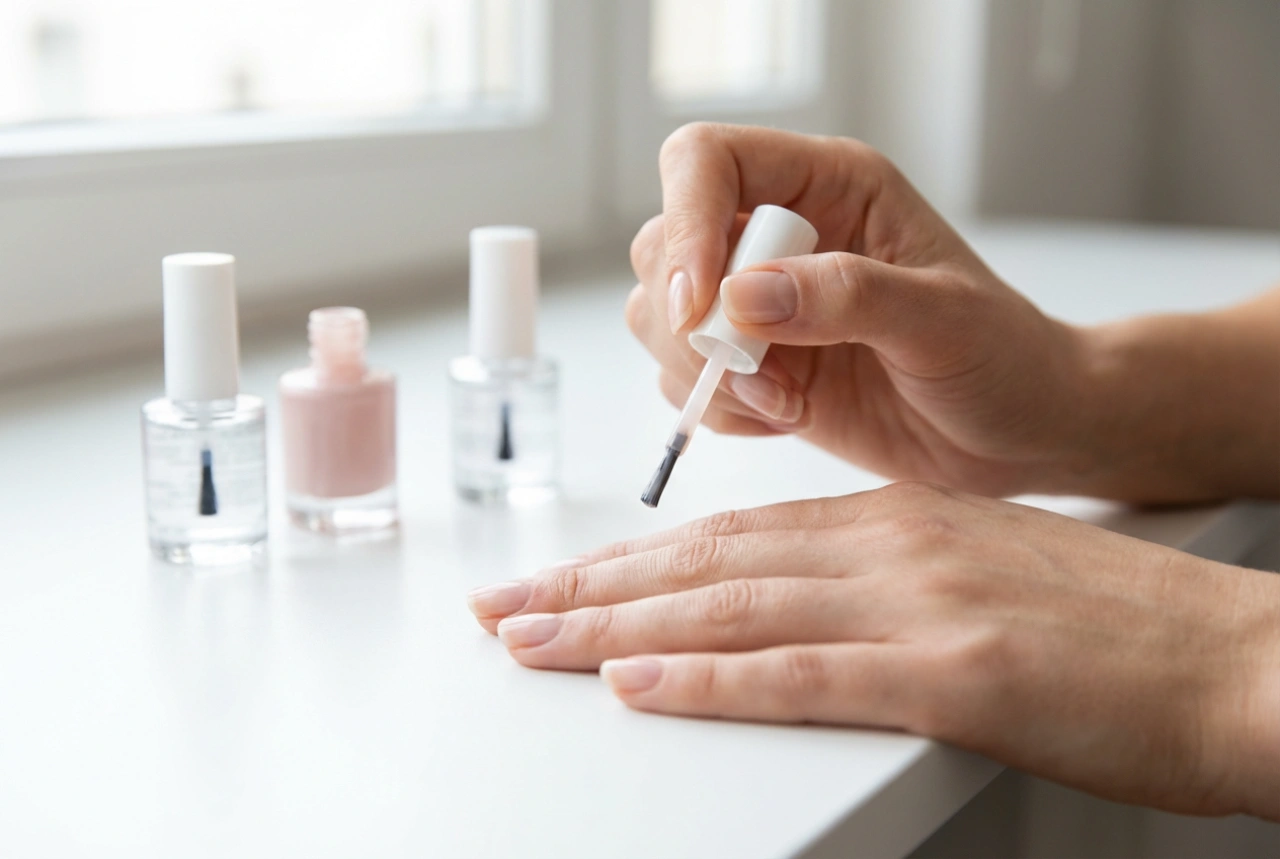
- Step 1: Apply the Base Coat. Never skip this step. A good base coat protects your natural nails from staining and provides a tacky surface for the colour to grip onto, extending the life of your manicure.
- Step 2: Build the White Base. Apply a thin, even coat of your white nail polish. Let it dry for at least two minutes, then apply a second coat to achieve full, opaque coverage. Ensure the second coat is completely dry before moving on.
- Step 3: Introduce the Gold Accents. This is where you can let your creativity shine. Using your detail brush or dotting tool, add the gold elements. You could paint a thin line at the tip for a modern French manicure, add small dots at the base of the nail, or create delicate geometric shapes.
- Step 4: Tidy Up Any Mistakes. Dip a small, clean brush (an old lip brush works well) into nail polish remover and carefully trace around your cuticles to clean up any stray polish for a sharp, professional finish.
- Step 5: Seal the Design. Once your gold accents are dry to the touch, apply a generous layer of a high-gloss top coat. This will seal in your design, add brilliant shine, and protect your manicure from chipping. Be sure to 'cap' the free edge of your nail by running the brush along the tip.
Inspiration for White and Gold Nail Designs
Need some ideas? Here are a few elegant designs to try:
- Minimalist Chic: A simple, thin vertical or horizontal gold line on an all-white nail.
- The Modern French: Instead of a white tip, paint the tip of the nail with a fine line of metallic gold.
- Subtle Sparkle: Paint all nails white, then use a sponge to dab a small amount of gold glitter at the base of the nail, creating a gentle fade effect.
- The Accent Nail: A classic for a reason. Paint one nail on each hand (typically the ring finger) completely in gold, while the rest remain crisp white.
Tips for a Long-Lasting Manicure
To keep your beautiful creation looking fresh for as long as possible, follow a few simple maintenance tips. Reapply a thin layer of top coat every two to three days to restore shine and add protection. Wear gloves when doing household chores, especially washing dishes. Lastly, keep your hands and cuticles moisturised with a quality hand cream and cuticle oil daily.