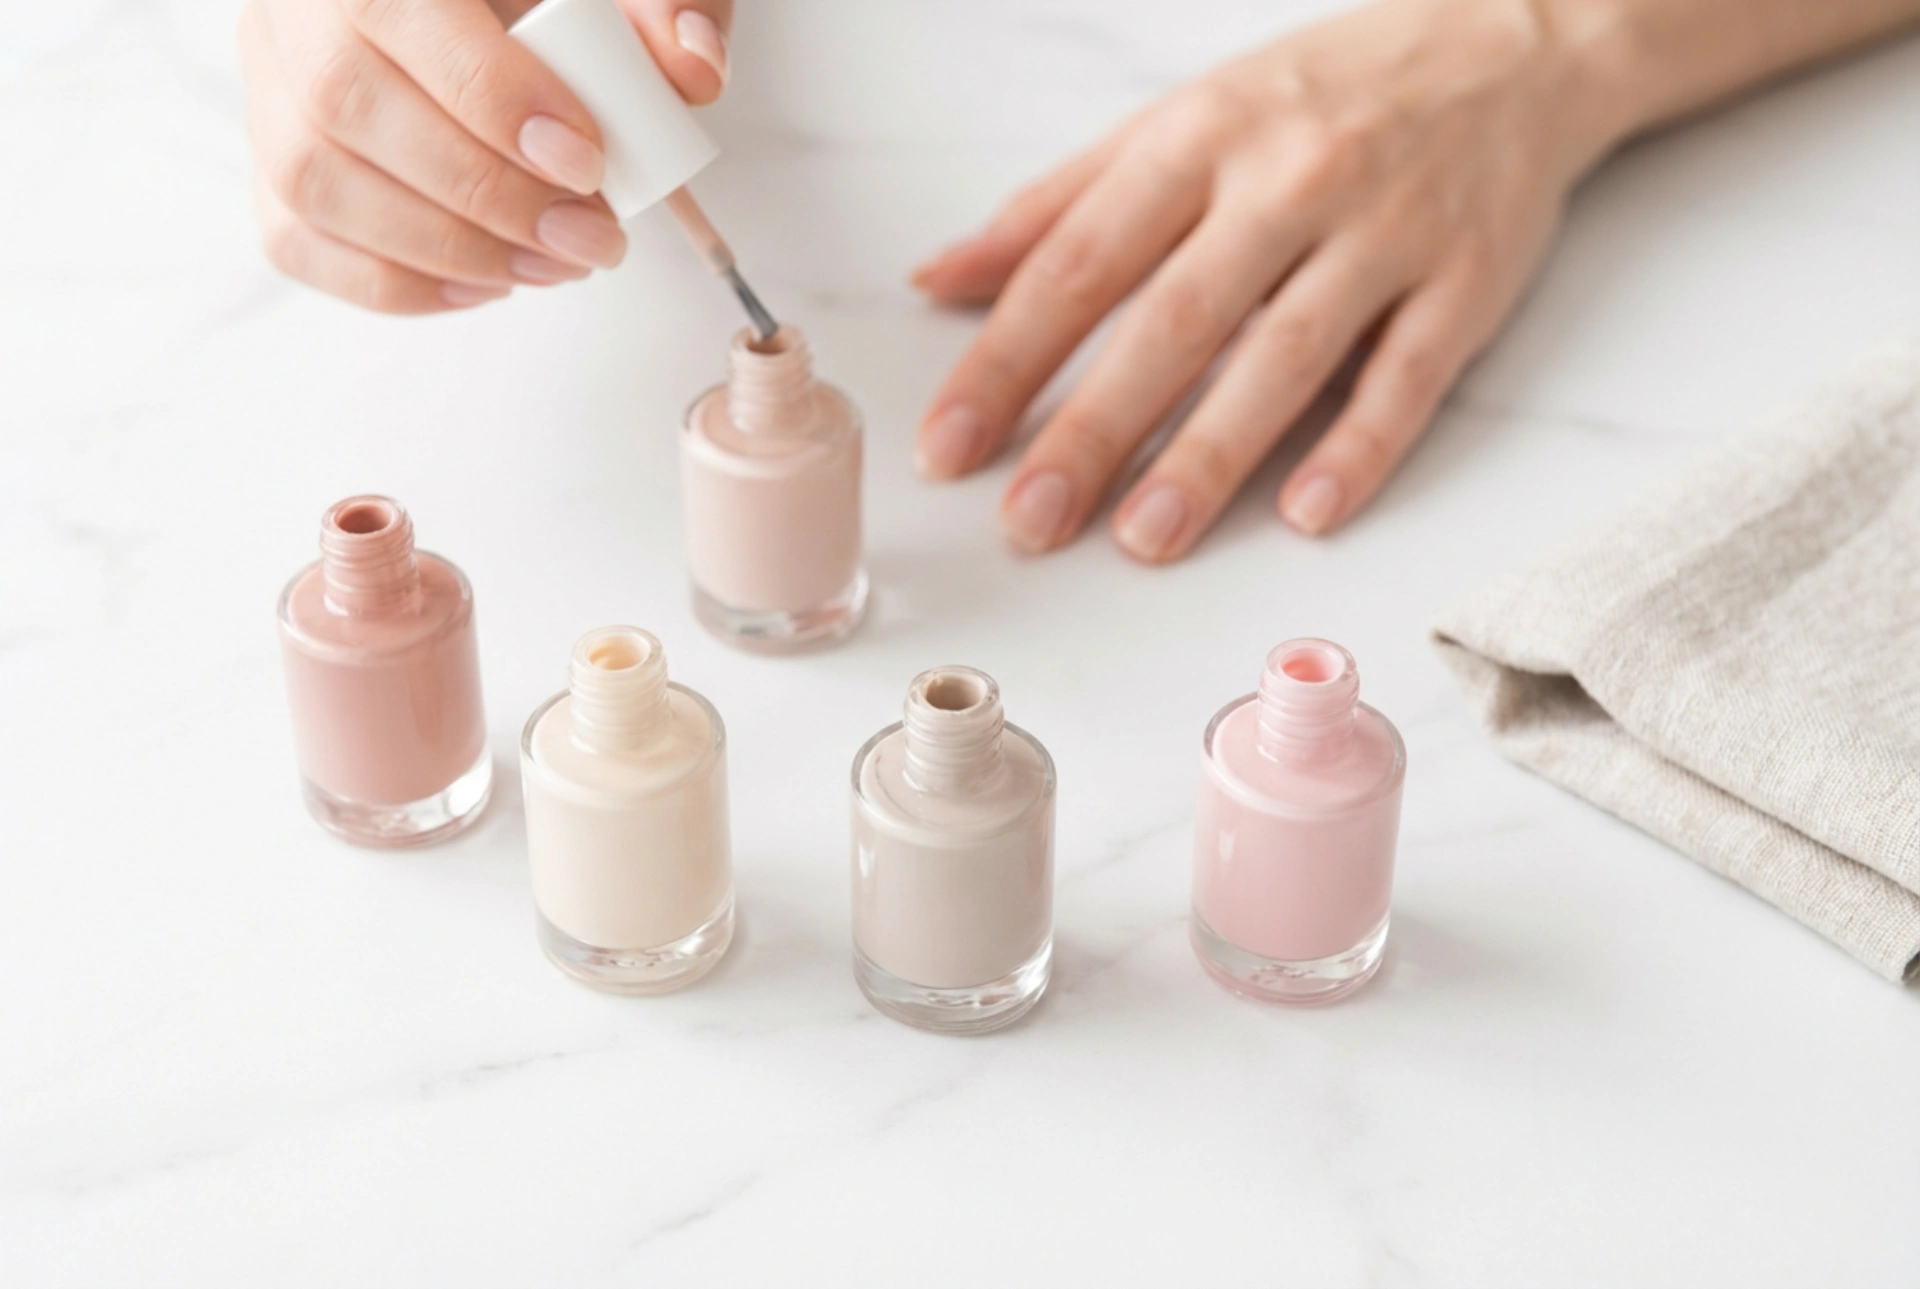


A fresh coat of nail polish is more than just a splash of colour; it's a statement of style, a form of self-expression, and a relaxing ritual of personal care. The sight of elegant bottles and the process of painting your nails can be a mindful moment in a busy week. Achieving a flawless, long-lasting manicure at home is entirely possible with the right knowledge and techniques. This guide will walk you through everything you need to know, from selecting a quality polish to mastering the art of application.
What Defines a Quality Nail Polish?
The perfect manicure begins with the right product. While colour is a personal choice, certain technical qualities separate an excellent nail polish from a mediocre one. Understanding these can significantly improve your results.
The Formula and Consistency
A good nail polish should have a smooth, self-levelling consistency. It should not be too thick, which can lead to clumps and a long drying time, nor too thin and watery, which results in sheer, streaky coats. The ideal formula glides onto the nail effortlessly, providing even coverage. Pigmentation is also key; a high-quality polish will offer rich, opaque colour in one to two coats.
The Application Brush
The brush is your primary tool, and its design matters immensely. Many modern polishes feature a wide, flat, and slightly rounded brush. This shape adapts to the curve of the cuticle, allowing for a clean, precise application with fewer strokes. A good brush picks up the right amount of product and spreads it evenly without leaving bristles or creating streaks.
Longevity and Durability
One of the main goals of a manicure is for it to last. A superior nail polish is formulated to be chip-resistant and durable. It should adhere well to the nail plate (especially when used with a base coat) and withstand the minor impacts of daily life. The finish, whether glossy, matte, or satin, should also remain consistent for several days without dulling.
The Foundation: Preparing Your Nails
Proper preparation is the secret to a professional-looking and long-lasting manicure. Skipping these steps can lead to chipping, peeling, and a less polished appearance. Always work on clean, dry nails.
Step 1: Clean and Shape
Start by removing any old polish completely. Next, file your nails to your desired shape. It's best to file in one direction to prevent splitting. Gently push your cuticles back with an orangewood stick or a rubber-tipped cuticle pusher. Avoid cutting cuticles, as they serve as a natural barrier to protect the nail bed. Finally, cleanse the nail surface with a lint-free wipe and a bit of rubbing alcohol or a specialised nail cleanser to remove any oils and residue that could prevent the polish from adhering properly.
Step 2: Buff and Prime
Lightly buff the surface of your nails with a soft buffer block. This creates a slightly textured surface for the polish to grip onto, but be gentle to avoid thinning the nail. The most crucial priming step is applying a base coat. A good base coat protects your nails from staining, fills in ridges for a smoother surface, and acts as a double-sided tape, gripping both your natural nail and the colour polish for extended wear.
Step-by-Step Application Technique
With your nails prepped, you are ready for the colour. The key to a perfect application is patience and using thin, even coats.
The Three-Stroke Method
Dip the brush into the bottle and wipe one side clean on the inner neck. You should have a small bead of polish on the other side. Place the brush in the centre of your nail, slightly away from the cuticle. Push the brush gently towards the cuticle, leaving a tiny gap. Then, pull the brush straight down to the tip of the nail. Return to the base of the nail and sweep the brush down the left side, and then do the same for the right side. This three-stroke method provides full, even coverage.
Apply Thin Coats
Apply your first coat of colour as thinly as possible. It might look a little sheer or streaky, which is perfectly normal. Resist the urge to go back over it or apply a thick layer. A thick coat will take much longer to dry and is more prone to smudging and bubbling. Let the first coat dry for at least two minutes before proceeding.
The Second Coat and Top Coat
Apply a second thin coat of polish using the same technique. This will build up the opacity and create a rich, uniform colour. After waiting another few minutes, finish your manicure with a layer of high-quality top coat. A top coat is non-negotiable; it seals the colour, provides a high-gloss shine, protects against chipping, and can help speed up the overall drying process.
Tips for Making Your Manicure Last
A little extra care can significantly extend the life of your at-home manicure.
- Cap the Free Edge: After applying each layer (base, colour, and top coat), swipe the brush horizontally along the tip of your nail. This seals the edge and helps prevent chipping that often starts at the tips.
- Allow Proper Drying Time: Even if your nails feel dry to the touch after 15-20 minutes, the polish underneath is still curing. It can take several hours for polish to harden completely. Be mindful of your hands during this time to avoid dents and smudges.
- Hydrate and Protect: Once your nails are fully dry, apply cuticle oil daily. This nourishes the cuticles and the surrounding skin, keeping your manicure looking fresh. When doing household chores, wear gloves to protect your nails from water and harsh cleaning agents. You can also reapply a thin layer of top coat every two to three days to restore shine and add an extra layer of protection.


