


Achieving perfectly shaped and evenly coloured eyebrows can significantly enhance your facial features. Gel henna for brows offers a fantastic way to create definition and depth that lasts longer than traditional brow pencils or powders. Unlike more fluid formulas, the gel consistency provides superior control, allowing for precise application and beautifully uniform results. Mastering the technique at home is straightforward when you follow the right steps, from preparation to aftercare.
Preparing Your Brows and Skin for Gel Henna
Proper preparation is the foundation of a flawless henna application. A clean, smooth canvas ensures the henna adheres evenly to both the skin and brow hairs, resulting in a polished and long-lasting finish. Start by thoroughly cleansing your face, paying special attention to the brow area to remove any makeup, oils, or skincare residues. Use a gentle, oil-free cleanser for this step.
Next, lightly exfoliate the skin under and around your eyebrows. This removes dead skin cells that could cause a patchy or uneven result. You can use a soft-bristled brow brush or a gentle facial scrub. After exfoliating, ensure the area is completely dry. To protect the surrounding skin from accidental staining, apply a thin layer of a barrier cream or a thick moisturiser around the desired brow shape, being careful not to get any on the hairs or skin you intend to tint.
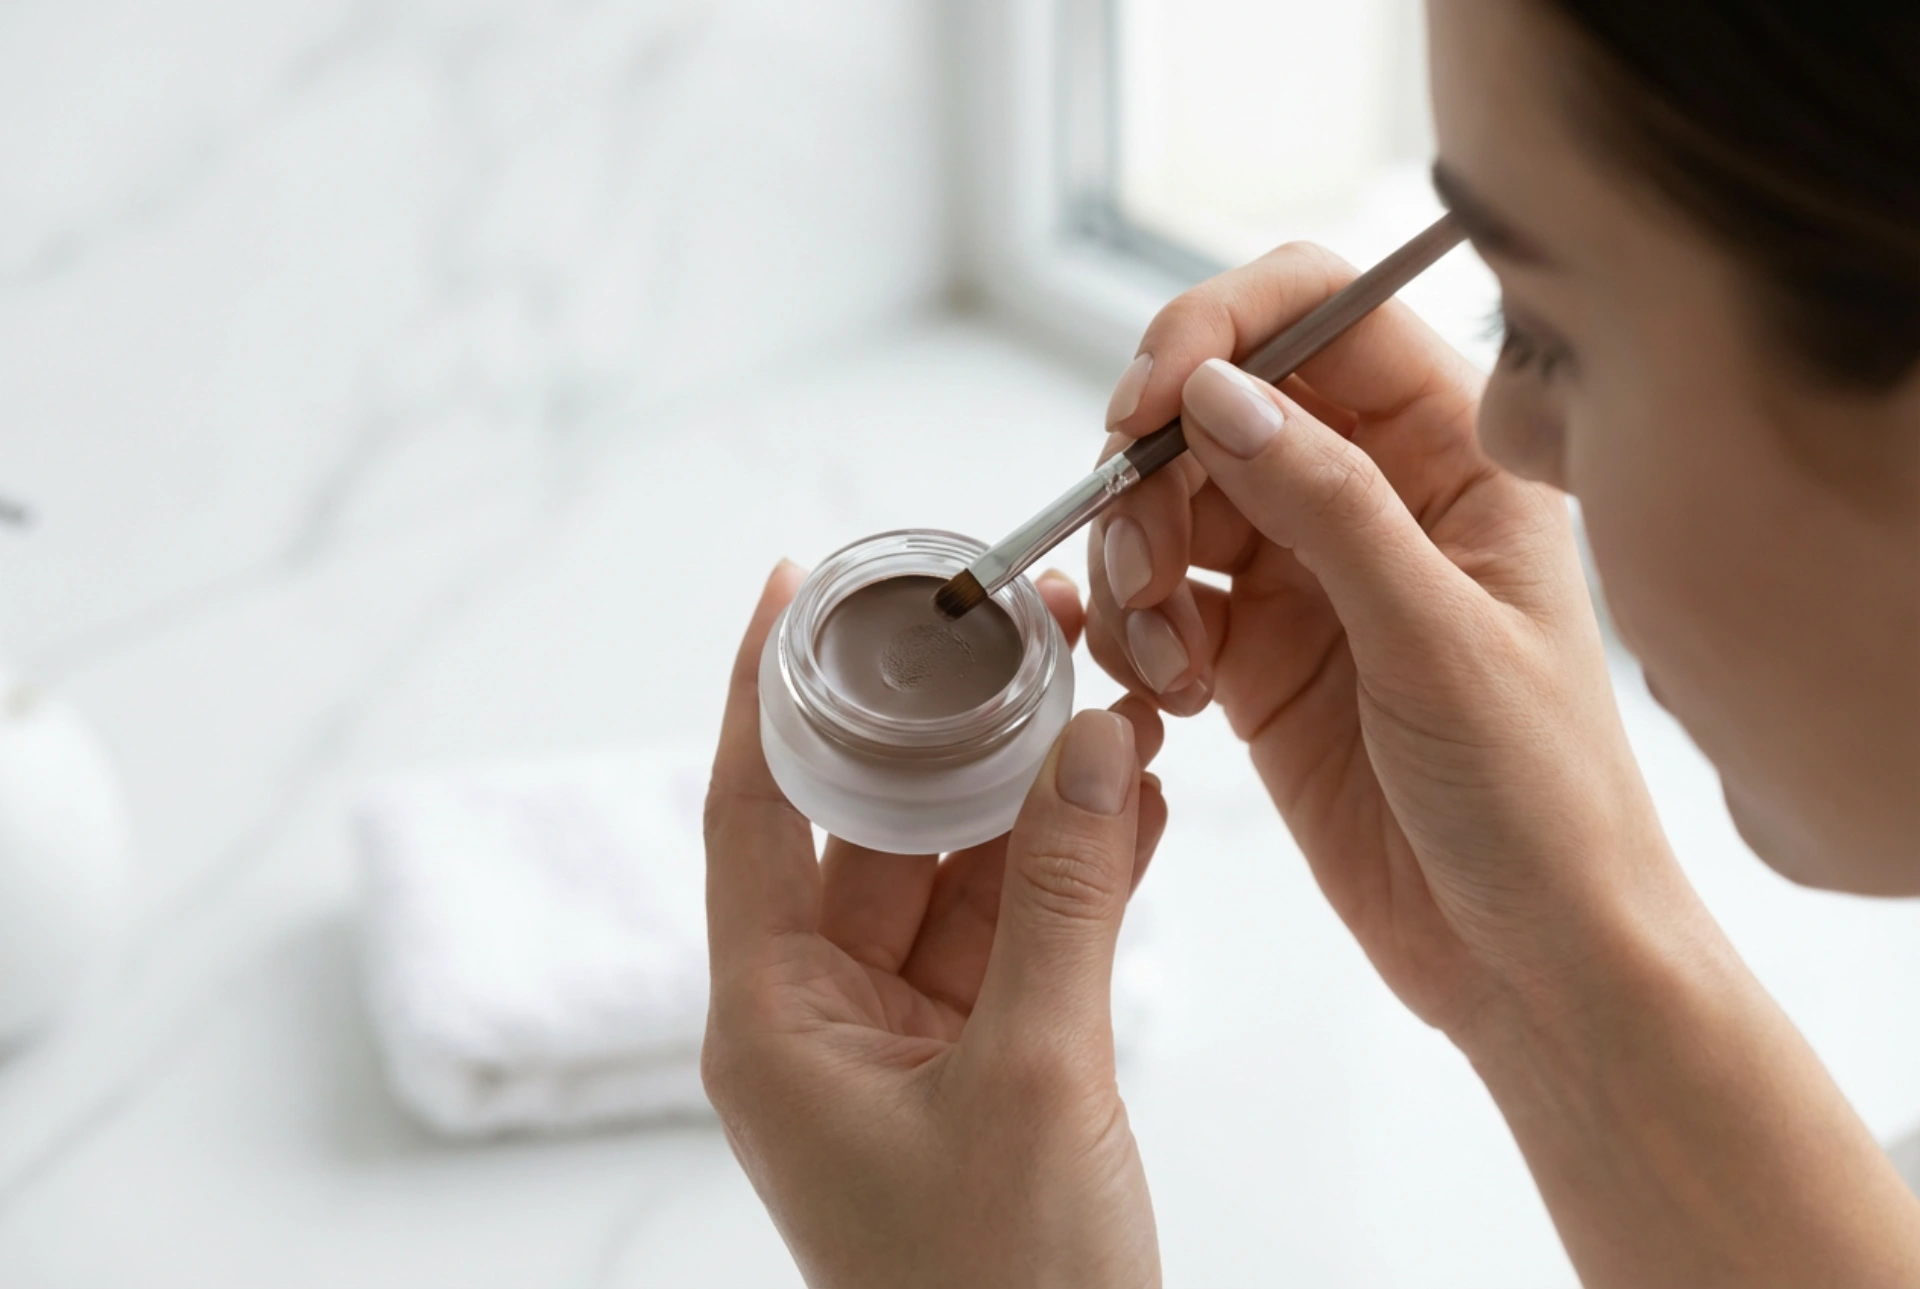
The Art of Mixing and Applying Gel Henna
The consistency of your henna mixture is crucial for control and coverage. Gel henna kits typically come with a colourant gel and an activator. Following the product's instructions, mix the required amounts in a small, non-metallic dish until you achieve a smooth, homogenous paste. The ideal consistency should be thick enough not to drip but fluid enough to spread easily with a brush. Let the mixture sit for a minute as instructed to allow the colour to develop.
Step-by-Step Application Technique
Using a fine, angled brush gives you the precision needed to create clean lines. Follow these steps for a professional-looking application:
- Outline the Shape: Begin by using the brush to carefully outline the bottom line of your brow, from the start to the tail. This line will act as your guide and create a sharp, defined look.
- Fill the Tail: The tail of the brow is typically the darkest and most defined part. Start by filling in the tail and the arch, applying the gel henna evenly and generously to ensure full saturation of the hairs and skin.
- Work Towards the Front: Gradually work your way towards the front of the brow. Apply the product more sparingly at the head of the brow to create a softer, more natural-looking gradient effect. This prevents the


