


Achieving salon-quality long nails at home is an art form, and builder gel is the artist's essential medium. As seen in pristine displays of clear gels and precise tools, the secret to a flawless and durable manicure lies in understanding the products you use. Choosing the right builder gel, particularly its consistency, is the first and most crucial step towards creating elegant and strong nail extensions with tips. This guide will walk you through selecting the ideal gel and mastering the application technique for a perfect finish.
Understanding Builder Gel Consistency
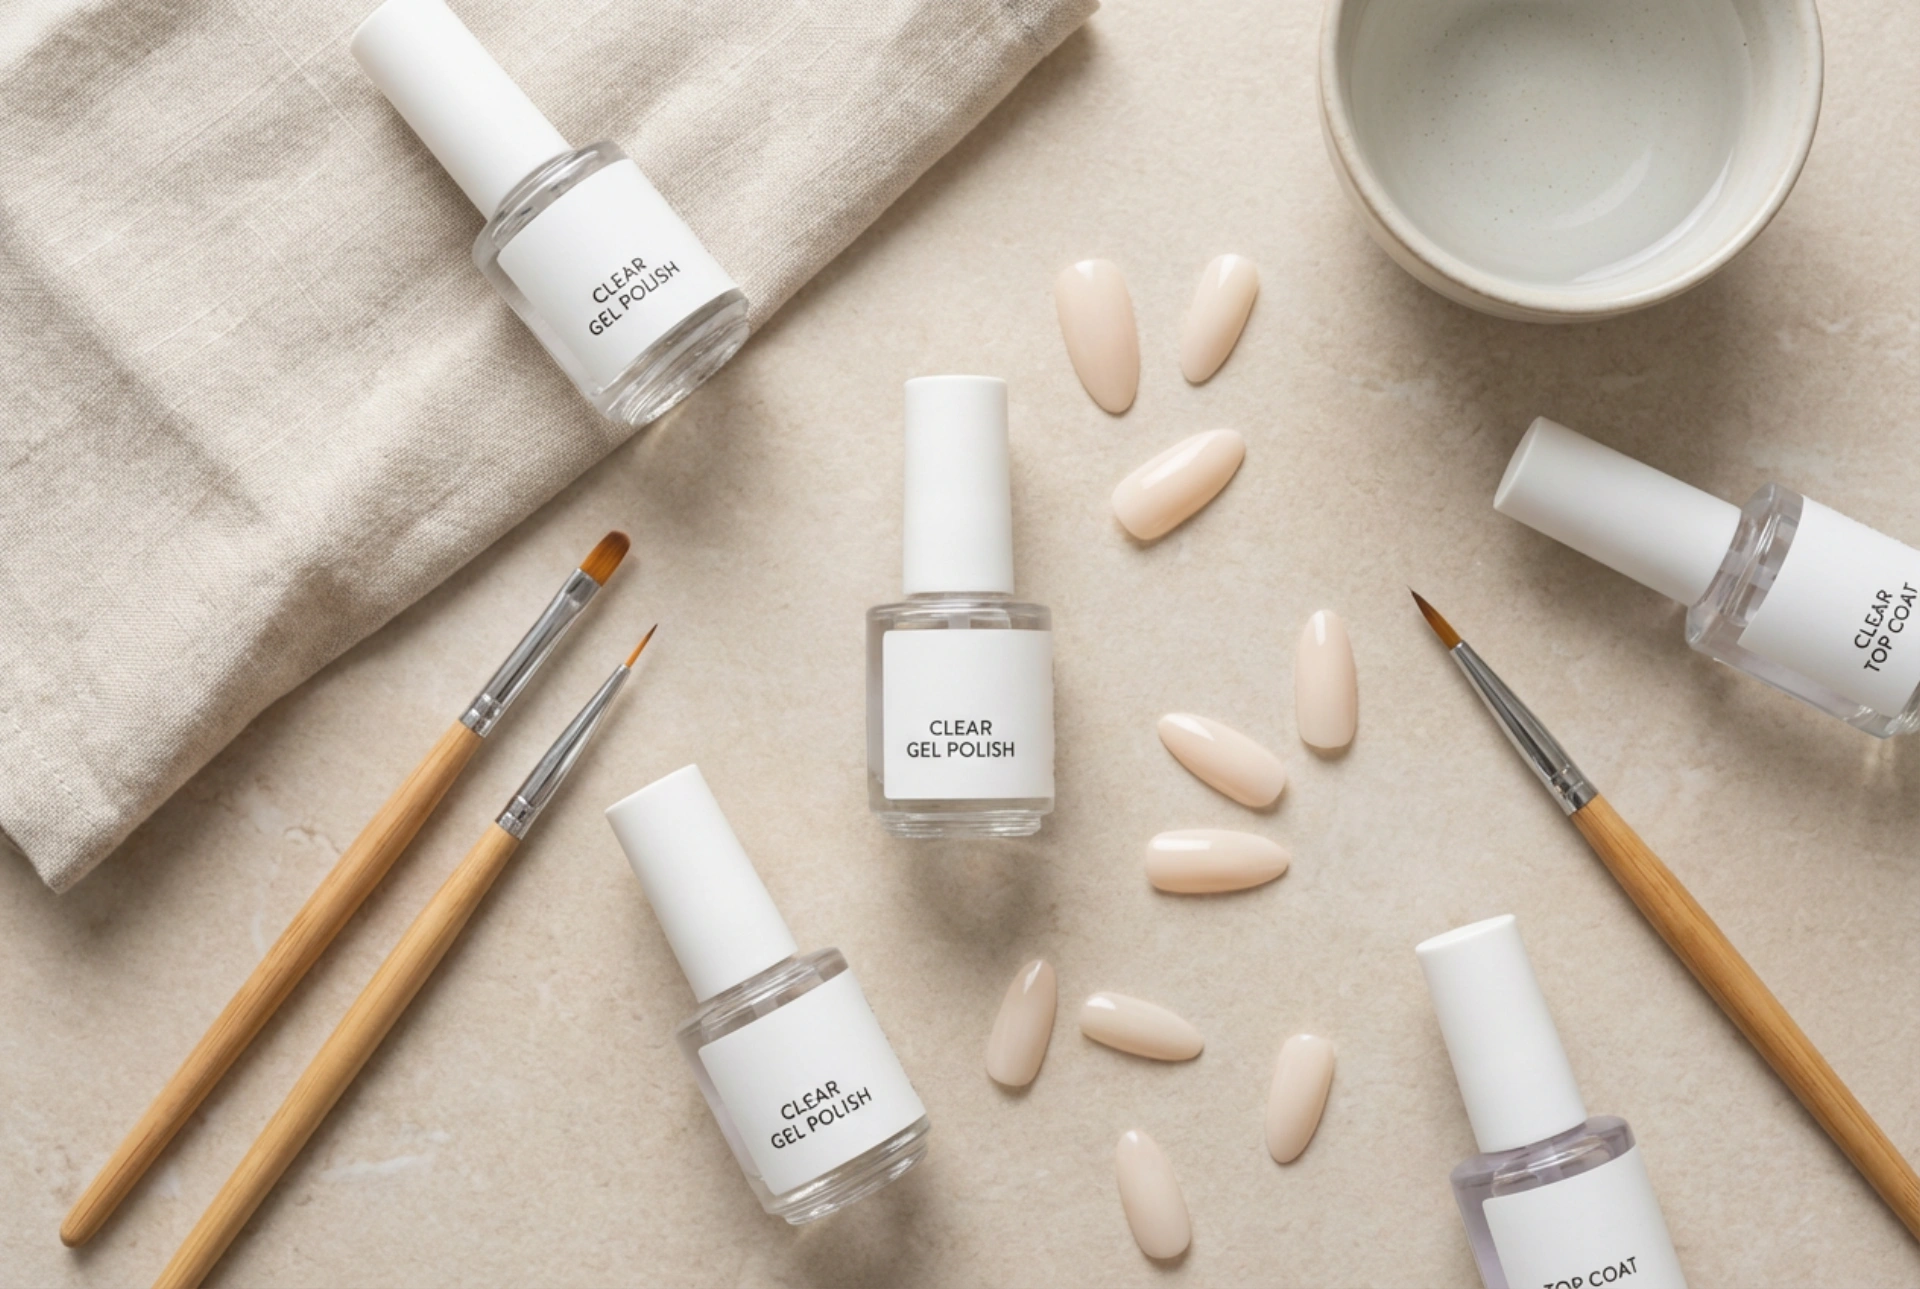
Builder gel is a type of viscous gel used to create length, thickness, and strength on the natural nail or over a nail tip. Its unique quality is its ability to be sculpted and shaped before being cured under a UV or LED lamp. The consistency of the gel—ranging from thin to very thick—determines its behaviour and is a key factor in the application process.
Thin Consistency Gels
Often referred to as runny or low-viscosity gels, these products have a fluid texture similar to a thick base coat. They are typically self-levelling, meaning they spread out evenly on their own, creating a smooth surface with minimal effort. They are excellent for creating a thin overlay on natural nails or for very short extensions. However, their runny nature means they can easily flood the cuticle area if not applied quickly and carefully, making control a challenge for beginners.
Medium Consistency Gels
This is the most popular and versatile choice, offering a perfect balance between control and self-levelling properties. A medium-viscosity gel is thick enough that it won't immediately run into the cuticles, giving you more time to work and shape the nail. It still self-levels beautifully, reducing the amount of filing needed after curing. This consistency is ideal for most users, from intermediate to advanced, and is suitable for creating extensions of short to medium length.
Thick Consistency Gels
Also known as high-viscosity or thixotropic gels, these are very thick, almost jelly-like products. They stay exactly where you place them, offering maximum control for sculpting and building structure. Thixotropic gels have a unique property: they become slightly more fluid when agitated with a brush but remain firm once you stop working them. This makes them the best choice for creating long, dramatic nail shapes (like stilettos or coffins) and for building a strong, pronounced apex (the highest point of the extension, which provides strength). They require more skill to apply smoothly and typically necessitate more filing to perfect the shape.
How to Choose the Right Gel for Your Needs
The best gel for you depends on two main factors: your experience level and the nail look you want to achieve.
Consider Your Skill Level
If you are new to nail extensions, starting with a medium-consistency, self-levelling gel is highly recommended. It is the most forgiving option, providing enough working time while also helping you achieve a smooth surface naturally. As you become more confident in controlling the product and understanding nail structure, you can experiment with thicker gels to build more complex shapes.
Factor in the Desired Nail Length and Shape
The length and shape of your desired extensions dictate the strength required. For short, natural-looking extensions, a medium-consistency gel provides sufficient durability. For long and sculpted extensions, a thick-consistency gel is non-negotiable. It is essential for building a proper apex, which absorbs pressure and prevents the nail from bending or breaking at the stress point.
Step-by-Step Guide to Applying Gel with Tips
Proper technique is just as important as the right product. Follow these steps for a durable and beautiful set of gel extensions.
- Step 1: Nail Preparation. Gently push back and trim your cuticles. Lightly buff the surface of your natural nail with a fine-grit buffer to remove shine. Cleanse the nail with an alcohol-based solution to remove dust and oils. Apply a thin layer of a nail primer or bonder specifically designed for gel systems and let it air dry.
- Step 2: Apply the Nail Tips. Select the correct size of nail tip for each finger, ensuring it fits from sidewall to sidewall without pressure. Apply a small amount of nail glue to the well of the tip and press it onto the free edge of your natural nail, holding it firmly for a few seconds. Trim and file the tip to your desired length and shape. Gently blend the seam where the tip meets the natural nail.
- Step 3: Apply the Base. Brush a thin layer of a dedicated gel base coat over the entire nail surface, including the tip. This creates a foundation for the builder gel to adhere to. Cure under your UV/LED lamp according to the product's instructions.
- Step 4: The Slip Layer. Apply a very thin, even layer of your chosen builder gel over the entire nail. This is called the 'slip layer'. Do not cure it. This layer helps the next bead of gel to flow and spread more easily.
- Step 5: Build the Structure. Scoop a small bead of builder gel and place it in the centre of the nail, in the area where you want to build the apex. Gently guide the gel with your brush, 'floating' it over the slip layer to cover the nail and build the desired structure. Turn the hand upside down for a few seconds to allow gravity to help pull the gel towards the centre, perfecting the apex.
- Step 6: Cure the Nail. Once you are happy with the shape, cure the nail fully under your UV/LED lamp. The curing time will vary depending on the gel's thickness and your lamp's power, so always follow the manufacturer's directions.
- Step 7: Refine the Shape. After curing, the nail will have a sticky (inhibition) layer. Wipe this off with a lint-free wipe and isopropyl alcohol. Now, file the nail to perfect its shape, smoothing the surface and refining the sidewalls and free edge. Buff the entire surface for a perfectly smooth finish.
- Step 8: Apply Top Coat. Cleanse the nail one last time to remove all dust, then apply a layer of gel top coat for high shine and protection. Cure for the final time.
Common Mistakes to Avoid
To ensure your manicure lasts, be mindful of these common errors. Flooding the cuticles with gel will almost certainly cause lifting, so work neatly and clean up any mistakes before curing. Forgetting to build a sufficient apex will result in weak nails that are prone to breaking. Always ensure proper curing times, as under-cured gel can lead to service breakdown and sensitivities. Finally, never skip the crucial nail preparation steps, as this is the foundation for a long-lasting manicure.


