


Often associated with bold retro looks, the hair crimper is a surprisingly versatile tool that can solve two common hair challenges: lack of volume at the roots and flat, uninteresting texture along the lengths. When used with modern techniques, it can create an illusion of fullness and add subtle, touchable texture, resulting in an effortlessly styled and radiant appearance. Moving beyond its classic application, the crimper can become your secret weapon for achieving lasting lift and sophisticated detail in your daily hairstyles.
Preparing Your Hair for Crimping
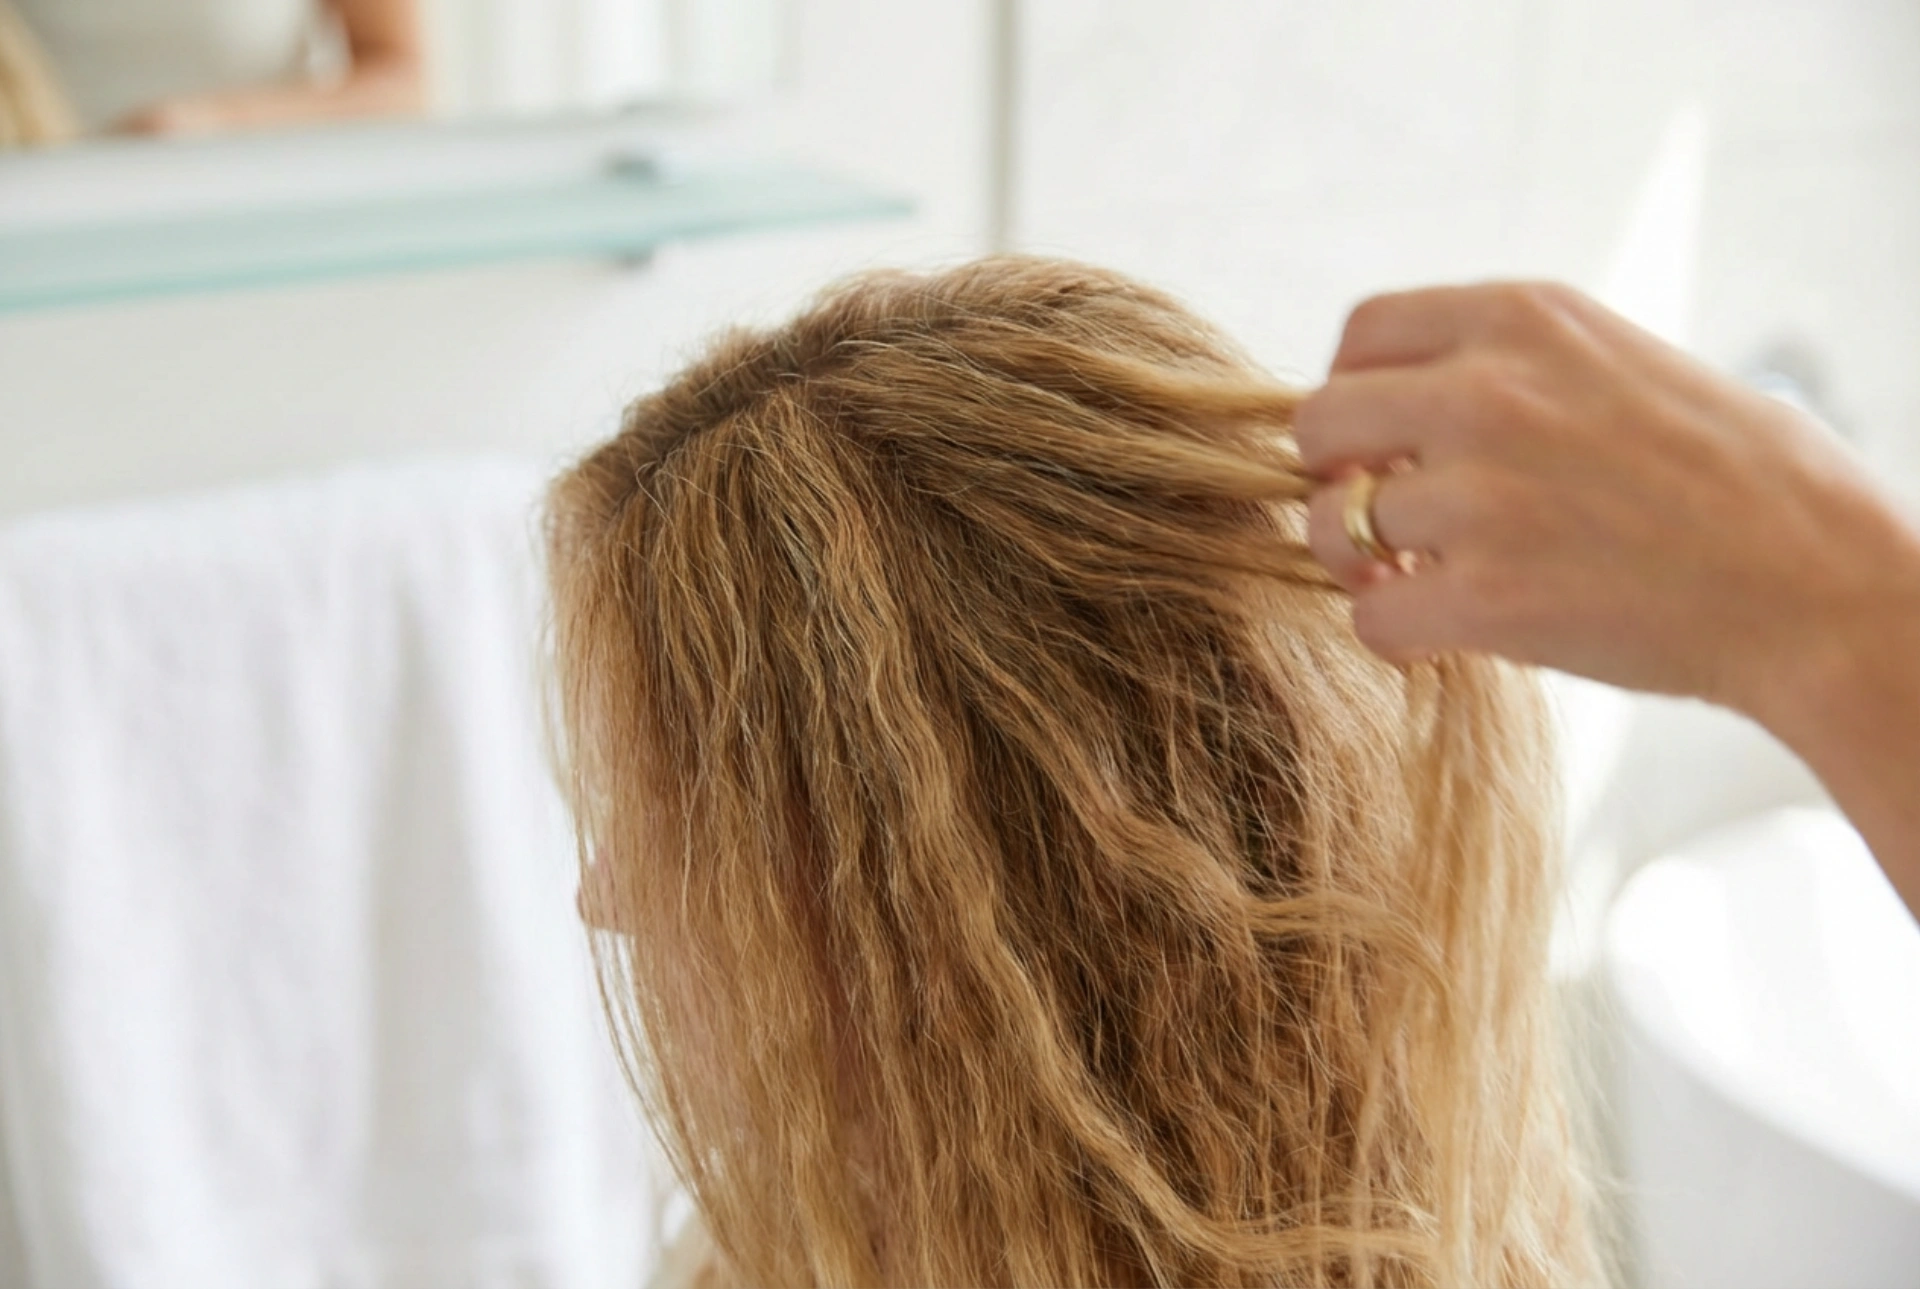
Proper preparation is the key to achieving a beautiful, lasting style while protecting the health of your hair. Rushing this stage can lead to uneven results and potential damage. Always start with completely clean and, most importantly, completely dry hair. Using any heat tool on damp hair can cause significant harm. After washing and drying your hair, the next non-negotiable step is applying a heat protectant spray. Distribute it evenly from roots to ends, ensuring every strand is coated. This creates a barrier between your hair and the heat, minimising moisture loss and protecting the hair cuticle. Gently brush through your hair to remove any tangles and ensure the product is evenly spread.
Technique 1: Creating Lasting Volume at the Roots
If your hair tends to fall flat at the crown, a crimper can provide a 'cushion' of support that lasts much longer than backcombing or volumising powders. This technique focuses on the under-layers of your hair, keeping the final look polished and natural.
- Section Your Hair: Part your hair as you would normally wear it. Then, clip away the top layer of hair on the crown area, about an inch wide on all sides of your parting. This smooth top layer will later fall over the crimped sections, hiding the texture completely.
- Work on the Under-Layers: Take a small, one-inch section of hair from underneath the clipped-away top layer. Place the crimper as close to the scalp as you can without touching it.
- Press and Hold Briefly: Clamp the crimper down on the root area for just 2-3 seconds. You only need to crimp the first inch or two of hair from the root. You are not aiming to crimp the whole strand, just to create a textured base.
- Repeat and Release: Continue this process on small sections around the crown, always working on the hair that lies underneath the smooth top layer. Once you have created enough of a volumised base, let the hair cool completely. Finally, unclip the top layer and let it fall over the crimped roots. The top hair will be lifted by the texture underneath, creating impressive, natural-looking volume.
Technique 2: Adding Subtle Texture to the Lengths
For a modern, chic look, use the crimper to add dimension and a lived-in feel to your hair rather than an all-over crimped style. This works wonderfully for breaking up overly smooth or straight hair, giving it movement and interest.
- Be Selective with Sections: Instead of crimping every piece of hair, work with very thin, randomly selected strands from the mid-layers of your hair. Avoid the top layer to keep the overall look soft.
- Use a 'Tap and Release' Method: Rather than clamping the crimper down and holding, quickly press and release it on different parts of the hair strand. You could crimp a small piece in the middle, then another near the end, leaving other parts of the strand straight.
- Alternate Textures: For an even more dynamic style, alternate between crimped strands, straight strands, and perhaps a few loose waves created with a different tool. This mix of textures looks intentional yet effortless.
- Break It Up: After the hair has cooled, gently run your fingers through it to break up the defined crimp patterns. This will blend the textures, leaving you with a soft, multi-dimensional finish rather than a rigid, uniform one.
Adapting the Technique for Different Hair Types
For Fine Hair
Fine hair benefits immensely from the root-lifting technique. The hidden texture provides excellent support and makes hair appear much thicker. When adding texture to the lengths, be very selective and use only very thin strands to avoid overwhelming your hair. Always use a lower heat setting to protect your delicate strands.
For Thick Hair
Thick hair can handle more defined texture. You can take slightly larger sections for root lifting and be more generous when adding texture through the lengths. The crimper is also great for creating a base for intricate updos, as the added texture gives pins and clips something to grip onto, making the style more secure.
For Wavy or Curly Hair
On naturally wavy or curly hair, a crimper can be used to enhance or control texture. You can use it at the roots for a lift if your curls weigh your hair down. It can also be used on random sections to add a different, more defined pattern of texture, creating a more complex and interesting overall look.
Finishing Touches for a Polished Look
Once you've finished crimping, allow your hair to cool down completely. This is crucial for setting the style. Once cool, you can gently use your fingers or a wide-tooth comb to style it. Avoid using a brush, as this can flatten the volume and create frizz. To lock in your hard work, you can use a light-hold texturising spray or a flexible hairspray. Aim for products that provide hold without making the hair stiff or sticky, preserving its natural movement and touchable feel. With these techniques, the crimper transforms from a single-look tool into an essential part of your styling routine for creating volume and texture.


