


Achieving smooth, hair-free skin on the upper lip at home can be a simple part of your beauty routine. Facial wax strips offer a quick and effective method, but the key to a flawless finish lies in the right technique. Understanding how to prepare your skin, apply the strips correctly, and care for the area afterwards is crucial for avoiding irritation and achieving the best results. This guide will walk you through the process, ensuring your at-home waxing experience is as smooth as its outcome.
Preparing Your Skin for Waxing
Proper preparation is the foundation of successful waxing. It ensures the wax adheres to the hair, not the skin, minimising discomfort and maximising effectiveness. Before you even open the wax strips, take a few moments to get your skin ready.
Cleanse and Dry Thoroughly
Start with a completely clean face. Use a gentle cleanser to remove any makeup, oil, or impurities from the upper lip area. Any residue can prevent the wax from gripping the hairs properly. After cleansing, pat the skin completely dry with a clean towel. The skin must be free of moisture for the wax to work. Even a small amount of dampness can interfere with adhesion.
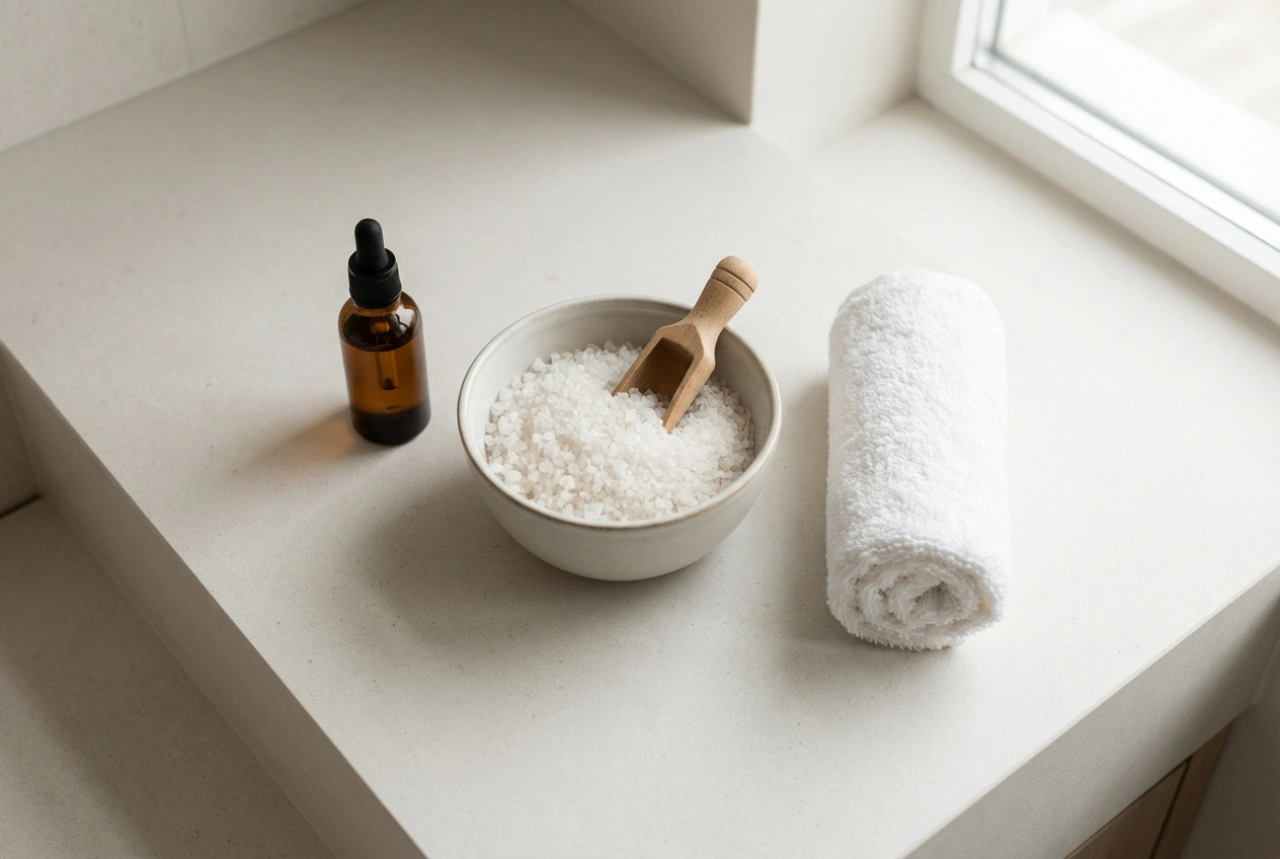
Create the Perfect Surface
For an even better grip, you can apply a very light dusting of talc-free powder to the area. This helps to absorb any residual moisture or oils and creates a protective barrier for the skin. Avoid applying any moisturisers, creams, or lotions before waxing, as these will create a greasy film that stops the wax from sticking to the hair.
The Correct Waxing Technique Step-by-Step
Following a methodical process will give you clean results with minimal redness. Work in a well-lit area and take your time, especially if you are new to at-home waxing.
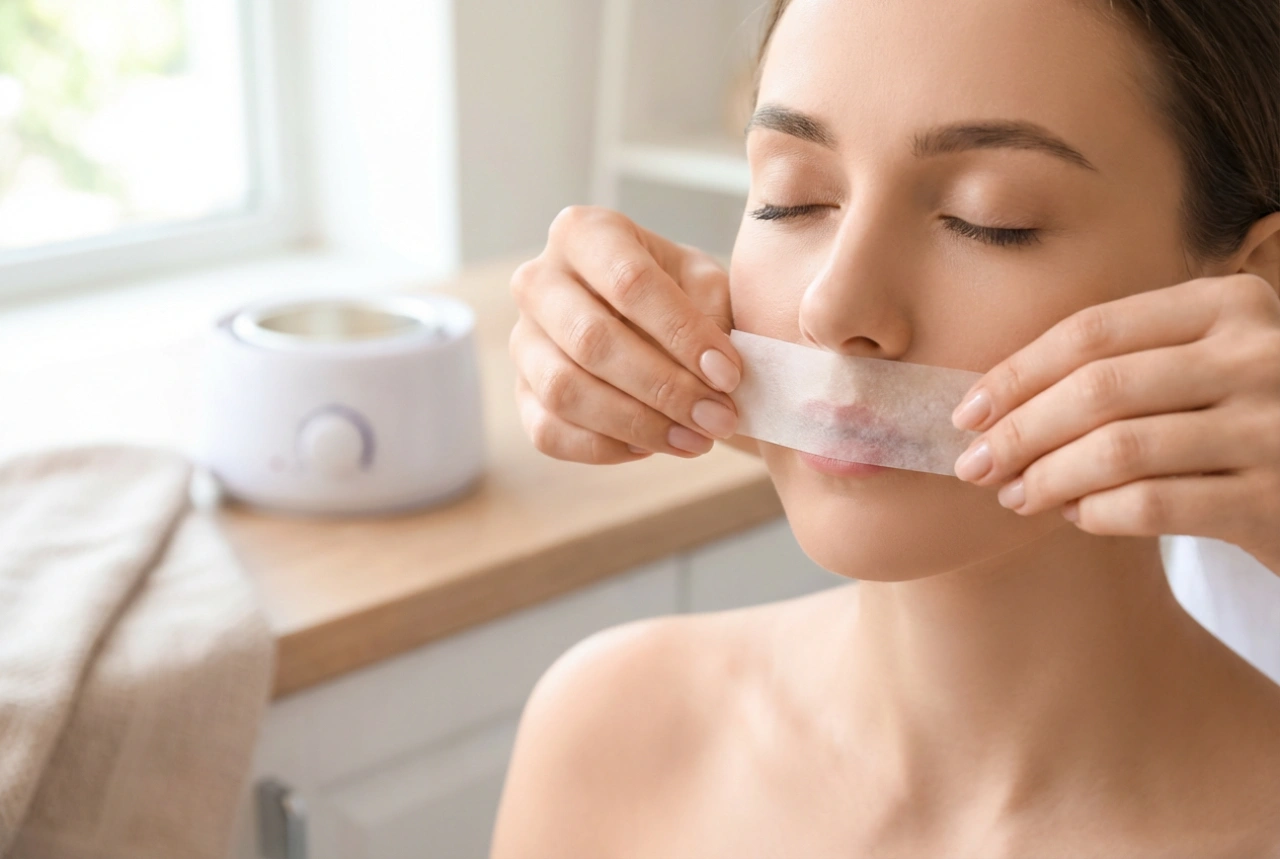
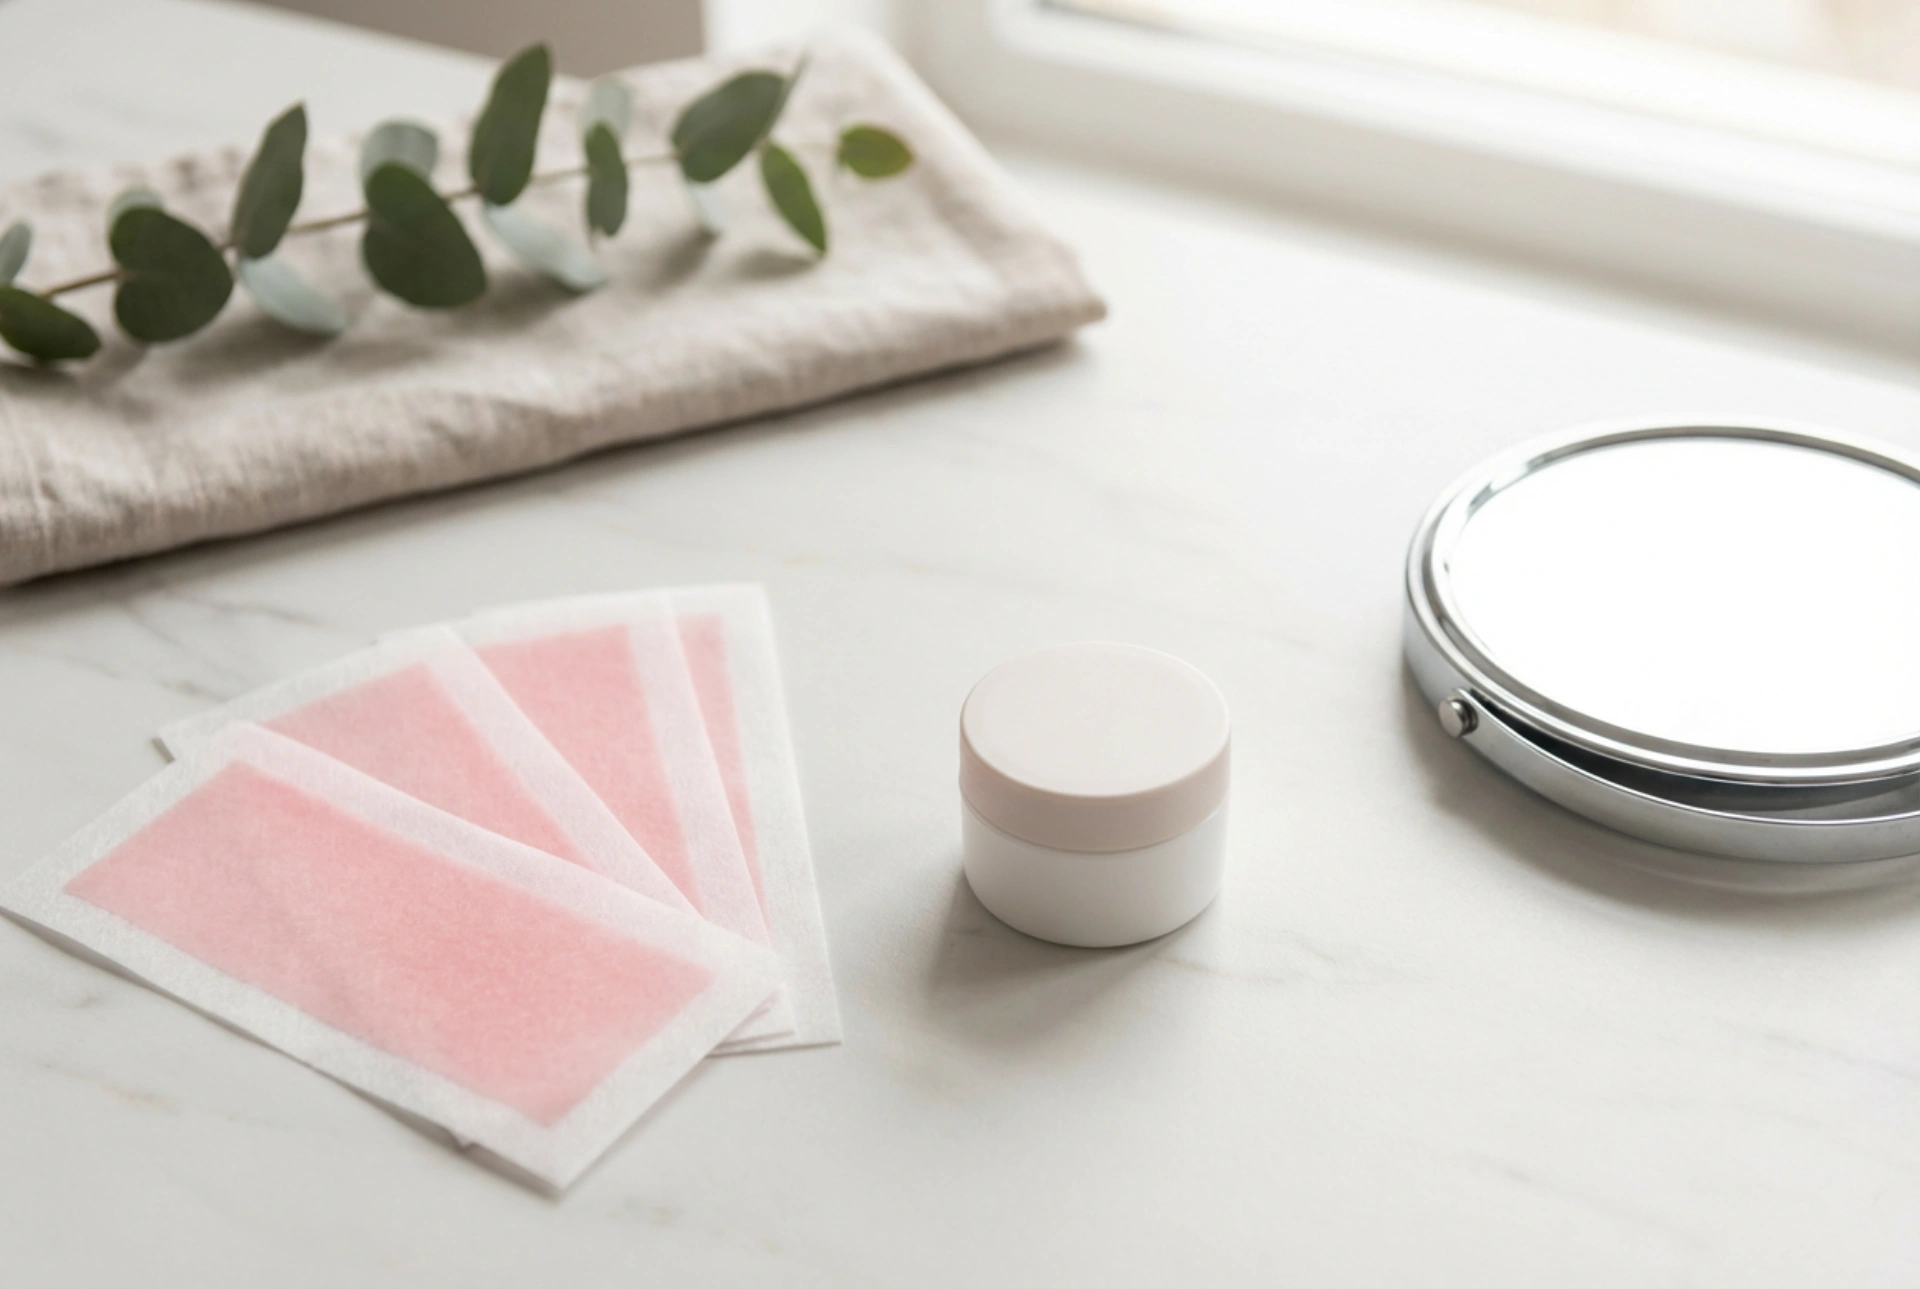
- Step 1: Warm the Strips. Most wax strips need to be warmed up to activate the wax. Rub a double-sided strip between your palms for about 20-30 seconds until it feels warm and pliable. This softens the wax, making it easier to separate the strips and apply them smoothly.
- Step 2: Apply the Strip. Slowly peel the two sides of the strip apart. Take one strip and carefully place it onto one side of your upper lip. Press it down firmly and smooth it over several times in the direction of hair growth (usually downwards and outwards from the centre). Ensure the strip is in full contact with the skin and hairs.
- Step 3: The Removal. This is the most critical step. Hold the skin taut at the base of the strip with one hand. With the other hand, grip the end of the strip. In one swift, decisive motion, pull the strip off against the direction of hair growth. It's essential to pull parallel to the skin, not upwards away from it. Pulling upwards can break the hairs instead of removing them from the root and can be more painful.
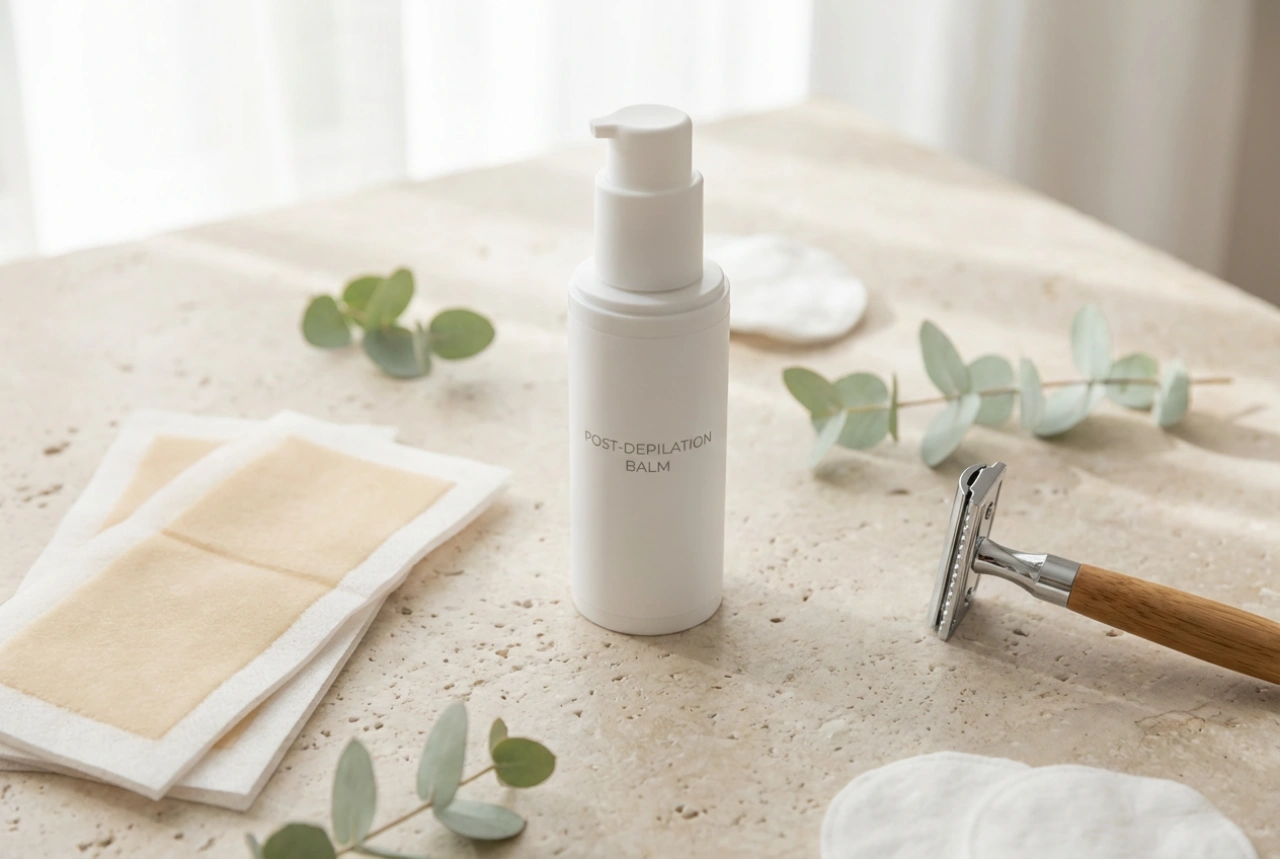
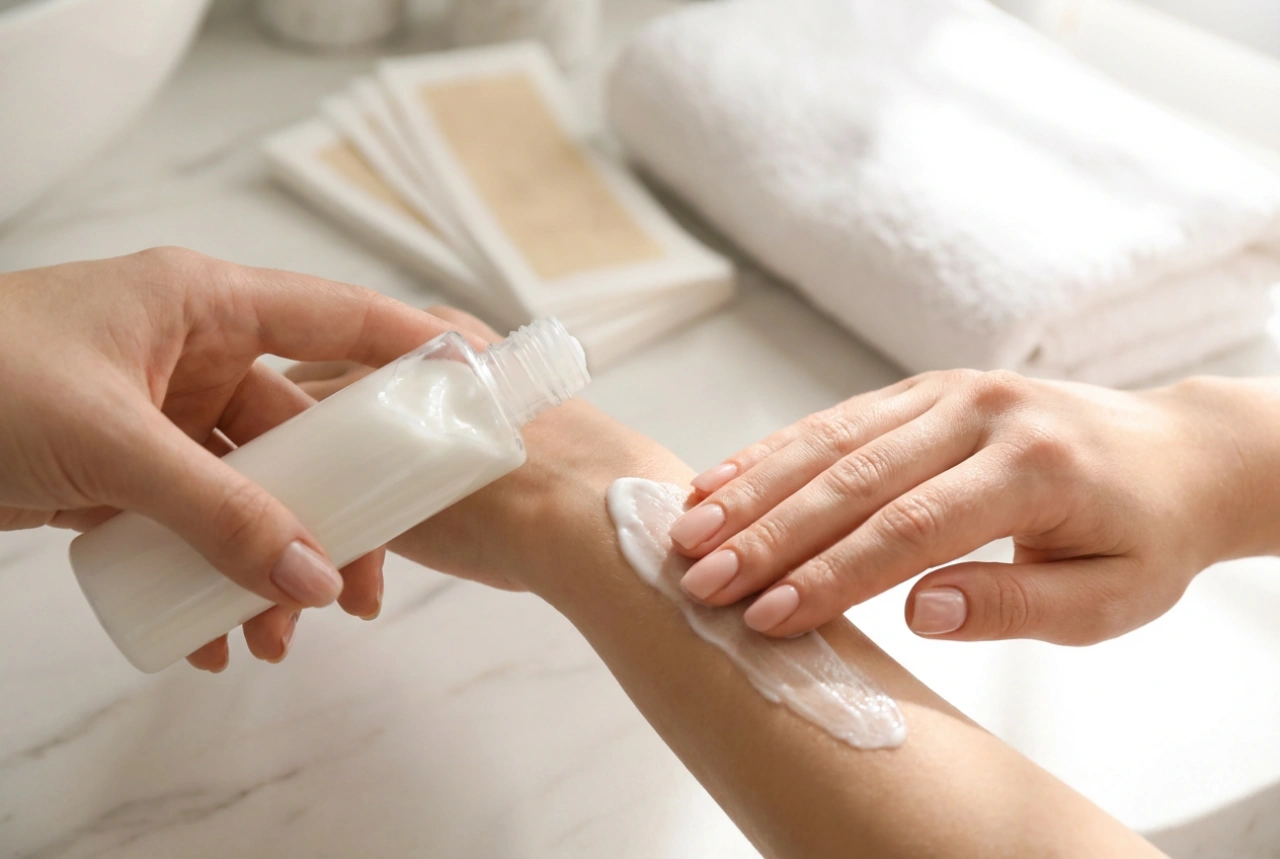
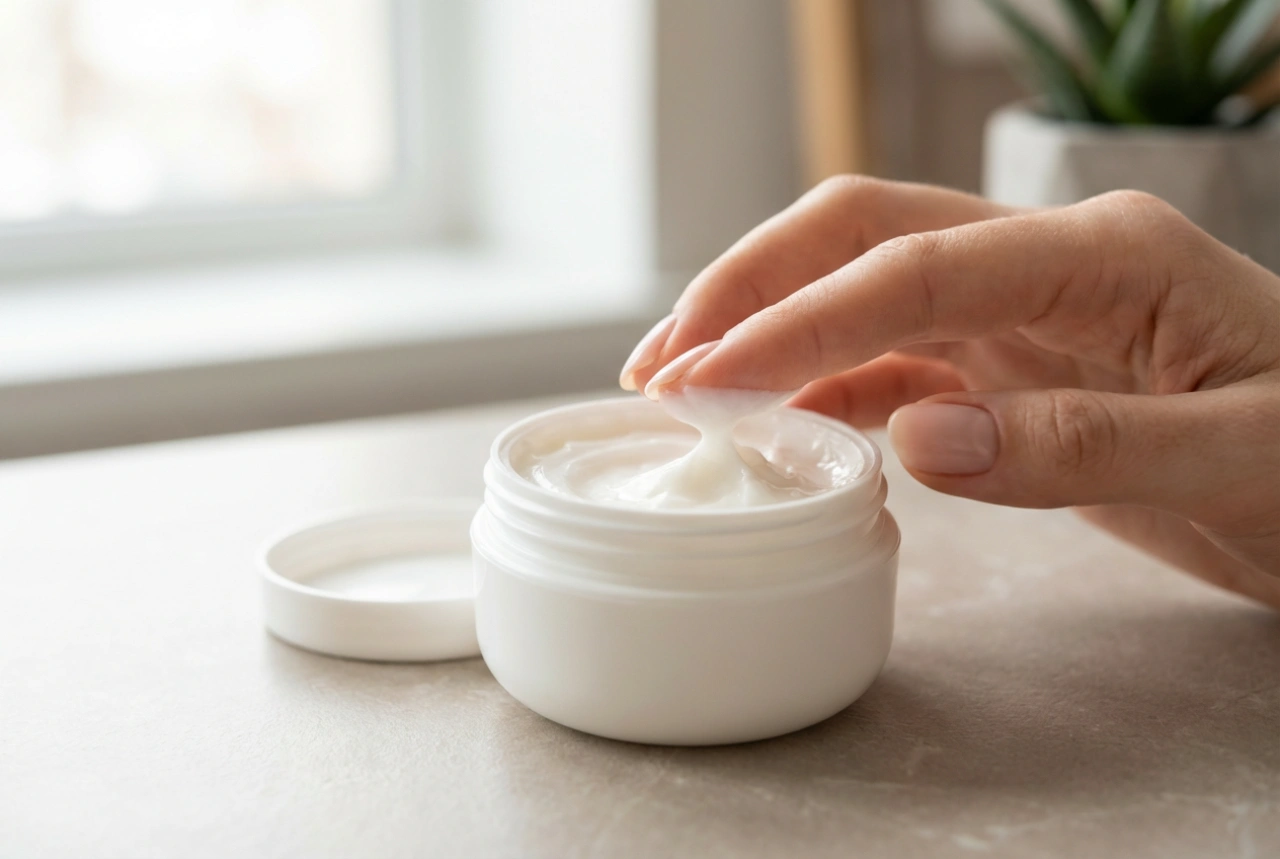
- Step 4: Repeat and Soothe. Use the same strip as long as it remains sticky. If needed, move to the other side of the upper lip and repeat the process. Once finished, use the post-wax soothing wipe or oil provided in the kit to gently remove any wax residue. This oil is specially formulated to dissolve wax and calm the skin.
Common Mistakes to Avoid
Even a simple process can go wrong if you're not careful. Avoiding these common errors will help you prevent unnecessary pain, skin irritation, and patchy results.
- Not holding the skin taut: Failing to keep the skin tight while pulling off the strip is a primary cause of bruising, pain, and incomplete hair removal.
- Pulling too slowly: Hesitation is your enemy. A slow pull is more painful and will likely leave hairs and wax behind. The motion must be quick and confident.
- Pulling in the wrong direction: Always pull against the direction of hair growth and parallel to the skin. Pulling upwards or in the same direction as growth will not be effective.
- Re-waxing the same spot: Do not apply wax to the same area more than once during a single session. This can strip the skin and cause significant irritation or damage. If a few stray hairs remain, it is safer to remove them with tweezers.
- Waxing unsuitable skin: Never wax over areas that are sunburnt, irritated, broken, or have spots. Wait until the skin is fully healed and calm.
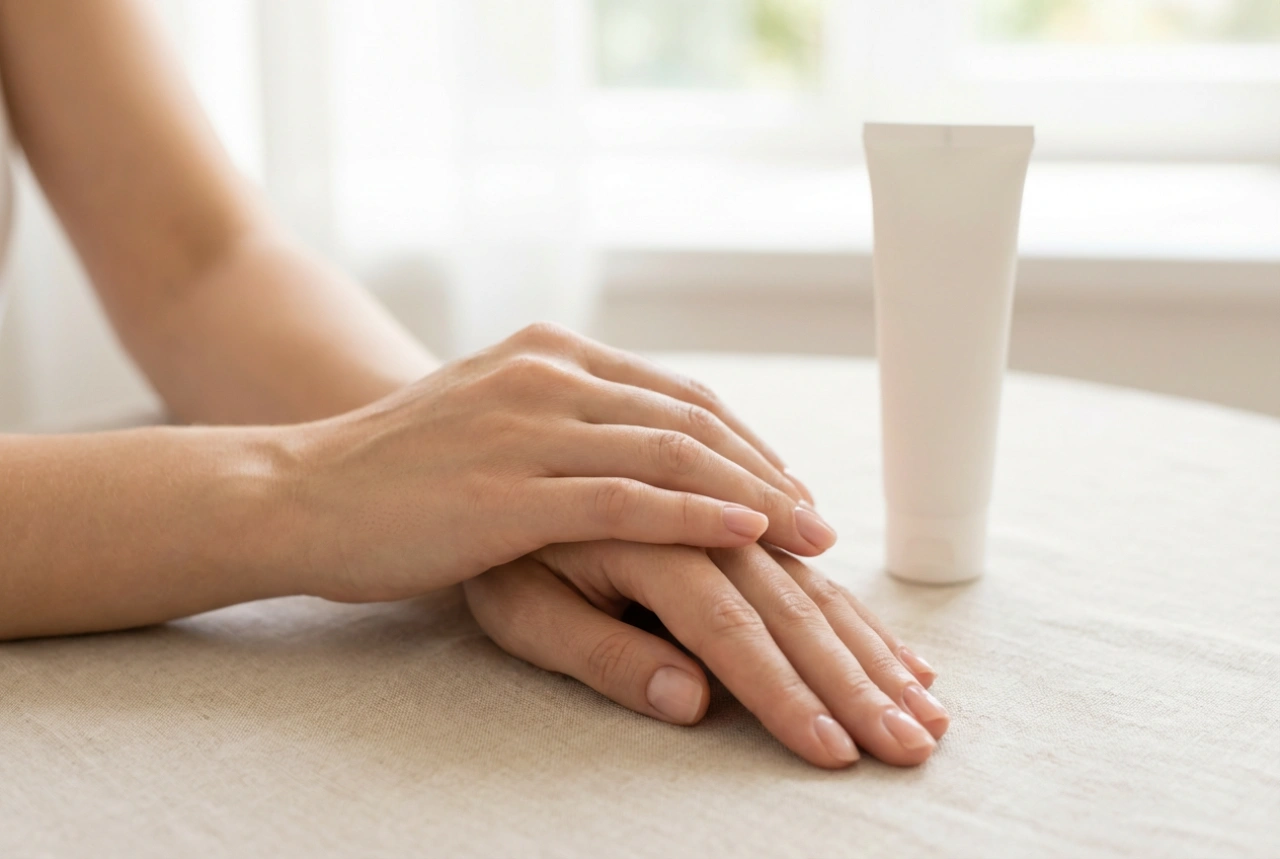
Aftercare for Smooth, Calm Skin
What you do after waxing is just as important as the waxing itself. Proper aftercare helps to soothe the skin, reduce redness, and prevent issues like ingrown hairs.
Immediate Post-Wax Care
After removing any wax residue with the provided oil, avoid touching the area with your hands to prevent transferring bacteria. It's normal for the skin to be slightly pink or red; this should subside within a few hours. You can apply a cool, clean compress to the area if it feels sensitive. Avoid hot baths, saunas, swimming, and vigorous exercise for at least 24 hours, as heat and sweat can irritate the freshly waxed pores.
Long-Term Care
For the next 24-48 hours, avoid using products with fragrances, exfoliants, or strong active ingredients on the upper lip. Also, protect the area from direct sun exposure to prevent hyperpigmentation. A few days after waxing, you can begin to gently exfoliate the area two to three times a week. This helps to remove dead skin cells and prevent ingrown hairs, keeping your skin smoother for longer.