

Achieving a smooth, hair-free bikini line at home can be an empowering part of your self-care routine. The key to a successful and comfortable experience lies in meticulous preparation and a clear understanding of the technique. Just as one would carefully prepare the skin with a pre-treatment lotion, every step of the waxing process requires attention to detail. This guide will walk you through the entire procedure, from getting your skin ready to the final, soothing aftercare, ensuring you have the knowledge to achieve professional-looking results in the comfort of your own home.
Essential Preparation Before You Begin
Proper preparation is not just a preliminary step; it is fundamental to minimising discomfort and achieving the best results. Before you even think about applying wax, you need to ensure both your skin and your hair are ready.
Skin and Hair Readiness
- Check Hair Length: For wax to grip effectively, your hair should be approximately 6-10mm long, or about the length of a grain of rice. If it's too short, the wax won't be able to grab it. If it's too long, the process can be more painful and less effective; trim it carefully with scissors if needed.
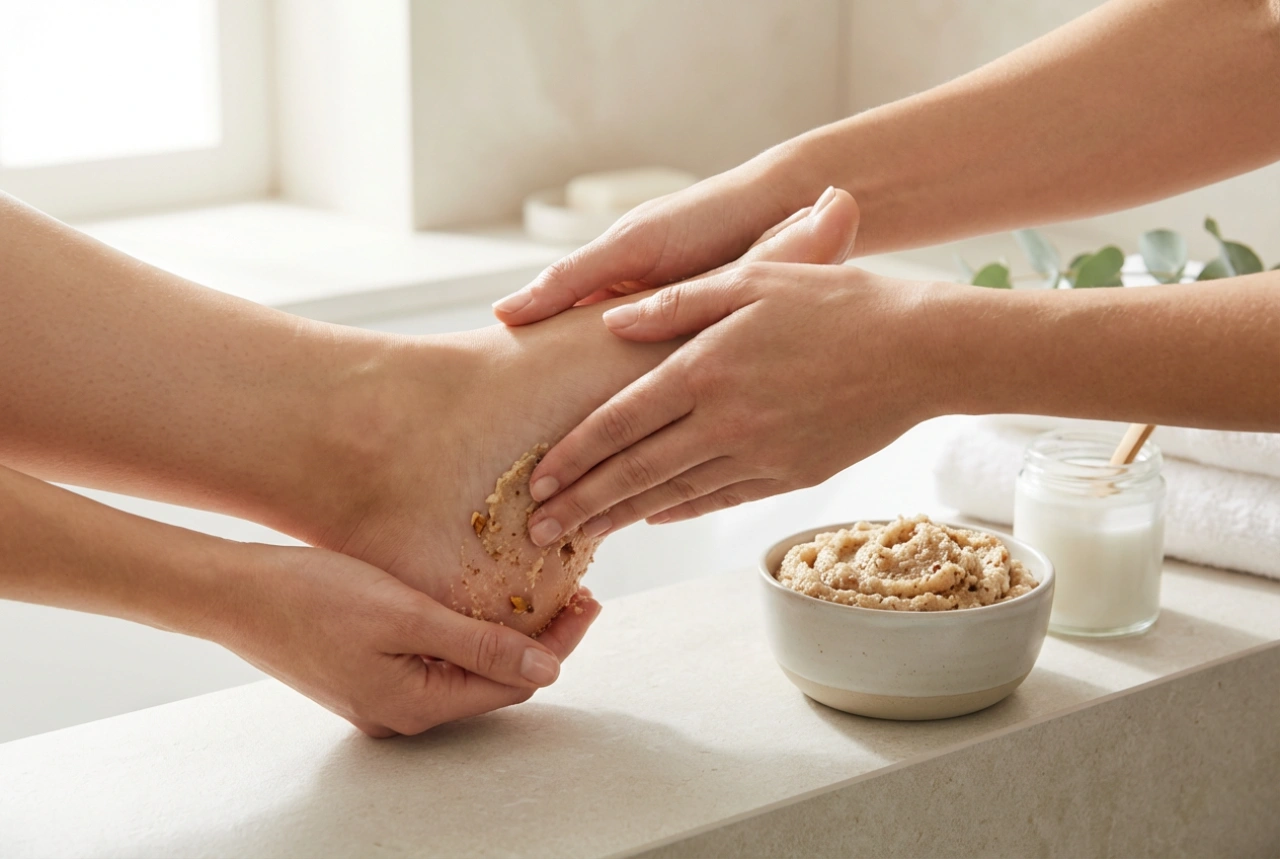
- Exfoliate Gently: About 24-48 hours before you plan to wax, gently exfoliate the bikini area. This removes dead skin cells, helping to prevent ingrown hairs and allowing for a cleaner wax application. Use a mild body scrub or an exfoliating mitt.
- Cleanse the Area: Immediately before waxing, wash the area with a gentle, soap-free cleanser and warm water, then pat it completely dry. Skin must be free from any oils, lotions, or moisture for the wax to adhere properly. Consider using a specific pre-wax cleanser for this purpose.
Gather Your Supplies
Have everything you need within arm's reach to ensure a smooth, uninterrupted process. You will need:
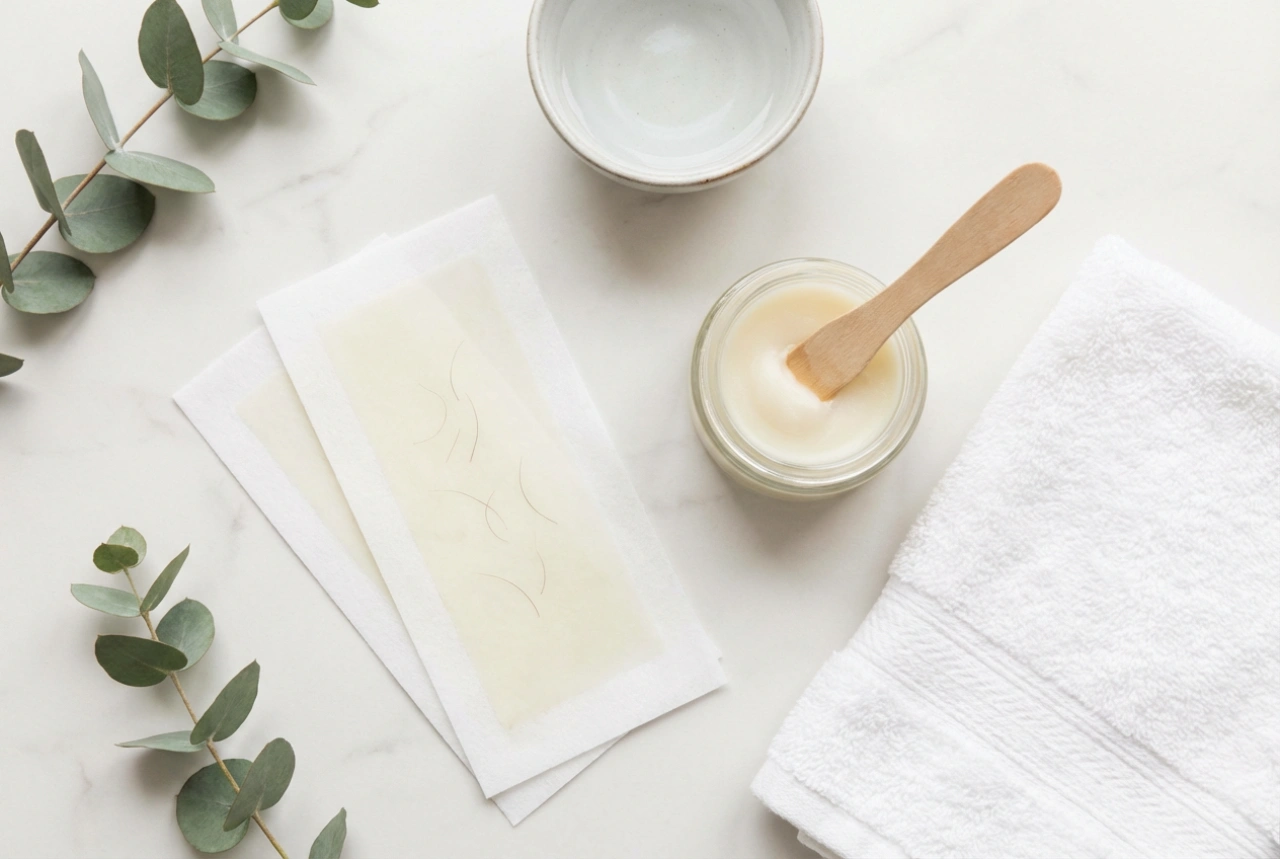
- A home waxing kit (with wax, strips, and applicators)
- A wax warmer or microwave-safe container for heating hard wax
- Pre-wax cleanser or powder
- Post-wax oil to remove residue
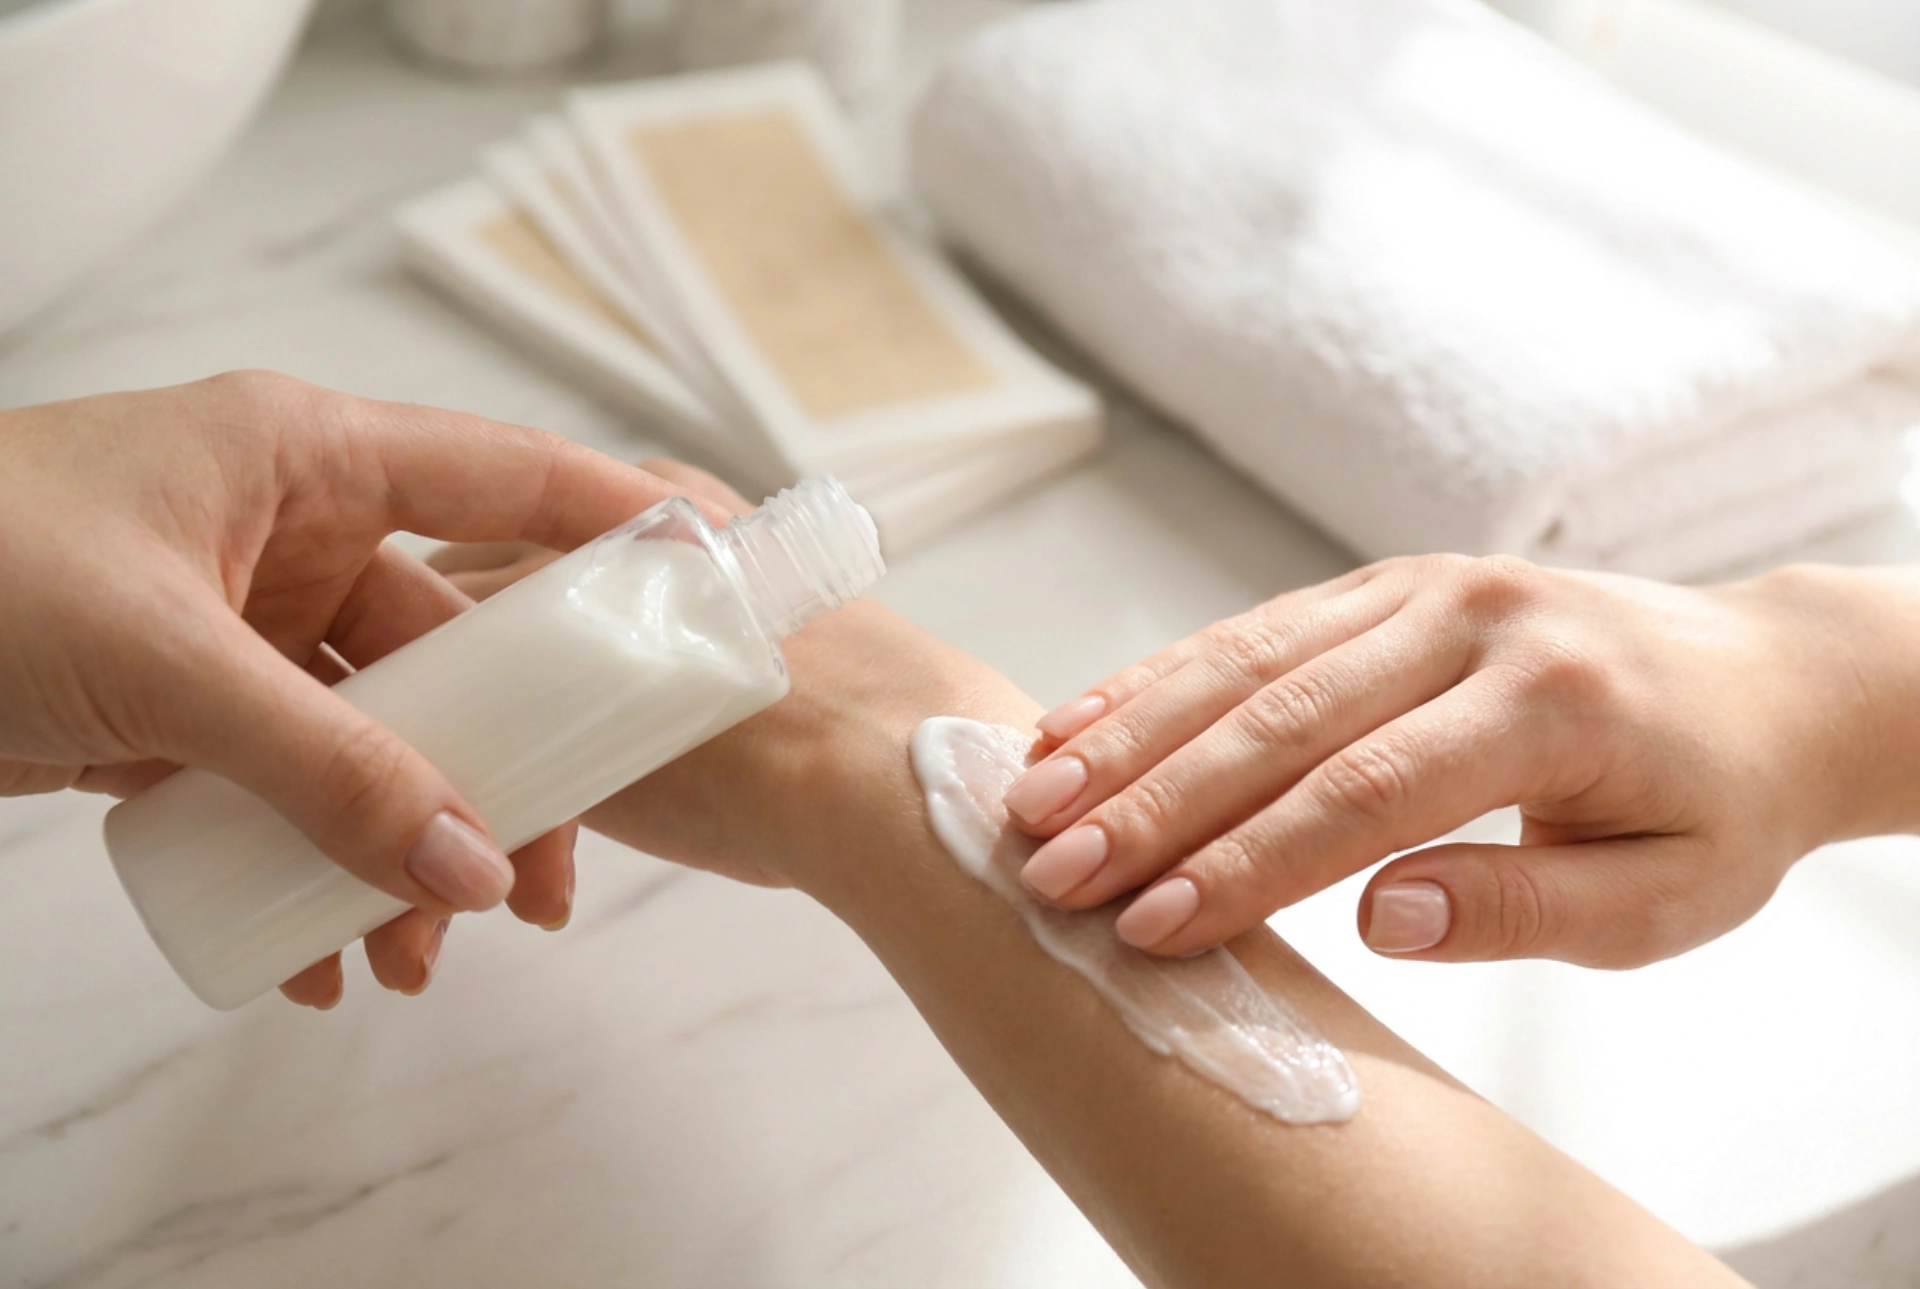
- A soothing, fragrance-free post-wax lotion or aloe vera gel
- A clean towel
The Waxing Process: Application and Technique
With your skin prepped and supplies ready, you can move on to the main event. The application technique is crucial for ensuring all hairs are removed efficiently. Always perform a patch test on a small, discreet area 24 hours beforehand to check for any adverse reactions.
Applying the Wax
If you are using warm wax, heat it according to the product instructions until it has a thick, honey-like consistency. It should be warm, not uncomfortably hot. Using an applicator, apply a thin, even layer of wax to a small section of your bikini line. Always spread the wax in the same direction that your hair grows. Working in small, manageable sections (e.g., 2-3 cm wide and 5-7 cm long) is much more effective and less painful than trying to wax a large area at once.
Placing the Strip
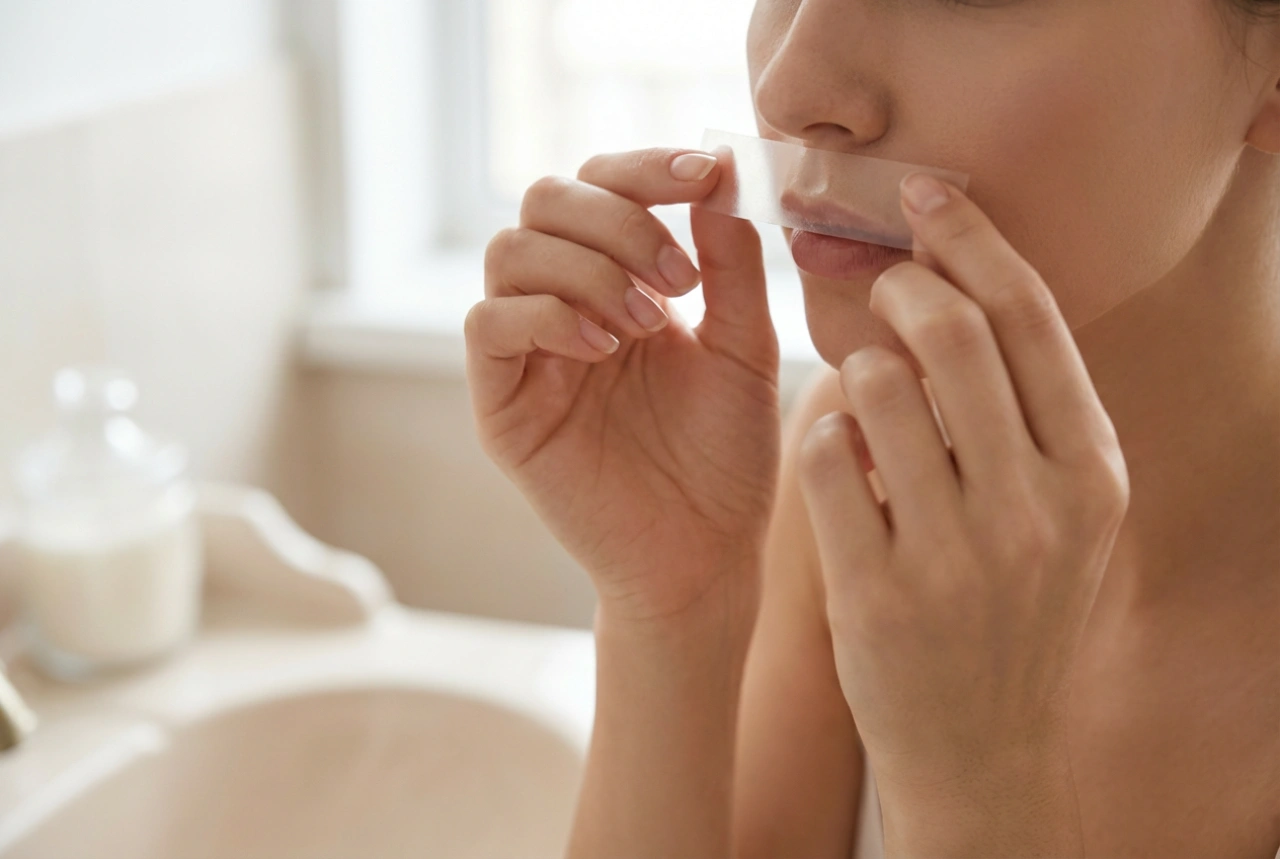
If using soft wax, place a fabric or paper strip over the applied wax, again in the direction of hair growth. Leave a small 'tab' of the strip at the end that is not covered in wax, as you will use this to pull. Rub your hand firmly over the strip several times to ensure it is thoroughly adhered to the wax and the hair.
The Removal: Mastering the Pull
This is the moment that requires confidence and a swift hand. The correct removal technique is the secret to minimising pain and preventing hair breakage.
Stretch the Skin
Using your free hand, pull the skin around the waxing strip as taut as possible. This is a non-negotiable step. Taut skin provides a stable surface, which makes the removal cleaner and significantly reduces discomfort. It also helps to prevent bruising.
The Swift Pull
Grasp the 'tab' of the strip you left free. In one single, quick, and fluid motion, pull the strip off. The pull must be in the opposite direction of hair growth and, crucially, it must be parallel to the skin, not upwards away from it. Pulling upwards can lift the skin and cause bruising or irritation. Repeat the process in small sections until you have removed all the desired hair.
Post-Waxing Care for Smooth Results
Your skin will be sensitive after waxing, so immediate and gentle aftercare is vital for calming the skin and maintaining your smooth results.
- Remove Residue: Use the post-wax oil provided in your kit, or a gentle body oil, to remove any sticky wax residue. Water will not be effective for this.
- Soothe the Skin: Apply a calming, alcohol-free lotion. Products containing ingredients like aloe vera or chamomile are excellent for soothing redness and irritation.
- Avoid Irritants for 24-48 Hours: To prevent irritation and bumps, avoid hot baths or showers, saunas, swimming pools, and intense exercise. Steer clear of fragranced lotions and wear loose, breathable cotton underwear and clothing to allow your skin to recover.
By following these steps with patience and precision, you can master the art of at-home bikini waxing and enjoy beautifully smooth skin as part of your personal care ritual.