

Removing unwanted hair from the upper lip is a common part of many beauty routines. At-home waxing is a popular method for achieving a smooth, long-lasting finish. However, the skin in this area is delicate, and the key to a successful result is a gentle technique that minimises irritation and redness. With the right preparation, application, and aftercare, you can achieve a flawless finish from the comfort of your own home. This guide will walk you through each step to ensure your skin remains calm and beautiful.
Preparing Your Skin for Waxing
Proper preparation is the foundation of a successful and comfortable waxing experience. Skipping these steps can lead to the wax not gripping the hair properly or, worse, irritating the skin. Before you even open the wax, take a few moments to get your skin ready.
Cleanse and Dry Thoroughly
Start by cleansing your upper lip area with a gentle, oil-free cleanser to remove any makeup, dirt, or natural oils. Pat the skin completely dry with a clean towel. Any moisture or oiliness on the skin can prevent the wax from adhering to the hairs, making the process less effective and potentially more painful. The skin must be as dry as possible for the best grip.
Create a Protective Barrier
Once your skin is clean and dry, consider applying a very light dusting of pre-wax powder or a simple, talc-free baby powder. This step is particularly helpful if you tend to have oily skin or if you are waxing in a warm, humid environment. The powder absorbs any residual moisture and creates a thin barrier between the wax and your skin. This ensures the wax sticks primarily to the hair and not to your skin, significantly reducing the risk of lifting skin cells and causing excess redness or irritation.
The Waxing Process: A Step-by-Step Guide
With your skin prepped, you are ready to begin the waxing process. Whether you are using soft wax with strips or hard wax that sets on its own, the core principles are the same. Always work in small, manageable sections for better control.
Heat and Test the Wax
Carefully heat your cosmetic wax according to the product's instructions. The ideal consistency is similar to thick honey—it should be spreadable but not runny. A wax that is too hot can cause burns, while a wax that is too cool will not spread properly. Before applying it to your face, always test the temperature on a small patch of skin on your inner wrist to ensure it is comfortably warm, not hot.
Application and Removal
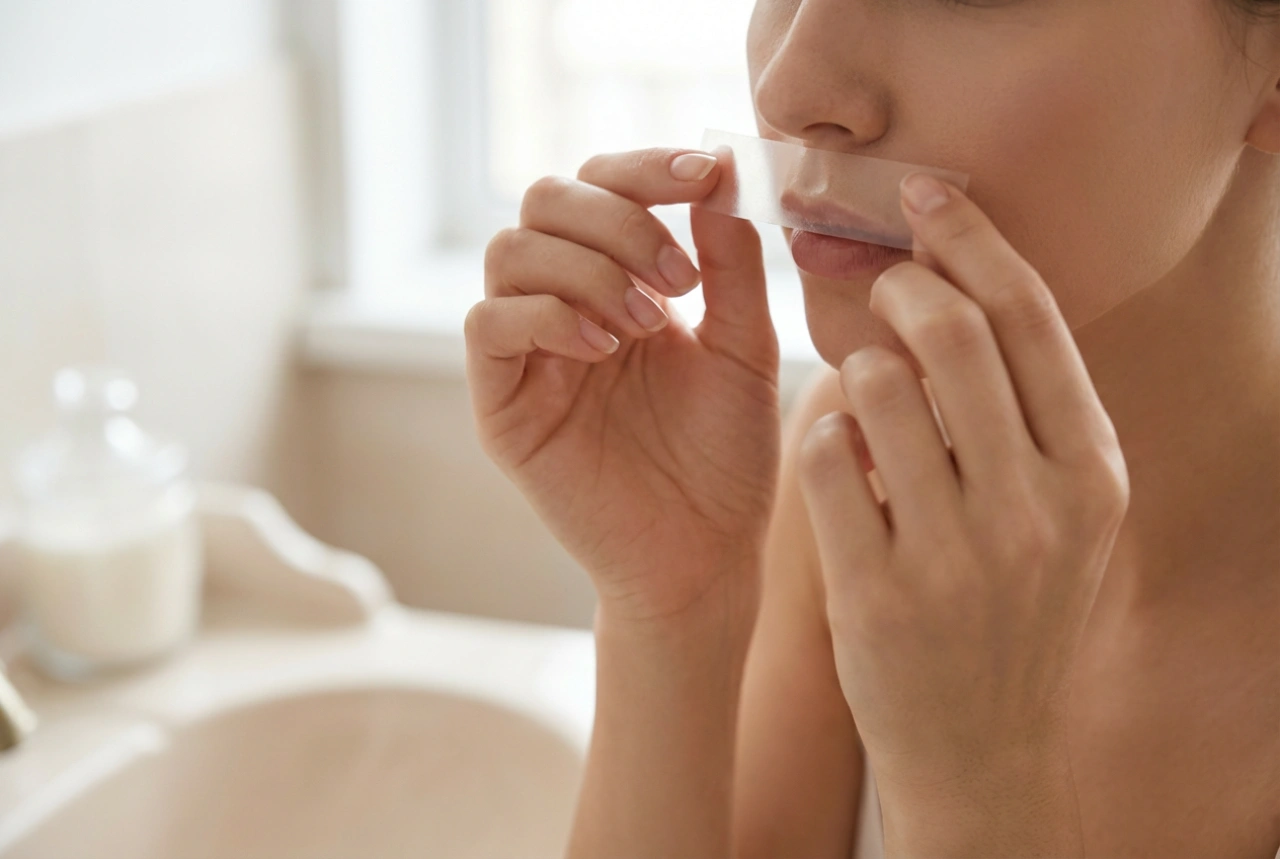
Using a clean applicator, apply a thin, even layer of wax to a small section of your upper lip. It is crucial to apply it in the direction of your hair growth. For most people, the hair on the upper lip grows downwards and outwards from the centre. So, you might work from the centre towards the corner of the mouth on one side, then repeat on the other.
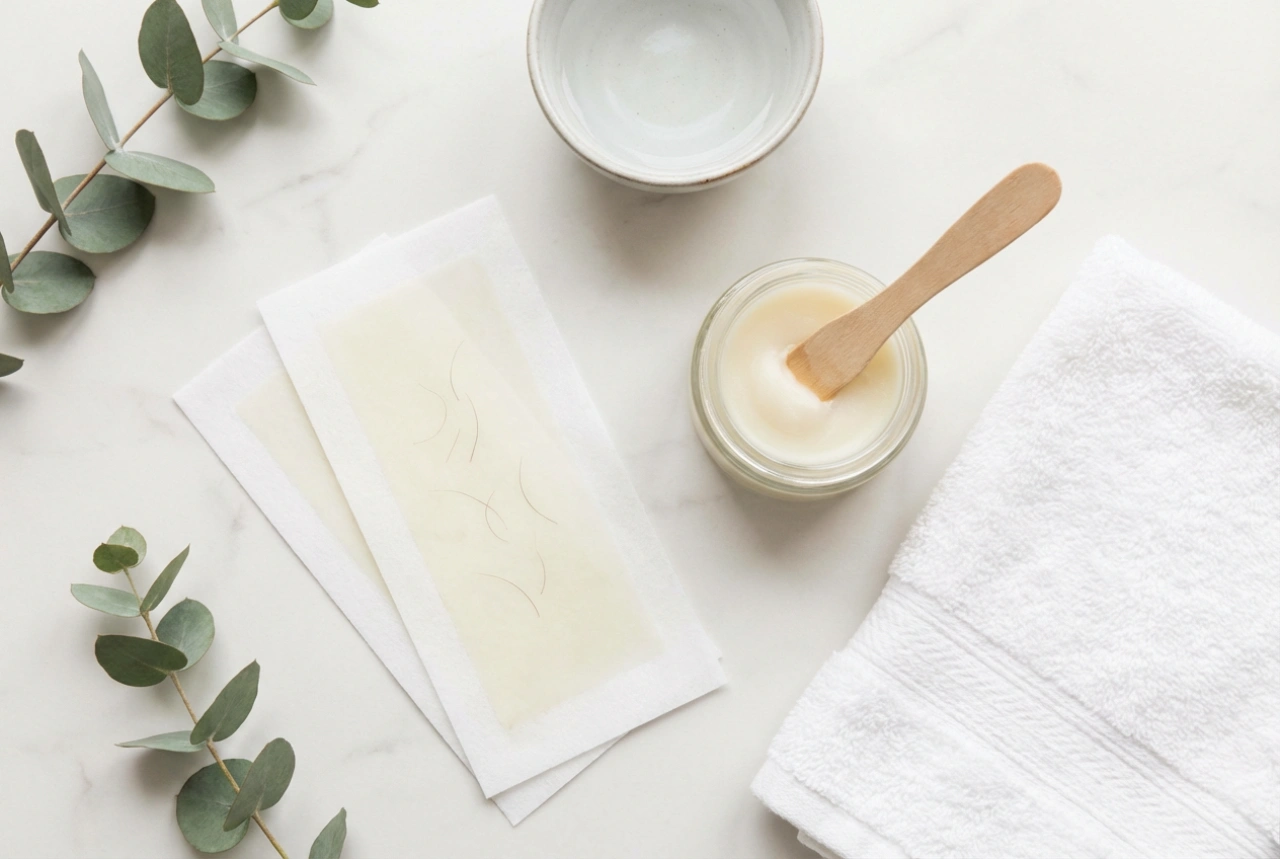
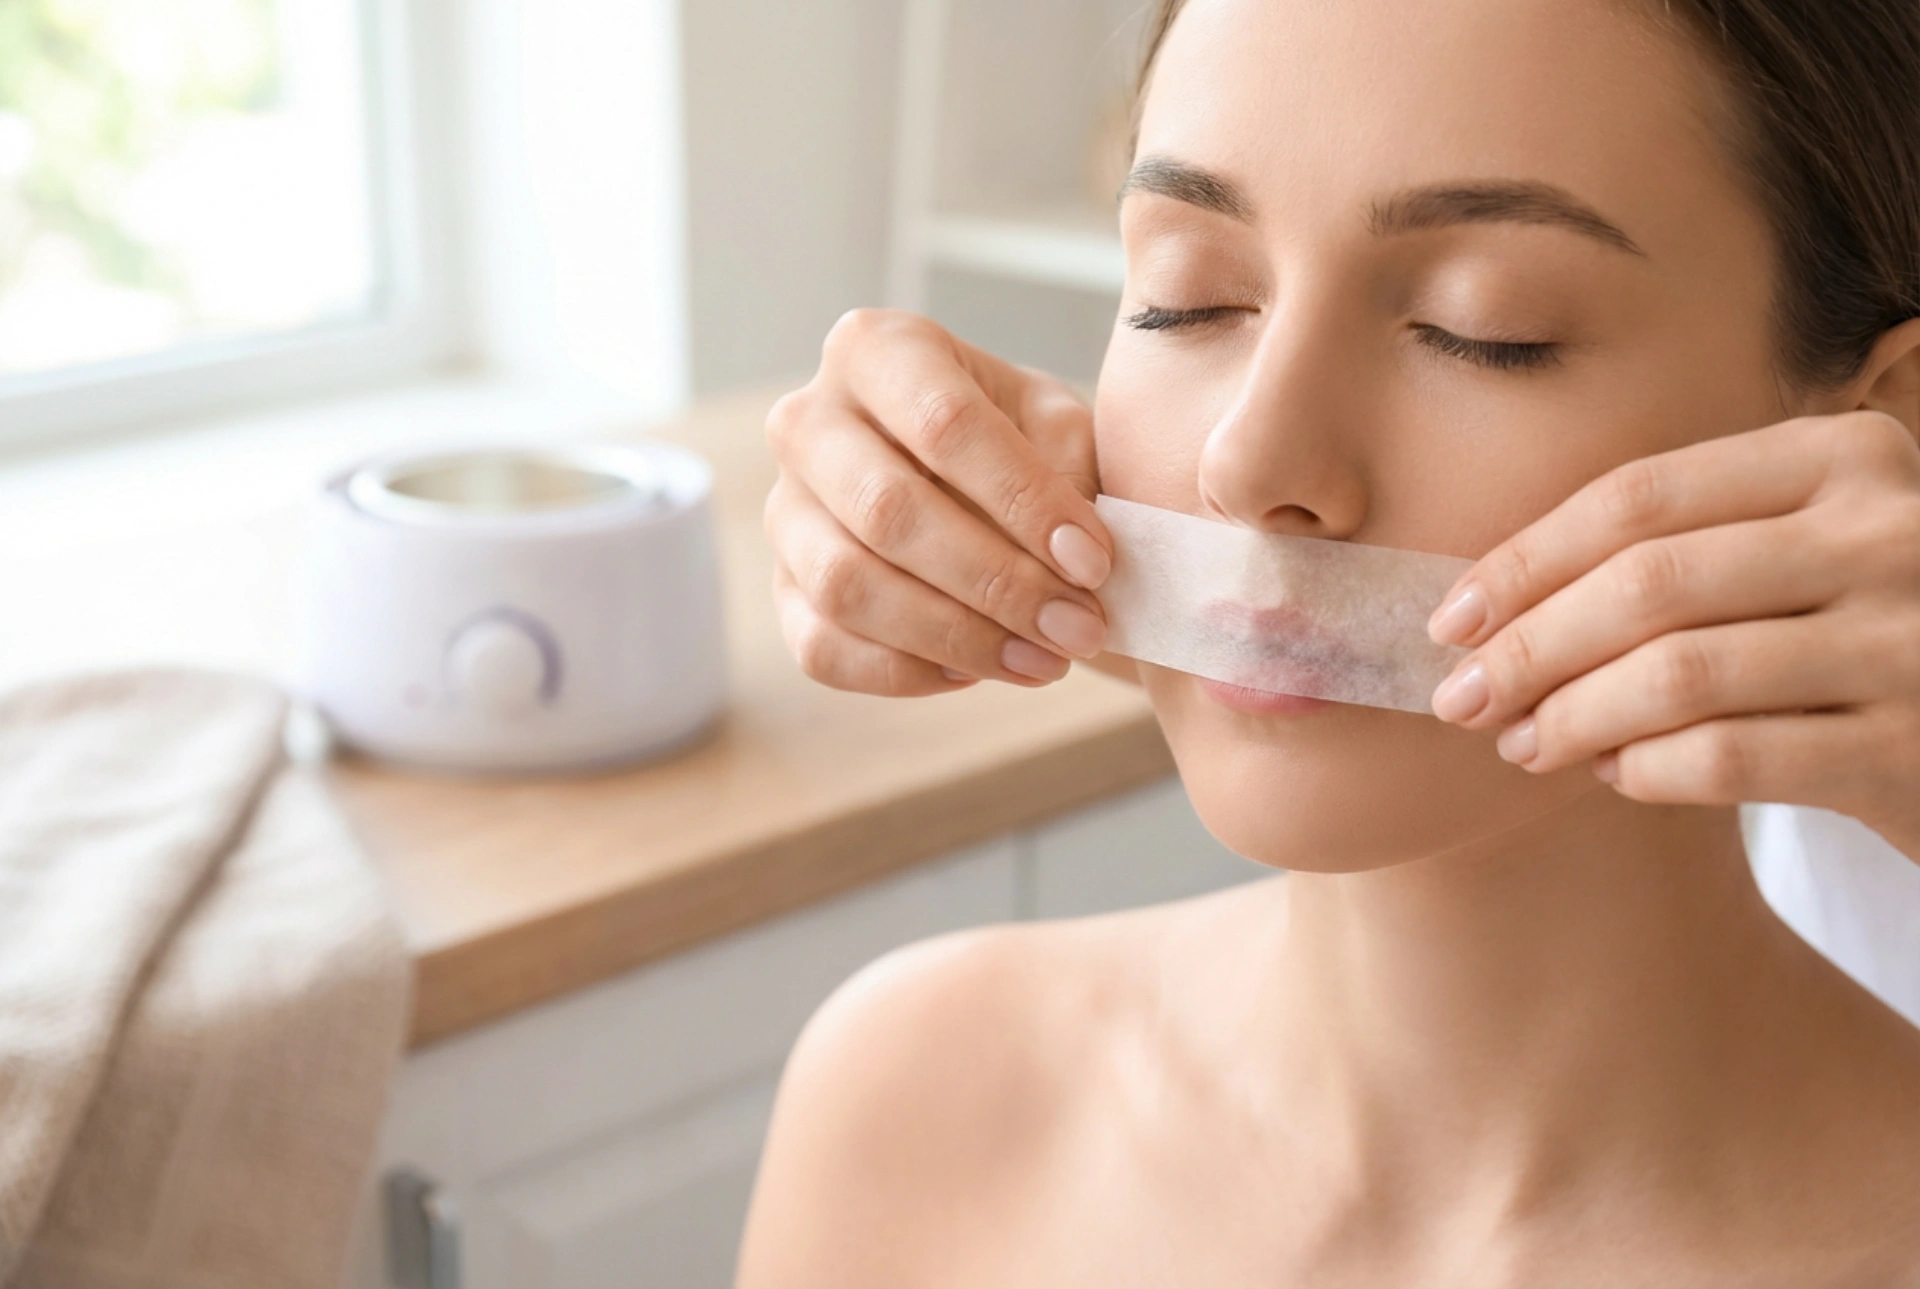
If using soft wax, place a fabric strip over the wax, leaving a small 'tab' at the end to pull. Press and smooth the strip down firmly in the direction of hair growth several times.
If using hard wax, wait for it to set but remain pliable—it should not become brittle.
To remove, hold your skin taut with one hand by pulling the skin near your cheek. With your other hand, grip the end of the strip or the wax 'tab'. In one swift, quick motion, pull the wax off in the opposite direction of hair growth, keeping your hand close and parallel to the skin. Do not pull upwards, as this can bruise the skin. Repeat the process in small sections until the area is clear.
Post-Wax Care to Minimise Redness
What you do immediately after waxing is just as important as the process itself. Proper aftercare will soothe the skin, reduce redness, and help prevent any post-wax bumps or irritation.
Soothe and Clean
As soon as you remove the wax strip, you can gently press a clean hand or a cool, dry compress onto the area for a few seconds. This simple action can help calm the nerve endings and reduce the immediate stinging sensation. Next, remove any sticky wax residue left on the skin. Most at-home kits come with a post-wax oil or wipe. Alternatively, you can use a small amount of a neutral, skin-friendly oil (like jojoba or almond oil) on a cotton pad to gently dissolve the residue. Avoid using water, as it will not remove wax effectively.
Hydrate and Calm
After the area is clean and free of residue, apply a soothing post-wax lotion or gel. Look for products with calming ingredients like aloe vera, chamomile, or cucumber extract. Ensure the product is alcohol-free and fragrance-free, as these ingredients can sting and irritate freshly waxed skin. This final step helps to hydrate the skin, close the pores, and further reduce any lingering redness.
What to Avoid After Waxing
Your skin will be more sensitive for the first 24 to 48 hours after waxing. To allow it to recover fully and prevent complications, it's important to avoid certain activities and products. Giving your skin this time to rest will ensure you get the best, smoothest result.
- Heat and Steam: Avoid hot baths, showers, saunas, and steam rooms, as the heat can aggravate the sensitive skin.
- Sun Exposure: Freshly waxed skin is more susceptible to sun damage. Avoid direct sun exposure and sunbeds.
- Chlorine: Stay out of chlorinated swimming pools, which can be harsh on sensitised skin.
- Intense Exercise: Heavy workouts that cause a lot of sweating can introduce bacteria into the open follicles, potentially leading to breakouts.
- Harsh Products: Do not apply makeup, perfumed lotions, or exfoliants (like scrubs or acids) to the waxed area for at least a day. Stick to gentle, soothing products only.