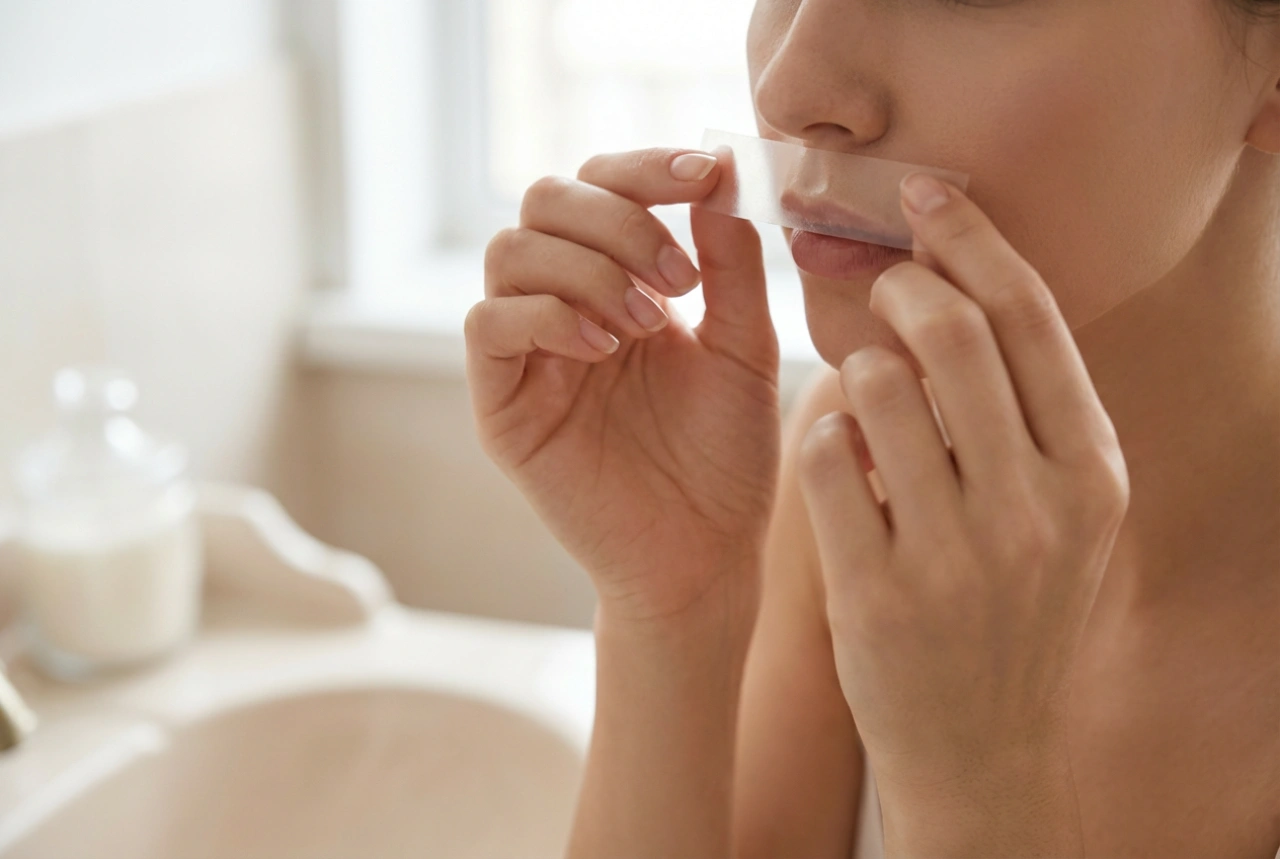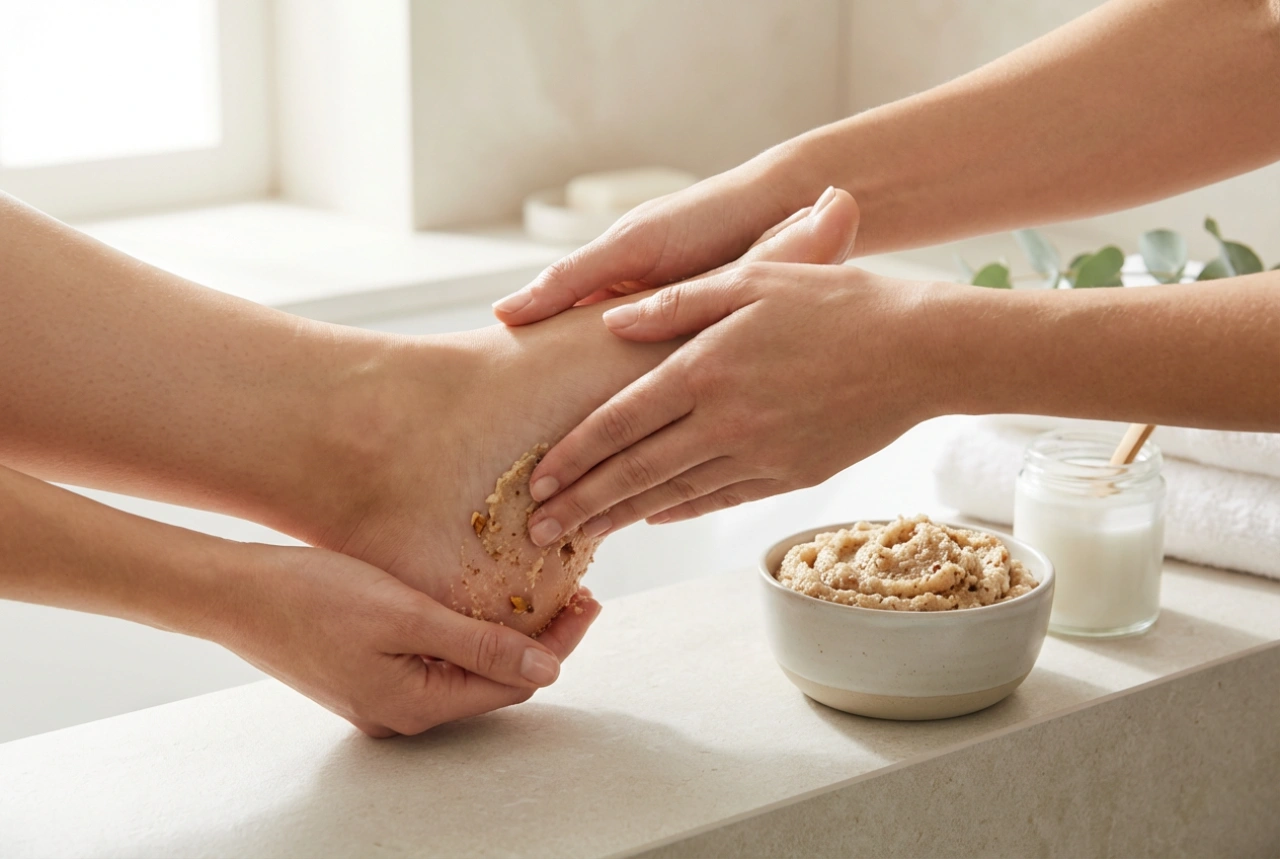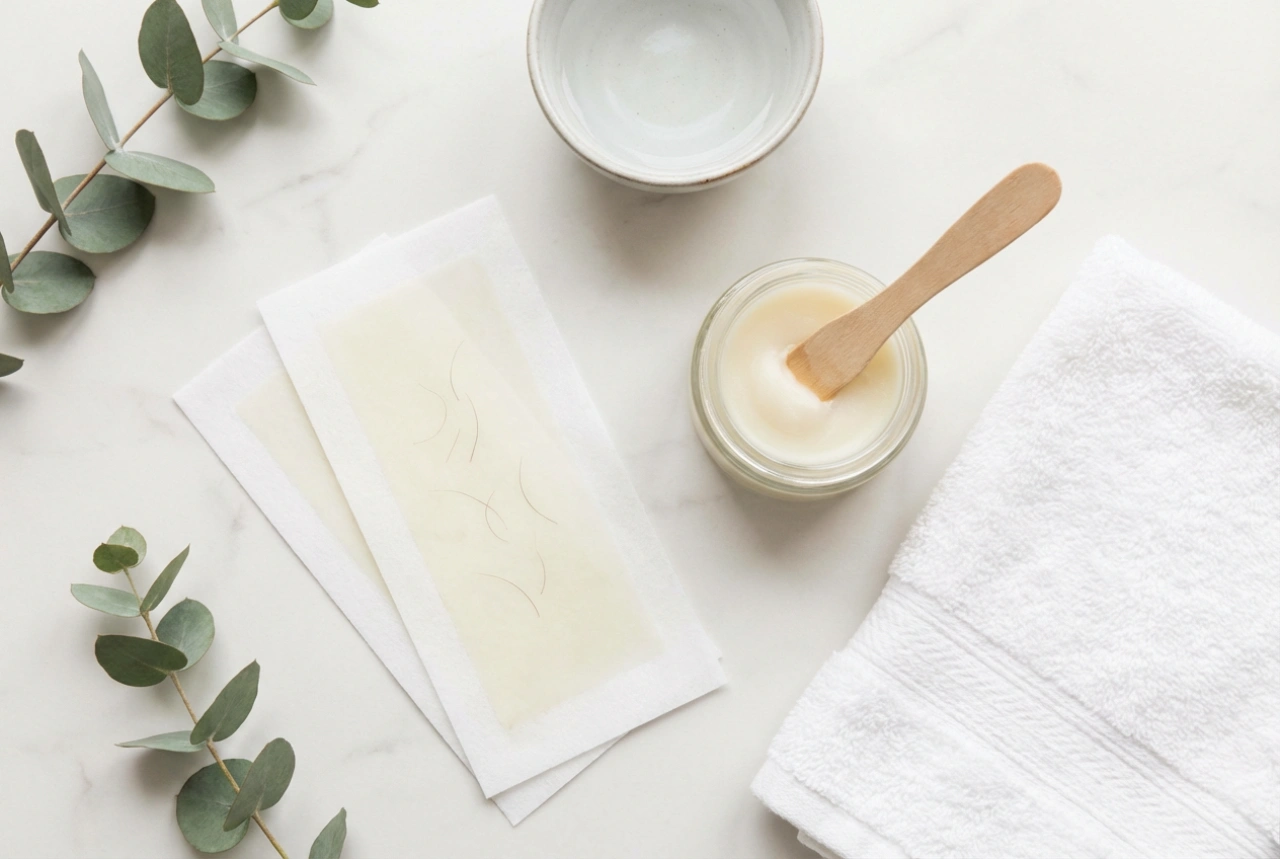


Achieving silky smooth skin at home has never been easier, especially with the convenience of ready-to-use wax strips. When arranged on a clean vanity, these simple tools represent a straightforward, accessible approach to hair removal. Unlike salon treatments, using wax strips allows you to manage your personal care routine in the comfort of your own home, at a time that suits you best. To achieve the best possible results, it is essential to understand the nuances of prep work, strip selection, and application technique.
Selecting the right strip size for each area
Not all wax strips are created equal, and using the correct size is the first step toward a successful and comfortable hair removal process. Standard packages typically offer a variety of dimensions tailored for different parts of the body.
- Large strips: These are designed for flat, broad areas such as the legs and arms. Using a large strip on these areas ensures maximum coverage and speeds up the entire process.
- Medium strips: Ideal for underarms or the bikini line, these strips offer a balance between coverage and precision, allowing you to navigate the natural contours of the body.
- Small strips: Specifically shaped for delicate facial areas, such as the upper lip or eyebrows. Using a small strip ensures that you only target the unwanted hair without affecting the surrounding skin.
The art of warming the wax
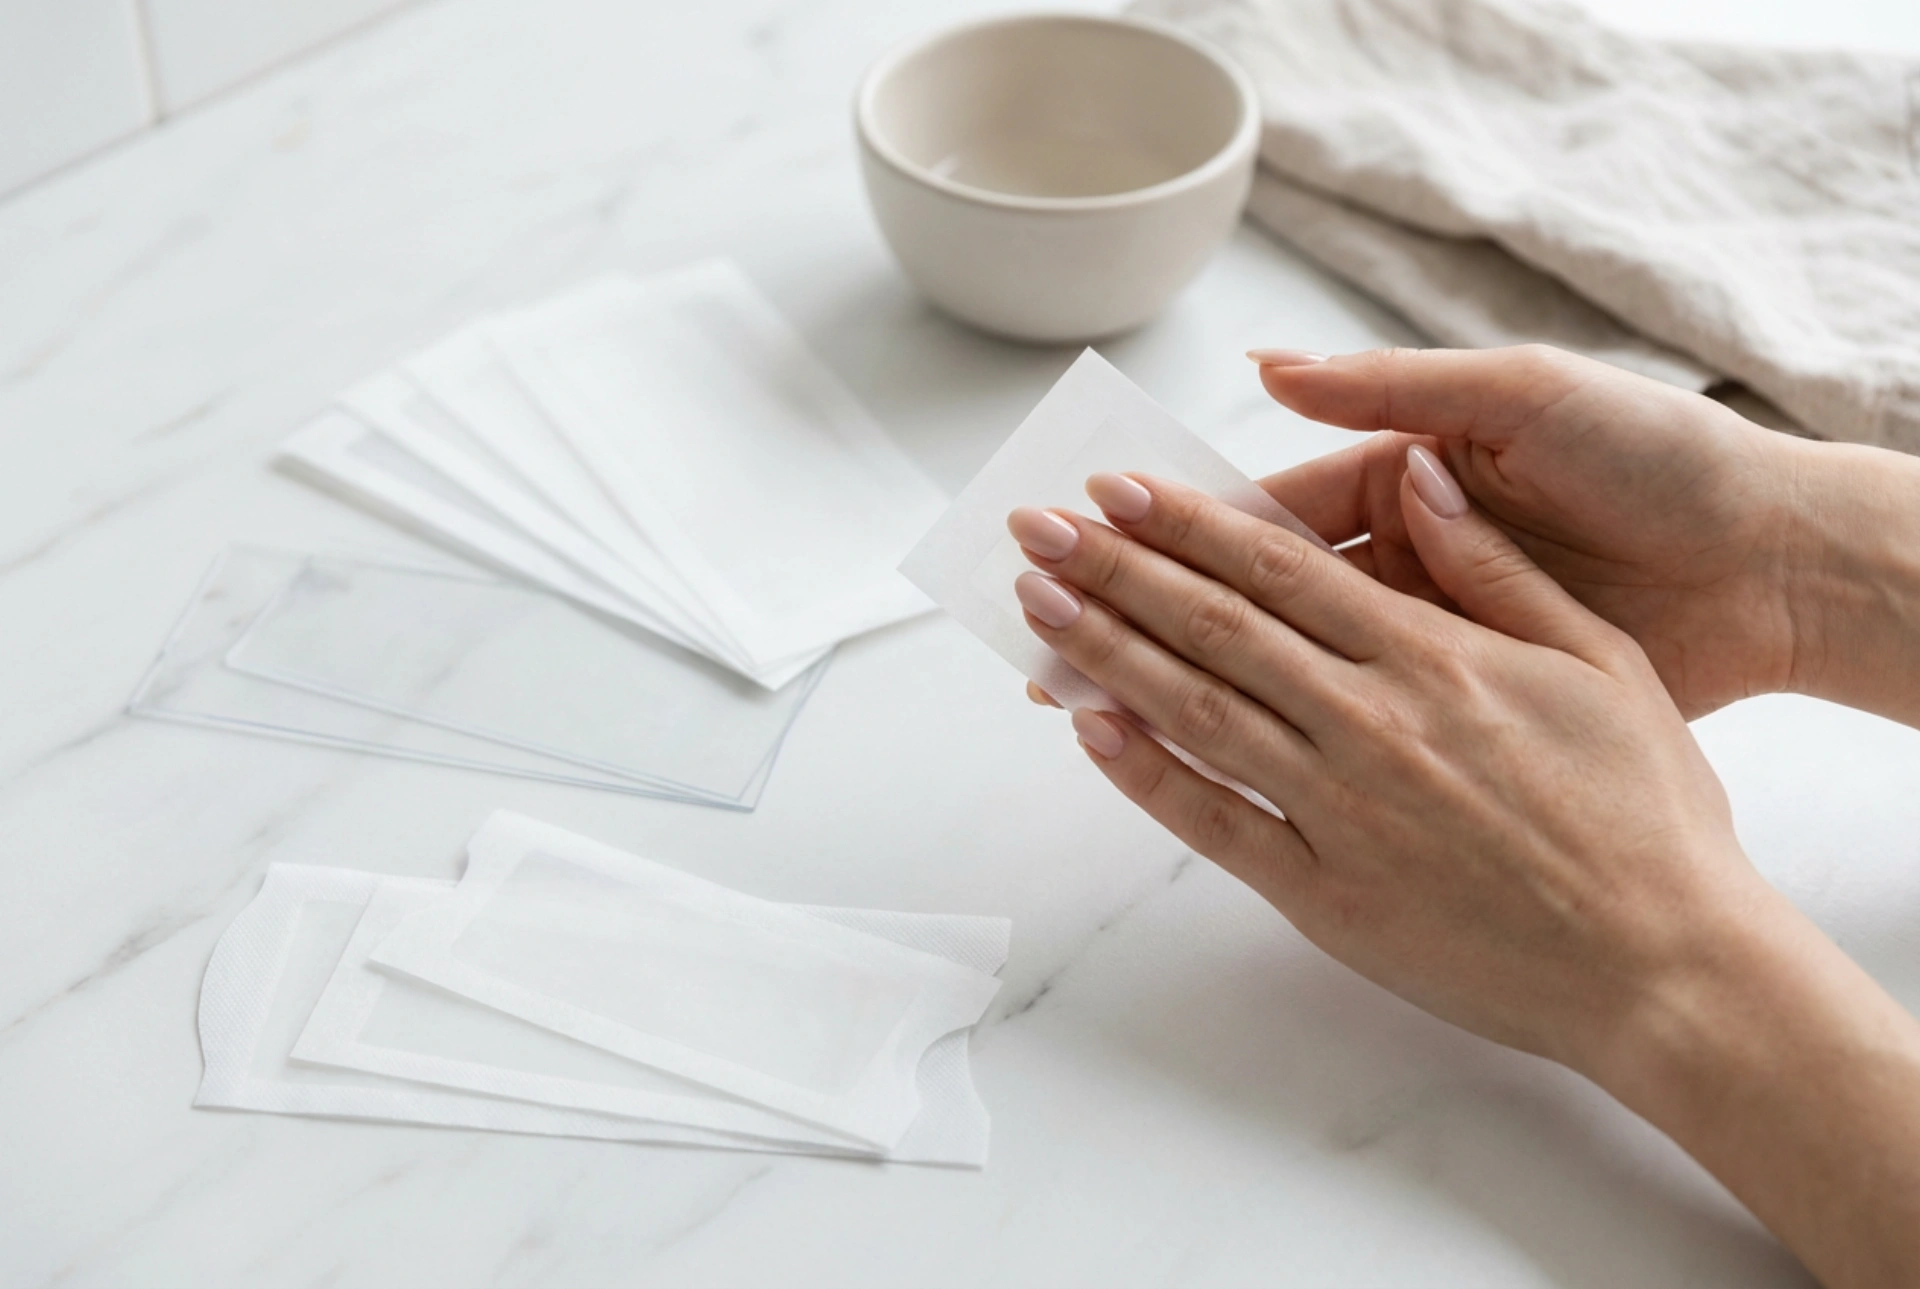
Before applying a wax strip to your skin, the wax must be activated. The most common and safest method to warm the wax is by using the natural heat of your hands. Place the double-sided strip between your palms and rub them together vigorously for about fifteen to thirty seconds. This friction generates a gentle, consistent warmth that softens the formula, making it highly adhesive and ready to grip the hair shafts. Avoid using external heat sources like hair dryers or radiators, as excessive heat can compromise the consistency of the wax and cause discomfort upon application.
Step-by-step application and peeling technique
The success of home waxing lies almost entirely in the pulling technique. Once the strip is sufficiently warm, slowly peel the two sides apart to expose the active wax. Apply one strip to the prepared skin, smoothing it down firmly in the direction of your hair growth. Pressing down firmly ensures that every single hair is securely embedded in the wax.
To remove the strip, hold the skin taut with one hand. This step is crucial as it minimizes skin movement and reduces discomfort. With your other hand, grip the bottom edge of the strip and pull it back quickly in a single, fluid motion. Always pull the strip back parallel to the skin and in the opposite direction of hair growth. Avoid pulling the strip upward or away from the body, as this can lead to incomplete hair removal and unnecessary skin irritation.
Post-waxing skin care and maintenance
After you have successfully removed the hair, it is important to soothe the treated skin. Any remaining wax residue can be easily dissolved and wiped away using a gentle cosmetic oil, such as sweet almond oil or standard baby oil. Avoid using water or soap immediately after waxing, as this will not dissolve the wax and may dry out the skin. For the next twenty-four hours, opt for loose clothing, keep the skin clean, and apply a lightweight, fragrance-free lotion to keep the area soft, hydrated, and calm.