


An electric nail file can be a fantastic tool for achieving a professional-looking manicure at home, but its power can be intimidating for a first-time user. The key to success is approaching it with patience and a focus on learning the correct technique. A steady hand and a clear understanding of the device's functions are essential for safe and beautiful results. This guide will walk you through the fundamentals, from basic settings to the proper grip, helping you build confidence with your new tool.
Understanding Your Electric Nail File
Before you even turn it on, take a moment to get acquainted with your new device. While models vary, most have similar core components that you need to understand to use them effectively.
The Main Components
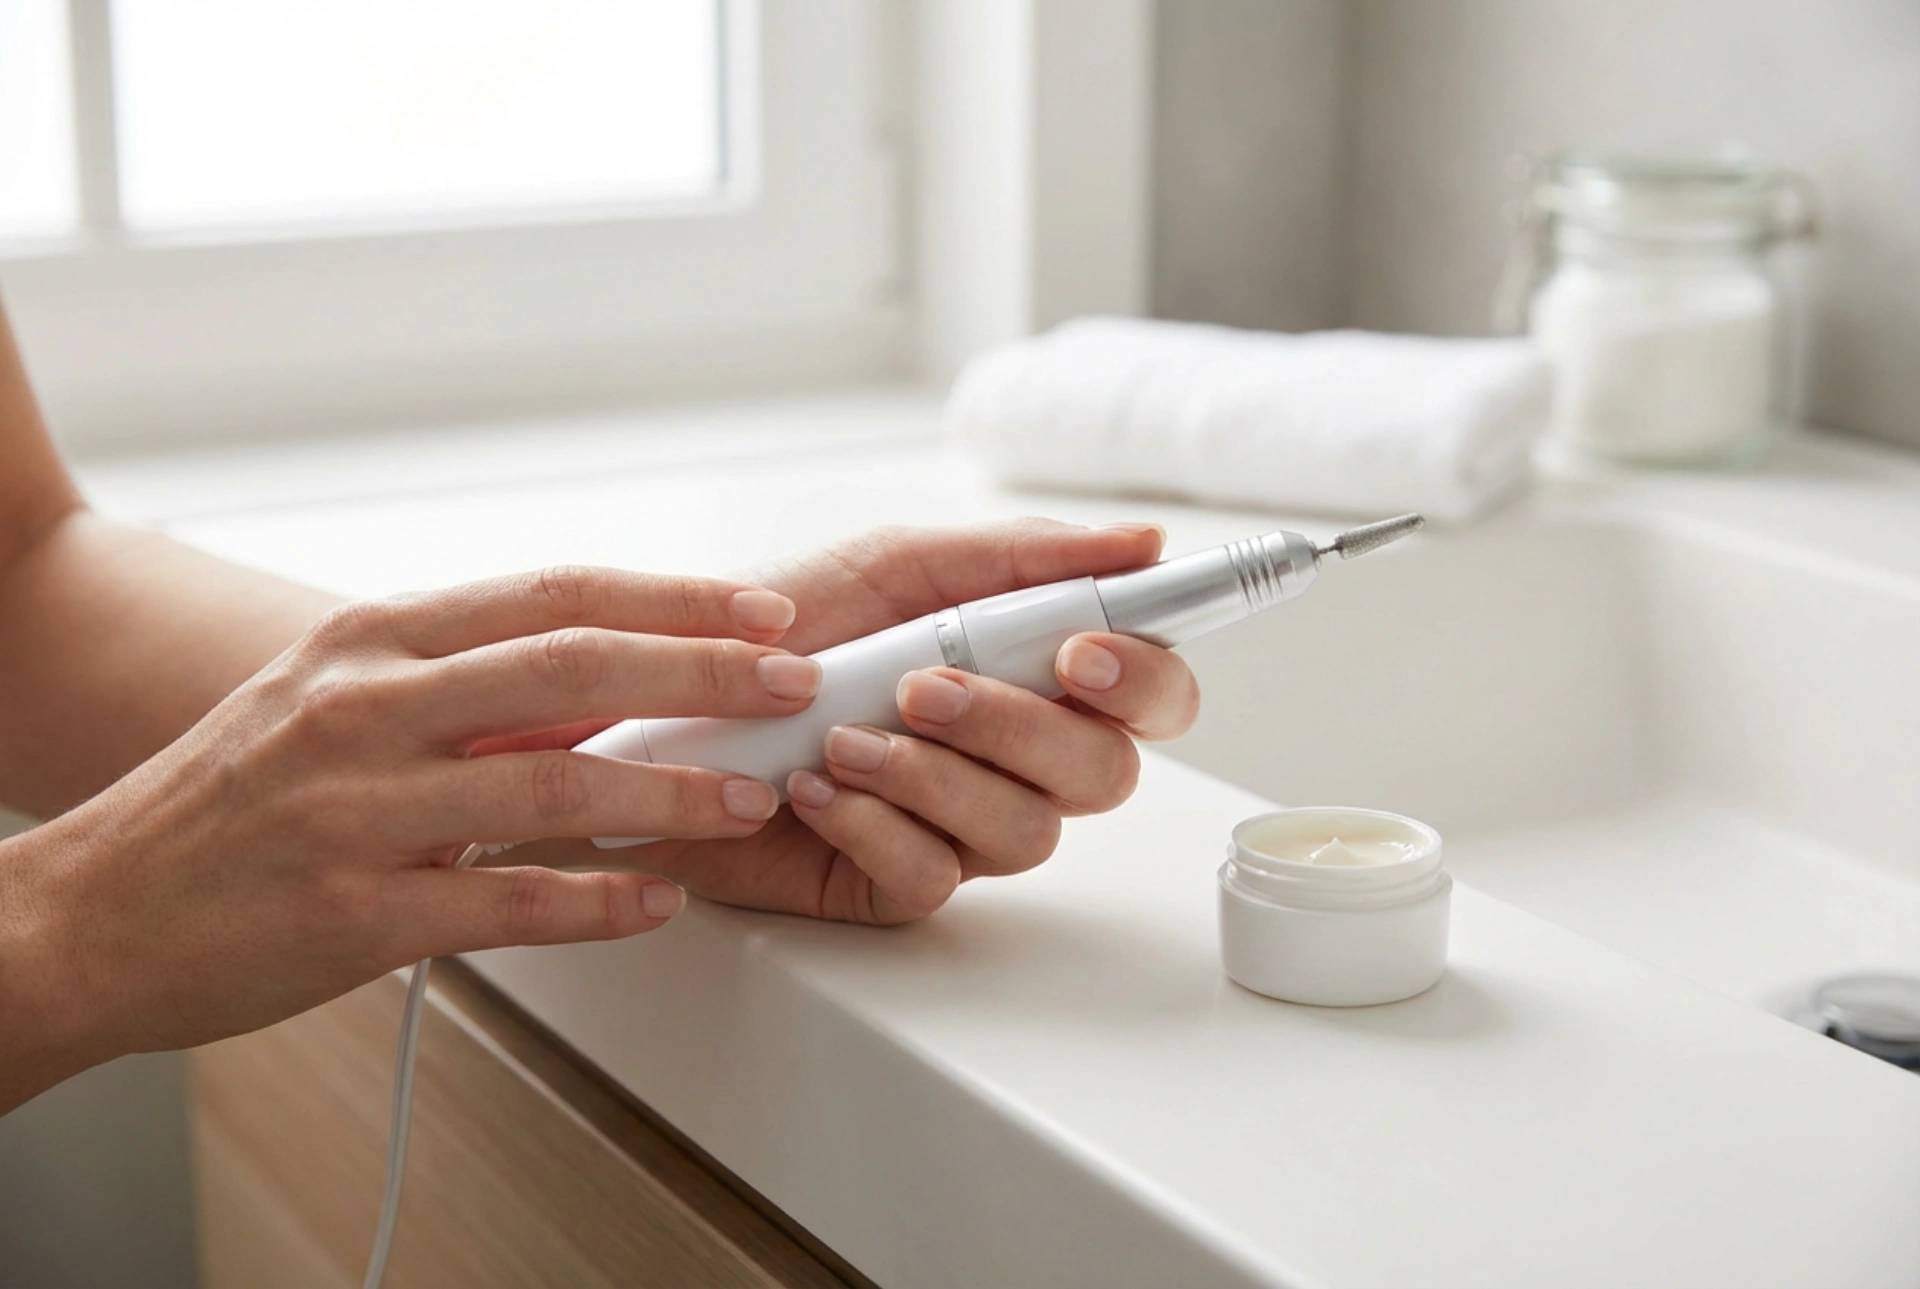
Your electric file, or e-file, consists of a main handpiece, which is the part you hold. This houses the motor. It will either be connected by a cord to a power box with controls, or it will be a cordless, all-in-one unit. Familiarise yourself with the speed control dial or buttons, which allow you to adjust the rotations per minute (RPM). You should also locate the forward/reverse switch. For right-handed users, 'Forward' (F) is typically used, and for left-handed users, 'Reverse' (R) provides better control.
An Introduction to Filing Bits
The attachments that do the actual work are called 'bits'. They come in many shapes, sizes, and materials. For a beginner, it's best to start with a few basic, fine-grit options:
- Mandrel Bit with Sanding Bands: This is a metal or rubber bit that you slide disposable sanding bands onto. They are great for shortening the nail and removing surface products. Always start with a high-grit (meaning finer and less abrasive) band.
- Barrel or Cone Bits: These are often made of carbide or ceramic and are used for surface work, shaping, and shortening. A fine-grit cone bit can be useful for refining the nail shape.
- Pointed or Flame Bits: These smaller bits are designed for more detailed work, such as cleaning around the cuticle area. A beginner should use these with extreme caution and only on the nail plate, never on the skin.
Initial Setup and Safety Precautions
Safety is the most important aspect of learning to use an e-file. Incorrect use can damage the nail plate and surrounding skin. Always prioritise control over speed.
Choosing the Right Speed
Your mantra as a beginner should be: "start low and go slow." Set your device to its lowest possible speed. This will likely be between 2,000 and 5,000 RPM. This speed is more than enough for working on natural nails. High speeds are for experienced technicians removing tough enhancement products, not for basic manicures. You can gradually increase the speed as you become more comfortable and controlled, but there is rarely a need to go above 10,000-15,000 RPM for natural nail care.
Essential Safety Rules
- Never Apply Pressure: Let the bit do the work. The weight of the handpiece is usually enough. Pressing down can cause friction, heat, and damage.
- Keep it Moving: Never hold the spinning bit in one spot on the nail. This creates intense heat, which can be painful and damaging. Use light, consistent, sweeping motions across the nail.
- Secure the Bit: Always ensure the bit is properly locked into the handpiece before turning the power on. A loose bit can fly off and cause injury.
- Stay Away from Skin: Be especially careful around the cuticle and sidewalls. It's easy to accidentally abrade the skin.
- Work in a Clean, Stable Environment: Make sure you are sitting at a sturdy table with good lighting.
Mastering the Correct Grip and Movement
How you hold the tool directly impacts your control and the final result. Take the time to find a comfortable and stable position before you begin.
Holding the Handpiece
Hold the handpiece like a pencil or pen, close to the end where the bit is inserted. This provides the most precision and control. Don't clutch it tightly in your fist, as this leads to a lack of fine motor control and can cause your hand to cramp. Rest your wrist or forearm on the table to stabilise your hand. You can also use the little finger of the hand holding the file to brace against the fingers of your other hand for extra stability.
Practising Your Technique
It's highly recommended to practise on something other than your own nails first. You can purchase inexpensive practice fingers or nail tips. Alternatively, you can use a thick piece of card or an old, hard-shelled fruit like a lemon to get a feel for how the bit removes material. Practise making smooth, even strokes without stopping in one place. Pay attention to how different angles and movements affect the surface. Once you feel more confident, you can move on to your own nails, starting with just one to test your skills.
A Step-by-Step Guide for First-Time Use
When you're ready to try it on your nails, follow this simple process. Remember to keep the speed low and the touch light.
1. Preparation
Start with clean, dry, and polish-free nails. Do not soak them in water beforehand, as this softens the nail plate and makes it more susceptible to damage from the e-file.
2. Shaping and Shortening
Select a fine-grit sanding band or a fine barrel bit. Set the e-file to its lowest speed. Gently touch the bit to the free edge of your nail. Move the file in one direction (e.g., from side to centre) across the tip to shorten and shape it. Avoid a back-and-forth sawing motion.
3. Gentle Cuticle Area Tidying
This step requires the most care. Use a fine-grit flame or pointed bit. With the device on a very low speed, gently trace the area where the skin meets the nail plate to remove any non-living tissue that has grown up onto the nail. Do not touch the skin itself or the proximal nail fold (the area often mistaken for the cuticle). Keep the bit parallel to the nail plate to avoid drilling into it.
4. Finishing Up
After filing, use a soft brush to remove all the dust. Wash your hands to get rid of any remaining residue. Finish your manicure by applying a nourishing cuticle oil to the skin around your nails and a hydrating hand cream. This will restore moisture and leave your hands looking and feeling great.


