


Achieving a durable, glossy manicure at home is more accessible than ever, thanks to dip powder systems. Unlike traditional polishes, this method offers remarkable longevity and strength, rivalling professional salon results. Understanding the components of a dip powder kit and how to use them is the first step towards mastering this popular nail technique. This guide will walk you through everything you need to know to select and use a home dip powder kit effectively for beautiful, long-lasting nails.
What is a Dip Powder Manicure?
A dip powder manicure is a nail enhancement technique that involves applying a series of liquids to the nail and then dipping it into a finely milled acrylic powder. The process is repeated to build thickness and colour. The key difference from other systems is that it cures with a chemical activator rather than a UV or LED lamp, making it a convenient option for home use. The result is a strong, flexible, and shiny finish that can last for several weeks without chipping. It's an excellent choice for those seeking a more robust alternative to regular nail polish or a simpler process than gel systems.
Essential Components of a Starter Kit
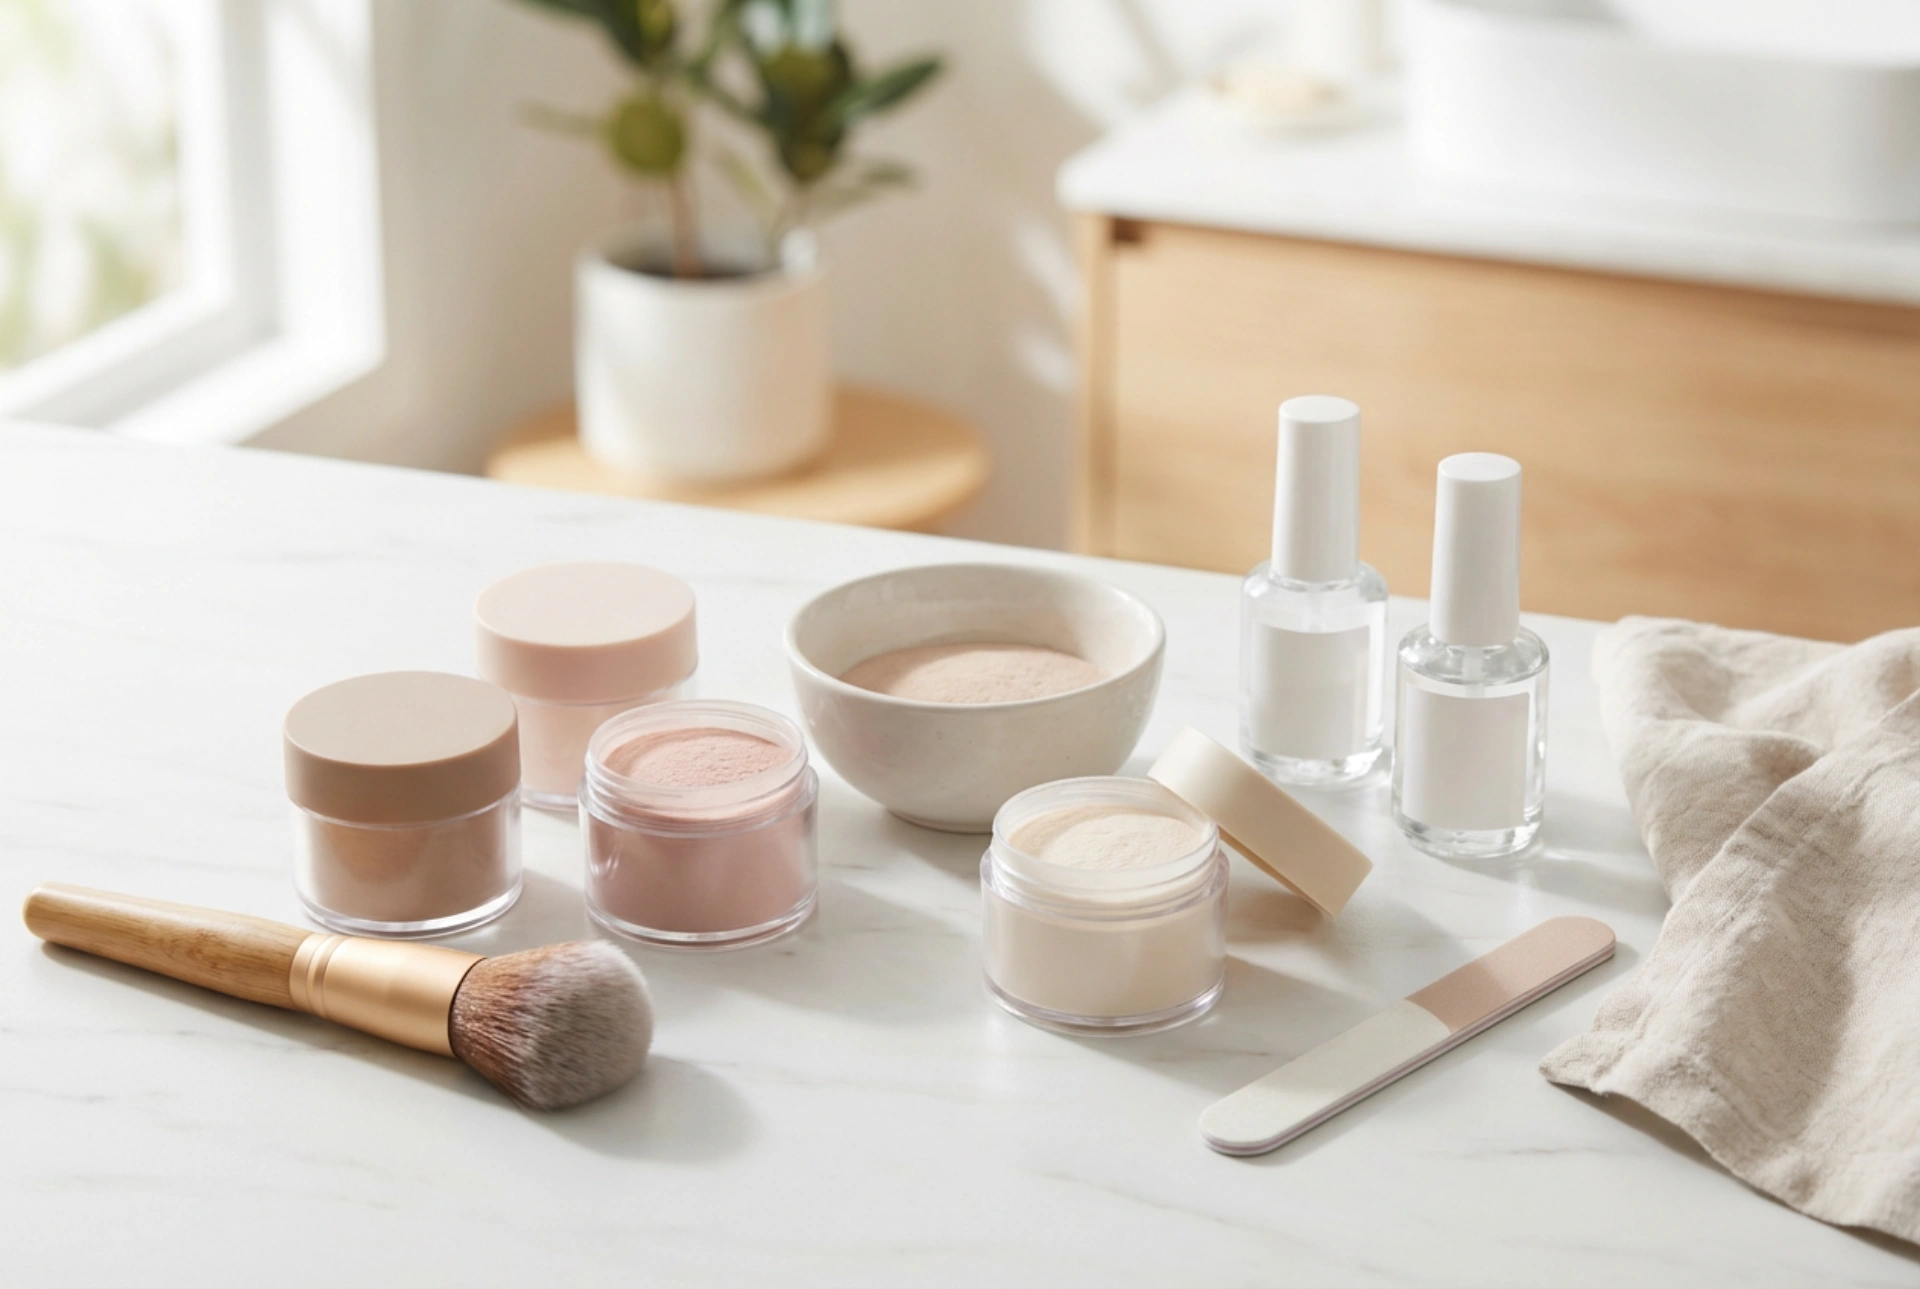
When you open a typical dip powder starter kit, you will find several numbered bottles and jars. Each plays a crucial role in the application process. Understanding their function is key to a successful manicure.
- Nail Prep/Bonder: This is the first liquid applied. Its purpose is to dehydrate the nail plate and remove any oils, creating an ideal surface for the products to adhere to. This step is vital for preventing lifting and ensuring the manicure lasts.
- Base Coat: This is a resin-based adhesive that acts as the glue for the powder. You apply a thin layer to the nail just before dipping it into the powder. The quality of the base coat significantly impacts how smoothly the powder applies and the overall durability of the manicure.
- Dipping Powder: This is the heart of the system. It comes in a wide range of colours, as well as clear for encapsulation or strengthening natural nails. The powder's fine texture allows it to create a smooth, even surface when applied correctly.
- Activator: After applying the powder, the activator is brushed on. This liquid is a monomer catalyst that reacts with the base resin and the powder, instantly hardening the mixture. It cures the product without the need for a lamp and prepares the surface for filing and shaping.
- Top Coat: The final step is the top coat, which provides a high-gloss, protective finish. Most dip system top coats are also air-dried and work in conjunction with the activator to create a tough, shiny layer that resists scratches and chipping.
- Brush Saver: This is a bottle of solvent used to clean your application brushes. If the base or top coat brushes harden from contact with powder or activator, you can soak them in the brush saver to dissolve the residue and restore the bristles.
Additional Tools You Might Need
While the liquids and powders are the core of the system, most kits also include essential tools. Look for a kit that contains a cuticle pusher, a nail file, and a buffer block. These are necessary for preparing the nails and for shaping and smoothing the hardened dip powder before applying the top coat. A fluffy brush is also useful for dusting off excess powder between layers.
Choosing the Right Kit for You
With many options available, selecting the right kit can seem daunting. Consider your experience level and goals.
For Beginners
If you are new to dip powder, look for a comprehensive starter kit that includes all the essential liquids, a few versatile powder colours (like a neutral, a classic red, and a clear powder), and all the necessary tools. Clear instructions are also a hallmark of a good beginner's kit. Starting with a basic but complete set allows you to learn the technique without being overwhelmed by too many choices.
Colour and Finish Selection
Consider the types of colours and finishes you enjoy wearing. Some kits focus on classic crème colours, while others offer glitters, shimmers, or specialty effect powders. If you have specific preferences, it may be better to buy the essential liquids separately and then choose individual powder colours that you will genuinely use.
Tips for a Flawless Application
To get the best results from your home dip powder manicure, keep these tips in mind. Always start with properly prepared nails: clean, dry, and with pushed-back cuticles. Apply the base coat in thin, even layers to avoid bulkiness. After dipping, tap off the excess powder before moving to the next nail. When it's time to file and shape, ensure the product is fully hardened by the activator to prevent gumminess. Finally, work in a well-ventilated area, as the liquids can have a strong odour.


