


Creating a beautiful, long-lasting pedicure at home is a wonderful way to practise self-care and keep your feet looking pristine. A gel pedicure offers a durable, high-shine finish that regular polish often can't match. While it may seem complex, achieving a professional-looking result is entirely possible with the right tools and a clear, step-by-step method. This guide will walk you through the entire process, from preparing your nails to safely removing the polish, ensuring your at-home beauty ritual is both successful and enjoyable.
Preparation is Key: Getting Your Feet Ready
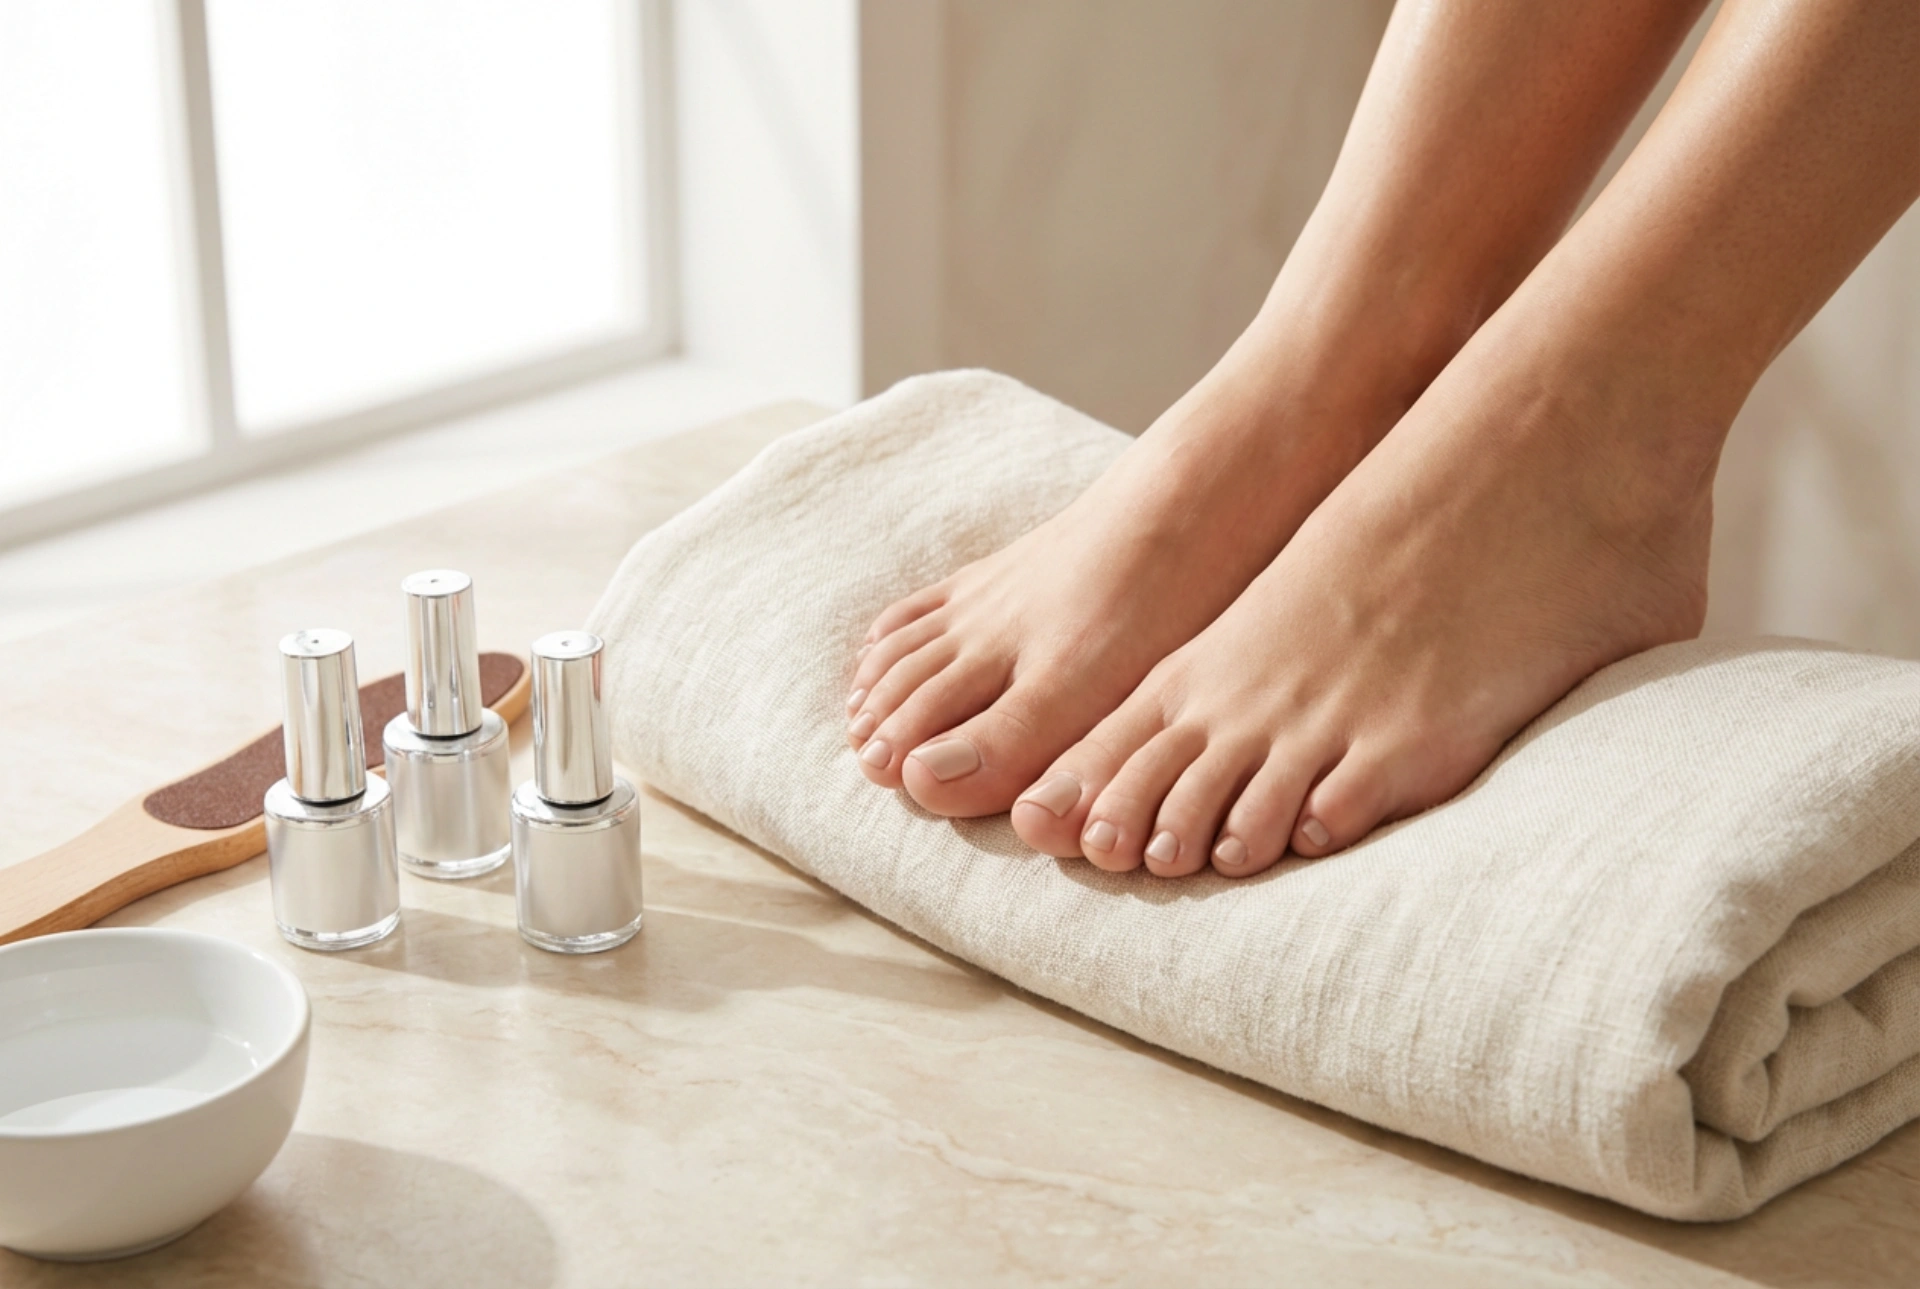
Before you even think about opening a bottle of polish, proper preparation is essential for a smooth application and long-lasting wear. A clean and well-prepared canvas will help the gel adhere properly and prevent lifting.
Gather Your Tools
Ensure you have everything you need within easy reach. You will need:
- A UV or LED lamp designed for curing gel polish
- Nail clippers and a nail file (a 180/240 grit is ideal)
- A nail buffer
- A cuticle pusher or wooden orangewood stick
- Cuticle remover solution (optional)
- Nail cleanser or isopropyl alcohol
- Lint-free wipes
- Gel base coat, colour polish, and top coat
Prepare Your Nails and Cuticles
Start by removing any old polish. Trim your toenails to your desired length using nail clippers, cutting straight across to help avoid ingrown nails. Use a nail file to gently shape the edges. Next, focus on your cuticles. You can apply a cuticle remover solution and let it sit for a minute, then gently push back the softened skin with a cuticle pusher. Avoid cutting your cuticles, as this can lead to irritation. Finally, take a nail buffer and lightly buff the entire surface of each nail. This removes the natural shine and creates a slightly rougher texture for the gel to grip. Once done, wipe each nail thoroughly with a lint-free wipe soaked in nail cleanser to remove any dust and oils.
The Gel Application Process: A Step-by-Step Guide
With your nails prepped, it's time for the application. Work on one foot at a time. The key is to apply thin, even coats to prevent the polish from running into the cuticles or appearing bulky. Remember to cure each layer fully before moving to the next.
Applying the Coats
Follow these steps for a perfect application:
- Base Coat: Apply a very thin layer of the gel base coat to each nail. Be careful to avoid touching your skin or cuticles. If you do get any on your skin, clean it up with a wooden stick before curing. Cure the base coat under your lamp according to the manufacturer's instructions (typically 30-60 seconds).
- Colour Coat: Apply your first layer of gel colour. Again, keep the coat thin and even. 'Cap' the free edge of the nail by running the brush along the tip; this helps to seal the polish and prevent chipping. Cure this layer completely. Apply a second coat of colour for full opacity, curing it for the same amount of time. Some lighter or sheer colours may require a third coat.
- Top Coat: Apply a thin layer of the gel top coat, making sure to cover the entire nail and cap the free edge. This layer provides the high-gloss shine and durable protection. Cure this final layer, sometimes for a slightly longer duration as per the product's directions (e.g., 60-90 seconds).
- Final Cleanse: After the final cure, many gel top coats leave a sticky or tacky layer. This is normal. Take a lint-free wipe with nail cleanser or isopropyl alcohol and wipe each nail firmly to remove the sticky residue and reveal the hard, glossy finish underneath.
Tips for a Flawless Finish and Longevity
A few extra tricks can elevate your at-home pedicure. Always work in a well-lit area to see exactly where you are applying the polish. If you struggle with a steady hand, rest your foot on a stable surface. Proper curing is non-negotiable; under-cured gel will feel rubbery and peel quickly. To prolong the life of your pedicure, apply a cuticle oil daily to keep the skin around your nails hydrated, and avoid exposing your feet to harsh chemicals without protection.
Safe Removal of Gel Polish at Home
Never pick or peel off gel polish, as this rips off layers of your natural nail and causes significant damage. The correct method is to soak it off.
The Soak-Off Method
First, use a coarse nail file to gently buff the shiny surface of the top coat. This breaks the seal and allows the remover to penetrate the polish. Next, soak a cotton ball piece (small enough to cover the nail) in a pure acetone remover. Place the soaked cotton on your nail and wrap your toe in a small piece of aluminium foil to hold it in place. Let it sit for 10-15 minutes. After this time, remove the foil and cotton. The gel polish should look lifted and be easy to gently scrape off with a wooden stick or cuticle pusher. If any stubborn spots remain, re-wrap for a few more minutes rather than forcing it. Once all the gel is removed, wash your feet and apply a nourishing oil to your nails and cuticles to rehydrate them.


