


The sight of warm, melted wax, smooth and luxurious in its container, signifies a moment of dedicated self-care. Among the various methods for achieving silky skin, stripless wax has gained immense popularity for its unique properties and effective results. Often referred to as hard wax, this method provides a different approach to hair removal, one that many find more comfortable and precise, especially for delicate areas. Understanding its benefits and the correct application technique is key to unlocking its full potential for a flawless finish.
What is Stripless Wax and How Does It Work?
Stripless wax is a type of depilatory wax that does not require cloth or paper strips for removal. It is typically made from a blend of resins, natural waxes like beeswax, and polymers. When heated, it melts into a thick, pliable consistency. Unlike soft wax (which requires strips), hard wax is applied to the skin, allowed to cool and harden, and then removed on its own. The magic of stripless wax lies in its mechanism: as it sets, it shrink-wraps around the hairs, gripping them firmly. Crucially, it adheres primarily to the hair and not the skin. This characteristic is what makes it a preferred choice for many, as it significantly reduces skin pulling and discomfort during the removal process.
The Main Advantages of Using Stripless Wax
Choosing stripless wax comes with a host of benefits that contribute to a more pleasant and effective hair removal experience. Its formulation and application method are designed to be both gentle and powerful.
- Reduced Skin Irritation: Because it sticks mainly to the hair, there is less tugging on the skin. This makes it an excellent option for individuals with sensitive skin or for use on delicate areas such as the face, underarms, and bikini line.
- Effective on Short Hair: Stripless wax can successfully grip and remove hairs as short as 1-2 millimetres. This means you don't have to wait as long between waxing sessions for regrowth.
- Lower Application Temperature: Hard wax generally has a lower melting point than traditional soft wax. This reduces the risk of accidental burns, making the process safer, especially for home users.
- No Strips Required: The absence of strips makes the process less messy and more economical in the long run. It also means less waste, which is a small but positive step for the environment.
- Greater Precision: The thick consistency of the wax allows for precise application, enabling you to create clean lines and target specific areas with ease. This is particularly useful for shaping eyebrows or tidying up the bikini area.
Preparing for a Stripless Wax Session
Proper preparation is the foundation of a successful waxing session. Taking a few simple steps beforehand ensures the wax performs optimally and helps to minimise any potential discomfort.
Skin Preparation
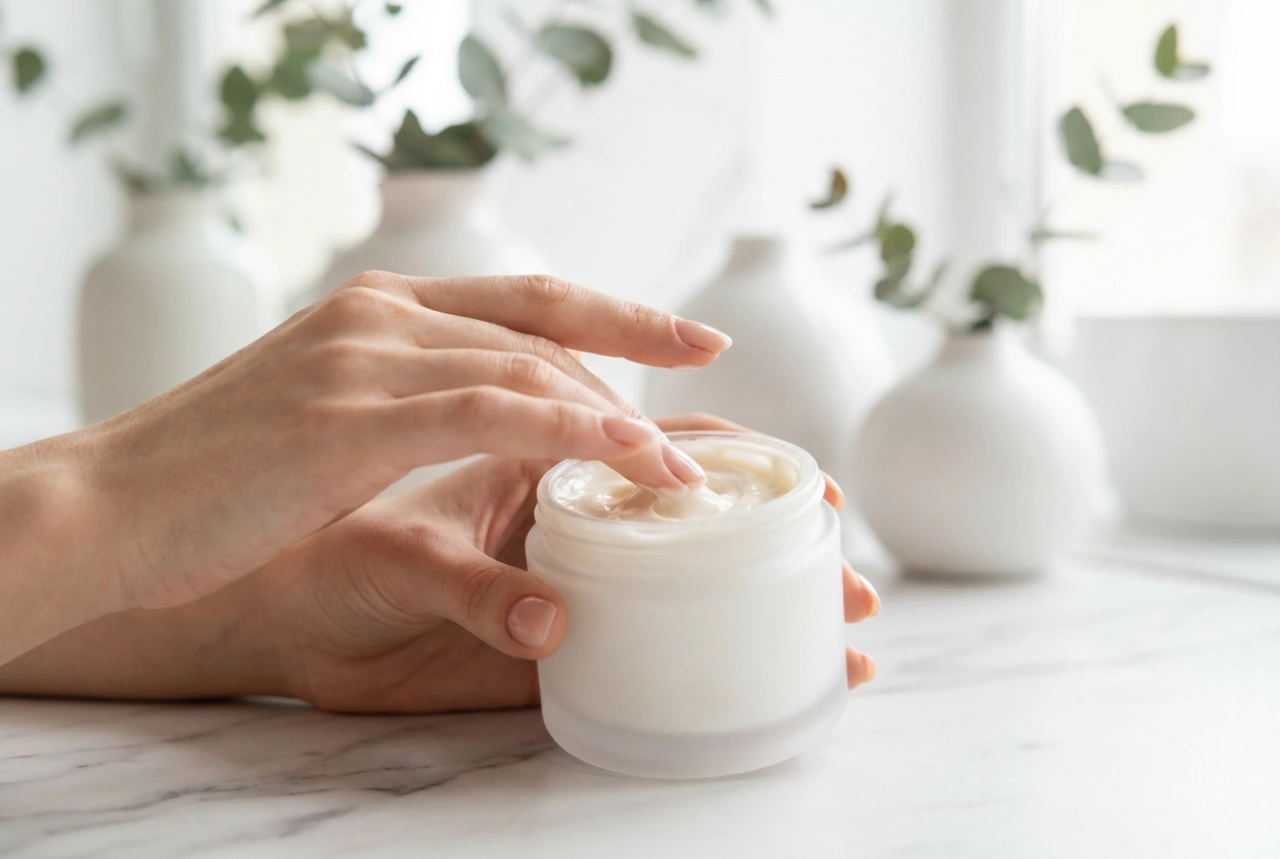
Start with clean, dry skin. Any residual oils, lotions, or sweat can prevent the wax from adhering properly to the hair. Take a warm shower beforehand to open up the pores, but make sure your skin is completely dry before you begin. A light exfoliation 24 to 48 hours prior to waxing can help remove dead skin cells and release any trapped hairs, but avoid exfoliating on the day of waxing to prevent over-sensitising the skin. For best results, you can apply a light dusting of talc-free powder or a specialised pre-wax cleanser to absorb any excess moisture.
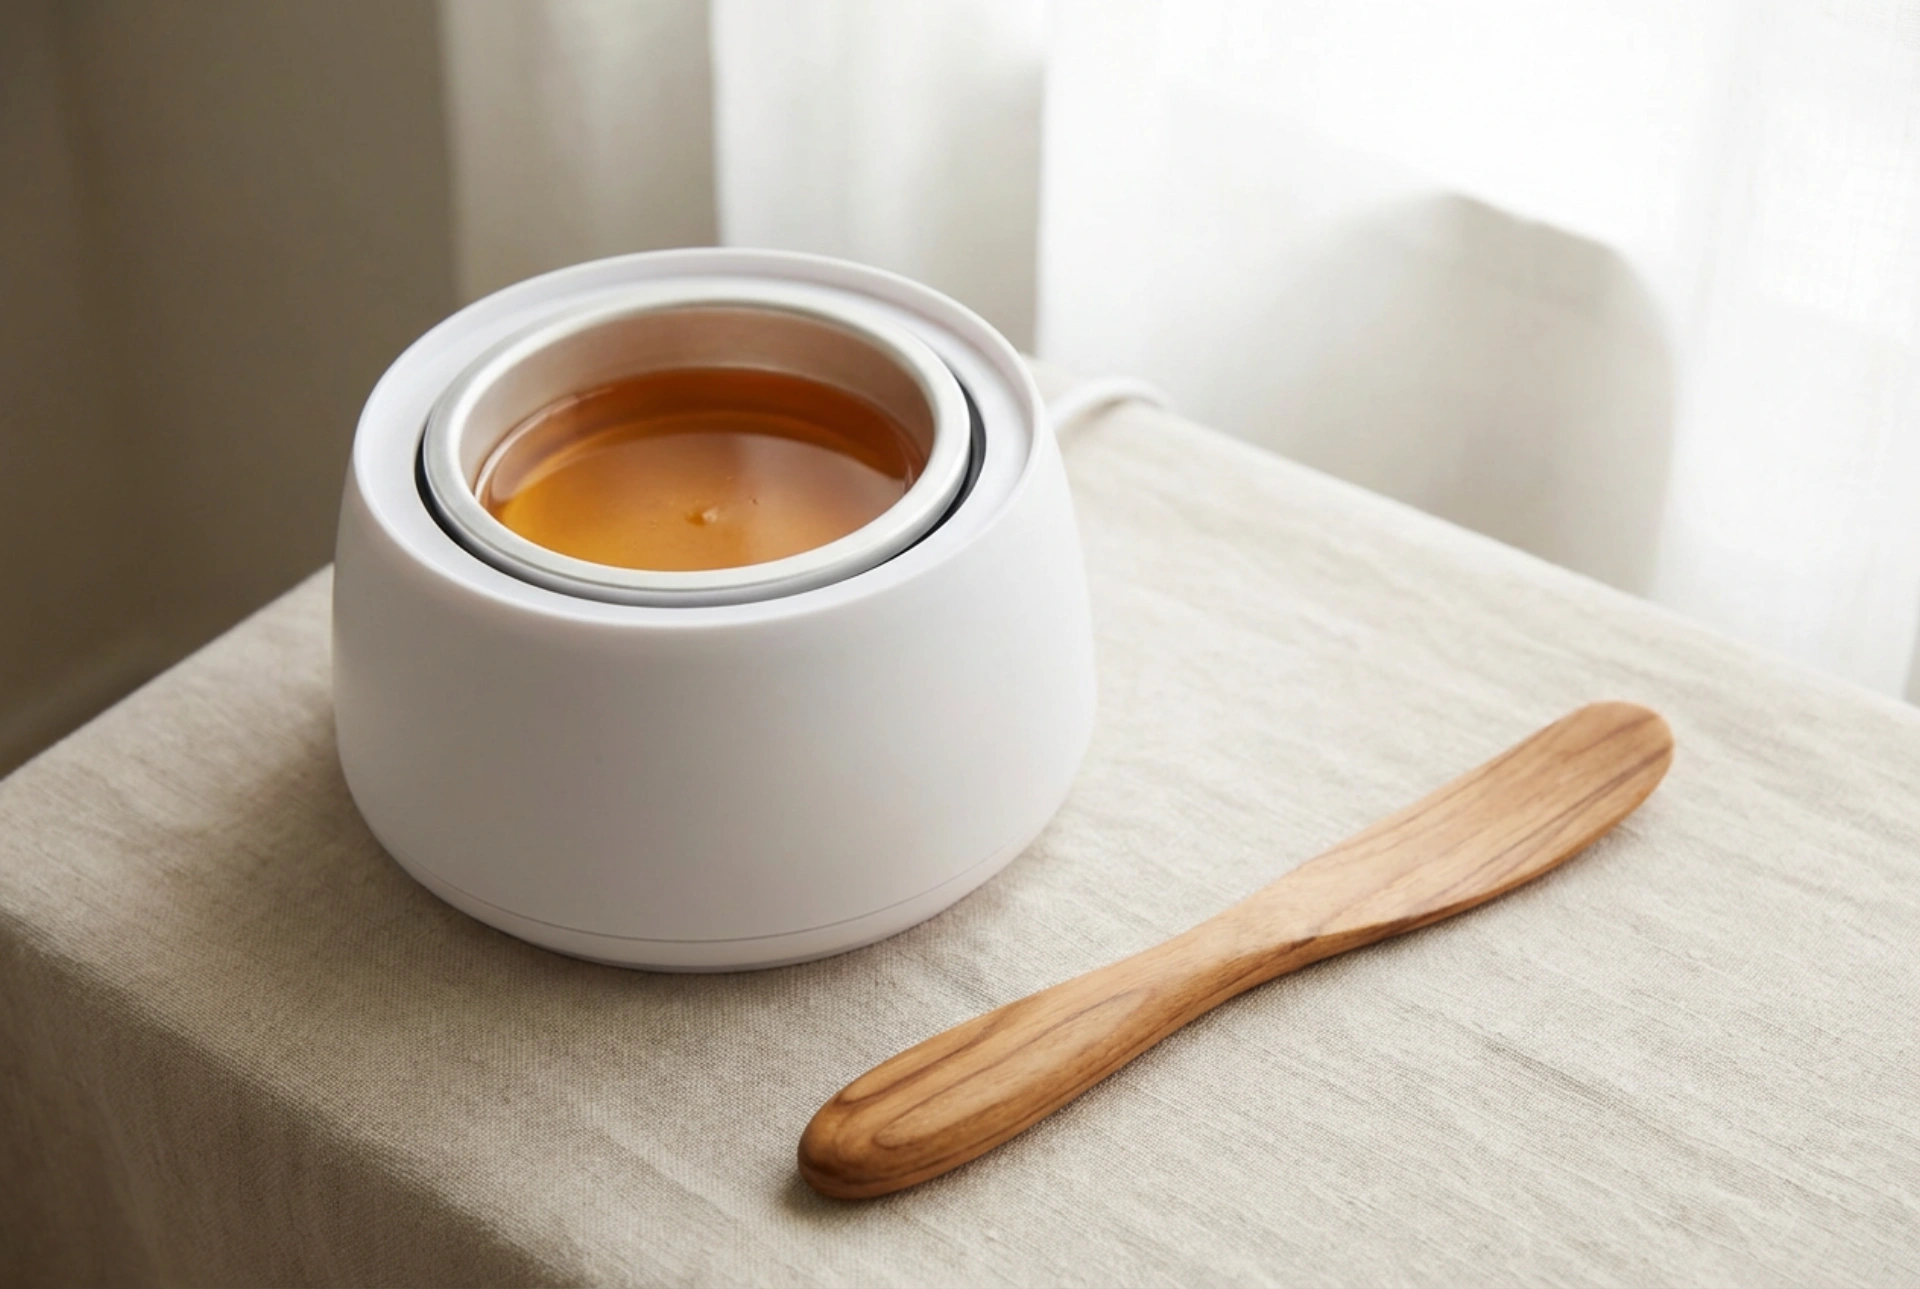
Heating the Wax Correctly
The temperature and consistency of the wax are critical. Most stripless waxes are designed to melt at a temperature between 40°C and 55°C. Always use a dedicated wax warmer with an adjustable temperature control, as this provides the safest and most consistent results. Never heat hard wax in a microwave unless the product instructions specifically state it is safe to do so. The ideal consistency is similar to that of thick honey or molasses – it should be smooth and spreadable, but not so runny that it drips uncontrollably from the spatula. Following the manufacturer’s heating instructions is paramount for safety and effectiveness.
Step-by-Step Guide to Applying Stripless Wax
Once your skin is prepped and the wax is at the perfect temperature, you are ready to begin the application process. Working methodically will give you the best, smoothest results.
- Test the Temperature: Before applying wax to a large area, always test a small patch on the inside of your wrist to ensure it is warm and comfortable, not hot.
- Apply the Wax: Using a clean wooden or silicone spatula, scoop up a generous amount of wax. Apply it to the skin in a thick, even layer in the direction of hair growth. The thickness should be similar to that of a coin.
- Create a 'Lip': As you finish applying the patch of wax, create a slightly thicker edge or 'lip' at the end. This will serve as a handle, making the wax much easier to grip and remove once it has set.
- Wait for it to Set: Allow the wax to cool and harden on your skin. This can take anywhere from 30 seconds to a minute, depending on the wax formula and the thickness of the application. You'll know it's ready when it is no longer tacky to the touch.
- Remove the Wax: Hold the skin taut with one hand to provide support. With the other hand, grip the lip you created and pull the wax strip off in one swift, confident motion. It's crucial to pull against the direction of hair growth and keep your hand parallel to the skin, rather than pulling upwards. This technique minimises breakage and ensures the hair is removed from the root.
Aftercare: How to Soothe Your Skin
Post-waxing care is just as important as the preparation. The skin will be sensitive, and proper aftercare helps to calm it, prevent irritation, and maintain smoothness.
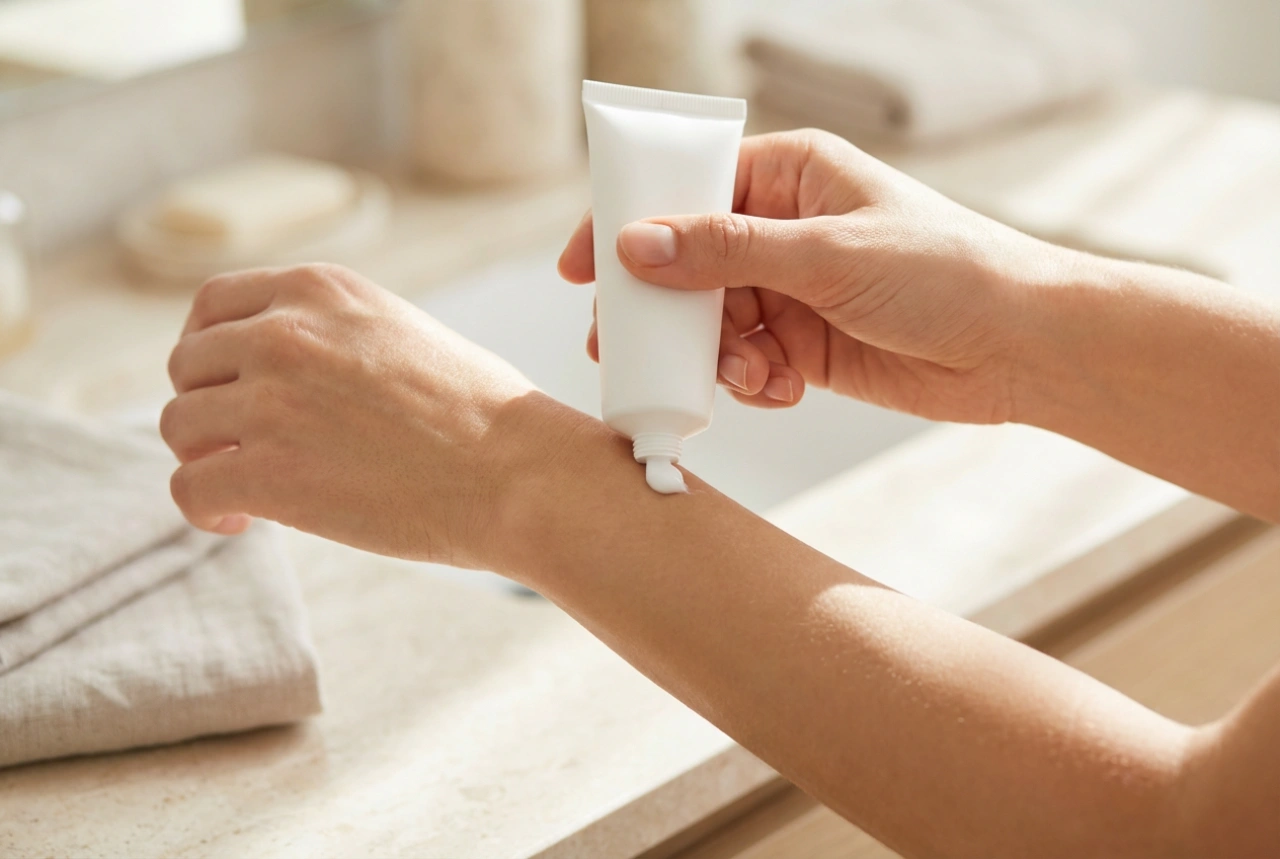
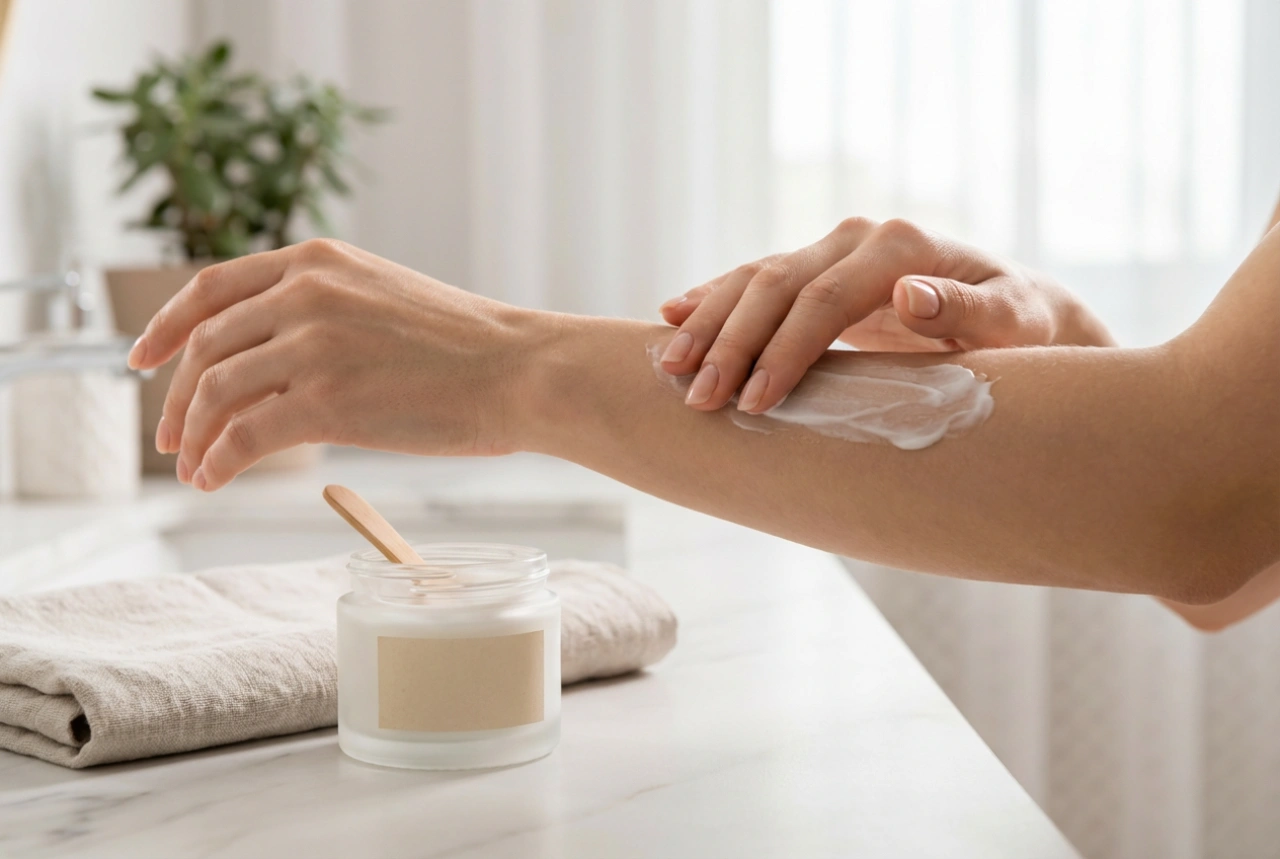
Immediately after waxing, apply a specialised post-wax oil or a gentle, alcohol-free lotion. This will help to remove any sticky wax residue while also soothing and moisturising the skin. Look for products containing calming ingredients. For the first 24 hours, it's best to avoid hot baths, saunas, swimming pools, and intense exercise, as heat and sweat can irritate the open follicles. Wear loose, comfortable clothing made from natural fabrics like cotton to allow your skin to breathe. To prevent ingrown hairs, begin gently exfoliating the area two to three days after your waxing session and continue to do so a few times a week.