


Pink nails are a timeless symbol of elegance, but they also serve as the perfect canvas for creative expression. Moving beyond a simple coat of colour, you can introduce intricate patterns and textures to achieve a truly bespoke manicure. Whether you're a fan of subtle details or bold statements, techniques like stamping, hand-painting with brushes, and gel contouring can transform your pink nails into a sophisticated accessory. This guide will walk you through these methods, helping you unlock your inner nail artist.
Preparing the Perfect Pink Base
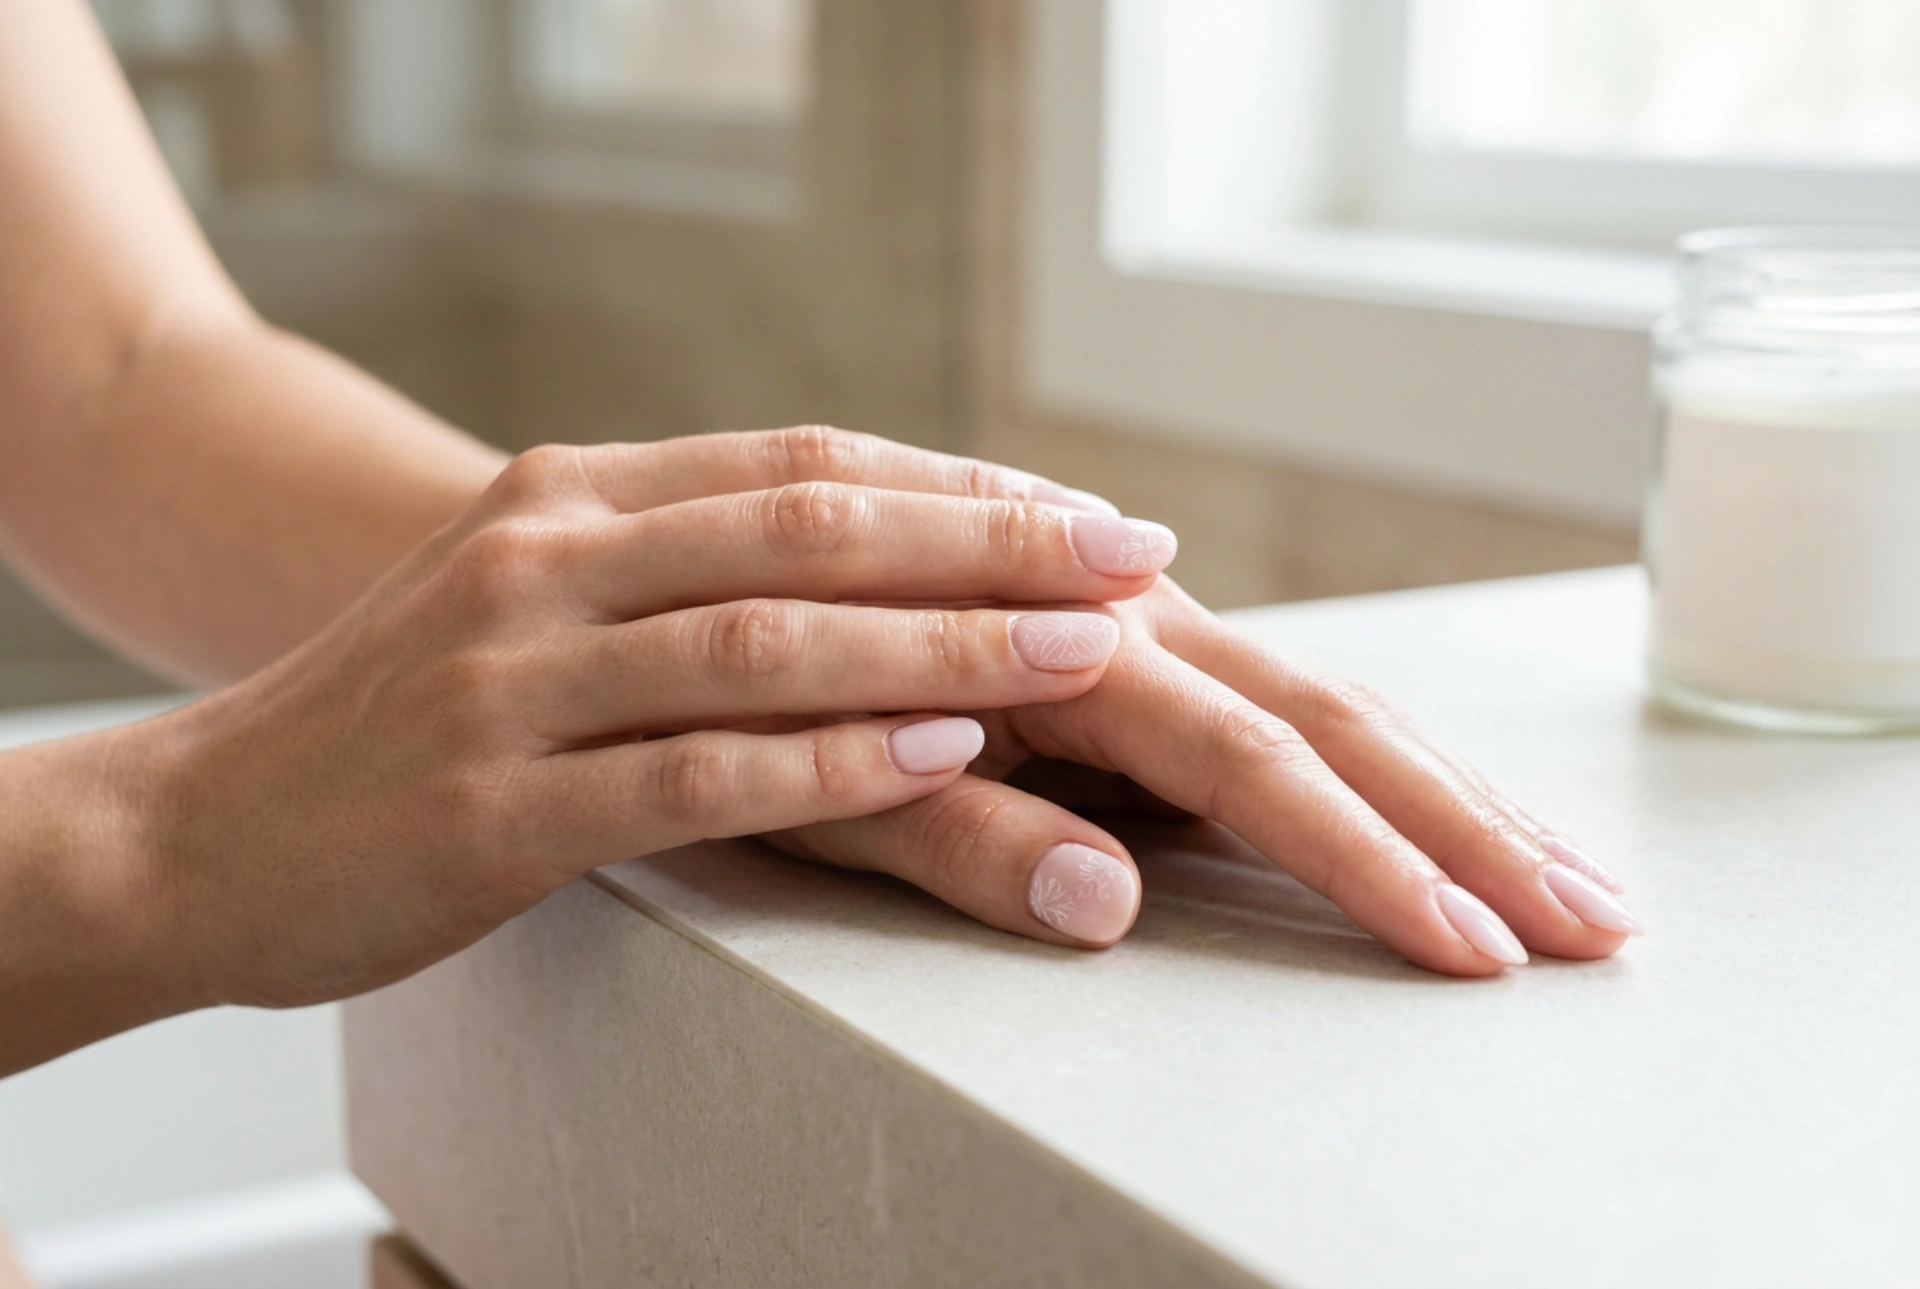
Before you begin decorating, a flawless base is essential. A well-prepared nail not only looks better but also helps your design last longer. Start by shaping your nails and gently pushing back your cuticles. Apply a quality base coat to protect your natural nails and create a smooth surface for the polish. Next, choose your desired shade of pink. Whether it's a soft pastel, a vibrant neon, or a dusty rose, apply two thin coats, allowing each to dry completely. A smooth, fully cured base is crucial for crisp, clean designs.
Effortless Detail with Nail Stamping
Nail stamping is a fantastic technique for achieving complex, repeatable patterns with precision. It's much easier than it looks and opens up a world of design possibilities, from delicate florals to geometric shapes.
What You Will Need
To get started with stamping, you'll need a few basic tools: a nail stamping plate with etched designs, a silicone stamper, a scraper, and a highly pigmented stamping polish. Stamping polishes are thicker than regular nail varnish, which allows them to be picked up by the stamper without drying too quickly.
The Stamping Process Step-by-Step
- Step 1: Apply a small amount of stamping polish over your chosen design on the stamping plate.
- Step 2: Hold the scraper at a 45-degree angle and firmly scrape away the excess polish. The polish should only remain within the etched design.
- Step 3: Gently press or roll the silicone stamper over the design to pick it up. Work quickly, as the polish can dry fast.
- Step 4: Carefully align the stamper with your nail and roll it from one side to the other to transfer the design.
- Step 5: Clean up any excess polish from your skin using a small brush dipped in nail polish remover. Once the design is dry, seal it with a top coat.
Artistic Freedom with Fine Brushes
For those who enjoy a more free-form approach, hand-painting designs with fine brushes offers limitless creative potential. This method allows you to create truly unique patterns, from simple lines and dots to more complex abstract art.
Choosing the Right Brushes
A few key brushes will cover most of your needs. A long, thin liner brush is perfect for straight lines and curves. A shorter, finer detail brush gives you more control for intricate work like small leaves or dots. You can use regular nail polish for painting, but acrylic paint can also be a good option as it gives you more working time and can be cleaned up with water.
Beginner-Friendly Brush Techniques
If you're new to brushwork, start simple. Try painting thin vertical or horizontal lines over your pink base. Create a polka-dot pattern using the end of a dotting tool or the tip of your brush. You can also try simple abstract shapes or delicate floral motifs. The key is to have a steady hand and not to load your brush with too much polish. Let each element dry before adding another to avoid smudging. The beauty of hand-painting is in its unique, imperfect charm.
Modern Dimension with Gel Contouring
Gel contouring is a more advanced technique that adds a subtle, three-dimensional effect to your nail art. It involves using a thick, clear or tinted building gel to create raised lines and shapes, adding texture and depth to your design. This method is perfect for outlining stamped patterns or creating minimalist, tactile art.
How Gel Contouring Works
This technique uses a builder gel, which is much thicker than standard gel polish. It is carefully applied with a fine brush or dotting tool to create raised details on top of your finished colour or design. These details can be lines, dots, or swirls that catch the light and create a subtle 3D effect. Because it's a gel product, it must be cured under an LED or UV lamp to harden.
Application and Sealing
After your base colour and any other nail art are completely dry and sealed with a top coat, you can begin contouring. Using a fine detail brush, pick up a tiny amount of builder gel and trace over parts of your design or create new patterns. For example, you can outline a stamped flower or add raised dots. Once you are happy with the placement, cure the gel under your lamp according to the product's instructions. You can leave the contoured gel with its natural glossy finish or apply a matte top coat over the entire nail for a modern, contrasting texture. This final step not only looks professional but also ensures your dimensional art is well-protected.


