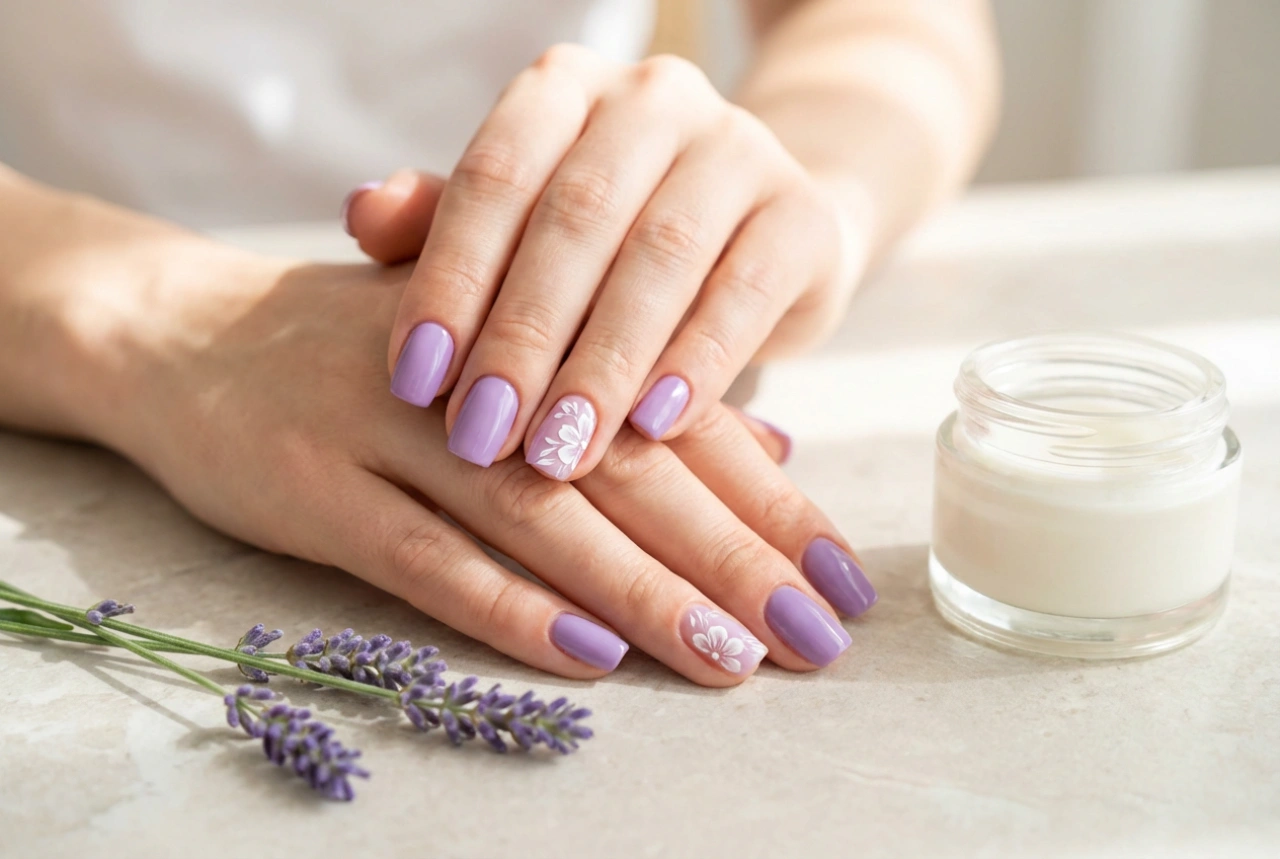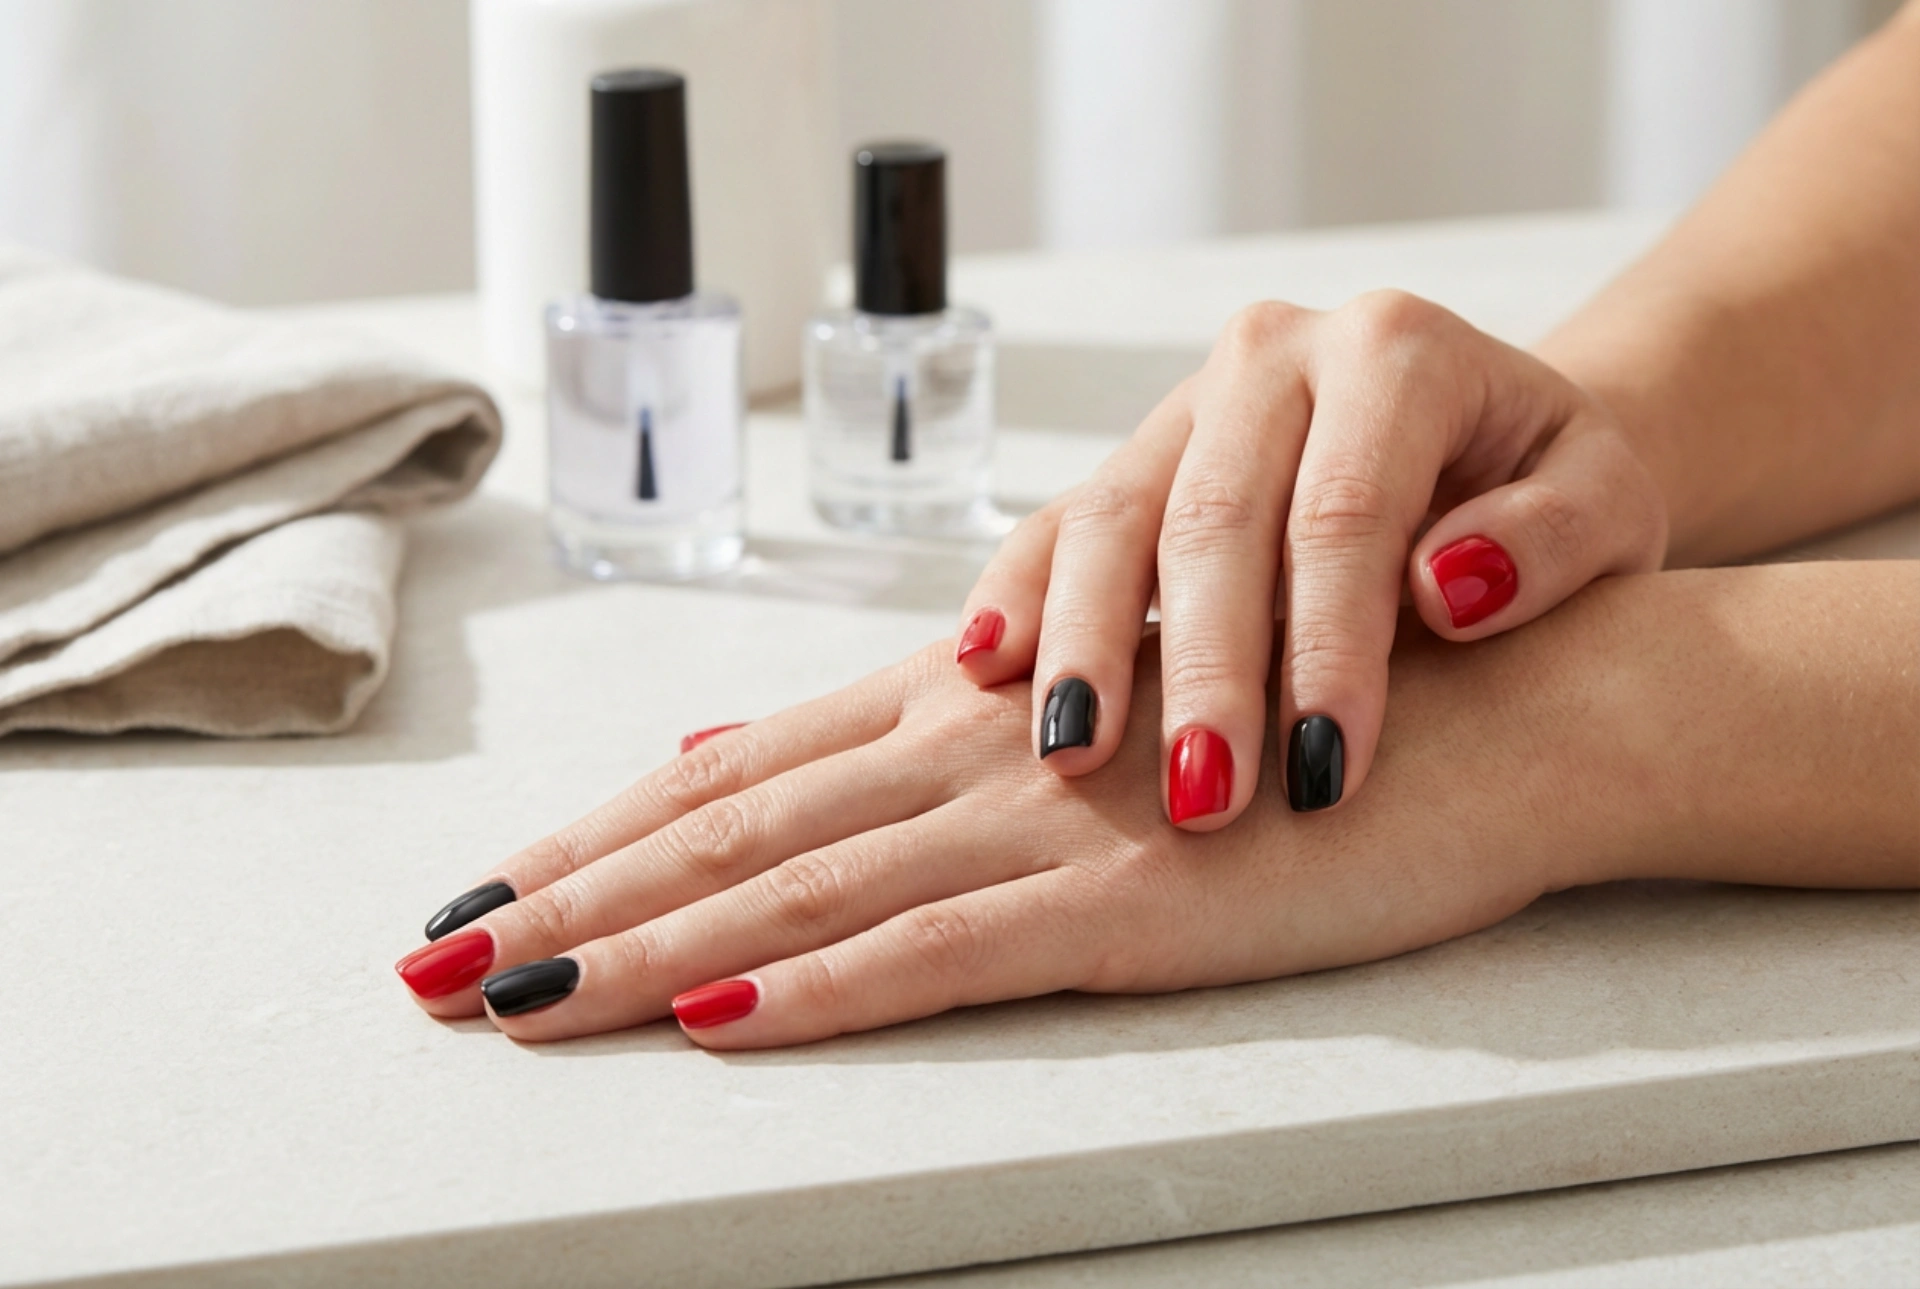


The combination of red and black on nails creates a look that is both classic and bold. This dramatic duo can elevate any style, but its success hinges on one crucial detail: clean, sharp lines. The challenge many face when attempting this manicure at home is preventing the dark pigments from bleeding into the lighter ones, resulting in a smudged or messy finish. Fortunately, with the right preparation and techniques, you can achieve a professional-looking result where each colour stands out distinctly. This guide will walk you through the steps to master the red and black manicure without any unwanted blending.
Essential Preparation for a Flawless Base
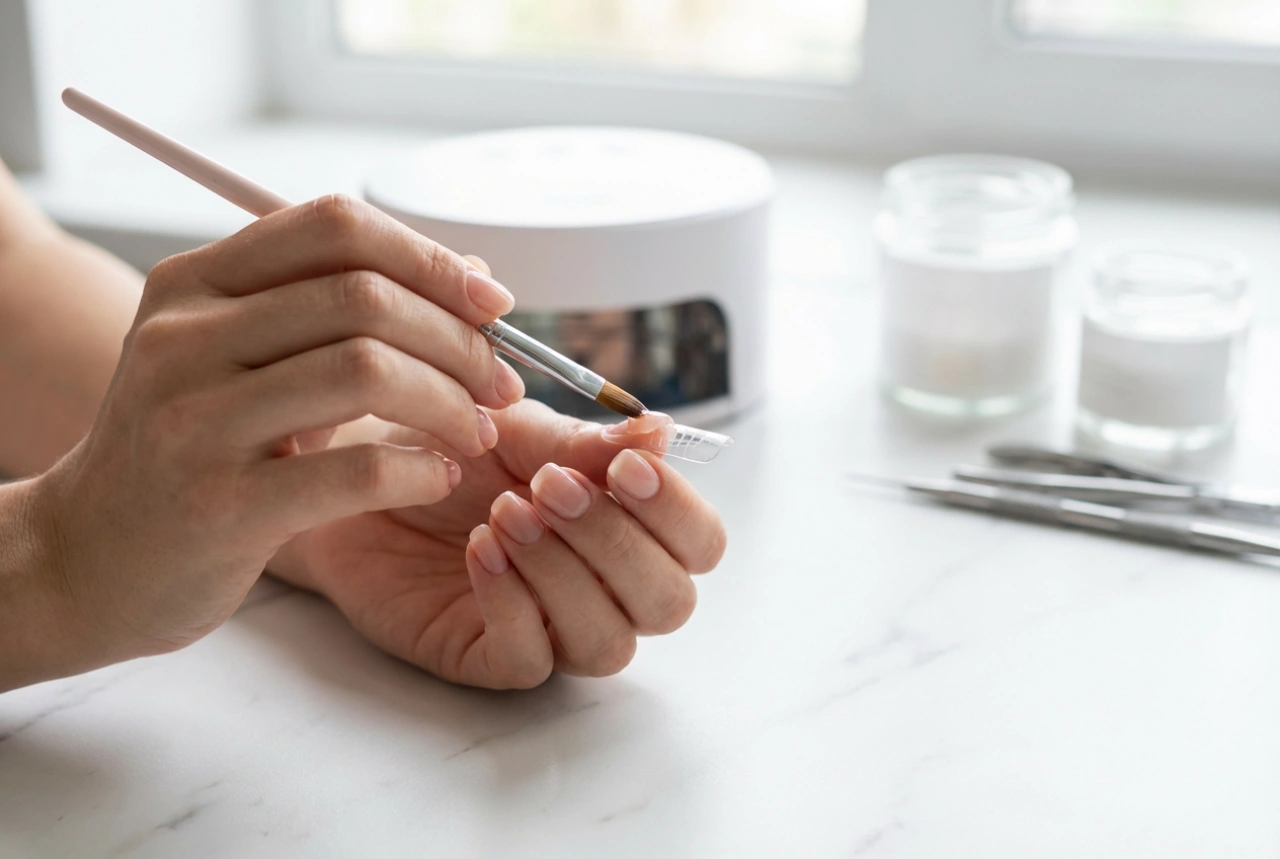
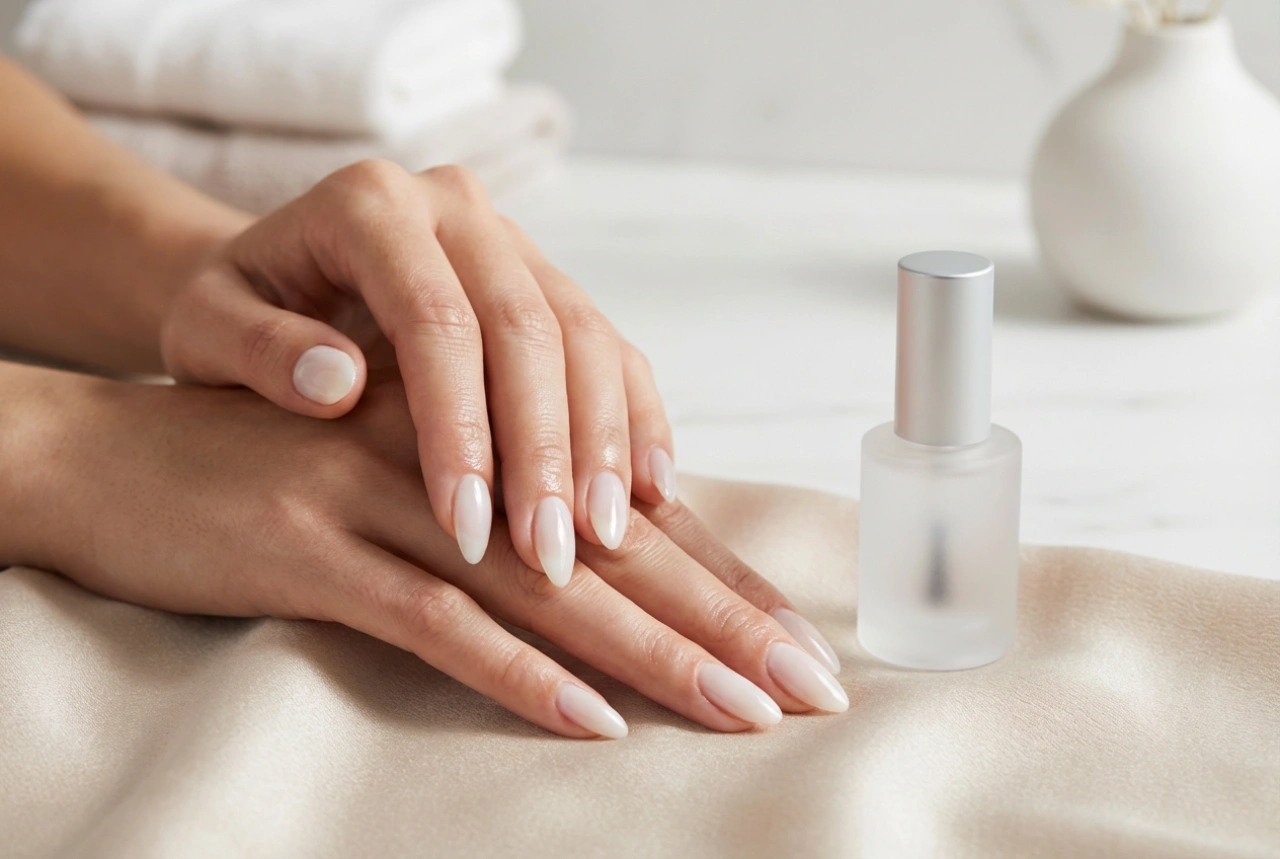
Before you even open a bottle of polish, proper nail preparation is key. A clean and smooth canvas ensures better polish adhesion and a more durable manicure. Skipping this stage can lead to uneven application and smudging later on.
Start by removing any old polish completely. Wash your hands and gently clean under your nails. Next, shape your nails with a file, moving in one direction to prevent splitting. Gently push back your cuticles, but avoid cutting them at home to prevent irritation. Finally, wipe each nail with a lint-free pad soaked in a nail cleanser or rubbing alcohol. This removes any natural oils or residues that could interfere with the polish. Applying a quality base coat is the final and most important step in preparation. A good base coat not only protects your natural nails from staining but also creates a smooth, even surface for the colour to adhere to, which is crucial when working with highly pigmented shades like red and black.
Techniques for Crisp Colour Separation
The secret to preventing red and black from mixing is patience and precision. Rushing the process is the primary cause of smudging and bleeding colours. There are several effective methods to ensure your lines are sharp and clean.
The Waiting Game: Allow for Complete Drying Time
This is the simplest yet most effective rule. Whether you are painting one half of the nail red and the other black, or creating more intricate designs, you must let the first colour dry completely before applying the second. This means waiting until the polish is hard to the touch, not just tacky. Applying a second colour over semi-dry polish will cause the pigments to pull and mix. For best results, wait at least 15-20 minutes between applying different colours that will touch each other.
Using Nail Art Tape for Sharp Lines
For geometric designs, such as a half-and-half look or stripes, nail art striping tape or vinyls are your best friend. After your base coat is dry, apply your first colour (usually the lighter one, red) over the entire nail and let it dry completely. Once fully dry, place the striping tape firmly on the nail to mask off the area where you want the red to remain. Then, paint the black polish over the exposed section. The key is to remove the tape while the black polish is still wet. Pull it away slowly and carefully in the opposite direction of application. This creates a razor-sharp line between the two colours.
Finishing Touches: Sealing and Cleaning Up
The final steps are just as important as the application itself. They lock in your design, add a high-gloss shine, and correct any minor mistakes for a flawless, salon-quality appearance.
- Precision Clean-up: It's normal to get a little polish on the skin around your nails. To clean this up without disturbing your design, use a small, stiff brush (an old lip or eyeliner brush works well) dipped in nail polish remover. Carefully trace around your cuticles and the sides of your nail to remove any excess polish. This simple step makes a huge difference in the overall neatness of your manicure.
- The Power of a Top Coat: A top coat is non-negotiable. It seals your design, protects it from chipping, and adds a beautiful, glossy finish. When applying a top coat over a two-colour design, be gentle. Load your brush with a good amount of top coat and try to