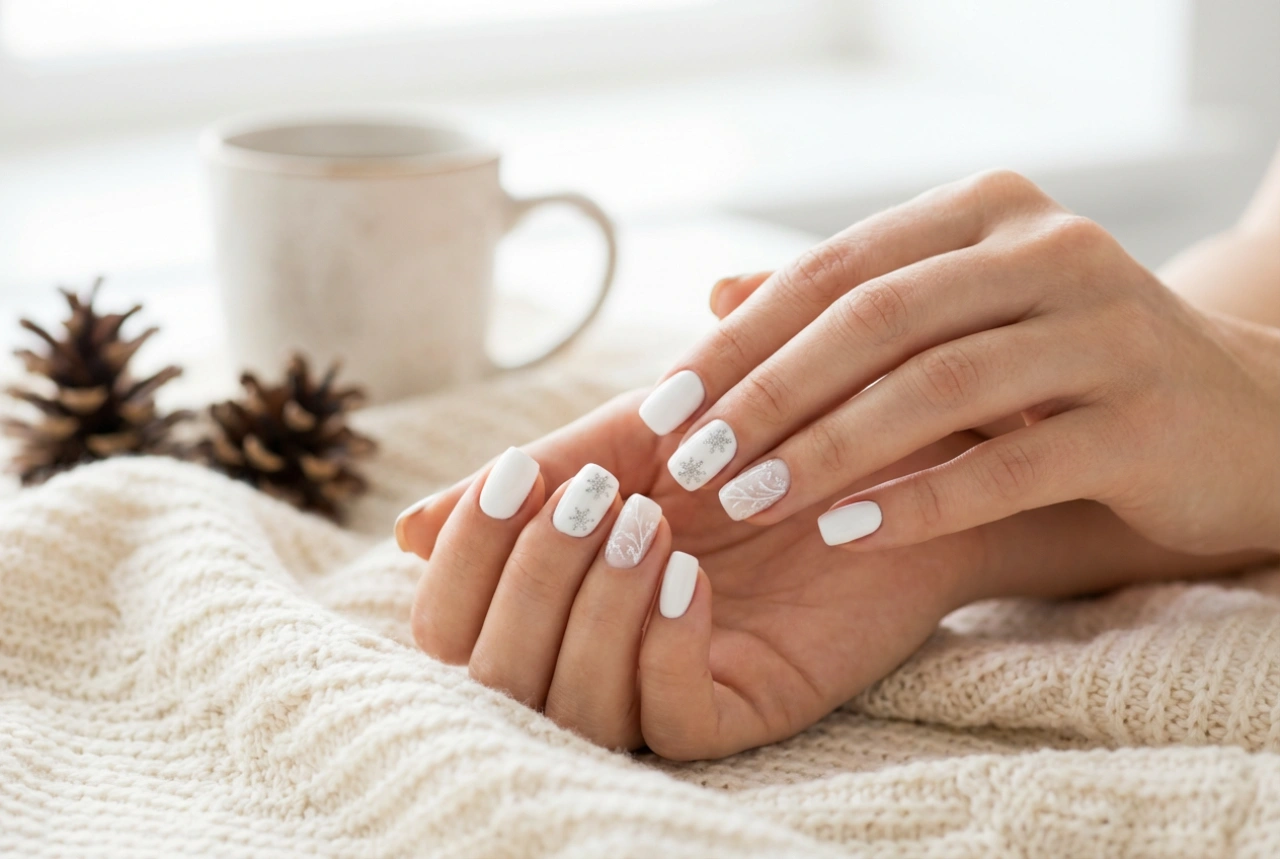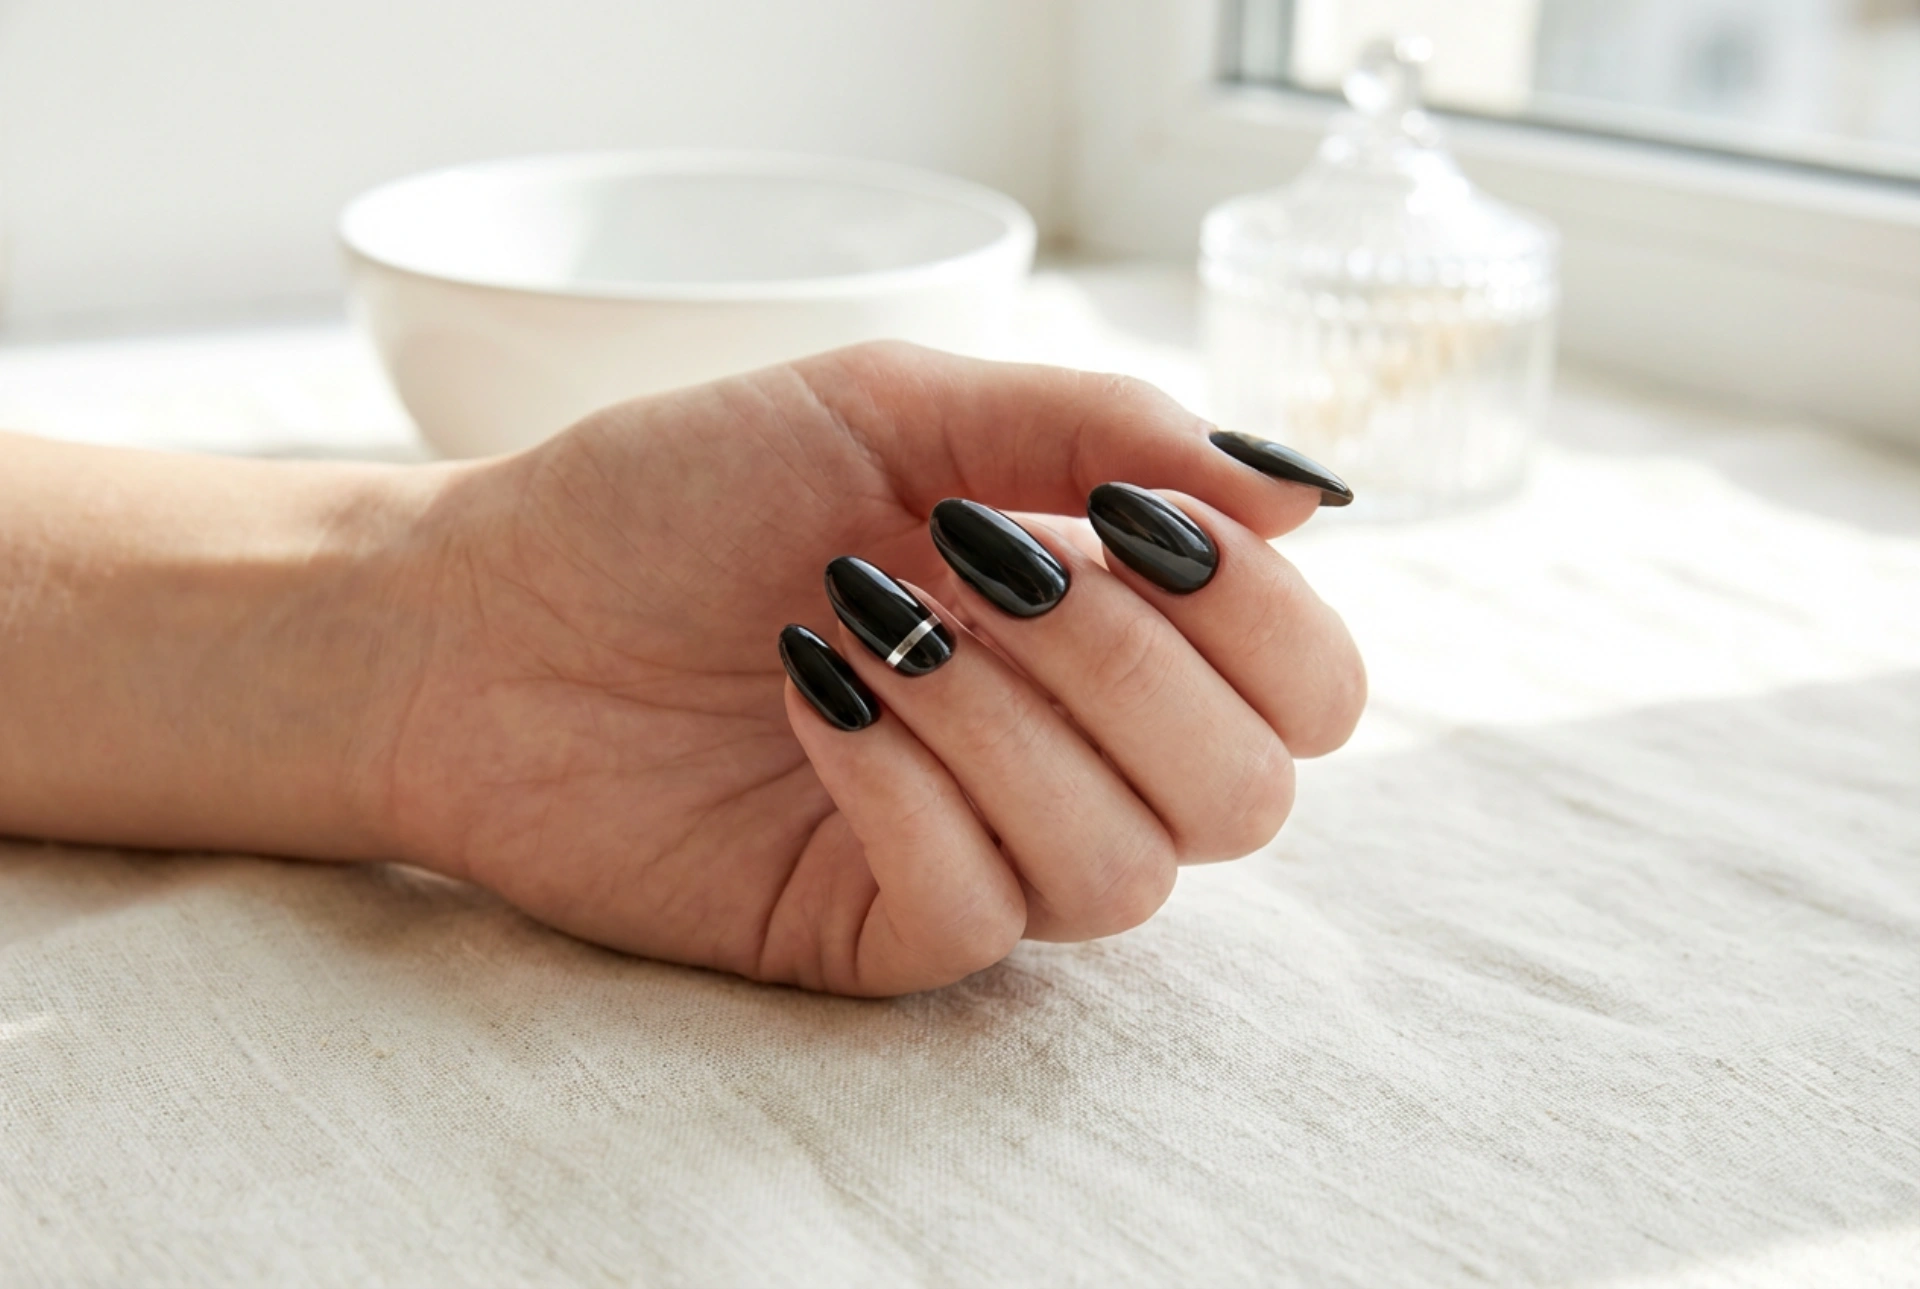


The combination of deep, glossy black and a striking metallic silver creates a look of undeniable sophistication and modern elegance. This classic pairing is incredibly versatile, suitable for both everyday wear and special occasions. Achieving this refined manicure at home is simpler than it might seem. This guide will walk you through the process step-by-step, helping you create a beautiful and long-lasting silver and black nail design.
Preparing Your Nails for a Flawless Finish
Proper preparation is the foundation of any great manicure. It ensures a smoother application and helps your nail polish last longer. Before you even think about opening a bottle of polish, take the time to get your nails ready.
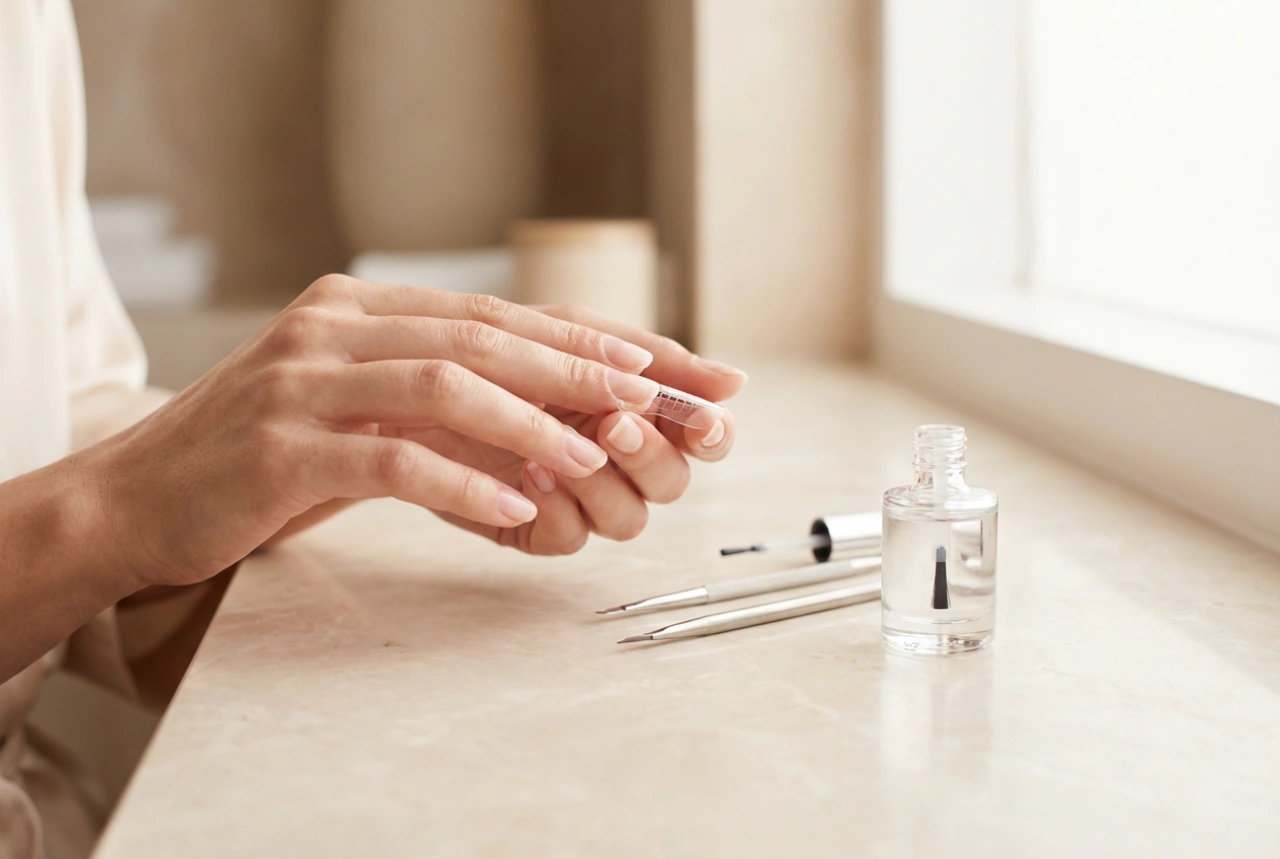
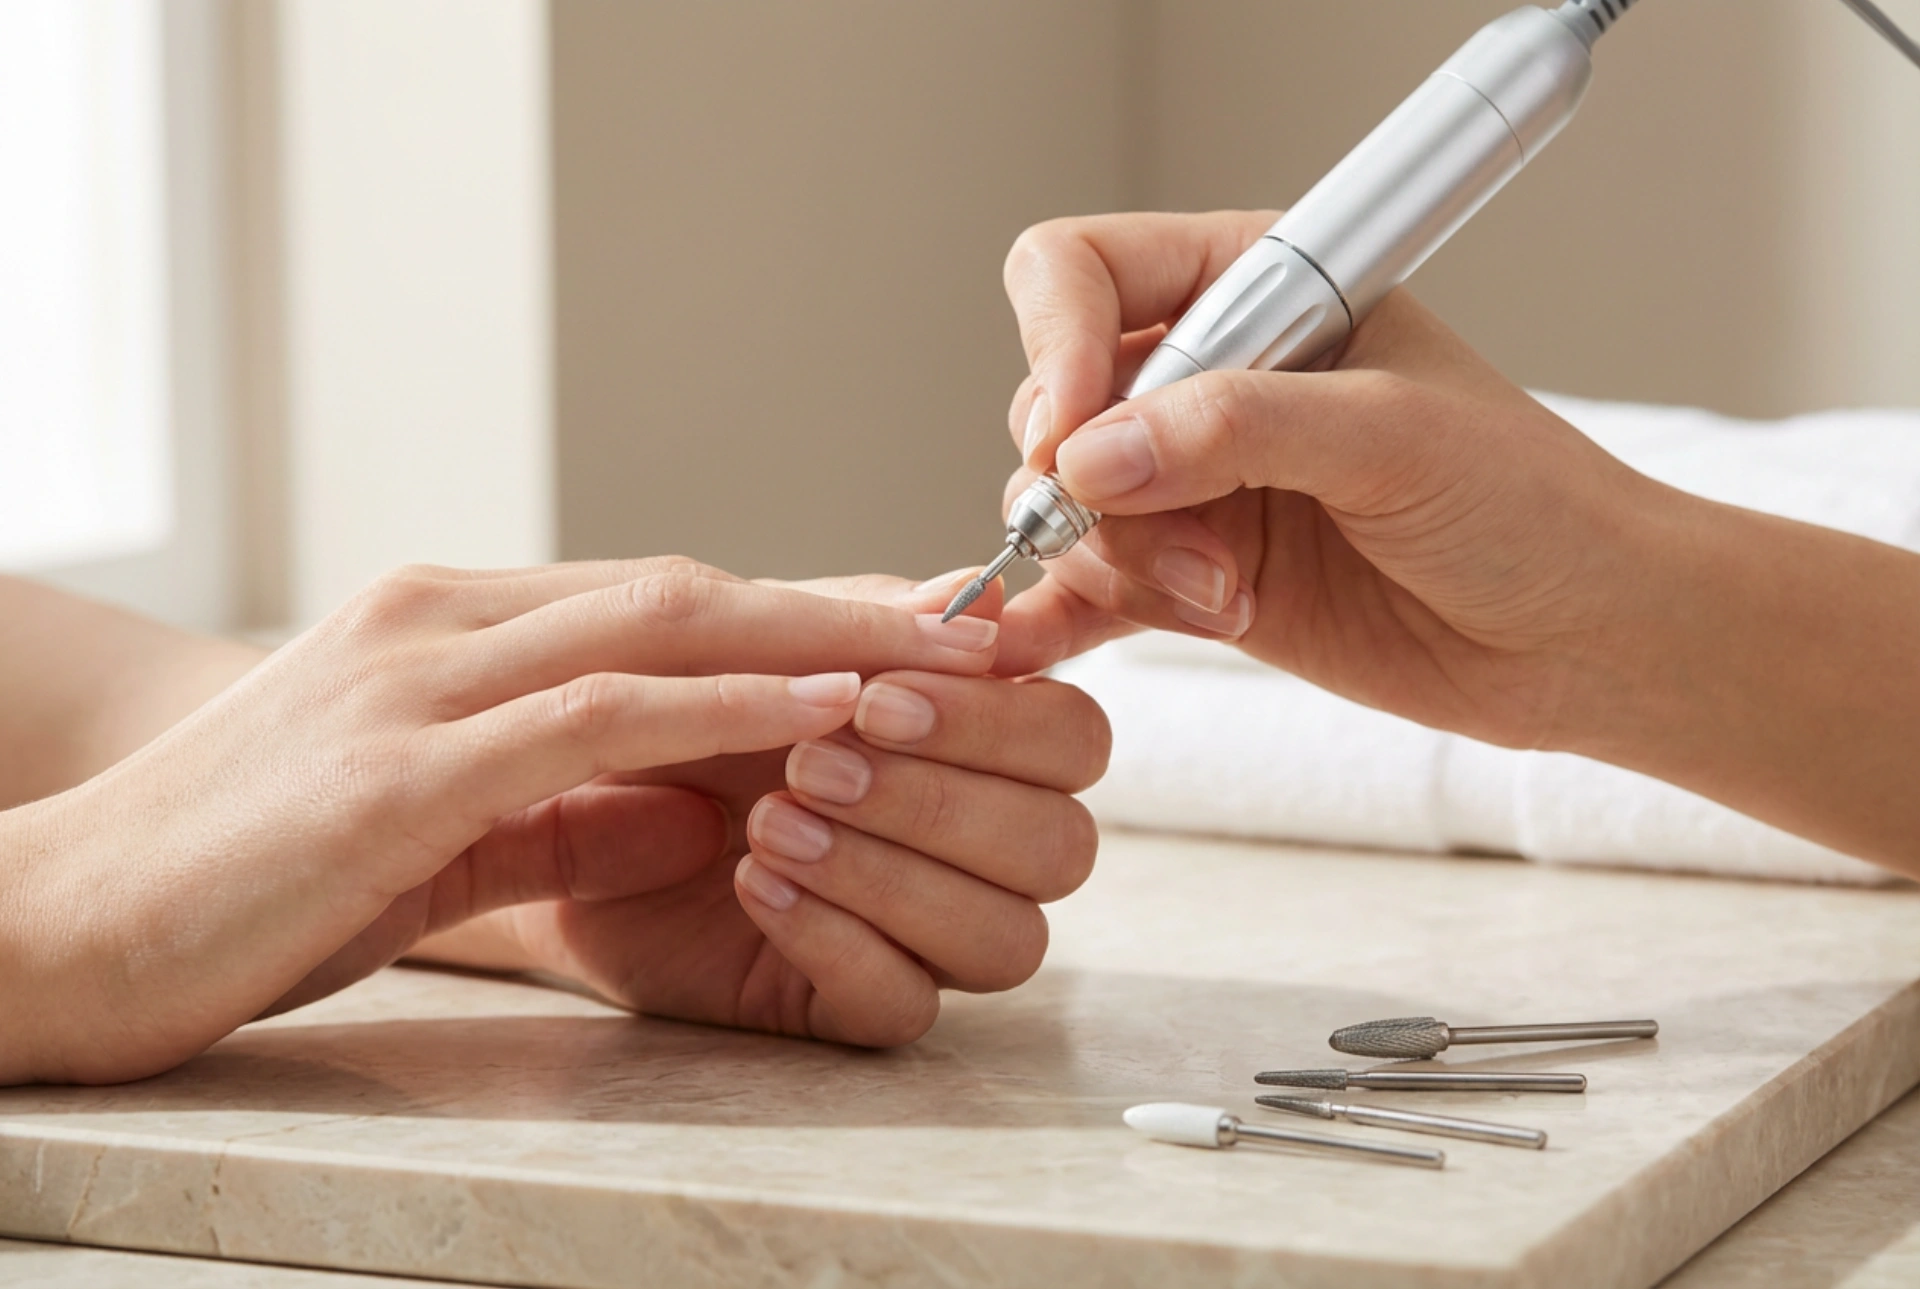
- Clean and Shape: Start by removing any old nail polish with a gentle remover. Wash your hands and nails to ensure they are free from oils and dirt. Next, file your nails to your desired shape. Whether you prefer a square, oval, or almond shape, aim for a uniform look across all nails. Gently push back your cuticles using a cuticle pusher, but avoid cutting them, as this can lead to irritation.
- Buff the Surface: Lightly buff the surface of your nails with a fine-grit buffer. This simple step removes natural oils and creates a slightly textured surface for the polish to adhere to, which significantly improves the longevity of your manicure.
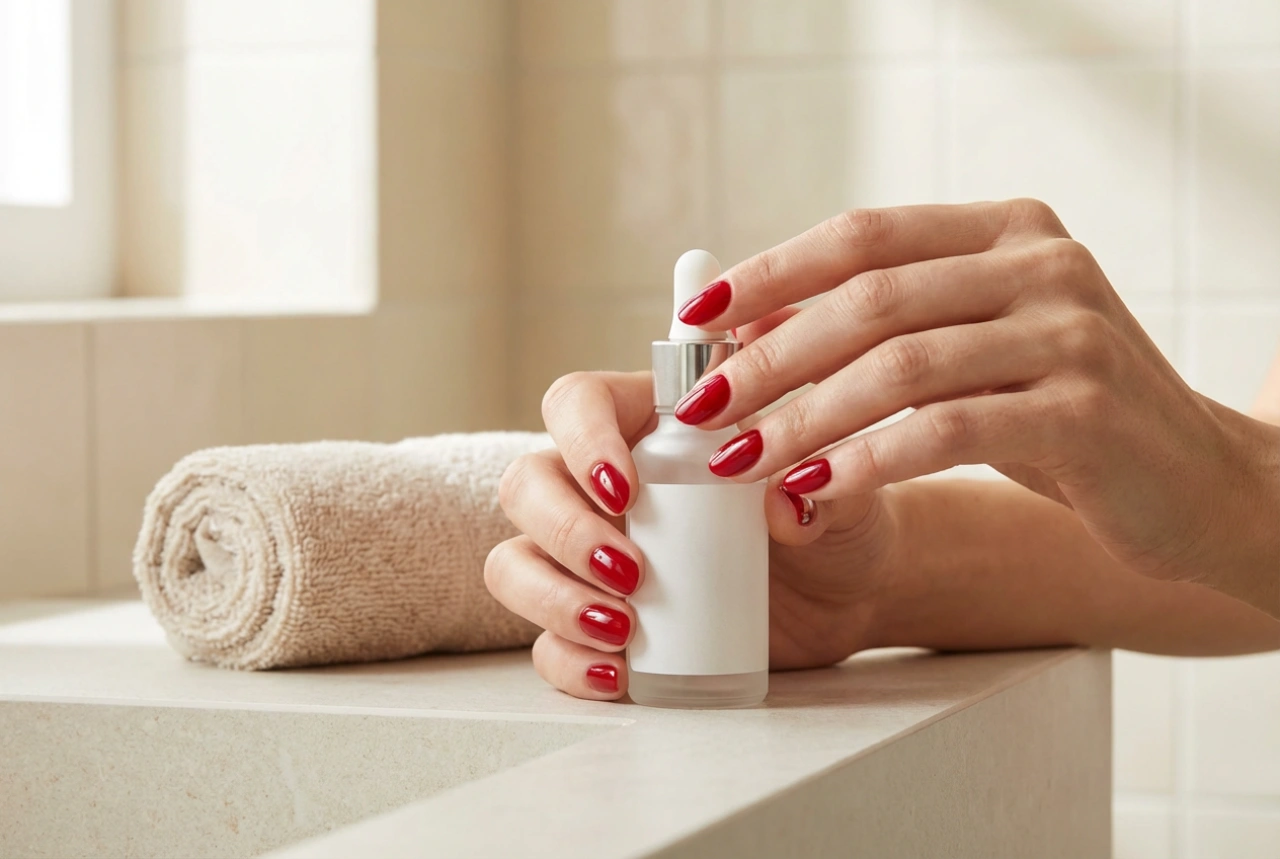
- Apply a Base Coat: Never skip the base coat. It serves two crucial purposes: it protects your natural nails from being stained by the dark pigment of the black polish, and it provides a smooth, even base for the colour to glide onto. Apply one thin layer to each nail and allow it to dry completely.
Achieving the Perfect Deep Black Base
A rich, opaque black is the canvas for your silver accent. The key to achieving a professional-looking finish is patience and thin coats. A thick, single coat is more prone to smudging, bubbling, and chipping.
Apply your first layer of black nail polish in three strokes: one down the centre, followed by one on each side. Keep the layer thin. Don't worry if it looks a bit streaky or translucent; the second coat will fix this. Let the first coat dry for at least two to three minutes. Once it's dry to the touch, apply a second thin coat using the same technique. This should give you a fully opaque, deep black colour. Allow the second coat to dry thoroughly before moving on to the accent details.
Creating the Metallic Silver Accent
This is where you can get creative. The silver accent can be as simple or as intricate as you like. Here are a few popular methods to try at home, ranging from easy to more detailed.
Method 1: The Classic Accent Nail
The simplest way to incorporate silver is to paint one nail on each hand—typically the ring finger—entirely in a metallic silver polish. This creates a focal point and an elegant contrast without requiring any complex tools. Simply apply two thin coats of your chosen silver polish to the accent nail, allowing each coat to dry in between.
Method 2: Geometric Lines and Shapes
For a more modern and graphic look, use silver to create patterns over the black base. You can achieve this using a few different tools:
- A Thin Nail Art Brush: Dip a fine-tipped brush into silver polish and carefully draw lines, chevrons, or dots on your nails. You could create a sleek French tip with a silver line, or draw a vertical stripe down the middle of the nail.
- Nail Art Tape: For perfectly straight lines, apply thin strips of nail art tape onto your dry black nails in your desired pattern. Paint over the tape with silver polish. While the silver polish is still slightly wet, carefully peel off the tape to reveal crisp, clean lines.
Method 3: A Touch of Sparkle or Foil
If you prefer a different texture, consider using a silver glitter polish or nail foils. Apply a fine silver glitter polish near the cuticle for a subtle gradient effect, or cover an entire accent nail for maximum impact. Alternatively, use nail transfer foils. Apply a special foil adhesive over your dry black polish, press the silver foil onto it, and peel it back to leave a stunning, crinkled metallic finish.
Finishing Touches for a Long-Lasting Manicure
The final step is crucial for protecting your design and giving it a glossy, professional-looking shine. Once your silver accents are completely dry, apply a high-quality top coat over all your nails. Be sure to 'cap' the free edge of your nail by running the brush along the tip; this helps to seal the polish and prevent chipping. To maintain your manicure, reapply the top coat every two to three days. Also, remember to keep your hands and cuticles moisturised by regularly applying cuticle oil and hand cream. This not only keeps your skin soft but also helps maintain the health and flexibility of your nails, making them less prone to breaking.