


Achieving a durable, glossy manicure that lasts for weeks is no longer exclusive to salon visits. With the right tools and a little practice, you can create a professional-looking hybrid manicure in the comfort of your own home. Assembling your first kit can seem daunting, but it's a straightforward process that gives you complete control over your nail care. This guide will help you select the essential components and master the application technique for a flawless finish every time.
Your Essential Hybrid Manicure Starter Kit
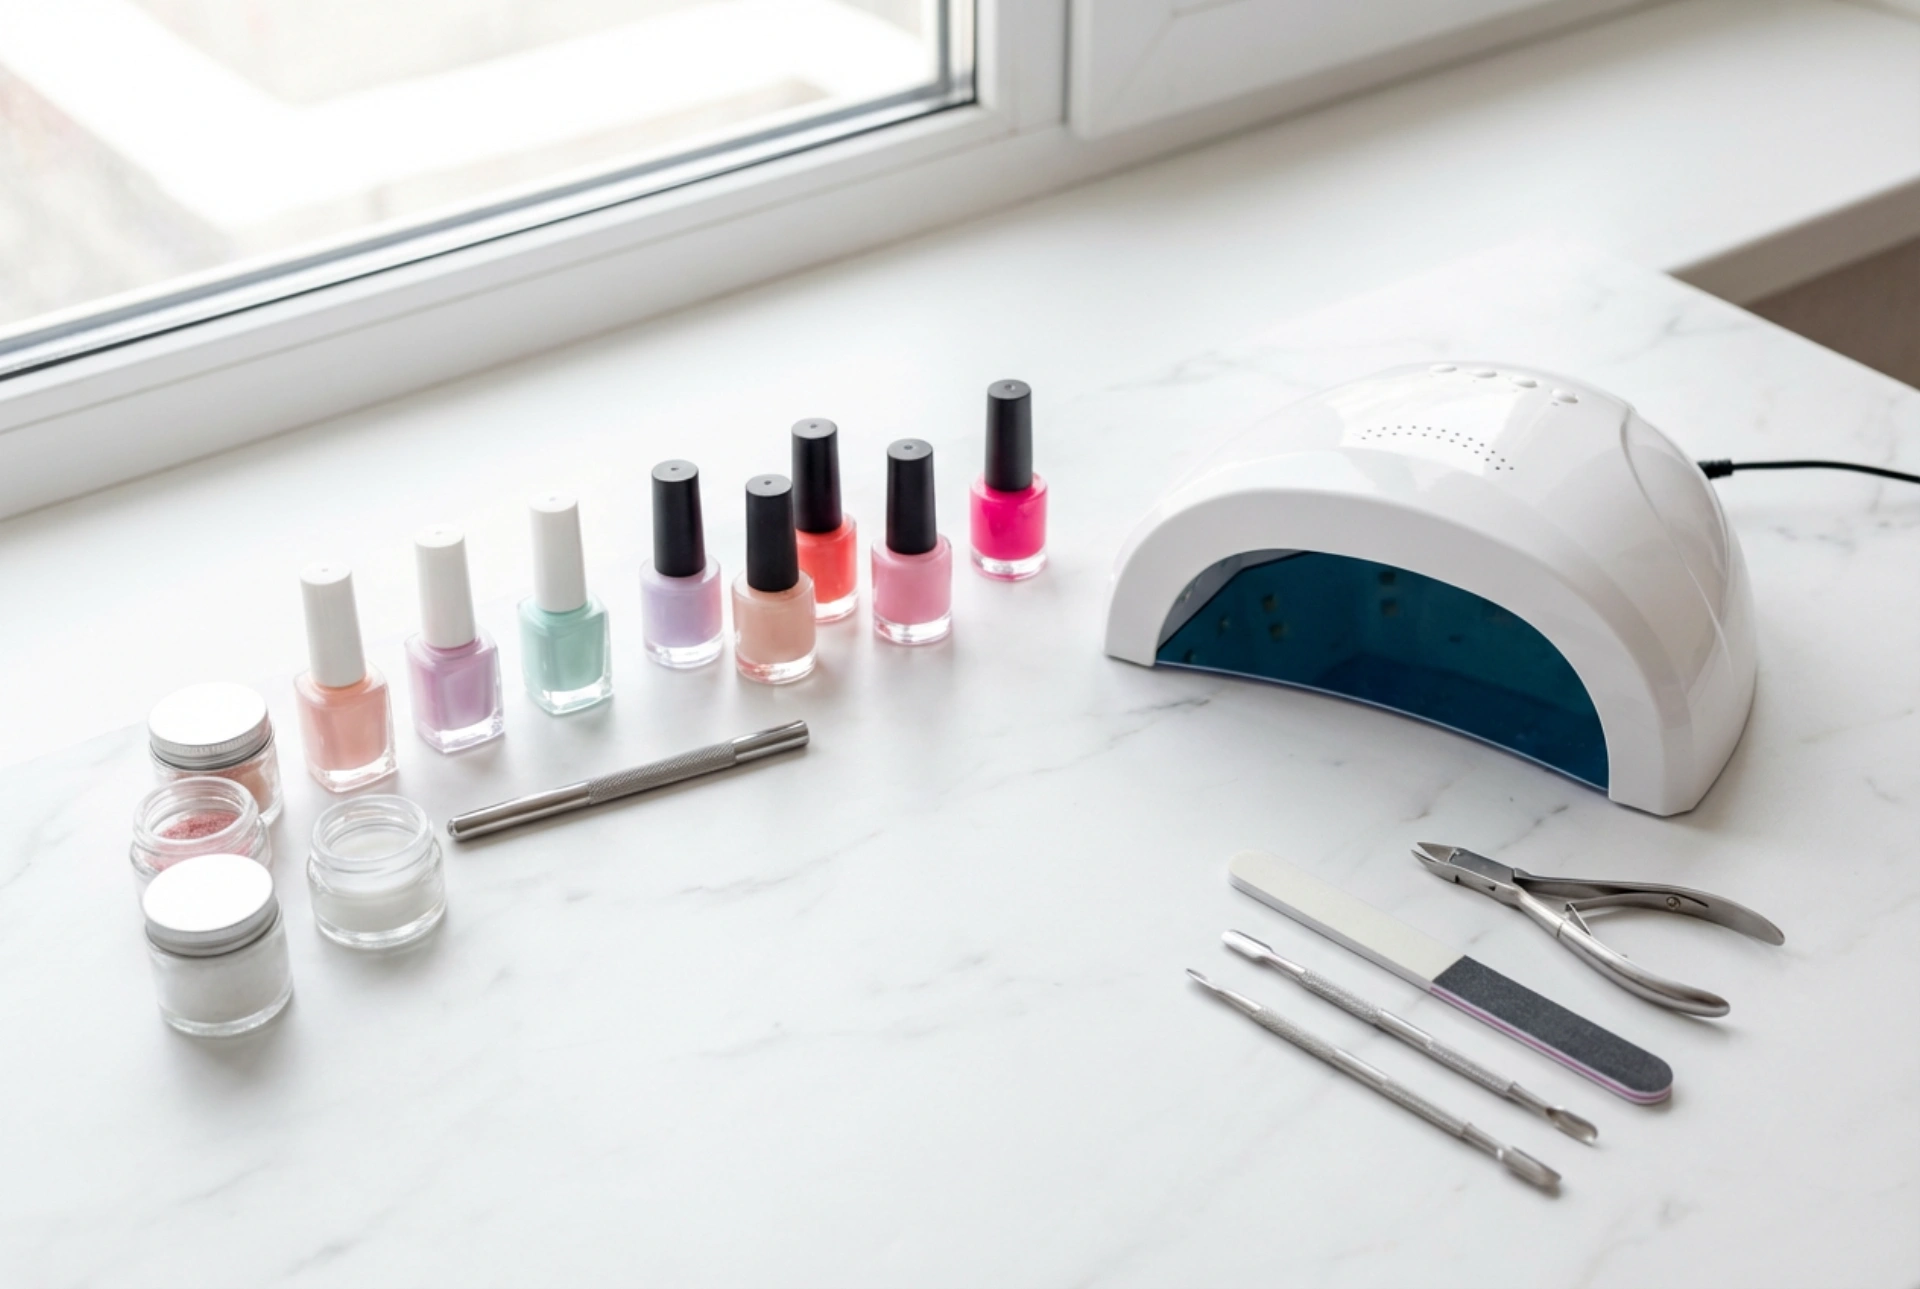
To begin your at-home hybrid manicure journey, you'll need a few key items. Having everything prepared beforehand makes the process smooth and enjoyable. Here’s a checklist of the absolute must-haves:
- UV/LED Lamp: The core of any hybrid manicure, used to cure the polish.
- Nail Cleaner/Degreaser: A liquid used to prepare the nail plate and remove the sticky layer after curing.
- Base Coat: The first layer that helps the polish adhere to the nail and protects it.
- Coloured Hybrid Polish: Your chosen shades for the manicure.
- Top Coat: The final layer that seals the colour, adds shine, and provides protection.
- Hybrid Polish Remover: A solution, usually acetone-based, for safe removal.
- Nail File and Buffer: For shaping the nails and gently preparing the nail plate surface.
- Cuticle Pusher or Wooden Stick: To gently push back cuticles for a clean application area.
- Lint-Free Wipes: To apply the cleaner without leaving any fluff behind.
How to Choose the Right UV/LED Lamp
The lamp is the most significant investment in your kit, and choosing the right one is crucial for a successful manicure. Modern lamps typically use LED or dual UV/LED technology, which is preferable as it cures polish much faster than older UV-only models. When selecting a lamp, consider its power, measured in watts (W). For home use, a lamp with 36W to 54W is ideal. This power range ensures a quick and thorough cure without being excessive. Look for user-friendly features such as built-in timers (e.g., 30, 60, 90 seconds), a motion sensor that automatically turns the lamp on when you insert your hand, and a low-heat mode, which can increase comfort for those with sensitive nails by building up the intensity gradually.
Selecting Bases, Tops, and Colours
The liquid products you choose will determine the look and longevity of your manicure. It’s worth understanding the different types available to best suit your nail condition and desired finish.
The Foundation: Base Coats
A good base coat is non-negotiable. It creates a strong bond between your natural nail and the coloured polish, preventing lifting and chipping. It also acts as a protective barrier for your nail plate. For those with weaker or more flexible nails, consider a 'rubber base' or a protein-enriched base, which offer extra strength and flexibility. For normal nails, a standard base coat will work perfectly.
The Finishing Touch: Top Coats
The top coat is what gives your manicure its signature shine and durability, protecting the colour from scratches and fading. The most popular choice for home users is a 'no-wipe' top coat. As the name suggests, it doesn't leave a sticky inhibition layer after curing, saving you a step. You can also find matte top coats if you prefer a non-glossy, velvety finish.
A Spectrum of Choice: Coloured Polishes
When starting out, you don’t need an extensive collection. Begin with three or four versatile shades. A classic red, a sophisticated nude, and a deep, elegant dark colour are great starting points. You might also add a glitter or special effect polish for accent nails. Pay attention to the consistency; a good quality polish should be self-levelling and provide good coverage in two thin coats.
Your First Hybrid Manicure: A Step-by-Step Guide
With your kit assembled, you're ready for your first application. Follow these steps carefully for a professional result.
- Nail Preparation: Start by washing your hands. Shape your nails with a file. Gently push back your cuticles using a wooden stick or pusher. Using a buffer, lightly buff the entire surface of the nail plate to remove any shine. This creates a slightly rough surface for the polish to grip. Finally, wipe each nail thoroughly with a lint-free wipe soaked in nail cleaner to dehydrate and degrease the plate.
- Apply the Base Coat: Apply a very thin layer of base coat, making sure to avoid flooding the cuticles or side walls. 'Cap' the free edge of the nail by running the brush along the tip. Cure under the lamp for the time specified by the manufacturer (usually 30-60 seconds).
- Apply the Colour: Apply a thin, even layer of your chosen coloured polish. Again, be precise and avoid touching the skin. Cure under the lamp. Apply a second thin coat to achieve full opacity and cure again.
- Apply the Top Coat: Seal your manicure with a thin layer of top coat, remembering to cap the free edge. This step locks in the colour and provides a durable, high-gloss finish. Cure one last time, often for a slightly longer duration (e.g., 60 seconds).
- Final Step: If you used a no-wipe top coat, you are done! If you used a standard top coat, there will be a sticky layer. Simply take a fresh lint-free wipe with nail cleaner and wipe each nail firmly to reveal the shine. Finish by applying a drop of cuticle oil to nourish the skin around your nails.
Tips for Longevity and Safe Removal
To make your manicure last up to three weeks, ensure each layer is applied thinly and that you cap the free edge on each step. When it's time for a change, never peel or force the polish off. For safe removal, gently file the shiny surface of the top coat. Soak a piece of cotton pad in hybrid remover, place it on the nail, and wrap it tightly with a small piece of aluminium foil or a reusable nail clip. Wait for 10-15 minutes. The polish should have softened and started to lift. Use a wooden stick or a gentle pusher to scrape away the residue. Never force it; if it's not coming off easily, re-wrap the nail for a few more minutes.


