


Well-groomed eyebrows frame the face and complete any look, whether natural or more defined. One of the most effective tools for achieving perfectly stylised brows is a good quality styling gel. This simple cosmetic can tame unruly hairs, add volume, and lock your desired shape in place for hours. Understanding how to apply it correctly is key to unlocking its full potential, transforming your brows from ordinary to outstanding with just a few simple strokes.
Why Use an Eyebrow Gel?
An eyebrow gel is a versatile product that offers numerous benefits for your daily beauty routine. Its primary function is to provide hold, keeping every hair in place throughout the day. This is especially useful for those with longer or more stubborn brow hairs that tend to fall downwards or stick out. Beyond hold, many gels are formulated to add apparent thickness and volume, creating the illusion of fuller, healthier brows. They can also enhance definition, making the shape of your brows look cleaner and more polished. Whether you opt for a clear or tinted version, a brow gel is the final touch that sets and perfects your eyebrow look.
Choosing the Right Eyebrow Gel
The choice between a clear and a tinted eyebrow gel depends entirely on your desired outcome and natural brow characteristics. Here’s a simple breakdown to help you decide:
Clear Eyebrow Gel
A clear gel is the universal choice for anyone who is already happy with the colour and fullness of their brows. Its main purpose is to provide hold and a subtle, groomed sheen without adding any pigment. It’s perfect for achieving a natural, 'no-makeup' makeup look or for setting brow pencil or powder that you've already applied. Clear gel tames and shapes, giving a polished finish that looks effortlessly neat.
Tinted Eyebrow Gel
If your brows are sparse, light-coloured, or you want to add more depth and fullness, a tinted gel is an excellent option. It combines the holding power of a clear gel with a hint of colour. The pigment helps to fill in gaps and make the brow hairs appear thicker and more uniform in colour. It’s a fantastic multi-tasking product for a quick, all-in-one brow routine, as it shapes, colours, and sets simultaneously.
A Step-by-Step Guide to Application
Applying eyebrow gel is straightforward, but a few key techniques can make a significant difference in the final result. Follow these steps for a flawless finish.
Step 1: Prepare Your Brows
Always start with clean, dry eyebrows. If you use other brow products like a pencil or powder to fill in sparse areas, apply them first. Before applying the gel, use a clean spoolie brush to comb your brows upwards and outwards. This helps to detangle the hairs and see the natural shape you’ll be working with.
Step 2: Apply the Gel
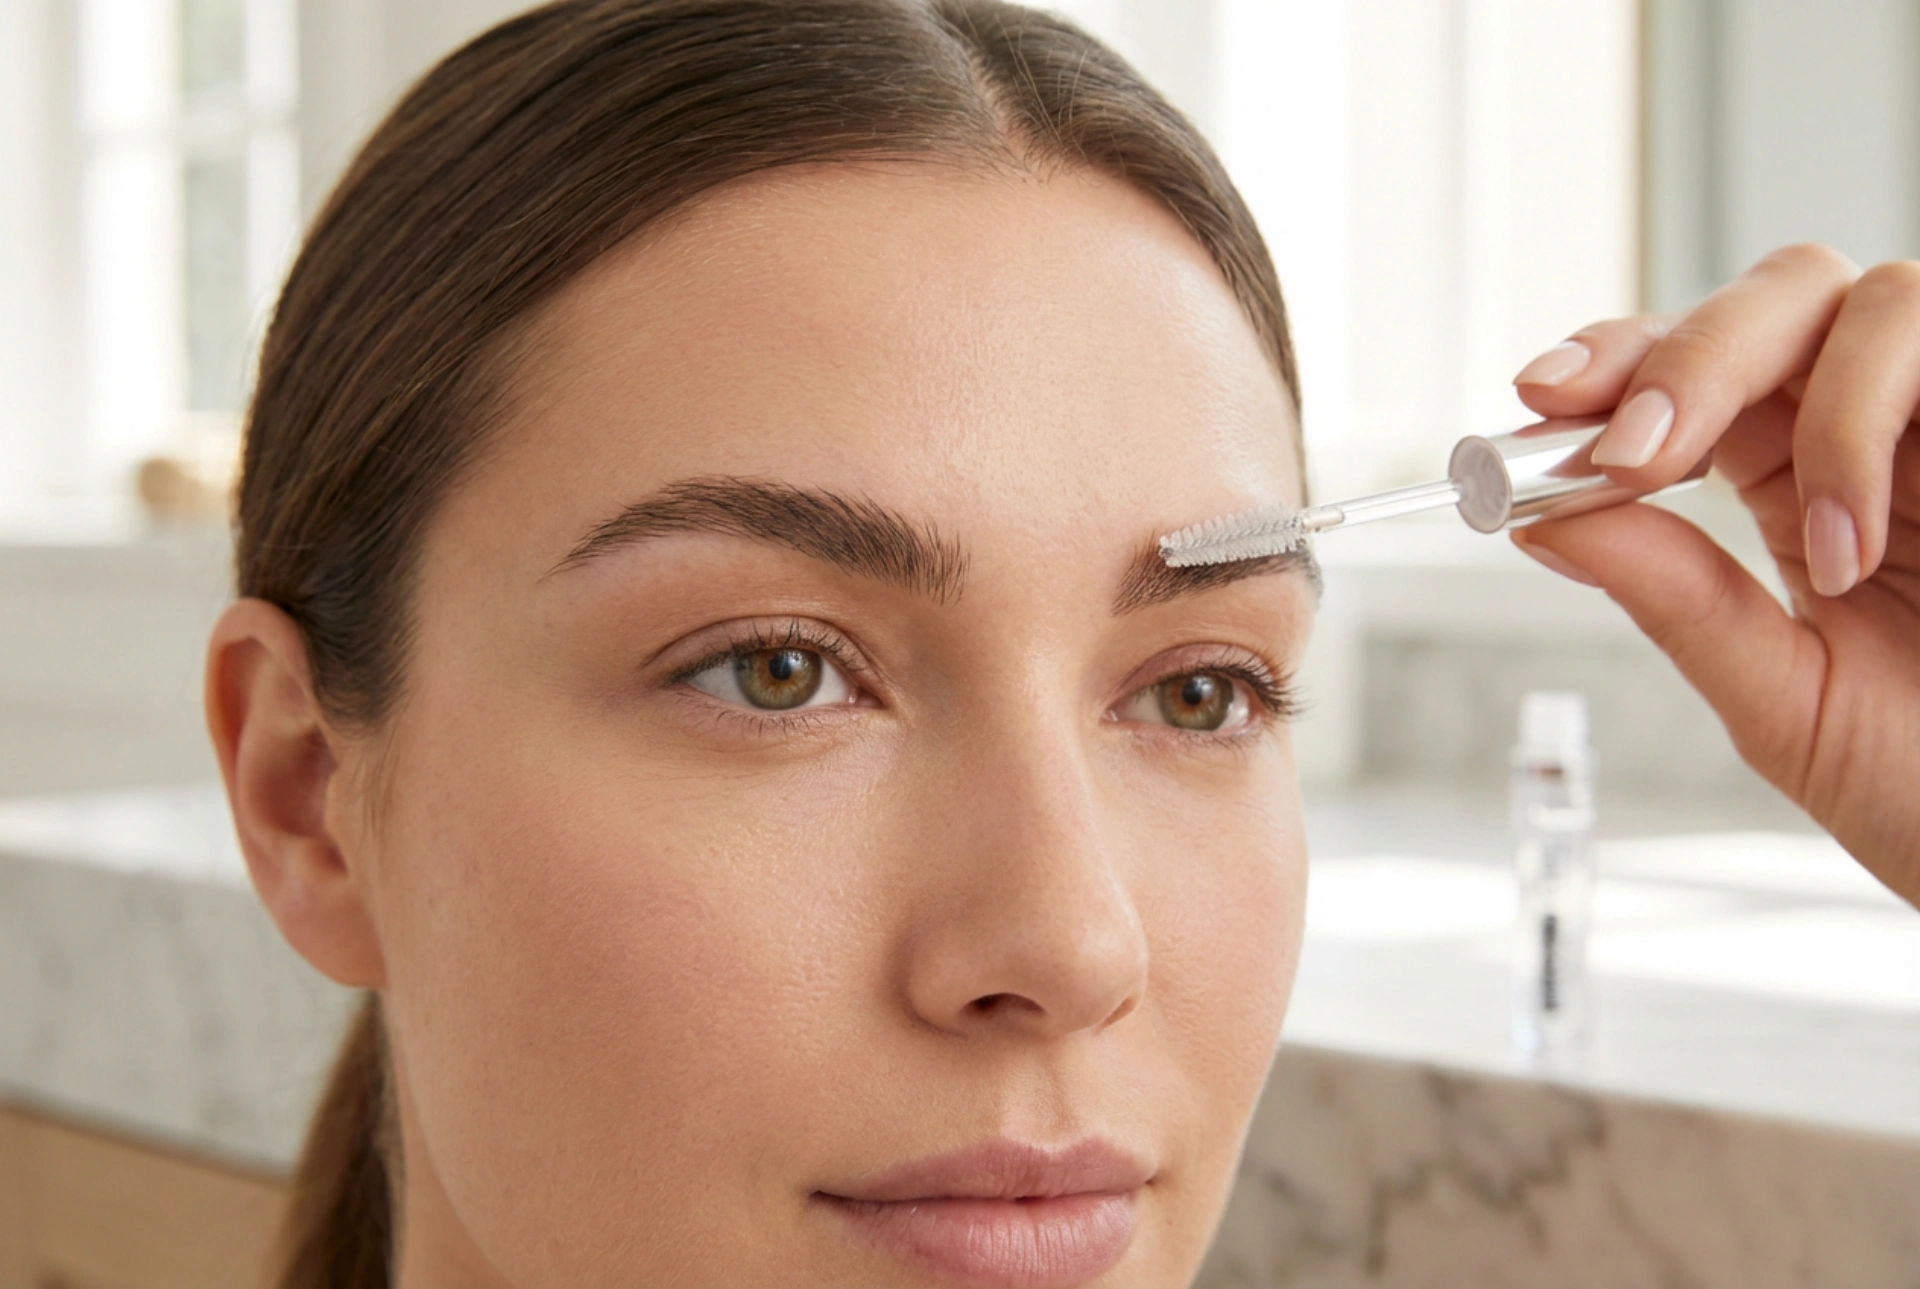
Wipe any excess product off the applicator on the rim of the tube to avoid clumps. For a natural look, start applying the gel from the inner part of your brow, brushing the hairs upwards. As you move towards the arch and tail, begin to brush the hairs diagonally, following their natural direction of growth. Use light, short strokes to coat the hairs evenly without applying too much product to the skin underneath.
Step 3: Shape and Set
While the gel is still wet, you have a small window to perfect the shape. Use the tip of the spoolie or a separate clean brush to guide the hairs exactly where you want them. You can create a feathery, lifted look by brushing them straight up, or a more classic, sleek look by combing them neatly to the side. Once you are happy with the shape, allow the gel to dry completely. It will lock the hairs in place for a long-lasting, perfectly groomed look.
Tips for a Perfect Finish
To elevate your brow game even further, keep these professional tips in mind:
- Less is More: Always start with a minimal amount of product and build up if necessary. Too much gel can make brows look stiff, flaky, or unnatural.
- Clean Up Mistakes Quickly: If you accidentally get some gel on the skin around your brow, wipe it away with a cotton bud before it has a chance to dry and set.
- Layer Products Correctly: Remember the golden rule: powders and pencils first, gel last. Applying gel first will make it difficult for other products to adhere to the brow hairs.
- Experiment with Styles: Use your brow gel to try different looks. For a trendy 'laminated' effect, brush the hairs firmly upwards and flatten them against the skin. For a softer look, focus the gel mainly on the body and tail of the brow.


